
Roland RD-300GX Руководство по эксплуатации онлайн
Содержание
- About the manual 3
- Conventions in this manual 3
- Introduction 3
- Avoid extended use at high volume 4
- Connect the ac adaptor to an outlet of the correct voltage 4
- Do not bend the power cord or place heavy objects on it 4
- Do not disassemble or modify 4
- Do not insert foreign objects 4
- Do not place in an unstable location 4
- Do not repair or replace parts 4
- Do not use or store in the following types of locations 4
- Use only a stand that is recommended 4
- Use only the included power cord 4
- Using the unit safely 4
- Cautions when moving this device 5
- Do not allow children to use without supervision 5
- Do not connect or disconnect the ac adaptor with wet hands 5
- Do not drop or subject to strong impact 5
- Do not place containers of water on the device 5
- Do not share an outlet with an unreasonable number of other devices 5
- Do not stand or place heavy objects on this device 5
- Do not use a cd rom in an audio cd player or dvd player 5
- Do not use overseas 5
- Grasp the plug when connecting or disconnecting the power cord 5
- If there is a possibility of lightning strike disconnect the ac adaptor from the ac outlet 5
- Keep small items out of the reach of children 5
- Manage cables for safety 5
- Periodically wipe the dust off the ac adaptor plug 5
- Place in a well ventilated location 5
- Turn off the power if an abnormality or malfunction occurs 5
- Unplug the ac adaptor from the ac outlet before cleaning 5
- Use only the specified stands 5
- Using the unit safely 5
- Important notes 6
- Location 6
- Other cautions 6
- Power supply 6
- Servicing 6
- Cd handling 7
- Floppy disk handling 7
- Important notes 7
- Usb memory handling 7
- Using optional floppy disk drive 7
- Using usb memory 7
- Contents 8
- Getting ready 5 8
- Important notes 8
- Introduction 8
- Listening to the demo demo play 5 8
- Overview of the rd 300gx 2 8
- Panel descriptions 2 8
- Performance 6 8
- Using the unit safely 8
- Making detailed settings for the one touch tones 0 9
- Using the convenient functions in performances 7 9
- Using the rd 300gx as a master keyboard 3 9
- Detailed settings for each function edit button 3 10
- Appendices 3 11
- Connecting external midi devices 8 11
- Connecting to your computer 1 11
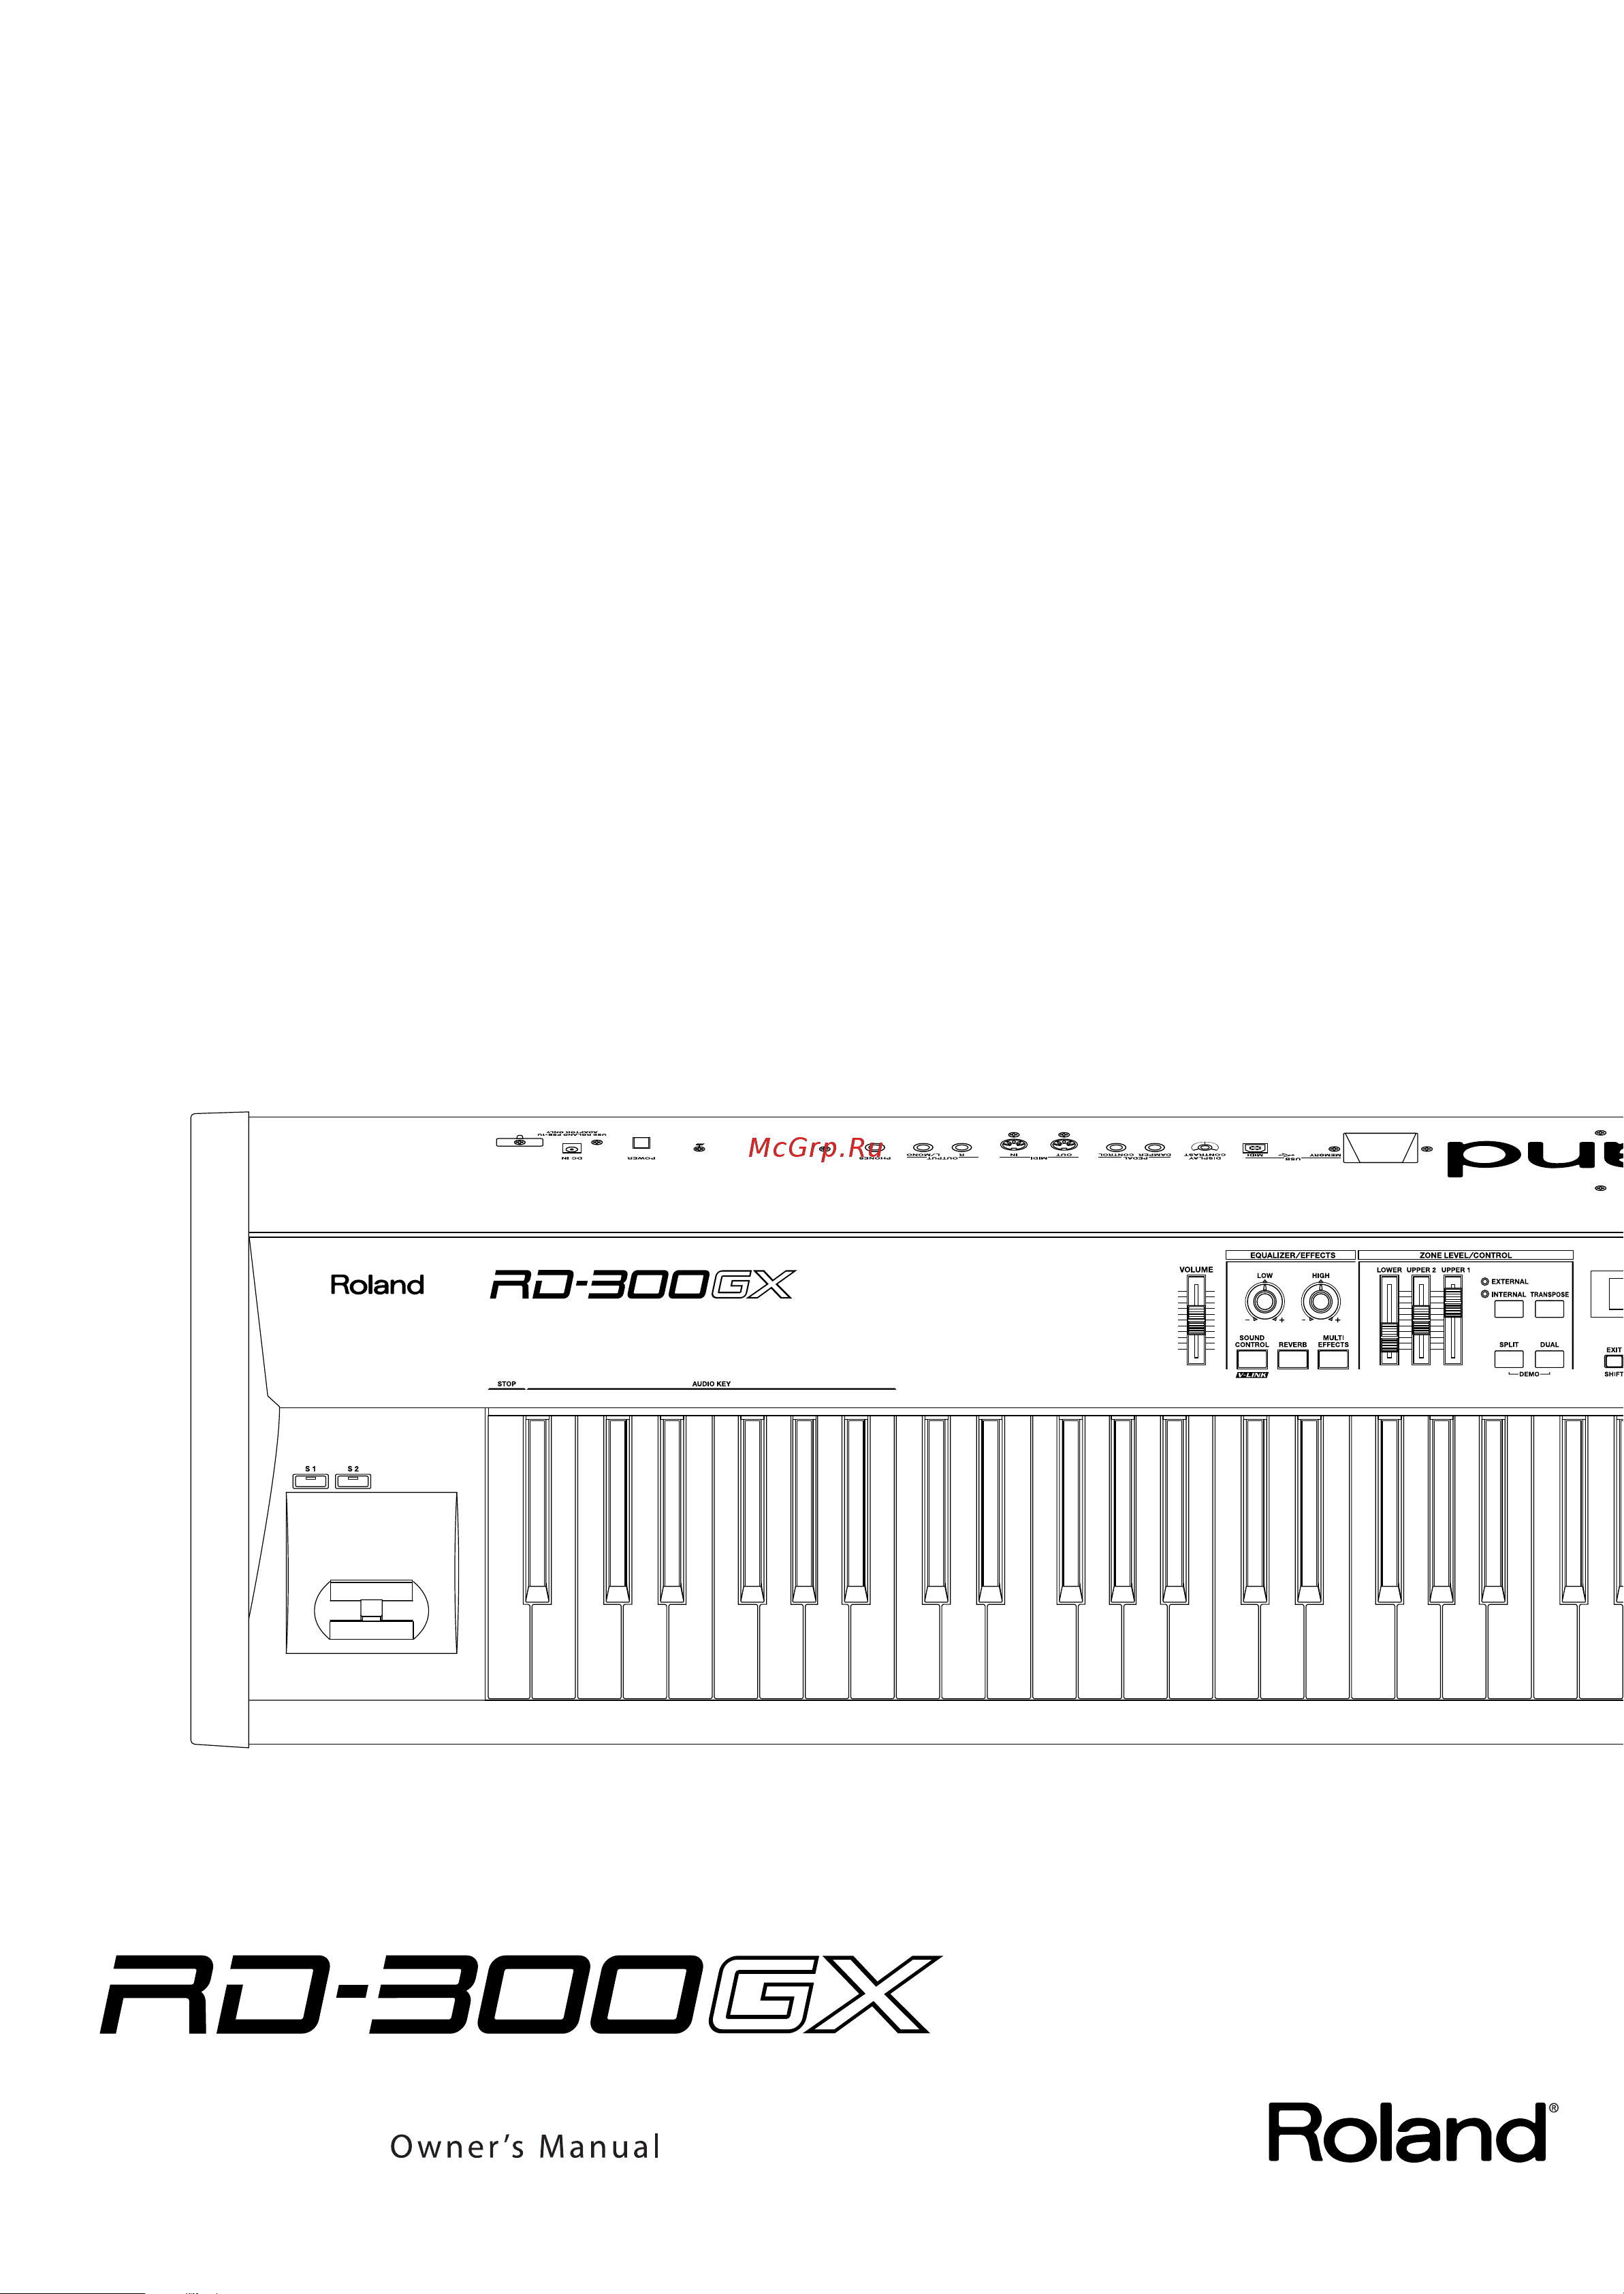
- Front panel 12
- Panel descriptions 12
- 7 8 9 5 13
- Panel descriptions 13
- Rear panel 14
- Getting ready 15
- If using the ks 12 stand 15
- If using the ks 18z stand 15
- Placing the rd 300gx on a stand 15
- Connect the ac adaptor to the rd 300gx s dc in jack and plug the power cord into an ac outlet 16
- Connect the supplied power cord to the supplied ac adaptor 16
- Connecting the ac adaptor 16
- Getting ready 16
- Loop the ac adaptor cord around the cord hook to fasten it in place 16
- Make sure that the power switch located at the left side of the keyboard is off in the upward position 16
- Move the volume slider all the way down to minimize the volume 16
- Audio cables usb cables midi cables headphones expression pedals and usb memory are not included consult your roland dealer if you need to purchase accessories such as these 17
- Connecting the external equipment to rd 300gx 17
- Getting ready 17
- The rd 300gx is not equipped with an amplifier or speakers in order to produce sound you need to hook up audio equipment such as a monitor speaker or a stereo set or use headphones 17
- Before you begin making connections confirm the following 18
- Connect supplied ac adaptor to the dc in of the rd 300gx and plug the other end into an ac outlet 18
- Connect the rd 300gx and external devices 18
- Connecting pedals 18
- Getting ready 18
- Getting ready 19
- Turning on the power 19
- Turning the power on and off 19
- Adjusting the display contrast display contrast knob 20
- Adjusting the volume 20
- Getting ready 20
- Turning off the power 20
- Connecting a usb memory 21
- Getting ready 21
- Using a usb memory 21
- Basic organization of the rd 300gx 22
- Controller section 22
- Overview of the rd 300gx 22
- Sound generator section 22
- Units of sound 22
- Audio key screen 23
- Basic operation 23
- Main screens 23
- One touch screen 23
- Overview of the rd 300gx 23
- Rhythm screen 23
- Setup screen 23
- Song screen 23
- Switching between the rhythm screen and song screen 23
- Tone screen basic screen 23
- About the function buttons 24
- Dec inc buttons 24
- Edit button 24
- Editing a value 24
- External screen 24
- Overview of the rd 300gx 24
- Write button 24
- Here s how to listen to these songs 25
- Hold down the split button and press the dual button 25
- Listening to the demo demo play 25
- Press the enter button to start the playback of the song 25
- Press the exit shift button or the enter button to stop a song during playback 25
- Press the exit shift button while the song is stopped to finish with the demo screen 25
- The rd 300gx features the internal demo songs that exhibit the special capabilities of the instrument 25
- Use the dec inc buttons to select the song you want to hear 25
- Performance 26
- Piano performances one touch piano button 26
- Each one of these individual sounds is called a tone 27
- Performance 27
- Performing with a variety of tones tone select buttons 27
- Press any of the tone select buttons to select the tone category 27
- Press the one touch piano button 27
- The rd 300gx comes with a many built in tones 27
- Tones are assigned to the tone select buttons according to the tone category selected 27
- Try selecting and performing with a number of different tones 27
- Use the dec inc buttons to select the tone 27
- Performance 28
- Performing with layered tones dual button 28
- Playing multiple tones with the keyboard 28
- Performance 29
- Playing different tones in two different sections of the keyboard split button 29
- Pressing two tone select buttons simultaneously 29
- Such a division of the keyboard into right and left hand sections is called a split and the key where the division takes place is called the split point 29
- The split point has been set at the factory to b3 29
- While in split mode a sound played in the right side is called an upper tone and the sound played in the left side is called a lower tone the split point key is included in the lower section 29
- Changing the keyboard s split point 30
- Hold down the split button and press a key 30
- Hold down the split button for several seconds 30
- Performance 30
- Press the split button getting the indicator to light 30
- To exit split mode press the split button once more and the indicator light goes out 30
- You can change the point at which the keyboard is divided the split point in split mode 30
- Adjusting the volume level for individual zones zone level sliders 31
- Changing the tone for a zone zone select button 31
- Performance 31
- Hold down the transpose button and press a key 32
- Hold down the transpose button for several seconds 32
- Performance 32
- This is a convenient feature to use when you want to match the pitch of the keyboard performance to a vocalist s pitch or perform using the printed music for trumpets or other transposed instruments 32
- To turn off transpose press the transpose button so that its indicator goes off 32
- Transposing the key of the keyboard transpose button 32
- You can adjust the transpose setting in semitone steps over a range of 48 0 48 relative to c4 32
- You can transpose performances without changing the keys you are playing as well as change the pitch by an octave this feature is called transpose 32
- Adding reverberation to the sound reverb button 33
- Changing the reverb effect type 33
- Performance 33
- Changing the depth of reverb effect 34
- Changing the sound s pitch in real time pitch bend modulation lever 34
- Performance 34
- Adding liveliness to the sound sound control button 35
- Hold down the sound control button and use the dec inc buttons to switch the sound control type 35
- Performance 35
- Press the sound control button getting its indicator to light 35
- Switching on the sound control function suppresses differences in volume for a more consistent sound 35
- This is set to off when the power is turned on 35
- To cancel this function press the sound control button once more extinguishing the indicator 35
- Adjusting the levels of each frequency range equalizer knobs 36
- Changing the frequency of the low and high ranges 36
- Performance 36
- Playing rhythm song rhythm button 37
- Using the convenient functions in performances 37
- Changing rhythm pattern 38
- Changing rhythm tempos 38
- Using the convenient functions in performances 38
- Changing rhythm volume 39
- How do i access the rhythm screen again while keeping the rhythm playing 39
- Using the convenient functions in performances 39
- Playing songs song rhythm button 40
- Using the convenient functions in performances 40
- Changing song tempos 41
- Fast forwarding or rewinding a song 41
- How do i access the song screen again while keeping the song playing 41
- Using the convenient functions in performances 41
- Performing with audio files audio key button 42
- Performing with audio files from usb memory 42
- Using the convenient functions in performances 42
- B 0 b1 43
- If you play the b0 key a screen like the following will appear 43
- Keys set to ow or lw let you reserve the audio file that will be played when the currently playing audio file has finished playing if you ve pressed the b0 key and then press the c1 key to reserve the next played audio file the screen will show as follows 43
- Play a key b 0 b1 43
- Playing the keys won t produce sound unless a file has been assigned if a file is currently playing it will continue sounding 43
- The audio file assigned to the respective key will play 43
- The audio key function will be activated allowing you to play audio files by pressing a key 43
- The currently reserved audio file is shown in the lower line of the screen 43
- Using the convenient functions in performances 43
- When you take your finger off the button a screen like the following will appear 43
- An mp3 file has little time of the blank at the head and the end of the file therefore the sound might cut off when an mp3 file played repeatedly with audio key function if this occurs you may be able to solve the problem by taking the following actions 44
- Caution when playing back audio files 44
- If this occurs you may be able to solve the problem by taking the following actions 44
- Playing back an mp3 file or changing the playback tempo of an audio file places a significant processing burden on the rd 300gx and in some cases may cause it to be unable to completely process all of the performance data from the keyboard 44
- Return the song tempo to its original setting to 0 44
- To stop the file that s playing press the a0 key 44
- Use wav aiff format data rather than mp3 format data 44
- Using the convenient functions in performances 44
- Adjusting the volume of audio key 45
- How do i access the audio key screen again while keeping the audio file playing 45
- Performing with audio files that are built into the rd 300gx 45
- Using the convenient functions in performances 45
- Changing audio file settings 46
- Using the convenient functions in performances 46
- Applying effects to the sound multi effects button 47
- Changing the depth of effect 47
- Using the convenient functions in performances 47
- Changing the multi effects type 48
- Changing the undulation of the organ tone rotary effect 48
- Choosing the zone to which the multi effect will apply 48
- Using the convenient functions in performances 48
- Disabling the buttons panel lock 49
- Using the convenient functions in performances 49
- Selecting stored settings setup button 50
- Using the convenient functions in performances 50
- Storing settings to setups write button 51
- Using the convenient functions in performances 51
- Settings not saved in a setup 52
- Using the convenient functions in performances 52
- When the enter button is pressed saving of the setup begins 52
- When you have finished determining the save destination and the name for the new setup press the enter button 52
- About midi connectors 53
- Using the rd 300gx as a master keyboard 53
- What s midi 53
- Connecting to external midi sound generators 54
- Use a usb cable no longer than 5 meters 54
- Using the rd 300gx as a master keyboard 54
- Press the external internal button so the external indicator is lit 55
- Press the zone select button so the indicator of the button for the zone you wish to select is lit 55
- Setting the midi transmit channel midi out channel 55
- Use the dec inc buttons to set the transmit channel for each zone 55
- Using the rd 300gx as a master keyboard 55
- Press the external internal button so the external indicator is lit 56
- Press the zone select button so the indicator of the button for the zone you wish to select is lit 56
- Selecting sounds on an external midi device msb lsb pc 56
- Using the rd 300gx as a master keyboard 56
- While continuing to hold down the exit shift button use the dec inc buttons to move the cursor and use the dec inc buttons to set the msb lsb and pc for each zone 56
- Adjusting the volume of each zone external zone 57
- Adjusting the volume and pan vol pan 58
- Detailed settings for transmitted parts external internal button 58
- How to make settings 58
- Setting the amount of reverb and chorus rev cho 58
- Setting the transposition for each individual zone trs 58
- Using the rd 300gx as a master keyboard 58
- Setting the key range krl kru 59
- Using the rd 300gx as a master keyboard 59
- Adjusting the damper noise damper noise 60
- Changing the amount of reverb effect reverb depth 60
- Making detailed settings for the one touch tones 60
- Making detailed settings for the piano tones piano designer 60
- Making the settings 60
- Opening closing the piano lid lid 60
- Selecting the piano sound tone 60
- Adjusting the resonance of the aliquot strings duplex scale 61
- Adjusting the resonant sounds when the keys are pressed string resonance 61
- Adjusting the sound of the hammer strike hammer noise 61
- Adjusting the string resonance produced when a key is released key off reso 61
- Making detailed settings for the one touch tones 61
- Precise modification of chord sonorities stretch tune 61
- Changing how volume responds to the velocity key touch mode 62
- Changing the key touch key touch ofst 62
- Changing the timing of sounds in response to the velocity velo delay sens 62
- Making detailed settings for the one touch tones 62
- Setting a constant volume level in response to the playing force velocity 62
- Detailed settings for each function edit button 63
- Parameters that can be set 63
- Setting parameters 63
- Adjusting the volume master volume 64
- Detailed settings for each function edit button 64
- Making system settings system 64
- Tuning to other instrument s pitches master tune 64
- Using a control pedal to switch setups setup pedal sft 64
- Changing the usb memory setting usb memory mode 65
- Detailed settings for each function edit button 65
- Making the settings for the usb driver usb driver 65
- Selecting the indicator mode indicator mode 65
- Switching the pedal s polarity damper polarity control polarity 65
- Using program change messages to switch setups setup ctrl ch 65
- Detailed settings for each function edit button 66
- Selecting the keynote temperament key 66
- Selecting the number of parts part mode 66
- Setting the tuning method temperament 66
- Adjusting the volume of audio file playback audio volume 67
- Detailed settings for each function edit button 67
- Having song playback stop when you press a one touch button song stop mode 67
- Setting the keyboard touch key touch 67
- Switching between reception of gm gm2 system on and gs reset rx gm sys on rx gs reset 67
- Assigning functions to the s1 s2 buttons s1 s2 func 68
- Changing the pedal function ctrl pedal func 68
- Detailed settings for each function edit button 68
- Setting the zone to which multi effects are added mfx zone 68
- Setup related settings common 68
- Changing tone elements attack time release time cutoff freq resonance decay time 69
- Reverb amount 69
- Setting the amount of reverb applied to each tone 69
- Setting the amount of reverb applied to each tone reverb amount 69
- Tone settings tone parameter 69
- Changing the bend range bend range 70
- Changing the pitch coarse tune fine tune 70
- Detailed settings for each function edit button 70
- Making the settings for each zone individually zone parameter 70
- Setting the pan pan 70
- Setting the transposition for each individual zone transpose 70
- Detailed settings for each function edit button 71
- Part on off part switch 71
- Press the edit button getting the indicator to light 71
- Turning the controllers in each zone on and off 71
- Use the dec inc buttons to select part switch then press the enter button 71
- Use the dec inc buttons to switch the setting to on or off 71
- When you have finished making the settings press the edit button extinguishing its indicator 71
- While continuing to hold down the exit shift button use the dec inc buttons to select the part to be set 71
- Calling up setup file load setup 72
- Detailed settings for each function edit button 72
- File management file 72
- Press the dec button to select save setup then press the enter button 72
- Press the edit button extinguishing its indicator 72
- Press the edit button getting the indicator to light 72
- Press the enter button 72
- Press the enter button once again to save the setup file 72
- Repeat steps 6 7 to input the name 72
- Saving a setup file save setup 72
- Use the dec inc buttons to enter the name 72
- Use the dec inc buttons to select file then press the enter button 72
- When you ve finished entering the file name press the enter button 72
- While continuing to hold down the exit shift button use the dec inc buttons to move the cursor to the positions where the characters are to be input 72
- Deleting a setup file delete setup 73
- Detailed settings for each function edit button 73
- Press the edit button extinguishing its indicator 73
- Press the edit button getting the indicator to light 73
- Press the enter button 73
- Press the enter button once again to load the setup file 73
- Press the enter button to delete the file 73
- Use the dec inc button to select load setup then press the enter button 73
- Use the dec inc buttons to select file then press the enter button 73
- Use the dec inc buttons to select the file that you want to delete and press the enter button 73
- Use the dec inc buttons to select the file you want to call up then press the enter button 73
- Use the dec inc buttons to select the memory containing the file you want to delete 73
- Use the dec inc buttons to select the memory into which you want to load the data 73
- Use the dec inc to select delete setup then press the enter button 73
- Copying a setup file copy setup 74
- Copying a song copy song 74
- Detailed settings for each function edit button 74
- Press the dec inc buttons to select copy setup then press the enter button 74
- Press the dec inc buttons to select copy song then press the enter button 74
- Press the edit button extinguishing its indicator 74
- Press the edit button getting the indicator to light 74
- Press the enter button 74
- Press the enter button once again to copy the file 74
- Use the dec inc buttons to select file then press the enter button 74
- Use the dec inc buttons to select the file that you want to copy and press the enter button 74
- Use the dec inc buttons to select the type of copy 74
- Deleting a song delete song 75
- Detailed settings for each function edit button 75
- Press the edit button extinguishing its indicator 75
- Press the edit button getting the indicator to light 75
- Press the enter button 75
- Press the enter button once again to copy the file 75
- Press the enter button to delete the song 75
- Use the dec inc buttons to select file then press the enter button 75
- Use the dec inc buttons to select the file that you want to delete and press the enter button 75
- Use the dec inc buttons to select the memory containing the file you want to delete 75
- Use the dec inc to select delete song then press the enter button 75
- Changing the key of the song playback playback trans 76
- Detailed settings for each function edit button 76
- Formatting memory format 76
- Performing along with a audio file center cancel 76
- Press the dec inc buttons to select format then press the enter button 76
- Press the edit button extinguishing its indicator 76
- Press the enter button 76
- Press the enter button once again to execute the format operation 76
- Selecting the song playback method play mode 76
- Settings related to song playback song function 76
- Use the dec inc buttons to select file then press the enter button 76
- Use the dec inc buttons to select the media that you want to format 76
- After the transmitting is finished the display will indicate completed 77
- Detailed settings for each function edit button 77
- Press the edit button getting the indicator to light 77
- Press the enter button once again to start the factory reset operation 77
- Press the inc button to select utility then press the enter button 77
- Put the external sequencer in record mode 77
- Restoring the settings to the factory condition factory reset 77
- Stop the external sequencer 77
- Transferring the rd 300gx s settings to an external midi device bulk dump 77
- Use a midi cable optional to connect the rd 300gx s midi out connector to the midi in connector on an external sequencer 77
- Use the dec inc buttons to select bulk dump then press the enter button 77
- Use the dec inc buttons to select fctry reset cur or fctry reset all then press the enter button 77
- Utility settings utility 77
- Connecting external midi devices 78
- Connecting to an external sequencer 78
- Recording rd 300gx performances to an external midi sequencer 78
- Settings for recording rec mode local control 78
- About the local switch 79
- Begin recording with the external sequencer 79
- Bulk dump the setup 79
- Connecting external midi devices 79
- Exiting rec mode 79
- Perform on the rd 300gx 79
- Rd 300gx 79
- Recording the performance 79
- Sequencer 79
- Set the rec mode and the local control 79
- Turn on the external sequencer s thru function 79
- When the performance is finished stop recording with the external sequencer 79
- After reading connecting the external equipment to rd 300gx p 17 connect an audio device system or headphones 80
- As described in turning on the power p 19 turn on the power of each device 80
- Before starting the connection procedure make sure that the power to all devices has been turned off 80
- Connect the external midi device with the midi cable as shown in the figure above 80
- Connecting external midi devices 80
- Making connections 80
- Playing the rd 300gx s internal sound generator from an external midi device 80
- Selecting rd 300gx sounds from an external midi device 80
- Switching setups 80
- Caution 81
- Connecting to a computer via the usb midi connector 81
- Connecting to your computer 81
- What is the usb midi driver 81
- About v link 82
- Connecting to your computer 82
- Hold down the exit shift button and press the sound control button 82
- Hold down the exit shift button and press the sound control button once again to exit 82
- How to use the v link 82
- V link 82
- Appendices 83
- No sound 83
- No sound for specific zone 83
- No sound from the connected midi device 83
- No sound from the left side 83
- No sound in a specific range 83
- Not all keyboard performance data could be processed 83
- Not all sounds are played 83
- Power not coming on 83
- Troubleshooting 83
- Effects not applied effects sound wrong 84
- Problem check solution page 84
- Reverb remains even after reverb is lifted 84
- Sound is distorted 84
- Sound suddenly changes at key in upper octaves 84
- Sounds come from left or right each time key is pressed panned 84
- Tone doesn t change 84
- Tones are altered 84
- Troubleshooting 84
- Two sounds are produced when the keyboard is played 84
- High pitched whine is produced 85
- Pedal has no effect or effect sticks 85
- Pitch is odd 85
- Problem check solution page 85
- Song data not played back correctly 85
- Sound is cut off 85
- Sound keeps playing when key is pressed 85
- Troubleshooting 85
- Error messages 86
- Error messages other messages 86
- Indication situation action 86
- Other messages 86
- Effect list 87
- Effect list 88
- Effect list 89
- Effect list 90
- Brass winds 91
- E piano 91
- Guitar bass 91
- Strings pad 91
- Tone list 91
- Voice synth 91
- Rhy gm2 92
- Tone list 92
- Tone list 93
- Exc will not sound simultaneously with other percussion instruments of the same number 94
- Rd 300gx_e book 94 ページ 2008年2月14日 木曜日 午後1時26分 94
- Rhythm set list 94
- Exc will not sound simultaneously with other percussion instruments of the same number 95
- No sound 95
- Rhythm set list 95
- Exc will not sound simultaneously with other percussion instruments of the same number 96
- No sound 96
- Rd 300gx_e book 96 ページ 2008年2月14日 木曜日 午後1時26分 96
- Rhythm set list 96
- No rhythm pattern no rhythm pattern no rhythm pattern 97
- Rhythm pattern list 97
- Brass winds 98
- E piano 98
- Guitar bass 98
- Rhy gm2 98
- Setup list 98
- Shortcut list 98
- Strings pad 98
- Voice synth 98
- Date nov 20 2007 99
- Digital piano 99
- Midi implementation chart 99
- Model rd 300gx 99
- Version 1 0 99
- Main specifications 100
- Rd 300gx digital piano 100
- 50 80 98 102
- 12 31 57 103
- 13 37 40 103
- 14 53 81 103
- Africa 104
- Australia new zealand 104
- Central latin america 104
- Europe 104
- Information 104
- Middle east 104
- North america 104
- Rd 300gx_e book 104 ページ 2008年2月14日 木曜日 午後1時26分 104
- When you need repair service call your nearest roland service center or authorized roland distributor in your country as shown below 104
- Declaration of conformity compliance information statement 106
- Federal communications commission radio frequency interference statement 106
- Notice 106
Похожие устройства
- Roland GP-7-PE Инструкция по эксплуатации
- FRAMUS 1707835915CPMAHA2L Руководство по эксплуатации
- FERNANDES RVLXDMG Руководство по эксплуатации
- FERNANDES RD(08)SW Руководство по эксплуатации
- Casio PX-350MWE Руководство по эксплуатации
- FERNANDES R4DJP BCK Руководство по эксплуатации
- FERNANDES MG100X BLK Руководство по эксплуатации
- Casio AP-450BN Руководство по эксплуатации
- Ibanez ES2 Руководство по эксплуатации
- Sennheiser SDC 8200 CU Руководство по эксплуатации
- Roland VH-12-SV Руководство по эксплуатации
- Roland ME-80 Руководство по эксплуатации
- Roland ME-25 Руководство по эксплуатации
- Roland AB-2 Руководство по эксплуатации
- EUROSOUND ESD-8FA Руководство по эксплуатации
- ALLEN & HEATH PL-11 Руководство по эксплуатации
- Behringer MS20 Руководство по эксплуатации
- Alesis FIREPORT 1394 Руководство по эксплуатации
- M-Audio Studiophile AV 40 Руководство по эксплуатации
- Korg Zero4 Инструкция по эксплуатации