
Citizen CT-E601 Руководство по эксплуатации онлайн
Содержание
- Weee mark p.2
- Compliance statement for european users p.3
- General precautions p.4
- Which should be strictly ob p.6
- Warning p.6
- Served p.6
- Safety precautions which should be strictly observed p.6
- Safety precaution p.6
- Caution p.6
- Warning p.7
- Precautions on printer installation p.7
- Warning p.8
- Caution p.9
- Caution p.10
- Warning p.11
- Precautions in handling the printer p.11
- Warning p.12
- Caution p.13
- Daily maintenance p.14
- Caution p.14
- Caution p.15
- The table of contents p.16
- Setup 31 p.16
- Maintenance and troubleshooting 71 p.16
- General outline 18 p.16
- Explanation of printer parts 24 p.16
- Other 79 p.17
- Features p.18
- General outline p.18
- Unpacking p.20
- Make sure the following items are included with your printer p.20
- Model classification p.21
- Ct e601 rs e bk p.21
- Basic specifications p.21
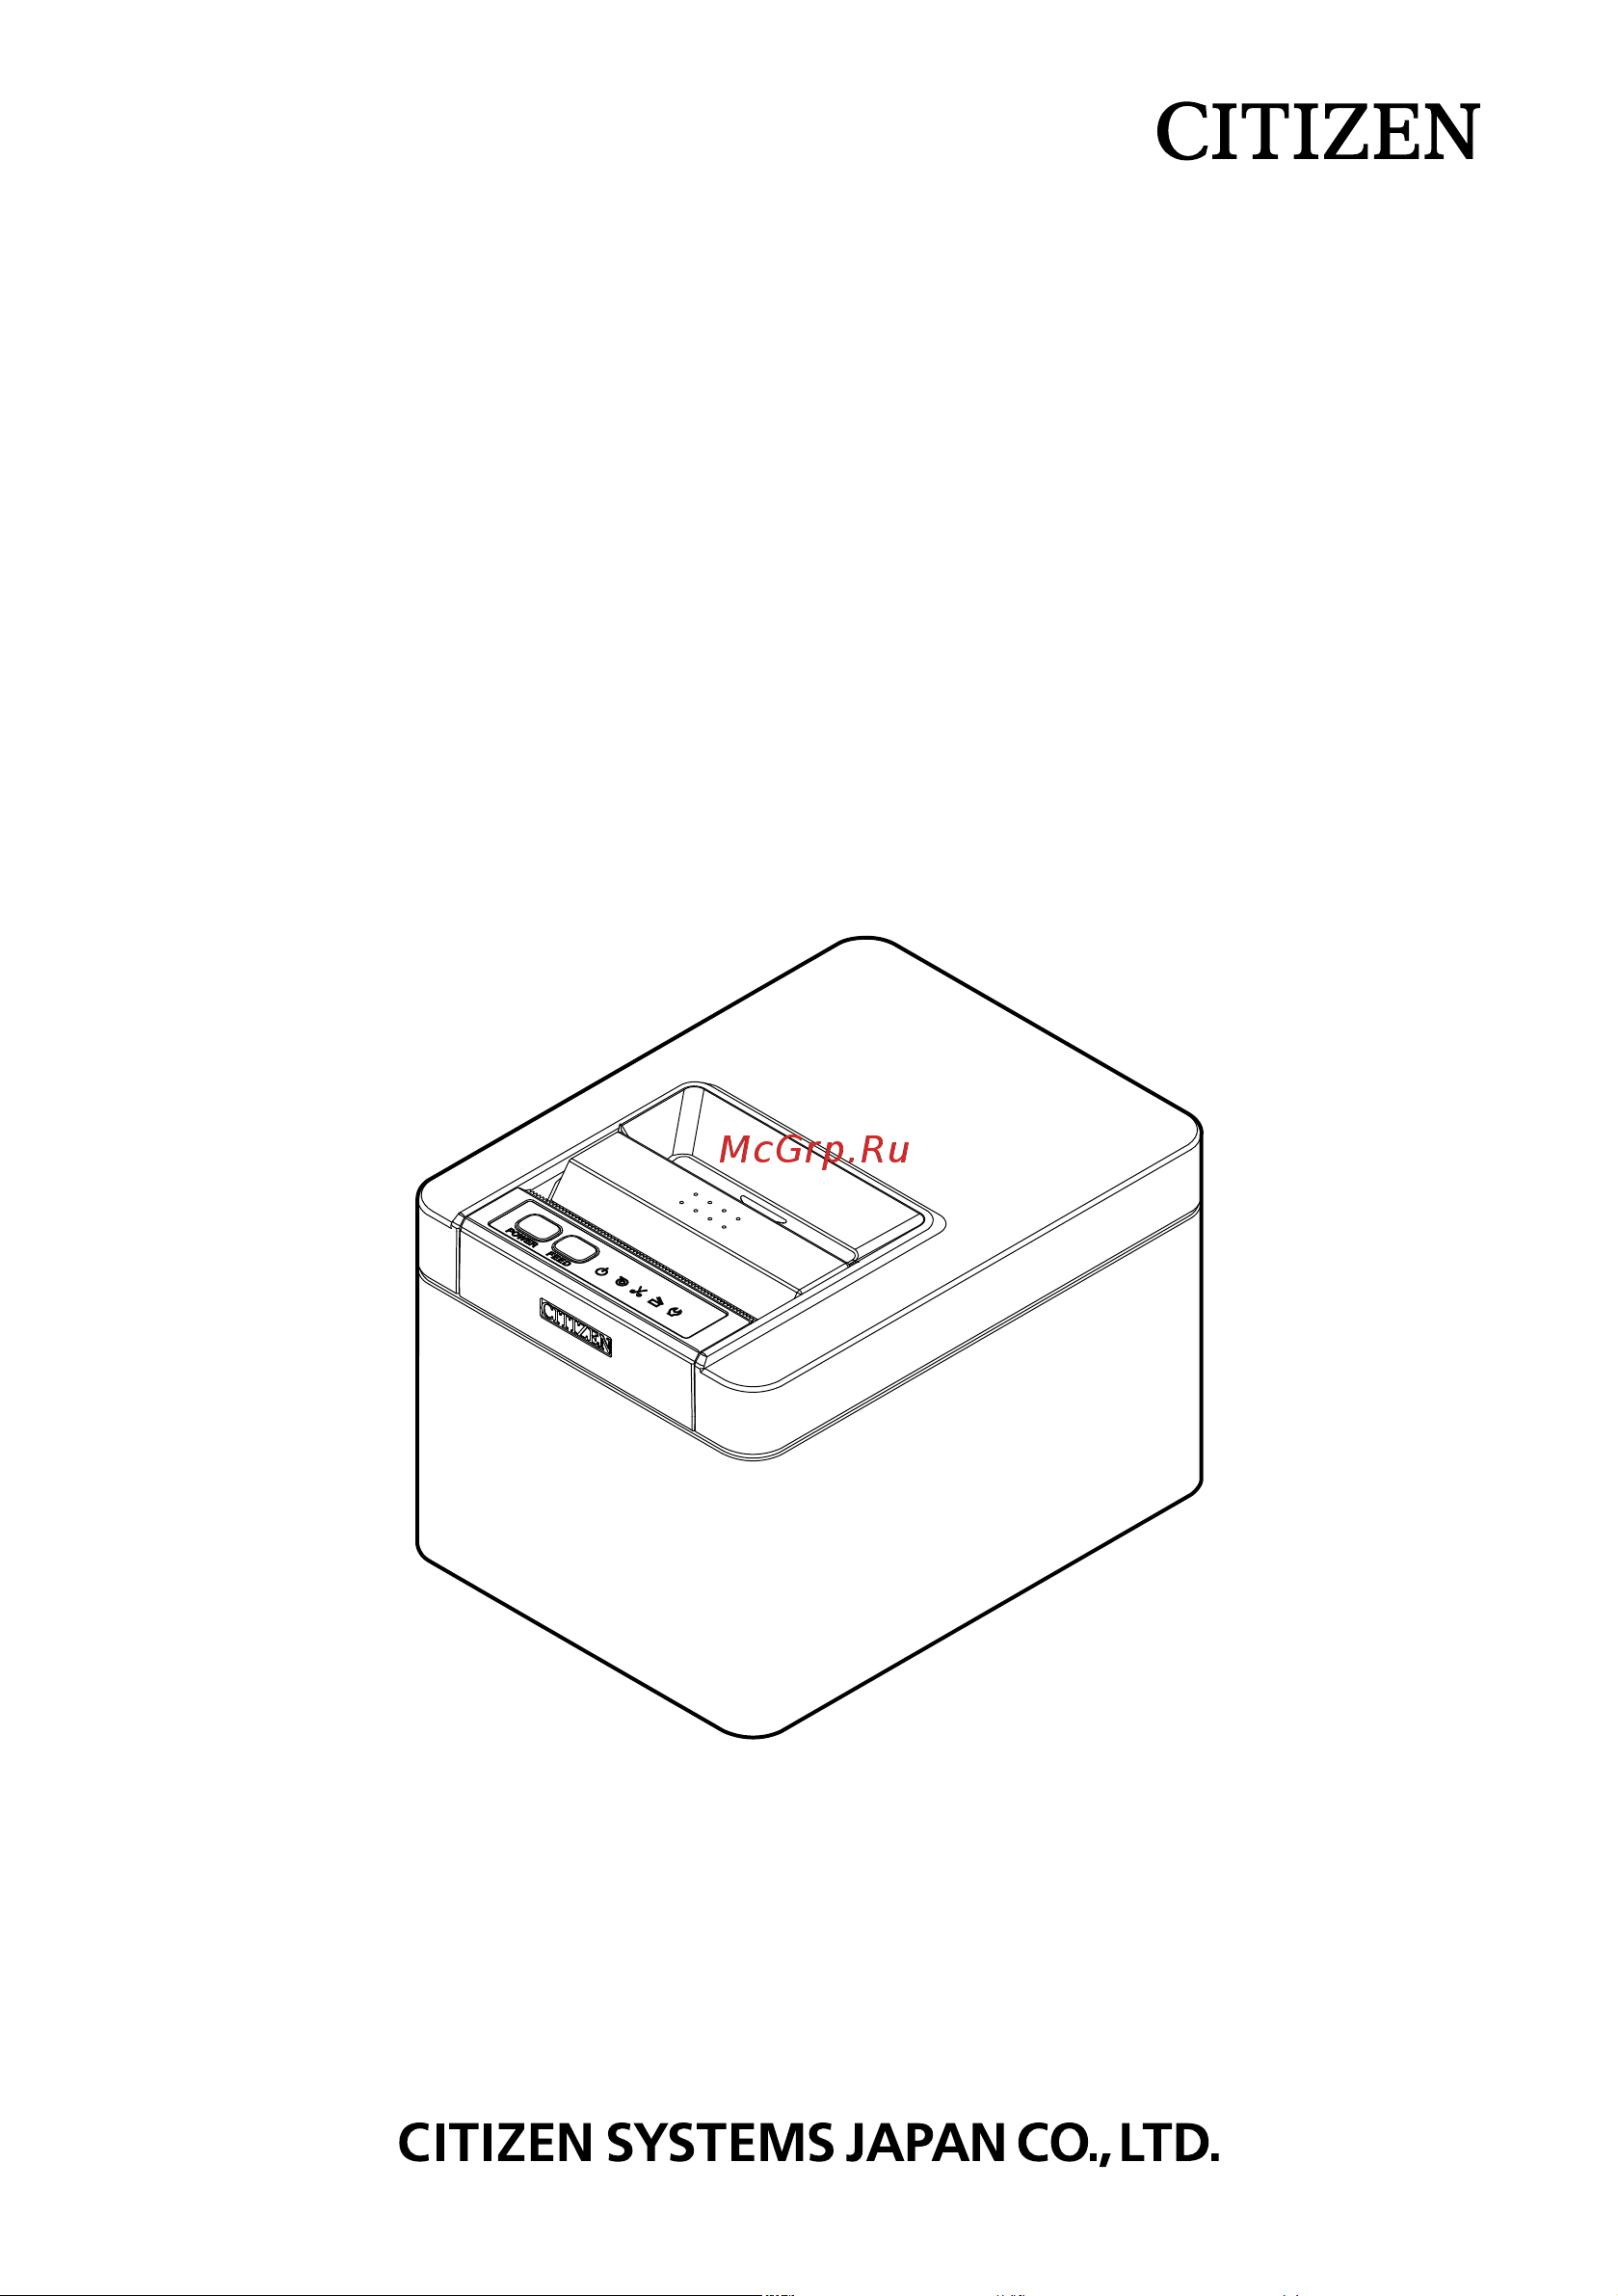
- Printer appearance p.24
- Explanation of printer parts p.24
- The operation panel has five leds and two buttons p.25
- Refer to 4 error indications p.25
- Operation panel p.25
- 2 3 4 5 p.26
- Inside the paper cover p.27
- Other built in functions p.29
- If no data is received within 15 seconds after each cut or print the print position is automatically slid n dots to the right the original print position is returned to at the next slide timing p.30
- Caution p.30
- This function dissipates heat load during frequent heat generation by a vertical ruled line or other specific head heating element p.30
- N is the msw8 6 setting value p.30
- L auto side shift msw8 6 p.30
- Connecting the ac power cord p.31
- Caution p.31
- Use a serial cable with the connection layout shown below p.32
- Serial interface board p.32
- Data can be exchanged by serial communication p.32
- Connecting the interface cable p.32
- Caution p.32
- Pin female 9 pin female cable p.33
- Usb interface p.34
- Specifications p.34
- Data can be exchanged by usb communication p.34
- Connecting the interface cable p.34
- Caution p.34
- Names of parts p.35
- Bluetooth status led p.35
- Bluetooth interface board p.35
- Bluetooth usb host interface board p.38
- This section provides an overview of the interface board for details on this board in cluding explanations about the usb host function and xml peripheral device support refer to the separate manual p.46
- Ethernet lan wireless lan interface board p.46
- Connecting the interface cable p.46
- Caution p.46
- Connecting the wireless lan adapter p.47
- Connecting a peripheral device p.47
- Wired wireless lan status p.50
- Wired lan transmission speed p.50
- Wired lan connection transmission status p.50
- The tables below explain how to interpret led indications p.50
- Led functions p.50
- 2 3 1 2 3 1 2 3 p.50
- Lightning usb host interface board p.53
- In addition to printer control via usb lightning communication lightning usb host in terfaces can control peripheral devices connected via a usb port p.53
- For apple products with a usb type c connector such as the ipad pro it is possible to use the same function by using usb type a type c cable p.53
- Connecting the interface cable p.53
- Caution p.53
- Connecting a peripheral device p.54
- 2 3 4 5 p.56
- The tables below explain how to interpret led indications p.58
- Led functions p.58
- Connection status with an apple device p.58
- Communication status with the printer p.58
- Usb power supply port p.59
- Connecting the cash drawer p.61
- Caution p.61
- 1 connector pin configuration p.61
- 2 electric characteristics p.62
- Status can be tested by commands p.62
- N the solenoid used for the cash drawer should be 24 ω or more do not allow the electric cur rent to exceed 1 a excessive current could damage or burn out the circuits p.62
- N cash drawers 1 and 2 cannot be operated at the same time p.62
- Drsw signal signal levels l 0 to 0 v h 3 to 5 v p.62
- Drive voltage 24 vdc p.62
- Drive current approx 1 a max not to exceed 510 ms p.62
- Caution p.62
- Cash drawer kick out connector p.62
- 4 drive circuit p.62
- 3 drsw signal p.62
- This product can be used horizontally or wall mounted cannot be used vertically p.63
- Precautions for installing the printer p.63
- If the printer is to be wall mounted ask a service person to install it p.63
- For wall mounting p.63
- For more information please refer to the separate wall mount kit manual p.63
- Caution p.63
- Unit mm p.64
- The diameter of the roll of paper that is detected is an estimate some variations may occur de pending on the paper p.64
- Keep the paper near end sensor pressed as you move it left and right the sensor po sitions are shown below for the various diameters of the paper roll used p.64
- Gently press the paper near end sensor with your finger p.64
- Change the settings of the paper near end sensor to set the position at which the near end of the paper is detected p.64
- Adjusting the paper near end sensor p.64
- Loading paper p.65
- Refer to precautions in handling the printer p.67
- Caution p.67
- Refer to precautions in handling the printer p.68
- Refer to 5 manual setting of memory switches p.68
- Mm width roll paper partition p.68
- Caution p.68
- Mounting the cable cover p.69
- Precautions for creating applications and practical operations p.70
- Download site for various electronic files p.70
- Periodic cleaning p.71
- Maintenance and troubleshooting p.71
- Maintenance and trouble shooting p.71
- If the print head platen or other parts of the printer are dirty the printer may not print cleanly or it could cause a malfunction it is recommended that you clean the unit peri odically approximately two to three months using the following procedure p.71
- How to clean the print head and platen p.71
- How to care for the printer s exterior surface p.71
- Caution p.71
- At this time be sure to unplug the ac power cord from the outlet p.71
- After turning off the printer wear gloves and use a soft cloth or an absorbent cotton to wipe it off p.71
- Refer to precautions in handling the printer p.72
- Caution p.72
- Refer to precautions in handling the printer p.73
- If the auto cutter stops during the auto cutter operation with the blade of the auto cutter in the open position due to foreign matter entering paper jamming etc the cutter led flashes when a cutter error occurs resolve the cutter error with the fol lowing procedure p.73
- Clearing a cutter error p.73
- Caution p.73
- Canceling print stop caused by a paper jam p.73
- Use the following method to release a print stop caused by a paper jam p.73
- The paper jamming sensor detects a paper jam at the paper exit and stops printing p.73
- Self test p.74
- Hexadecimal dump printing p.75
- Error indications p.76
- Precautions for performing printing for which printing speed changes p.78
- Paper jams p.78
- Unit mm p.79
- External views and dimensions p.79
- Use the paper shown in the following table or paper of the same quality p.80
- Unit mm p.80
- Printing paper p.80
- Memory switches are used to set various printer settings memory switches can be set manually or by utilities or commands this section explains how to perform manual set tings p.82
- Manual setting of memory switches p.82
- For information on how to set the memory switches using commands please refer to the command reference p.82
- Do the settings while confirming the selected items on the printout p.82
- The settings for the memory switches for a replacement printer s manufacturer model paper width and character spacing can be set at the same time to the optimum set tings p.82
- Quick setting mode p.82
- The printer exits quick setting mode when printing is finished p.83
- The changed memory switch settings are saved and a list of them is printed p.83
- Press the feed button for at least two seconds p.83
- Set the memory switches individually p.84
- Individual setting mode p.84
- Do the settings while confirming the memory switch function and settings on the print out p.84
- Press the feed button p.85
- Open the paper cover and close it p.85
- Open the paper cover p.85
- When the current settings are printed the cover led lights p.85
- Memory switch initialization p.85
- The selected settings are set p.85
- Do steps 1 through 3 of the procedure to enter individual setting mode p.85
- The printer exits individual setting mode when printing is finished p.85
- Close the paper cover p.85
- The next memory switch function and settings are printed p.85
- All memory switches change to the factory settings p.85
- The function of each memory switch is shown in the following table shaded values are factory settings p.85
- A setting is printed each time the feed button is pressed in order through the cycle p.85
- The changed memory switch settings are saved and a list of them is printed p.85
- The changed memory switch settings are printed p.85
- Set all the memory switches to the factory settings p.85
- Repeat steps 5 to 7 to change different functions for the current memory switch num ber p.85
- Repeat steps 4 to 9 to change functions for a different memory switch number p.85
- Press the feed button until the setting you want is printed p.85
- Press the feed button until save to memory is printed p.85
- Press the feed button for at least two seconds p.85
Похожие устройства
-
 Citizen iDP-3550Руководство по эксплуатации
 -
 Citizen CT-S851IIРуководство по эксплуатации
 -
 Citizen CT-S851IICommand Reference
 -
 Citizen CT-S851IICompatible Network Cards
 -
 Citizen CT-S851IIТехническое описание
 -
 Citizen CT-S801IIРуководство по эксплуатации
 -
Citizen CT-S801IICommand Reference
-
Citizen CT-S801IICompatible Network Cards
-
 Citizen CT-S801IIТехническое описание
 -
 Citizen CT-S751Руководство по эксплуатации
 -
Citizen CT-S751Command Reference
-
Citizen CT-S751Compatible Network Cards