
Fiorenzato F64 EVO XGi Руководство по эксплуатации онлайн
Превью страниц
Страница 1 /
52

Manuale d’istruzioni - Instruction manual - Bedienungsanleitung
Manual de instrucciones - Manuel d’instructions
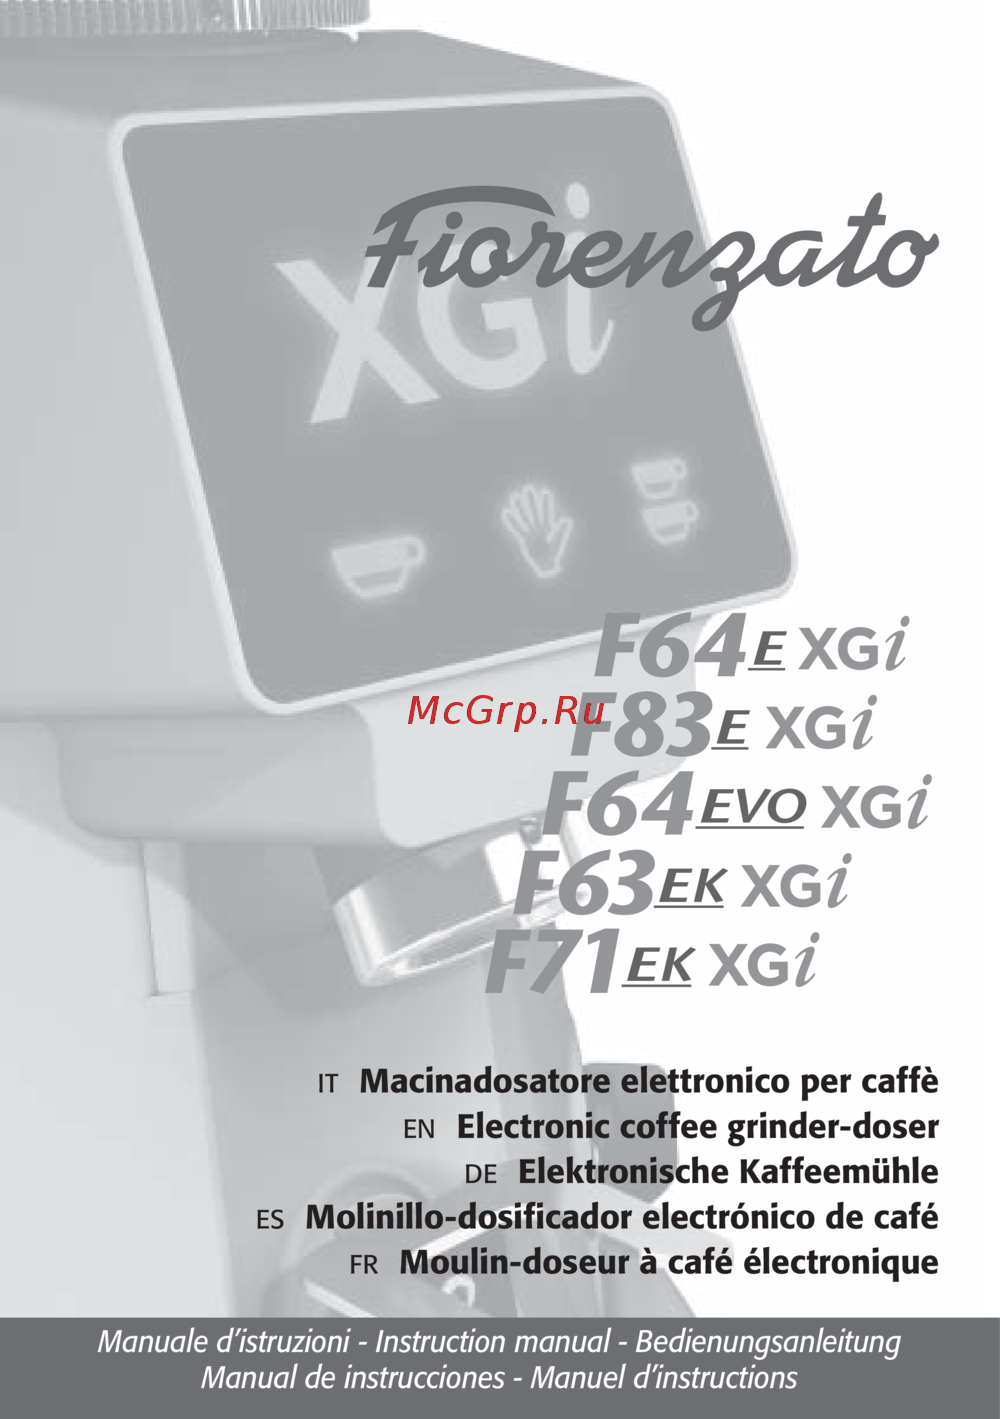
IT Macinadosatore elettronico per caffè
EN Electronic coffee grinder-doser
DE Elektronische Kaffeemühle
ES Molinillo-dosificador electrónico de café
FR Moulin-doseur à café électronique
F64
E
XGi
F 83
E
XGi
F64
E
VO
XGi
F 63
E
K
XGi
F71
E
K
XGi
Содержание
337- Indice contents inhaltsverzeichnis índice sommaire
- Non manomettere in alcun modo gli appa recchi
- It avvertenze
- En warnings
- Qualsiasi manomissione e allacciamento non conforme annullano la garanzia del co struttore
- Qualsiasi manomissione e allacciamento non conforme annullano la garanzia del co struttore
- Non manomettere in alcun modo gli appa recchi
- It avvertenze
- En warnings
- Es advertencias
- De warnungen
- Achtzugeben dass die kaffeeauswurföff nung nicht verstopft ist da das gerät sonst blockiert wird
- Es advertencias
- De warnungen
- Achtzugeben dass die kaffeeauswurföff nung nicht verstopft ist da das gerät sonst blockiert wird
- Fr conseils
- Italiano
- Fr conseils
- Fiorenzato m c
- Dimensioni
- Introduzione
- F83e xgi f63ek xgi f71ek xgi
- F64e xgi f64evo xgi
- Smaltimento
- Imballo
- Evitare di disperdere nell ambiente gli elementi dell imballo attenendosi alle leggi vigenti in caso si decidesse di non utilizzare più l apparecchio si raccomanda di renderlo inoperativo staccando la spina dell alimentazione elettrica dalla presa di corrente e successivamente tagliando il cavo nel punto di uscita dall apparecchio per lo smaltimento dei componenti dell apparecchio rivolgersi a società specializzate
- Descrizione generale
- Appena aperto l imballo controllare con cura che l apparecchio sia integro e che non siano pre senti danneggiamenti in caso di dubbio non utilizzarlo e rivolgersi a personale professionalmente qualifi cato le parti dell imballaggio non devono essere lasciate alla portata dei bambini in quanto fonte di potenziale pericolo conservare l imballo fi no a garanzia scaduta
- È obbligatorio il collegamento a terra
- Tasti di selezione
- Spia led
- Impiego
- Funzionamento preparazione
- Dell apparecchio il costruttore declina ogni responsabilità qualora questa norma non venga rispettata
- Avvertenze per l installazione e l allacciamento elettrico
- Accensione e spegnimento
- Reset dosi
- Pesi macinatura
- Per muoversi nel menù e cambiare il valore utilizzare i tasti e per
- Oggi 76 settimana 355 totali 1571
- Menù utente
- Menù impostazioni
- Macina manuale
- Luminosità
- Lingua
- L uscita dal menù avviene dopo aver confer mato con il tasto
- Informazioni
- Important
- Temperatura
- Icone xgi
- Statistiche
- Sostituzione macine
- Formato ora
- Selezionare e confermare utilizzare il tasto
- Display
- Reset macine
- Calibrazione
- Primo avvio
- Pesi macinatura
- Modalità di utilizzo automatica con autocalibrazione xgi
- Macinatura in grammi xgi
- Macinadosatore
- Importante
- Important
- Calibrazione
- Autocalibrazione
- Autocalibazione
- Attivazione o disattivazione del sistema di
- Standard senza autocalibrazione xgi
- Sostituzione macine
- Procedura per la prima configurazione del
- Rumorosità
- Regolazione macinatura
- Protezioni protettore termico
- Protezione uscita caffè
- Manutenzione
- Blocca ghiera di sicurezza
- Sistema di macinatura
- Pulizia dell apparecchio
- La direttiva 2002 96ec raee informazioni agli utenti
- Campana
- Fiorenzato m c
- English
- Dimensions
- Packaging
- On opening the packaging check carefully to make sure the grinder doser is intact and that there are no signs of damage if in any doubt do not use the appliance and contact personnel with the appropriate professional skills packaging materials must be kept out of the reach of children as they are a potential source of danger keep the packaging until the warranty has expired
- Introduction
- General description
- F83e xgi f63ek xgi f71ek xgi
- F64e xgi f64evo xgi
- Disposal
- Packaging
- On opening the packaging check carefully to make sure the grinder doser is intact and that there are no signs of damage if in any doubt do not use the appliance and contact personnel with the appropriate professional skills packaging materials must be kept out of the reach of children as they are a potential source of danger keep the packaging until the warranty has expired
- General description
- Do not dispose of the packaging materials in any way other than according to the laws in force if you decide not to use the grinder doser anymore remember to unplug it so it cannot be used and then cut the cable at the point where it comes out of the grinder doser contact specialized fi rms for information on the disposal of the grinder doser components
- Disposal
- Switching on and off
- Selection buttons
- Operating the grinder doser preliminaries
- Led indicator light
- Warnings for installation and electrical connections
- Temperature
- Statistics
- Settings menu
- Mills reset
- Mills replacement
- Manual grinding
- Language
- Information
- Importan
- Grinding weight
- Dose reset
- Display
- Calibration
- Xgi icons
- User menu
- Brightness
- Today 76 week 355 total 1571
- Auto calibration
- Time layout
- Standard mode without xgi auto calibration
- Ration
- Procedure for initial grinder doser configu
- Mills replacement
- Initial start up
- Important
- Importan
- Grinding weights
- Grinding mode
- Calibration
- Automatic mode with xgi auto calibration
- Auto calibration
- Safety devices thermal overload protection
- Noise level
- Coffee outlet guard
- Adjustment disk lock
- Adjusting grinding
- Wash the hopper once it has been removed from the appliance unscrewing the relevant fastening screw using neutral soap and wa ter rinse abundantly with lukewarm water and dry thoroughly it is advisable to clean the hopper periodically once the hopper has been cleaned it must be attached to the up per grinding blade holder using the relevant screw
- Maintenance
- It is essential to periodically check the state of the supply cable and plug in the event the supply cable or plug are damaged call in skilled technical personnel to replace them in order to prevent any risk in ce certified appliances a special tool is required to open the base plate to access the cable we recom mend using original spare parts only in order to assure the lasting efficiency of the appli ance skilled technical personnel must be called in to perform periodical maintenance including detailed checks of the state of those components subject to wear the state of the grinding blades must be checked periodically keeping the grinding blades in an excellent state assures high quality grinding resulting in greater productivity and limited overheat ing
- Hopper
- Grinding system
- Disconnect the power supply from the grinder doser by unplugging it before clean ing the appliance must not be cleaned using water jets do not install the grinder doser in rooms where water jets are used for clean ing the grinder doser must be cleaned periodically by skilled technical personnel only use perfectly clean disinfected cloths or brushes for cleaning do not use abrasive products as these are liable to take the sheen off shiny parts
- Directive 2002 96ec raee information for users
- Cleaning the appliance
- Fiorenzato m c
- Deutsch
- Abmessungen
- F83e xgi f63ek xgi f71ek xgi
- F64e xgi f64evo xgi
- Einleitung
- Verpackung
- Entsorgung
- Einleitung
- Die verpackungsteile nicht in die umwelt freisetzen sondern sich an die geltenden gesetze halten falls das gerät nicht mehr benutzt wird empfi ehlt es sich den netzstecker abzutren nen um es unbrauchbar zu machen kabel an der ausgangsstelle des geräts abschneiden zur entsorgung der bauteile des mahldosiergeräts sich an hierfür spezialisierte gesellschaften wenden
- Allgemeine beschreibung
- Abmessungen
- Verwendung
- Led anzeige
- Hinweise zu installation und elektroanschluss
- Ein und ausschalten des geräts
- Betrieb des geräts vorbereitung
- Auswahltasten
- Wichti
- Austauschen der muhle
- Temperatur
- Statistiken
- Sprache
- Reset der muhle
- Menü einstellungen
- Manuelles mahlen
- Kalibrierung
- Informationen
- Heute 76 woche 355 summe 1571
- Helligkeit
- Dosisgewichte
- Dosis reset
- Display
- Zeitformat
- Benutzermenü
- Xgi icons
- Autokalibrierung
- Wichtig
- Standard benutzungsmodus ohne xgi autokalibrierung
- Kalibrierung
- Inbetriebnahme
- Dosiergewichte
- Betriebsmodi automatischer benutzungsmodus mit xgi autokalibrierung
- Autokalibrierung
- Austauschen der muhle
- Schutzvorrichtungen thermoschutz
- Schutz kaffee auslauf
- Mahleinstellung
- Geräusch
- Die einstellung erfolgt bei eingeschaltetem mo tor und möglichst ohne kaffee zwi schen den mahlscheiben
- Beim verschieben des der mahlgradeinstel lung dienenden drehrings leuchten die tasten des displays grün auf gleich danach startet das autokalibrierungssystem die 3 darauf fol genden ausgaben dienen der neuberechnung der dosisgewichte das gelbe zahnrad icon mit 1 oder 2 kleinen blauen quadraten zeigt an dass die folgenden einzel und doppeldo sen den eingestellten nominalwerten entspre chen
- Wir empfehlen zunächst kleine kaffeemengen zu mahlen um den optimalen mahlgrad her auszufinden in der version mahldosiergerät bedeutet ein zu schnelles ausfließen aus der espressomaschine daß der kaffee zu grob ge mahlen ist falls umgekehrt dies zu langsam erfolgt ist der kaffee zu fein gemahlen da bei müssen jedoch unzählige bedingungen in betracht gezogen werden die den korrekten kaffeeausfluß beeinflussen können wie zum beispiel das dosisgewicht die pressung die einstellung der espressomaschine sowie die filterreinigung
- Um den kaffee mehr oder weniger fein zu mah len muß durch den dazu bestimmten stift die einstelischeibe unter der bohnen behalter be tätigt werden zur einstellung eines gröberen mahlgrads den einstellring im uhrzeigersinn dre hen und dabei die sperrvorrichtung nach unten drücken für feiner gemahlenem kaffee im ge genuhr zeigersinn die einstellscheibe bleibt in position ohne festgeklemmt werden zu müssen
- Wartung
- Reinigung des geräts
- Mahlwerk
- La empresa fiorenzato m c s r l via niedda 12 b 35010 peraga di vigonza pd italia declara que los molinos de café construidos responden a los requisitos esenciales de las directivas de la cee que son las siguientes directiva de baja tensión 2006 95 ce directiva de máquinas 2006 42 ce directiva cem 2004 108 ce
- Kaffeebehälter
- Fiorenzato m c
- Estos molinos fueron fabricados aplicando las normas en60335 1 seguri dad de aparatos eléctricos de uso doméstico y similares y en60335 2 75 2a parte requisitos particulares para máquinas de cocina eléctricas de uso colectivo
- Die richtlinie 2002 96 eg raee informationen für die benutzer
- Declaración cee de conformidad
- Fiorenzato m c
- Español
- F83e xgi f63ek xgi f71ek xgi
- F64e xgi f64evo xgi
- Dimensiones
- Introducción
- Una vez haya abierto el embalaje compruebe con cuidado que el aparato esté en perfecto estado y que no presente daños de ningún tipo en caso de duda no lo utilice y póngase en contacto con per sonal técnico especializado no abandone las partes de embalaje al alcance de los niños porque constituye una fuente potencial de peligro conserve el embalaje hasta que la garantía caduque
- No abandone los elementos del embalaje en el medio ambiente y respete las leyes vigentes en materia en caso de que decida no volver a utilizar el aparato le aconsejamos desenchufar la clavija de alimentación eléctrica y cortar el cable en el punto de salida del aparato para garan tizar su inoperatividad cuando desee eliminar los componentes del molinillo dosifi cador acuda a empresas especializadas
- Embalaje
- Eliminación
- Descripción general
- Led testigo
- Funcionamiento preparación
- Encendido y apagado
- Botones de selección
- Advertencias para la instalación y conexión eléctrica
- Tiempo
- Formato del tiempo
- Temperatura
- Estadísticas
- Sostitución muela
- Calibración
- Sale tras haber confirmado con el botón
- Brillo
- Reset muela
- Acústica intermitente unos 5 segundos los tres botones se iluminarán de color amarillo para moverse por el menú y cambiar el valor utilice los botones y para seleccionar
- Reajuste dosis
- Pesos molido
- Para entrar al menú usuario mantengan pul sado el botón hasta que suene la señal
- Pantalla
- Menú usuario
- Menú ajustes
- Informaciones
- Important
- Idioma
- Iconos xgi
- Y confirmar utilice el botón del menú se
- Hoy 76 semana 355 total 1571
- Calibración
- Sustitución de las muelas
- Procedimiento para la primera configura
- Primer arranque
- Pesos molido
- Molido en gramos xgi
- Moler manual
- Modo de utilización automático con autocalibración xgi
- Importante
- Important
- Estándar sin autocalibración xgi
- Ción del molinillo dosificador
- Autocalibración
- Activación o desactivación del sistema de
- Ajuste del molido
- Protección salida café
- Protecciones protector térmico
- El ajuste se tiene que realizar con el motor en marcha y posiblemente sin café en las muelas
- Bloqueo del anillo traba
- Sistema de molido
- Mantenimiento
- Limpieza del aparato
- La société fiorenzato m c s r l via niedda 12 b 35010 peraga di vigonza pd italie déclare que les moulins doseurs à café qu elle fabrique sont conformes aux conditions essentielles requises par les directives cee sui vantes basse tension 2006 95 ec machines 2006 42 ec emc 2004 108 ec
- La directiva 2002 96ce raee información para los usuarios
- Fiorenzato m c
- Déclaration cee de conformité
- Ces moulins doseurs ont été essayés en appliquant les normes en60335 1 sécurité des appareils électriques à usage domestique et similaires et en60335 2 75 partie ii norme spéciale pour les appareils de cuisine à usage collectif
- Français
- Fiorenzato m c
- Description générale
- Après avoir ouvert l emballage vérifier soigneusement si l appareil est en bon état et s il n a pas été abîmé durant le transport en cas de doute ne pas l utiliser et s adresser à du per sonnel professionnellement qualifié ne pas laisser les éléments d emballage à la portée des enfants car ils sont une source de risque potentiel conserver l emballage jusqu à l échéance de la garantie
- Élimination
- Introduction
- F83e xgi f63ek xgi f71ek xgi
- F64e xgi f64evo xgi
- Emballage
- Dimensions
- Élimination
- Introduction
- Emballage
- Dimensions
- Description générale
- Après avoir ouvert l emballage vérifier soigneusement si l appareil est en bon état et s il n a pas été abîmé durant le transport en cas de doute ne pas l utiliser et s adresser à du per sonnel professionnellement qualifié ne pas laisser les éléments d emballage à la portée des enfants car ils sont une source de risque potentiel conserver l emballage jusqu à l échéance de la garantie
- Marche et arrêt
- Fonctionnement préparation
- Emploi
- Avertissements pour l installation et le branchement électrique
- Voyant led
- Touches de sélection
- Reset doses
- Remplac des meules
- Poids mouture
- Mouture manuelle
- Menu utilisateur
- Menu programmations
- Luminosité
- Langue
- Information
- Importan
- Icônes xgi
- Format de temps
- Température
- Aujourd hui 76 semaine 355 total 1571
- Tarage
- Afficheur
- Statistiques
- Reset meules
- Standard sans auto tarage xgi
- Remplacement des meules
- Procédure pour la première configuration
- Premier démarrage
- Poids de la mouture
- Mouture en grammes xgi
- Modes de utilisation automatique avec auto tarage xgi
- Important
- Importan
- Du moulin doseur
- Auto tarage
- Activation ou désactivation du système de
- Tarage
- Verrouillage de sécurité anti dévissage
- Réglage de la mouture
- Protections dispositif de protection thermique
- Protection sortie du café
- Niveau de bruit
- Il est conseillé de moudre de petites quantités de café pour une évaluation visuelle de la gra nulométrie optimale et au besoin agir sur la frette de réglage si la machine à café distribue trop vite le café c est que le café a été moulu trop gros dans la version moulin doseur si le café descend au contraire trop lentement c est que le café est moulé trop fin il faut néanmoins considérer que plusieurs facteurs peuvent influer sur la distribution correcte de la boisson la quantité de café la façon dont il est tassé le réglage de la machine à café et la propreté des filtres
- Trémie
- Système de mouture
- Nettoyage de l appareil
- La directive 2002 96ec raee informations pour les utilisateur
- Entretien
- Fiorenzato m c
Похожие устройства
-
 Fiorenzato F4 FilterРуководство по эксплуатации
 -
 Fiorenzato F4 ECOРуководство по эксплуатации
 -
 Fiorenzato F64 E XGiРуководство по эксплуатации
 -
 Fiorenzato F64 EРуководство по эксплуатации
 -
 Fiorenzato F64 E белый жемчугКаталог кофемолок Fiorenzato
 -
 Fiorenzato F64 E белый жемчугИнструкция по эксплуатации
 -
Fiorenzato F64 E сераяКаталог кофемолок Fiorenzato
-
Fiorenzato F64 E сераяИнструкция по эксплуатации
-
Fiorenzato F64 E черная матоваяКаталог кофемолок Fiorenzato
-
Fiorenzato F64 E черная матоваяИнструкция по эксплуатации
-
Fiorenzato F64 E чернаяКаталог кофемолок Fiorenzato
-
Fiorenzato F64 E чернаяИнструкция по эксплуатации