
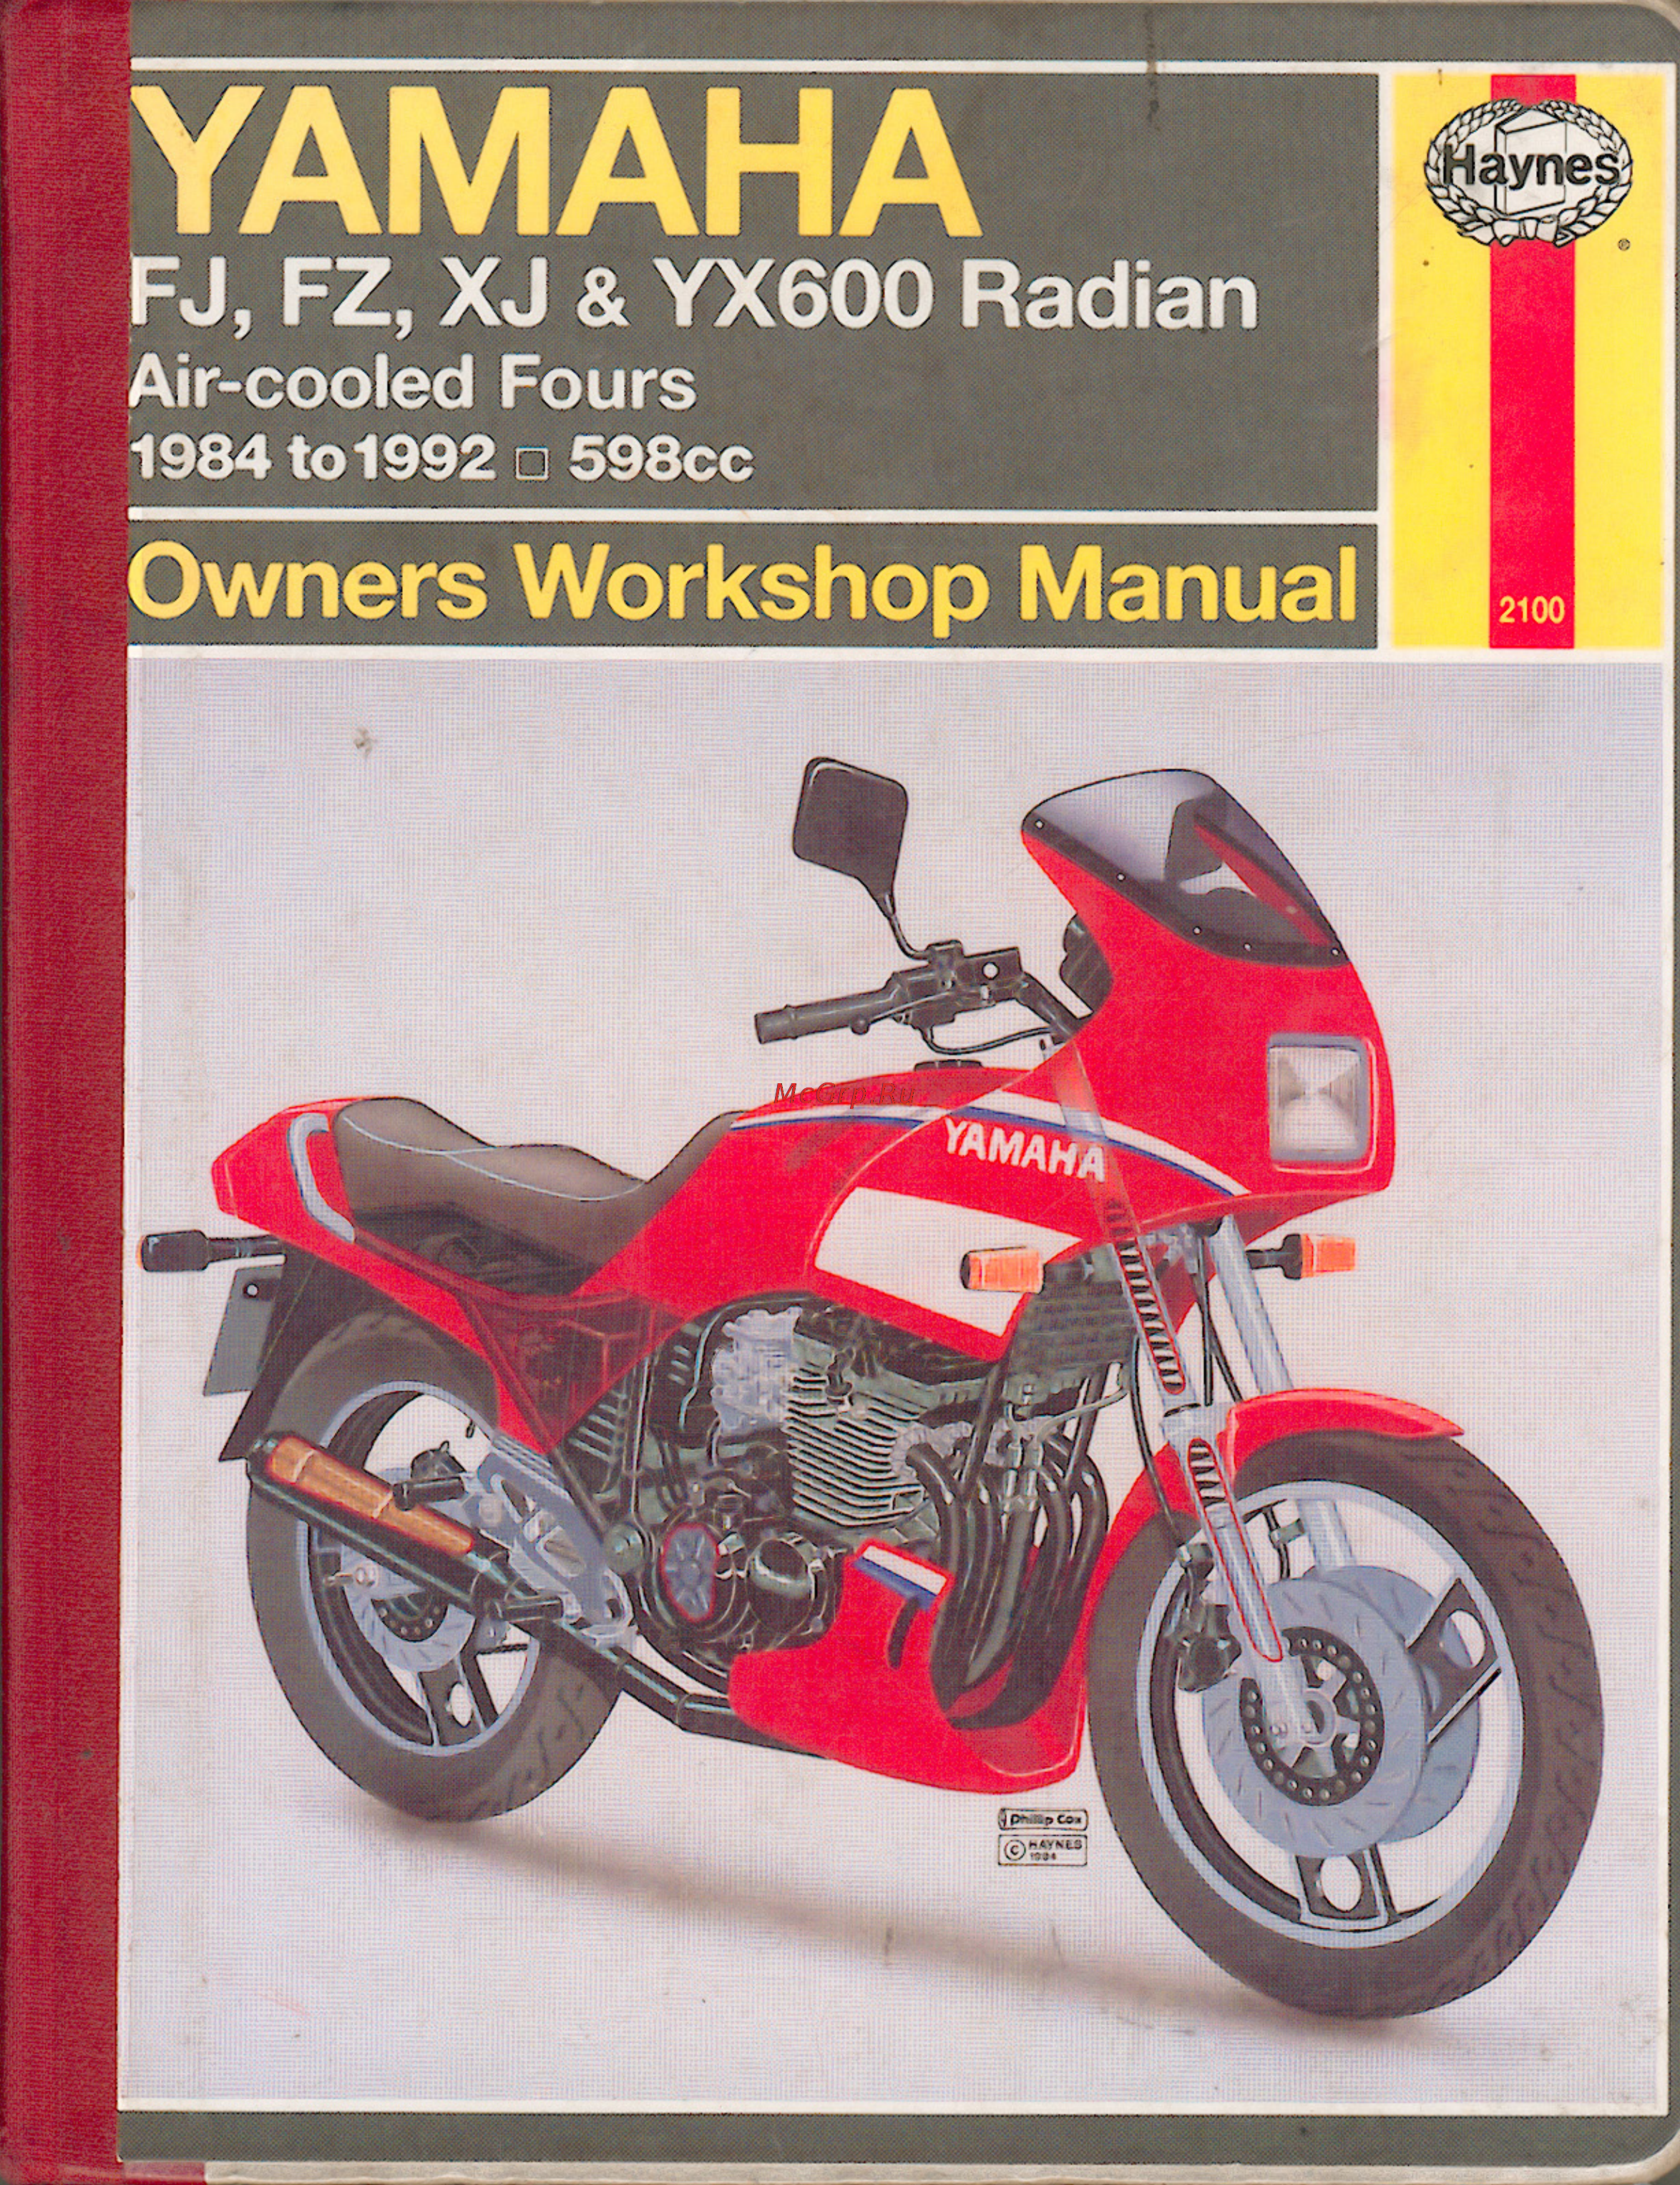
Yamaha FZ (1984-1992) Инструкция по эксплуатации онлайн
Содержание
- Fj fz xj yx600 radian 1
- Owners workshop manual 1
- Yamaha 1
- Chapter 1 2
- Chapter 2 2
- Chapter 3 2
- Chapter 4 2
- Chapter 5 2
- Chapter 6 2
- Chapter 7 2
- Chapter 8 2
- Contents 2
- Conversion factors 2
- Introductory pages 2
- Wiring diagrams 2
- About this manual 3
- Caution 3
- Introduction to the yamaha fj600 fz600 xj600 and yx600 radian 3
- Its purpose 3
- Using the manual 3
- Warning 3
- Identification numbers 4
- Identifying model years 4
- Buying parts 5
- General specifications 5
- Basic maintenance techniques 6
- Disassembly sequence 6
- Fastening systems 6
- Gasket sealing surfaces 6
- Hose removal tips 6
- Maintenance techniques tools and working facilities 6
- Tightening sequences and procedures 6
- Maintenance techniques tools and working facilities 0 9 7
- 10 maintenance techniques tools and working facilities 8
- Maintenance techniques tools and working facilities 0 11 9
- 12 maintenance techniques tools and working facilities 10
- Buying tools 10
- Care and maintenance of tools 10
- Maintenance and minor repair tool kit 10
- Repair and overhaul tool set 10
- Special tools 10
- Maintenance techniques tools and working facilities 0 13 11
- Working facilities 11
- Asbestos 12
- Electricity 12
- Essential dos and don ts 12
- Safety first 12
- The battery 12
- Motorcycle chemicals and lubricants 13
- Abnormal driveline noise 14
- Abnormal engine noise 14
- Abnormal frame and suspension noise 14
- Braking problems 14
- Clutch problems 14
- Contents 14
- Electrical problems 14
- Engine doesn t start or is difficult to start 14
- Excessive exhaust smoke 14
- Gear shifting problems 14
- Oil level indicator light comes on 14
- Overheating 14
- Poor handling or stability 14
- Poor running at low speed 14
- Poor running or no power at high speed 14
- Troubleshooting 14
- Compression low 15
- Engine doesn t start or is difficult to start 15
- Engine flooded 15
- No fuel flow 15
- No spark or weak spark 15
- Starter motor does not rotate 15
- Starter motor rotates but engine does not turn over 15
- Starter works but engine won t turn over seized 15
- Troubleshooting 0 17 15
- 18 troubleshooting 16
- Compression low 16
- Fuel air mixture incorrect 16
- Poor acceleration 16
- Poor running at low speed 16
- Rough idle 16
- Spark weak 16
- Stalls after starting 16
- Compression low 17
- Engine overheats 17
- Firing incorrect 17
- Fuel air mixture incorrect 17
- Knocking or pinging 17
- Miscellaneous causes 17
- Overheating 17
- Poor running or no power at high speed 17
- Troubleshooting 0 19 17
- 20 troubleshooting 18
- Clutch not disengaging completely 18
- Clutch problems 18
- Clutch slipping 18
- Compression too high 18
- Engine load excessive 18
- Firing incorrect 18
- Fuel air mixture incorrect 18
- Lubrication inadequate 18
- Miscellaneous causes 18
- Abnormal driveline noise 19
- Abnormal engine noise 19
- Clutch noise 19
- Doesn t go into gear or lever doesn t return 19
- Gear shifting problems 19
- Jumps out of gear 19
- Knocking or pinging 19
- Other noise 19
- Overshifts 19
- Piston slap or rattling 19
- Transmission noise 19
- Troubleshooting 0 21 19
- Valve noise 19
- 22 troubleshooting 20
- Abnormal frame and suspension noise 20
- Black smoke 20
- Brake noise 20
- Brown smoke 20
- Electrical system 20
- Engine lubrication system 20
- Excessive exhaust smoke 20
- Final drive noise 20
- Front end noise 20
- Oil level indicator light comes on 20
- Shock absorber noise 20
- White smoke 20
- Battery dead or weak 21
- Brake lever or pedal pulsates 21
- Brakes are spongy don t hold 21
- Brakes drag 21
- Braking problems 21
- Electrical problems 21
- Handlebar hard to turn 21
- Handlebar pulls to one side 21
- Handlebar shakes or vibrates excessively 21
- Poor handling or stability 21
- Poor shock absorbing qualities 21
- Troubleshooting 0 23 21
- 24 troubleshooting 22
- Battery overcharged 22
- Chapter 1 tune up and routine maintenance 23
- Contents 23
- Section 23
- 2 chapter 1 tune up and routine maintenance 24
- Engine 24
- Miscellaneous 24
- Specifications 24
- Brake fluid 25
- Chapter 1 tune up and routine maintenance 1 3 25
- Engine transmission oil 25
- Fork oil 25
- Miscellaneous 25
- Recommended lubricants and fluids 25
- Torque specifications 25
- 4 chapter 1 tune up and routine maintenance 26
- After the initial 500 miles 26
- Daily or before riding 26
- Every 12 000 km 8 000 miles or 12 months 26
- Every 18 000 km 12 000 miles or 18 months 26
- Every 24 000 km 16 000 miles or two years 26
- Every 500 miles 26
- Every 6000 km 4000 miles or 6 months 26
- Yamaha fj fz xj yx radian 600 routine maintenance intervals 26
- Chapter 1 tune up and routine maintenance 1 5 27
- Engine oil 27
- Fluid levels check 27
- Introduction to tune up and routine maintenance 27
- 6 chapter 1 tune up and routine maintenance 28
- Battery electrolyte level specific gravity check 28
- Brake fluid 28
- Chapter 1 tune up and routine maintenance 1 7 29
- 8 chapter 1 tune up and routine maintenance 30
- Brake pads check 30
- Brake shoes check 30
- Brake system general check 30
- Brake lever play and pedal position check and adjustment 31
- Chapter 1 tune up and routine maintenance 1 9 31
- Disc brake models 31
- Drum brake models 31
- Front brake 31
- Rear brake 31
- 10 chapter 1 tune up and routine maintenance 32
- All models 32
- Throttle cable adjustment 32
- Throttle check 32
- Throttle operation grip freeplay check and adjustment 32
- Tires wheels general check 32
- Chapter 1 tune up and routine maintenance 1 11 33
- Clutch check 33
- Drive chain and sprockets check adjustment and lubrication 33
- 12 chapter 1 tune up and routine maintenance 34
- Adjustment 34
- Chapter 1 tune up and routine maintenance 1 13 35
- Engine oil filter change 35
- Lubrication 35
- 14 chapter 1 tune up and routine maintenance 36
- Air filter element servicing 36
- All models 36
- Fj600 xj600 and yx radian models 36
- Fz600 models 36
- Chapter 1 tune up and routine maintenance 1 15 37
- Cylinder compression check 37
- Spark plugs replacement 37
- 16 chapter 1 tune up and routine maintenance 38
- Lubrication general 38
- Spark plug conditions 39
- 18 chapter 1 tune up and routine maintenance 40
- Valve clearances check and adjustment 40
- Chapter 1 tune up and routine maintenance 1 19 41
- Early models 41
- Later models 41
- 20 chapter 1 tune up and routine maintenance 42
- All models 42
- With yamaha valve adjusting tool 42
- All models 43
- Chapter 1 tune up and routine maintenance 1 21 43
- With universal valve adjusting tool 43
- 22 chapter 1 tune up and routine maintenance 44
- A intake valve shim selection chart 44
- Carburetor synchronization check and adjustment 44
- Does not end in 0 or 5 round it off to the nearest zero or 5 for example if the number on the shim is 258 round it off to 260 if it s 254 round it off to 255 32 if the clearance measured and written down earlier was too large you need a thicker shim if the clearance was too small you need a thinner shim calculate the thickness of tne replacement shim by referring to the accompanying charts see illustrations 33 install the new shim and recheck the clearance if it s within the specifications the valve is properly adjusted 34 adjust any remaining valves that were not within the specifi cations perform the adjustments in the same order as the cylinder firing order 1 2 4 3 35 install the valve cover 36 reconnect the negative cable to the battery 37 install all components removed for access 44
- Idle speed check and adjustment 44
- Illustration until the idle speed listed in this chapter s specifications is obtained 4 snap the throttle open and shut a few times then recheck the idle speed if necessary repeat the adjustment procedure 5 if a smooth steady idle can t be achieved the fuel air mixture may be incorrect refer to chapter 3 for additional carburetor information 44
- Refer to illustration 19 1 the die speed should be checked and adjusted before and after the carburetors are synchronized and when it is obviously too high or too low before adjusting the idle speed make sure the valve clearances and spark plug gaps are correct also turn the handlebars back and forth and see if the idle speed changes as this is done if it does the throttle cable may not be adjusted correctly or it may be worn out this is a dangerous condition that can cause loss of control of the bike be sure to correct this problem before proceeding 2 the engine should be at normal operating temperature which is usually reached after 10 to 15 minutes of stop and go riding place the motorcycle on the centerstand if equipped or prop it securely upright and make sure the transmission is in neutral 3 with the engine idling turn the throttle stop screw see 44
- Refer to illustrations 20 1 20 4 20 5 and 20 6 warning gasoline petrol is extremely flammable so fate extra precautions v hen you work on any part of the fuel system don t smoke or allow open flames or bare light bulbs near the work area and don t work in a garage where a natural gas type appliance such as a water heater or clothes dryer is present if you spill any fuel on your skin rinse it off immediately with soap and water when you perform any kind of work on the fuel system wear safety glasses and have a fire extinguisher suitable for a class b type fire flammable liquids on hand 1 carburetor synchronization is simply the process of adjusting the carburetors so they pass the same amount of fuel air mixture to each cylinder this is done by measuring the vacuum produced in each cylinder ca buretors that are out of synchronization will result in decreased fuel mileage increased engine temperature less than ideal throttle response and higher vibration levels 2 to properly synchronize 44
- A vacuum gauge setup can also be purchased from a dealer or fabricated from commonly available hardware and automotive vacuum gauges 5 the manometer is the more reliable and accurate instrument and for that reason is preferred over the vacuum gauge setup however since the mercu y used in the manometer is a liquid and extremely toxic extra precautions must be taken during use and storage of the instrument 6 because of the nature of the synchronization procedure and the need for special instruments most owners leave the task to a dealer service department or a reputable motorcycle repair shoo 7 if you re working on an xj600 or an fj600 remove the seat and side covers see chapter 7 if you re working on a 1984 or 1985 45
- B exhaust valve shim selection chart 45
- Chapter 1 tune up and routine maintenance 1 23 45
- Correct idle speed is obtained carburetors removed for clarity 45
- Model remove the fuel tank mounting bolt so you can lift the tank for access if you re working on a 1989 or later xj600 remove the fuel tank see chapter 3 and install an auxiliary fuel tank 8 if you re working on an fz600 remove the seat and center and lower fairings see chapter 7 remove the fuel tank see chapter 3 and install an auxiliary fuel tank 9 if you re working on a yx600 radian remove the seat and side covers see chapter 7 remove the fuel tank mounting bolt so you can lift the rear of the tank for access 10 start the engine and let it run until it reaches normal operating temperature then shut it off 11 detach the hoses or caps from the vacuum fittings on the carburetors see illustration then hook up the vacuum gauge set or 45
- Remove the vacuum hoses or fitting caps so a test gauge 45
- Setup can be installed 45
- Turn the throttle stop screw arrow in or out until the 45
- 24 chapter 1 tune up and routine maintenance 46
- Evaporative emission control system california models only check 46
- Exhaust system check 46
- Steering head bearings check adjustment and lubrication 46
- Adjustment 47
- Chapter 1 tune up and routine maintenance 1 25 47
- 26 chapter 1 tune up and routine maintenance 48
- Fasteners check 48
- Fuel system check and filter cleaning 48
- Lubrication 48
- Suspension check 48
- All models 49
- Chapter 1 tune up and routine maintenance 1 27 49
- Fork oil replacement 49
- Fx xj600 models 49
- Fz600 models 49
- 28 chapter 1 tune up and routine maintenance 50
- All models 50
- Cam chain adjustment 50
- Early models 50
- Later models 50
- Chapter 2 engine clutch and transmission 51
- Contents 51
- General 51
- Specifications 51
- 2 chapter 2 engine clutch and transmission 52
- Camshaft fj6oo fz600 yx600 radian 52
- Camshaft xj600 52
- Cylinder head valves and valve springs 52
- Chapter 2 engine clutch and transmission 2 3 53
- Crankshaft connecting rods and bearings 53
- Cylinder block 53
- Lubrication system 53
- Pistons 53
- 4 chapter 2 engine clutch and transmission 54
- Clutch 54
- Lubrication system continued 54
- Torque specifications 54
- Transmission 54
- Chapter 2 engine clutch and transmission 2 5 55
- Engine removal and installation 55
- General information 55
- Major engine repair general note 55
- Operations possible with the engine in the frame 55
- Operations requiring engine removal 55
- Removal 55
- 6 chapter 2 engine clutch and transmission 56
- Fj xj600 and yx600 radian models 56
- All models 57
- Chapter 2 engine clutch and transmission 2 7 57
- Engine disassembly and reassembly general information 57
- Fz600 models 57
- Installation 57
- 8 chapter 2 engine clutch and transmission 58
- Camshaft chain tensioner removal and installation 58
- Installation 58
- Removal 58
- Valve cover removal and installation 58
- Chapter 2 engine clutch and transmission 2 9 59
- 10 chapter 2 engine clutch and transmission 60
- Camshafts valves and cam chain tensioner exploded view 60
- Installation 60
- See illustration 60
- Camshafts 61
- Camshafts and lifters removal inspection and installation 61
- Chapter 2 engine clutch and transmission 2 11 61
- Removal 61
- 12 chapter 2 engine clutch and transmission 62
- Inspection 62
- Chapter 2 engine clutch and transmission 2 13 63
- 14 chapter 2 engine clutch and transmission 64
- Installation 64
- Chapter 2 engine clutch and transmission 2 15 65
- Cylinder head removal and installation 65
- Inspection 65
- Installation 65
- Removal 65
- Valve lifters 65
- 16 chapter 2 engine clutch and transmission 66
- Chapter 2 engine clutch and transmission 2 17 67
- 18 chapter 2 engine clutch and transmission 68
- Cylinder head and valves disassembly inspection and reassembly 68
- Disassembly 68
- Installation 68
- Valves valve seats valve guides servicing 68
- Chapter 2 engine clutch and transmission 2 19 69
- Inspection 69
- 20 chapter 2 engine clutch and transmission 70
- Chapter 2 engine clutch and transmission 2 21 71
- Reassembly 71
- 22 chapter 2 engine clutch and transmission 72
- Cylinder block removal inspection and installation 72
- Removal 72
- Chapter 2 engine clutch and transmission 2 23 73
- Inspection 73
- Installation 73
- 24 chapter 2 engine clutch and transmission 74
- Chapter 2 engine clutch and transmission 2 25 75
- Pistons removal inspection and installation 75
- Removal 75
- 26 chapter 2 engine clutch and transmission 76
- Inspection 76
- Chapter 2 engine clutch and transmission 2 27 77
- Installation 77
- Piston rings installation 77
- 28 chapter 2 engine clutch and transmission 78
- Oil pan and relief valves removal relief valve inspection and installation 78
- Relief valve inspection 78
- Removal 78
- Second ring 78
- Top ring 78
- Chapter 2 engine clutch and transmission 2 29 79
- 30 chapter 2 engine clutch and transmission 80
- Installation 80
- Oil pressure check 80
- Oil pump pressure check removal inspection and installation 80
- Chapter 2 engine clutch and transmission 2 31 81
- Removal 81
- 32 chapter 2 engine clutch and transmission 82
- Inspection 82
- Installation 82
- Oil cooler and hoses removal and installation 82
- Chapter 2 engine clutch and transmission 2 33 83
- Clutch removal inspection and installation 83
- Removal 83
- 34 chapter 2 engine clutch and transmission 84
- Inspection 84
- 36 chapter 2 engine clutch and transmission 85
- Installation 85
- Chapter 2 engine clutch and transmission 2 37 86
- 38 chapter 2 engine clutch and transmission 87
- Clutch cable removal and installation 87
- Removal 87
- Chapter 2 engine clutch and transmission 2 39 88
- External shift mechanism removal inspection and installation 88
- Shift linkage and pedal 88
- Shift mechanism removal 88
- 40 chapter 2 engine clutch and transmission 89
- Shift mechanism inspection 89
- Shift mechanism installation 89
- Chapter 2 engine clutch and transmission 2 41 90
- Crankcase disassembly and reassembly 90
- Disassembly 90
- 42 chapter 2 engine clutch and transmission 91
- Reassembly 91
- Chapter 2 engine clutch and transmission 2 43 92
- Crankcase components inspection and servicing 92
- 44 chapter 2 engine clutch and transmission 93
- Chapter 2 engine clutch and transmission 2 45 94
- Crankshaft and main bearings removal inspection main bearing selection and installation 94
- Crankshaft removal 94
- Inspection 94
- Main bearing selection 94
- 46 chapter 2 engine clutch and transmission 95
- Bearing color code 95
- Installation 95
- No 1 blue 95
- No 2 black 95
- No 3 brown 95
- No 4 green 95
- No 5 applies only to the crankshaft main bear ing selection 95
- No 5 yellow 95
- Chapter 2 engine clutch and transmission 2 47 96
- Connecting rods and bearings removal inspection bearing selection and installation 96
- Removal 96
- 48 chapter 2 engine clutch and transmission 97
- Connecting rod bearing selection 97
- Inspection 97
- Chain guides 98
- Chapter 2 engine clutch and transmission 2 49 98
- Installation 98
- Removal 98
- Starter chain and camshaft chain 98
- Starter chain camshaft chain and guides removal inspection and installation 98
- 50 chapter 2 engine clutch and transmission 99
- Chain guides 99
- Inspection 99
- Installation 99
- Removal 99
- Starter chain and camshaft chain 99
- Transmission shafts removal and installation 99
- Chapter 2 engine clutch and transmission 2 51 100
- Mainshaft 100
- Transmission shafts disassembly inspection and reassembly 100
- 52 chapter 2 engine clutch and transmission 101
- Inspection 101
- Chapter 2 engine clutch and transmission 2 53 102
- Disassembly 102
- Driveshaft 102
- Reassembly 102
- 54 chapter 2 engine clutch and transmission 103
- Inspection 103
- Reassembly 103
- Removal 103
- Shift cam and forks removal inspection and installation 103
- Chapter 2 engine clutch and transmission 2 55 104
- Installation 104
- Removal 104
- Starter clutch and drive chain tensioner removal disassembly inspection and installation 104
- 56 chapter 2 engine clutch and transmission 105
- Disassembly inspection and reassembly 105
- Initial start up after overhaul 105
- Installation 105
- Chapter 2 engine clutch and transmission 2 57 106
- Recommended break in procedure 106
- Warning 106
- Carburetor type 107
- Chapter 3 fuel and exhaust systems 107
- Contents 107
- Fuel grade 107
- Fuel tank capacity 107
- Fuel tank reserve capacity 107
- Specifications 107
- 2 chapter 3 fuel and exhaust systems 108
- Carburetor adjustments 108
- Jet sizes 108
- Tightening torques 108
- Chapter 3 fuel and exhaust systems 3 3 109
- Fuel tank cleaning and repair 109
- Fuel tank removal and installation 109
- General information 109
- Idle fuel air mixture adjustment general information 109
- 4 chapter 3 fuel and exhaust systems 110
- All models 110
- Carburetor overhaul general information 110
- Carburetors removal and installation 110
- Fz600 models 110
- Installation 110
- Removal 110
- Xj fj600 models 110
- Yx600 radian models 110
- Carburetors disassembly cleaning and inspection 111
- Chapter 3 fuel and exhaust systems 3 5 111
- Disassembly 111
- 6 chapter 3 fuel and exhaust systems 112
- Chapter 3 fuel and exhaust systems 3 7 113
- 8 chapter 3 fuel and exhaust systems 114
- Chapter 3 fuel and exhaust systems 3 9 115
- 10 chapter 3 fuel and exhaust systems 116
- Chapter 3 fuel and exhaust systems 3 11 117
- Cleaning 117
- Inspection 117
- 12 chapter 3 fuel and exhaust systems 118
- Carburetors separation and joining 118
- Reassembly 118
- Carburetors float height and fuel level adjustment 119
- Chapter 3 fuel and exhaust systems 3 13 119
- Float height adjustment 119
- Fuel level adjustment 119
- Removal 119
- Throttle cable and grip removal installation and adjustment 119
- 14 chapter 3 fuel and exhaust systems 120
- Adjustment 120
- All models 120
- Choke cable removal and installation 120
- Exhaust system removal and installation 120
- Fj600 models 120
- Installation 120
- Removal 120
- Yx600 radian models 120
- Chapter 3 fuel and exhaust systems 3 15 121
- 16 chapter 3 fuel and exhaust systems 122
- Chapter 4 ignition system___________________________ 123
- Contents 123
- Firing order 123
- Ignition coil 123
- Ignition timing 123
- Pickup coil resistance at 20 degrees c 68 degrees f 123
- Spark plug caps and spark plugs 123
- Specifications 123
- Tightening torques 123
- 2 chapter 4 ignition system 124
- Engine starts but misfires 124
- Engine will not start 124
- General information 124
- Ignition system check 124
- Chapter 4 ignition system 4 3 125
- Ignition coils check removal and installation 125
- Pickup coils check removal and installation 125
- Removal and installation 125
- 4 chapter 4 ignition system 126
- Dual coil models 126
- Igniter check removal and installation 126
- Installation 126
- Removal 126
- Removal and installation 126
- Single coil models 126
- Chapter 5 frame suspension and final drive 127
- Contents 127
- Front forks 127
- Rear suspension 127
- Specifications 127
- 2 chapter 5 frame suspension and final drive 128
- Frame inspection and repair 128
- General information 128
- Side and centerstand maintenance 128
- Torque specifications 128
- Chapter 5 frame suspension and final drive 5 3 129
- Handlebars removal and installation 129
- 4 chapter 5 frame suspension and final drive 130
- All models 130
- Disassembly 130
- Fj xj600 models 130
- Forks disassembly inspection and reassembly 130
- Front forks removal and installation 130
- Fz600 models 130
- Installation 130
- Removal 130
- Yx600 radian models 130
- Chapter 5 frame suspension and final drive 5 5 131
- Front forks fj6o0 and xj600 models exploded view 131
- Front forks fz6o0 models exploded view 131
- 6 chapter 5 frame suspension and final drive 132
- Chapter 5 frame suspension and final drive 5 7 133
- 8 chapter 5 frame suspension and final drive 134
- Inspection 134
- Chapter 5 frame suspension and final drive 5 9 135
- Reassembly 135
- Removal 135
- Steering head bearings replacement 135
- 10 chapter 5 frame suspension and final drive 136
- Fj600 and xj600 models 136
- Fz600 models 136
- Yx600 radian models 136
- Chapter 5 frame suspension and final drive 5 11 137
- 12 chapter 5 frame suspension and final drive 138
- All models 138
- Chapter 5 frame suspension and final drive 5 13 139
- Inspection 139
- Installation 139
- Rear shock absorber removal inspection and installation 139
- Removal 139
- 14 chapter 5 frame suspension and final drive 140
- Fj600 and xj600 models 140
- Fz600 models 140
- Inspection 140
- Yx600 radian models 140
- Chapter 5 frame suspension and final drive 5 15 141
- 16 chapter 5 frame suspension and final drive 142
- 30 mm 0 8 1 8 in 142
- Installation 142
- Chapter 5 frame suspension and final drive 5 17 143
- Rear suspension linkage removal inspection and installation 143
- 18 chapter 5 frame suspension and final drive 144
- Swingarm bearings chock 144
- Chapter 5 frame suspension and final drive 5 19 145
- Swingarm bearings inspection and replacement 145
- Swingarm removal and installation 145
- ______ ________ 145
- Ф bearing bush 3 swingarm 145
- 20 chapter 5 frame suspension and final drive 146
- Cleaning 146
- Drive chain removal cleaning and installation 146
- Installation 146
- Removal 146
- Sprockets check and replacement 146
- Chapter 5 frame suspension and final drive 5 21 147
- Fz600 models 147
- 22 chapter 5 frame suspension and final drive 148
- Fj xj600 and yx600 radian models 148
- Brakes 149
- Chapter 6 brakes wheels and tires 149
- Wheels and tires 149
- 4 chapter 6 brakes wheels and tires 150
- Fz600 models 150
- Rear calipers 150
- See illustration 150
- Warning 150
- Brake caliper removal overhaul and installation 151
- Chapter 6 brakes wheels and tires 6 5 151
- Fj600 and xj600 models 151
- Removal 151
- 6 chapter 6 brakes wheels and tires 152
- Overhaul 152
- Brake disc s inspection removal and installation 153
- Chapter 6 brakes wheels and tires 6 7 153
- Front brake master cylinder removal overhaul and installation 153
- Inspection 153
- Installation 153
- Removal 153
- 8 chapter 6 brakes wheels and tires 154
- Overhaul 154
- Removal 154
- Chapter 6 brakes wheels and tires 6 9 155
- Installation 155
- 10 chapter 6 brakes wheels and tires 156
- Overhaul 156
- Rear brake master cylinder removal overhaul and installation 156
- Removal 156
- Brake hoses inspection and replacement 157
- Chapters brakes wheels and tires 6 11 157
- Inspection 157
- Installation 157
- 12 chapter 6 brakes wheels and tires 158
- Brake system bleeding 158
- Replacement 158
- Chapter 6 brakes wheels and tires 6 13 159
- Inspection 159
- Installation 159
- Rear drum brakes removal inspection and installation 159
- Removal 159
- 14 chapter 6 brakes wheels and tires 160
- Wheels alignment check 160
- Wheels inspection and repair 160
- Chapter 6 brakes wheels and tires 6 15 161
- Front wheel removal and installation 161
- Installation 161
- Removal 161
- 16 chapter 6 brakes wheels and tires 162
- B rear wheel details fj6o0 and xj600 models 163
- Chapter 6 brakes wheels and tires 6 17 163
- Rear wheel removal and installation 163
- Removal 163
- See illustrations 163
- Warning 163
- 18 chapter 6 brakes wheels and tires 164
- C rear wheel details yx600 radian models 164
- Installation 164
- See illustration 164
- Chapter 6 brakes wheels and tires 6 19 165
- Front wheel bearings 165
- Wheel bearings inspection and maintenance 165
- 20 chapter 6 brakes wheels and tires 166
- Rear coupling bearing 166
- Rear wheel bearings 166
- Tubeless tires general information 166
- Tire changing sequence tubeless tires 167
- Chapter 7 fairings and bodywork 168
- Contents 168
- Disengage the tab at the front of the seat 168
- Fz600 models 168
- General information 2 seat removal and installation 168
- Illustration 168
- See illustration 168
- Turn the lock 1 counterclockwise anti clockwise and pull down on the latches 2 168
- Xj600 and fj600 models 168
- 2 chapter 7 fairings and bodywork 169
- Ail models 169
- All models 169
- B and disengage the tab at the top rear 169
- Disengage the tab at the front of the seat 3 a remove the mounting bolts 169
- Fjixj6oo models 169
- Fz600 models 169
- Illustration 169
- Lower fairing fj xj600 models removal and installation 169
- Remove the mounting screws to detach the side cover 4 with the fairing supported from below remove the mounting fasteners on each side 169
- See illustration 169
- Side covers removal and installation 169
- Yx600 radian models 169
- Chapter 7 fairings and bodywork 7 3 170
- Lower and center fairings fz600 models removal and installation 170
- Remove the mounting fasteners along the sides of the fairing panel and two at the front near the fork legs 170
- Upper fairing fj xj600 models removal and installation 170
- Upper fairing fz600 models removal and installation 170
- Battery 171
- Chapter 8 electrical system 171
- Contents 171
- Fuel sender resistance 171
- Specifications 171
- 2 chapter 8 electrical system 172
- Alternator 172
- Starter motor 172
- Torque specifications 172
- Battery charging 173
- Battery inspection and maintenance 173
- Chapter 8 electrical system 8 3 173
- Electrical troubleshooting 173
- General information 173
- 4 chapter 8 electrical system 174
- Fuses check and replacement 174
- Headlight 174
- Lighting system check 174
- Taillight license plate light 174
- Brake light 175
- Chapter 8 electrical system 8 5 175
- Fj xj600 and yx600 radian models 175
- Headlight bulb replacement 175
- Neutral indicator light 175
- Oil level warning light 175
- 6 chapter 8 electrical system 176
- All models 176
- Fj600 and xj600 models 176
- Fz600 models 176
- Headlight aim check and adjustment 176
- Yx600 radian models 176
- Chapter 8 electrical system 8 7 177
- Fj xj600 177
- Fz600 and yx600 radian models 177
- Ta ill brake light bulbs 177
- Turn signal and taillight bulbs replacement 177
- Turn signal bulbs 177
- 8 chapter 8 electrical system 178
- Circuit check 178
- Fj600 fz600 and early radian models 178
- Front brake lever switch 178
- Switch replacement 178
- Turn signal circuit check 178
- Xj600 and later yx600 radian models 178
- 10 chapter 8 electrical system 180
- Fj600 fz600 and xj600 models 180
- Instrument removal and installation 180
- Instruments and speedometer cable removal and installation 180
- Rear brake pedal switch 180
- Speedometer cable removal and installation 180
- Yx600 radian models 180
- Chapter 8 electrical system 8 11 181
- Fuel gauge fj6oo fz600 and xj600 181
- Instrument and warning light bulbs replacement 181
- Meters and gauges check 181
- Sender test 181
- Tachometer and speedometer 181
- 12 chapter 8 electrical system 182
- Installation 182
- Oil level sender removal check and installation 182
- On o o o 182
- R br l 182
- Removal 182
- Replacement 182
- Switch position 182
- Us models 182
- Wire color 182
- Chapter 8 electrical system 8 13 183
- Handlebar switches check 183
- Handlebar switches removal and installation 183
- 14 chapter 8 electrical system 184
- Clutch switch chock and replacement 184
- Replacement 184
- Sidestand switch check and replacement 184
- Chapter 8 electrical system 8 15 185
- Fz600 models 185
- Horn check and replacement 185
- Removal 185
- Replacement 185
- Starter motor removal and installation 185
- Starter relay check and replacement 185
- 16 chapter 8 electrical system 186
- All models 186
- Disassembly 186
- Installation 186
- Starter motor disassembly inspection and reassembly 186
- Yx600 radian models 186
- Chapter 8 electrical system 8 17 187
- 18 chapter 8 electrical system 188
- Inspection 188
- Chapter 8 electrical system 8 19 189
- Reassembly 189
- 20 chapter 8 electrical system 190
- Charging system component tests 190
- Charging system output test 190
- Charging system testing general information and precautions 190
- Alternator removal and installation 191
- Chapter 8 electrical system 8 21 191
- Early models with brushes 191
- Later models without brushes 191
- 22 chapter 8 electrical system 192
- Regulator rectifier removal and installation 192
- Chapter 8 electrical system 8 23 193
- Wiring diagrams 193
- 26 chapter 8 electrical system 194
- Chapter 8 electrical system 8 27 195
- Code de couleur 195
- Color code 195
- Farbenkodierung 195
- Conversion factors 196
- Fuel consumption 196
- Is common practice to convert from miles per gallon mpg to litres 100 kilometres 1 1 00km where mpg limparia x i 100 km 282 and mpg usi x 1 100 km 235 196
- Length distance 196
- Mass weight 196
- Pressure 196
- Temoerature 196
- Torque moment of force 196
- Velocity speed 196
- Volume capacity 196
- Electrical system 8 1 through 8 29 198
- Engine 198
- Engine clutch and transmission 02 1 through 02 58 engine 198
- Evaporative emission control system california models only check 1 24 198
- Exhaust system 198
- External shift mechanism removal inspection and instal lation 2 39 198
- Fairing and bodywork 198
- Fairings and bodywork 7 1 through 7 4 fasteners check 1 26 forks 198
- Forks removal and installation 5 4 frame 198
- Frame suspension and final drive 5 1 through 5 22 front wheel removal and installation 6 15 fuel and exhaust systems 3 1 through 3 16 fuel system check and fitter cleaning 1 26 fuel tank 198
- General information 198
- Handlebar switches removal and installation 6 13 handlebar switches check 8 13 handlebars removal and installation 5 3 headlight 198
- Hom check and replacement 8 15 198
- Idle fuel air mixture adjustment general information 3 3 idle speed check and adjustment 1 22 ignition 198
- Ignition main key switch check and replacement 8 12 ignition system 4 1 through 4 4 instrument and warning light bulbs replacement 8 11 198
- Ind 2 index 198
- Lower fairing fj xj6o0 models removal and installation 7 2 lubrication general 1 16 198
- Maintenance schedule 1 4 198
- Index ind 3 199
- Haynes manuals explain best 200
- Isbn 1 56392 1 200
- Models covered by this manual 200
- Yamaha fj600 598cc us 1984 through 1985 yamaha fz600 598cc us 1986 through 1988 uk 1987 and 1988 yamaha xj600 598cc uk 1984 through 1987 and 1989 through 1992 yamaha yx600 radian 598cc us 1986 through 1990 200
Похожие устройства
- Tesy CB 3014 E01 R Инструкция по эксплуатации
- Yamaha FJ (1984-1992) Инструкция по эксплуатации
- Tesy CC 2008 E05 R Инструкция по эксплуатации
- Yamaha FAZER FZS1000(N) (2001) Инструкция по эксплуатации
- Tesy CC 2510 E05 R Инструкция по эксплуатации
- Yamaha YW50AP (2001) Инструкция по эксплуатации
- Tesy CC 3012 E05 R Инструкция по эксплуатации
- Yamaha YZFR6 (1999-2002) Инструкция по эксплуатации
- Tesy CC 2510 E05 R BLACK Инструкция по эксплуатации
- Tesy CC 2510 E05 R SILVER Инструкция по эксплуатации
- Tesy LB 1506 E04 TRV Инструкция по эксплуатации
- Yamaha TW200T1 (C) (2004) Инструкция по эксплуатации
- Tesy LB 2007 E04 TRV Инструкция по эксплуатации
- Yamaha TW200NC (2000) Инструкция по эксплуатации
- Tesy LB 2509 E04 TRV Инструкция по эксплуатации
- Yamaha TW200N (2000) Инструкция по эксплуатации
- Tesy HL 200 H Инструкция по эксплуатации
- Yamaha TW200 (1987-1990) Инструкция по эксплуатации
- Tesy HL 201 H Инструкция по эксплуатации
- Yamaha TDM 900 (S) (2004) Инструкция по эксплуатации
YAMAHA FJ FZ XJ YX600 Radian Air cooled Fours 1984 to1992 598CC Owners Workshop Manual 2100