
Alto DPA1500 Инструкция по эксплуатации онлайн
40 BIT ENHANCED
STEREO POWER AMPLIFIER
DPA 900/1500
User's Manual
LTO
R
www.altoproaudio.com
Version 1.0 September 2004
English
Содержание
- Dpa 900 1500 1
- User s manual 1
- A registered electrician 2
- Always use proper ready made insulated mains 2
- And when unused for long periods of time to reduce 2
- Before turning the product on make sure that it is 2
- Caution 2
- Connected to ground this is to prevent the risk of 2
- Cord is removed 2
- Could result in fire 2
- Covers should be removed by qualified service 2
- Describes precautions that should be observed to 2
- Do not block areas of ventilation failure to do so 2
- Do not remove any covers 2
- Do not use this product when in close proximity to 2
- Electric shock 2
- Ensure that the mains source voltage ac outlet 2
- External connection 2
- Ground terminal 2
- Important safety instructions 2
- In shock death or fire if in doubt seek advice from 2
- Instructions 2
- Keep product away from naked flames 2
- Manual do not short circuit the fuse holder before 2
- May present to reduce the risk of electric shock do 2
- Never cut internal or external ground wires likewise 2
- Never remove ground wiring from the protective 2
- No user serviceable parts inside 2
- Not remove any covers unless the ac mains power 2
- Off and disconnected from the ac outlet 2
- Personnel only 2
- Possibly the user 2
- Power supply 2
- Prevent damage to the product 2
- Prevent the possibility of death or injury to the user 2
- Protect the power cord and plug from any physical 2
- Replacing the fuse make sure that the product is 2
- Safety related symbols 2
- The risk of electric shock or fire 2
- To avoid the risk of electric shock and damage do 2
- To do so could result in damage to the product and 2
- To prevent fire and damage to the product use only 2
- Warning 2
- Audio performance 3
- Dear customer 3
- Design centres in italy the netherlands and the united kingdom we provide you with world class designs while our 3
- Endeavors 3
- Featuring high power and superb quality together with superior reliability and stability to provide the highest possible 3
- Future products for you we guarantee you our commitment to quality continual research and development and of course 3
- Lto audio team 3
- Made the dpa900 1500 stereo power amplifier a very reliable and high quality product ready for all your 3
- Major brands 3
- Our lto dpa900 1500 stereo power amplifier is the result of many hours of listening and tests involving 3
- Preface 3
- Share with you our passion for what we design and we invite you to make suggestions which will aid us in developing 3
- Software development teams continue to develop an impressive range of audio specific algorithms 3
- The lto line represents unparalleled analogue and digital products made by musicians for musicians with our 3
- We have been designing professional audio products for a long time in cooperation with many of the world s 3
- 3 application 4
- Control elements 4
- Features 4
- Table of contents 4
- Binding post and neutrik speakon connectors for outputs front panel led indicators for operating protection limiter power and clip manufactured under qs9000 vda6 certified management system 5
- Built in 40 bit digital effect processor remote control through pc link 1 factory preset and 32 user presets by large memory capacity delay lines up to 582ms for each output 5
- Control elements 5
- Easy to operate front panel controls 5
- Feature list 5
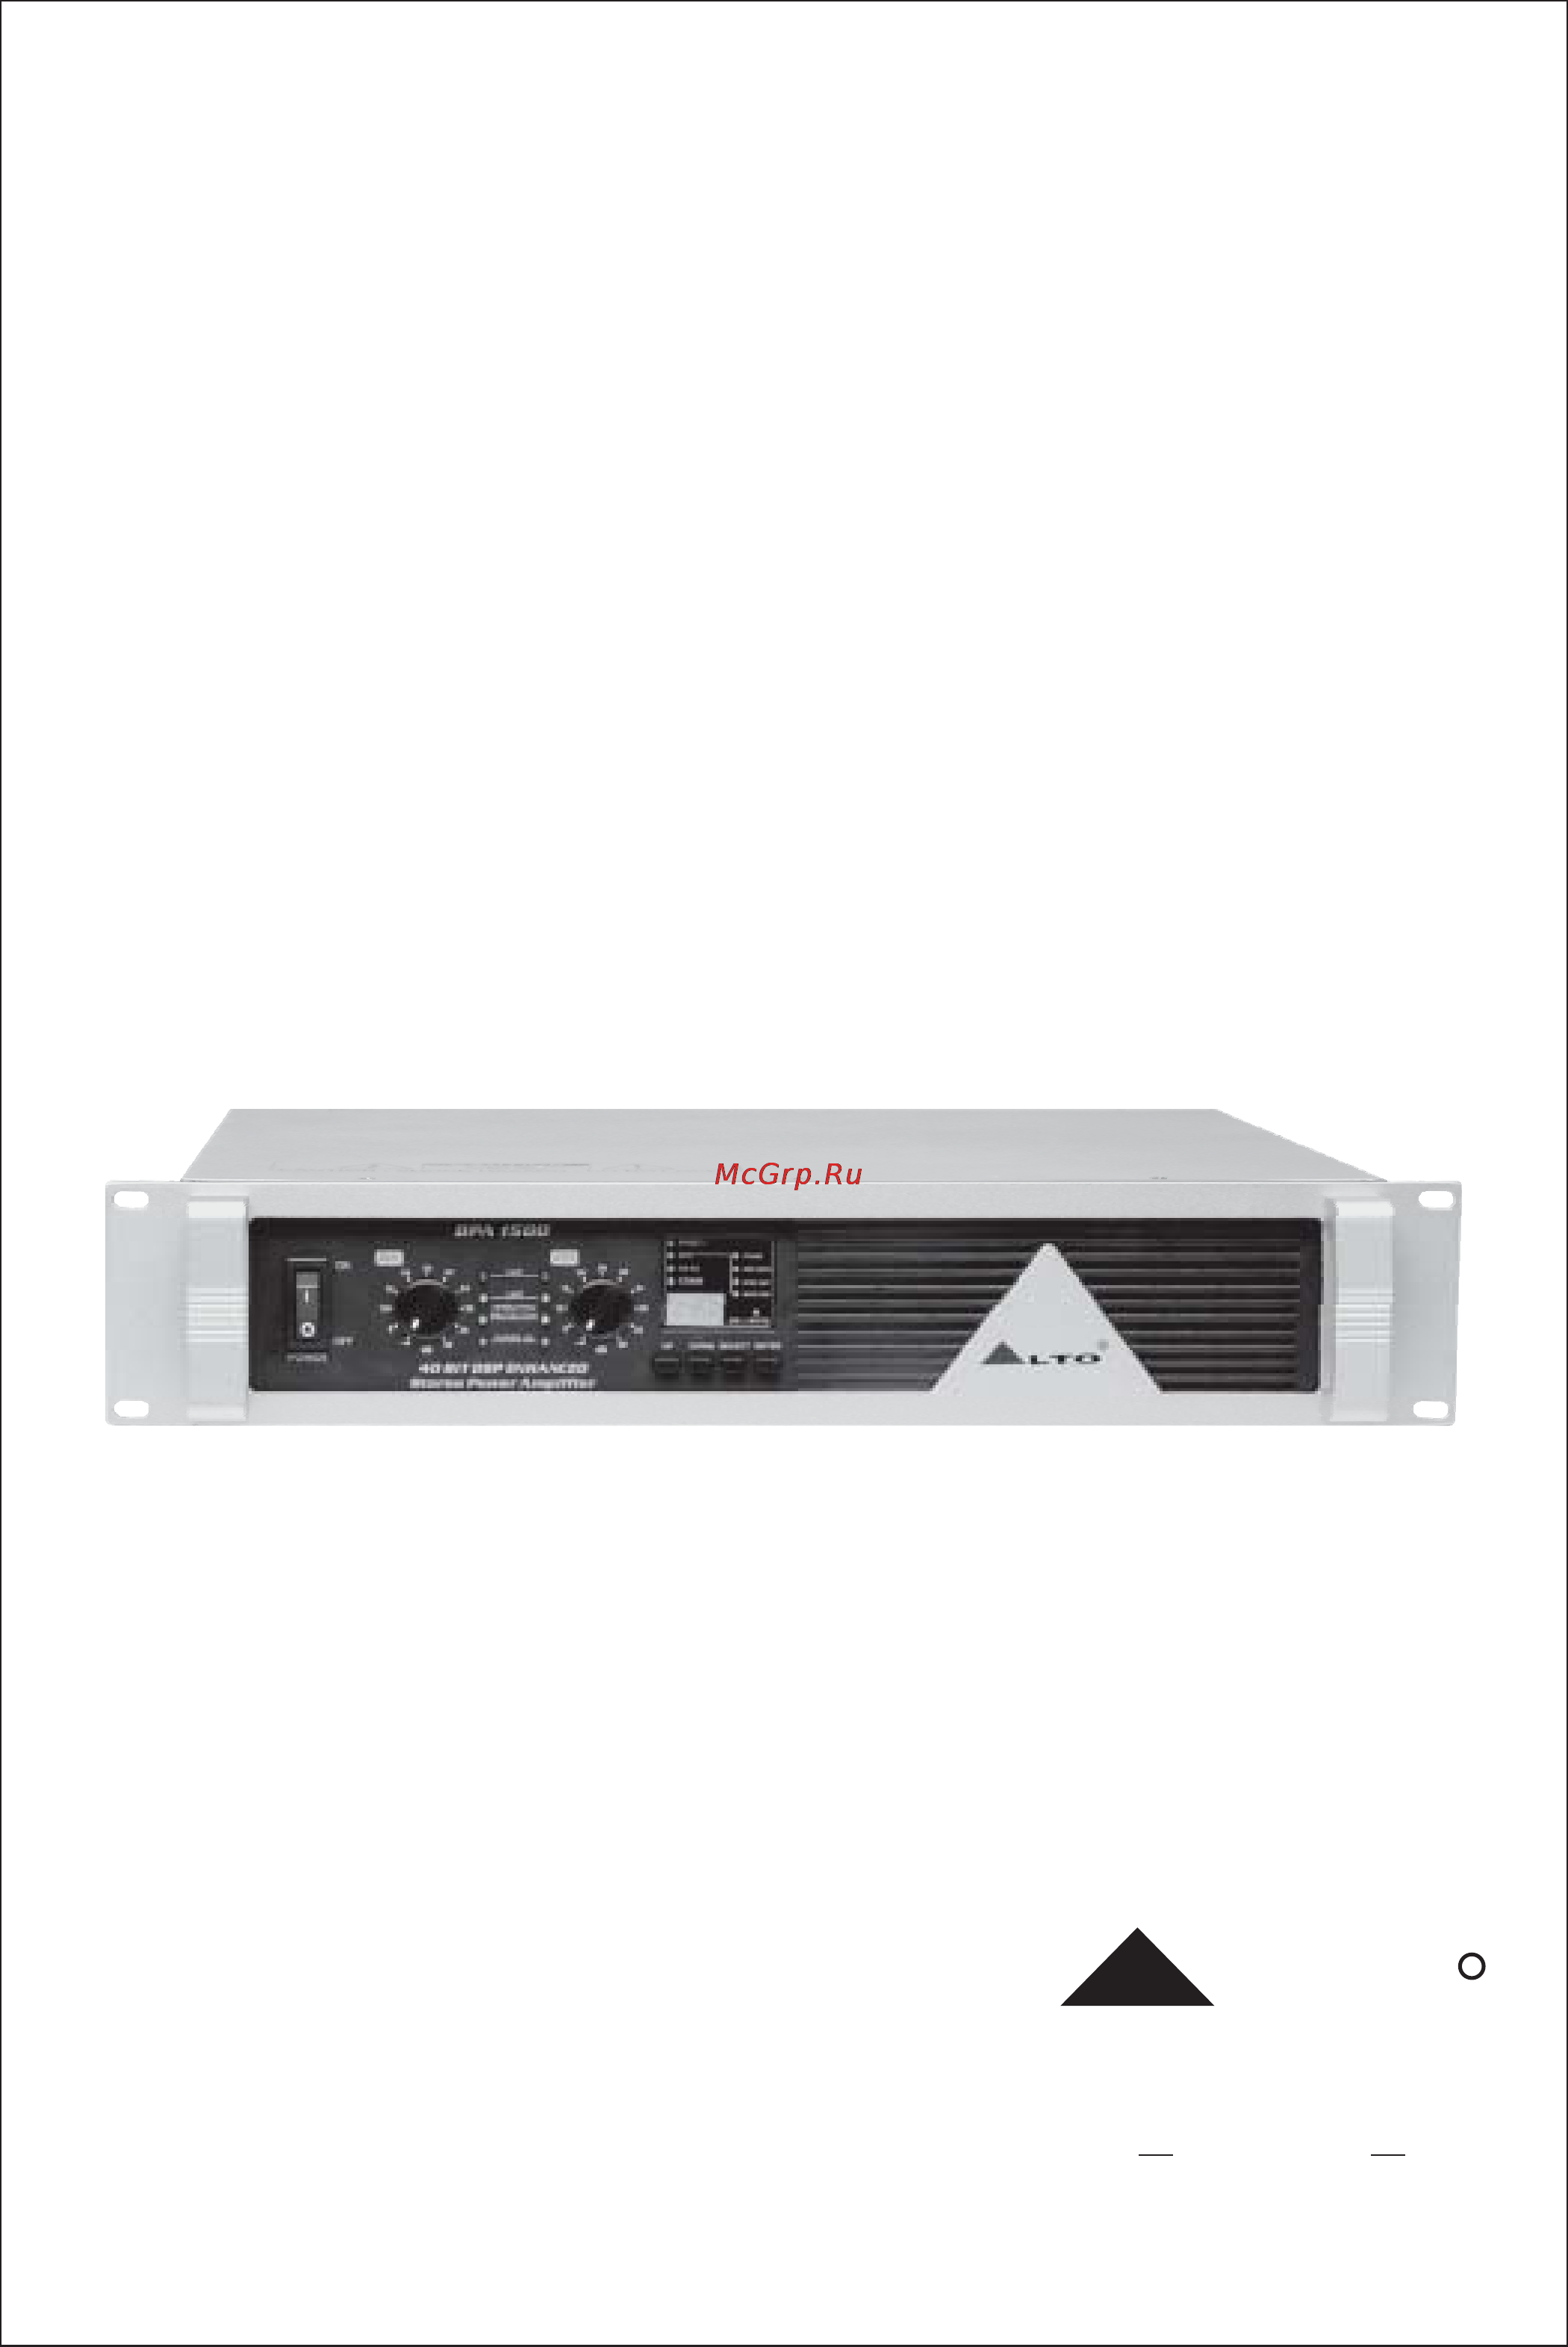
- Front panel 5
- Introduction 5
- Must be lowered through better ventilation and decrease the signal level etc after the temperature has dro 5
- Of fault and the remaining channels shall continue to operate each channel has independent protective circuitry against open circuit short circuit mismatched loads and over temperature 5
- Of the presets included in the internal memory or pc editor software 5
- Supplies and protection system all protection systems except the main ac one are self resetting upon removal 5
- Than its price 5
- Thanks to the use of selected and expensive components the performance of dpa900 1500 is worth much more 5
- The amplifier delivers tremendous power in only two rack spaces providing high performance under the most 5
- User controllable clip limiter stereo dual channel or bridge mono bi amp output operation mode balanced xlr inputs parallel outputs to ensure noiseless long wiring 5
- With in fact the amplifier functions far beyond a traditional power amplifier advanced features and great reliability 5
- 13 15 16 6
- 19 18 15 6
- According to practical need for your safety please be careful when do connecting work 6
- And another end with mains 6
- Balanced input connectors 6
- Breaker 6
- Bridge mode 6
- Channel 1 or 2 will be output from both channel 1 and 2 simultaneously details refer to the chapter 9 6
- Doesn t work 6
- Enter key this key is used to edit or confirm the parameter s value 6
- From channel 2 only you can also operate the paralleled mode via outside wiring so the signal input from 6
- In this mode channel 1 and channel 2 operate independently just as traditional stereo amplifier the signal 6
- Input into channel 1 can be output from channel 1 only similarly the signal input into channel 2 can be output 6
- It is used to connect power cord after setting the proper voltage connect one end of power cord with the unit 6
- Level control for channels 1 2 these two controls are used to adjust output level of channel 1 and channel 2 respectively 6
- Limiter switch 6
- Mode selector total two optional modes up for stereo mode down for bridge mode 6
- Output connector 6
- Output level control of channel 2 should be turned down to smallest details refer to the chapter 9 6
- Output1 6
- Output2 6
- Parallel output 6
- Parallel output connectors 6
- Paralleled mode please also refer to wiring diagram for paralleled mode 6
- Power outputs 6
- Power source socket 6
- Rear panel 6
- Select key this key is used to select the menu that you wish to edit 6
- Serial port 6
- Stereo mode 6
- The fan can accelerate the flow of air to lower the temperature inside unit the inside temperature deter 6
- The fan speed which controls the inside air flowing speed 6
- These connectors connect the input signal of channel 1 and channel 2 separately 6
- These connectors have two kinds binding post and speak on connector you can choose proper connectors 6
- These two output connectors are paralleled inside with the two input connectors it enables the unit to work under 6
- This switch functions as fuse for protecting the unit from damage when the unit is overloaded or the 6
- Thus keeping consistent output level for protecting apparatus if the switch is set at off the limiter function 6
- Up down key this key is used to move inside the menus or to modify the parameter s value 6
- 1500 stereo amplifiers 7
- Appear on the display 7
- Be controlled remotely by alto editing software 7
- Edit menu 7
- Getting started 7
- Note this adjustment of volume level effects only on the selected channels 7
- Preset selection 7
- Press enter key till an additional appeared after the present volume value 7
- Remote control over long distances difficult with rs232 standard ports and daisy chaining several dpa900 7
- Rs232 serial communication port 7
- Rs485 in 7
- Rs485 out 7
- Select edit menu using select key both the edit and volume indicators will light up and the last selected volume level will be displayed 7
- Select preset using select key the preset indicator lights up and the last selected preset will 7
- Stereo amplifiers 7
- The function of the rs485 in is opposite to rs85 out it allows incoming communication between a dpa900 7
- The number of last preset will appear on the display 7
- The rs232 port allows incoming and outgoing communication between the dpa900 1500 stereo amplifier 7
- This menu includes 4 items volume hum cancel noise gate multicomp 7
- Use up down keys to adjust the level of output signal 7
- Use up down keys to select a desired preset press enter key to load the preset 7
- Volume adjustment 99 0db 7
- Channel selection 8
- Comm selection 8
- Displayed 8
- How to set the dpa s id number 8
- Hum cancel on off 8
- Noise gate on off select edit using select key 8
- Note the hum cancel indicator will be lighting all the time if you set this function on and it effects only on 8
- Note the noise gate indicator will be lighting all the time if you set this function on and it effects only on 8
- Press enter key to set noise gate on or off 8
- Press enter to set hum cancel function on or off 8
- Press enter to turn the multiband compressor on or off 8
- Remote control 8
- Select edit using select key 8
- Selected channels the 8
- Sig limiter led 8
- The selected channels multicomp on off select edit using select key 8
- Then select multicomp using up down keys both the edit and multicomp indicators will light 8
- Then select noise gate using up down keys both the edit and noise gate indicators will light up 8
- When several dpa are connected to a pc for the remote control each of units must have an id number 8
- Breaker 9
- By selecting the maxi eoitor icon in the windows programs menu 9
- Connect rs485 in of the second dpa to the first dpa s rs485 out socket in this way you can connect up 9
- Connect the first dpa to the pc s rs232 serial port using a 9 pin female plug connected to the rs232 socke 9
- Connection diagram of remote control 9
- Connection to the pc 9
- Dpa units for a same pc 9
- Dpa900 1500 9
- First steps with the pc editor 9
- From rs485 out 9
- If the first unit is placed at a distance to the pc that exceeds 5 meters rs232 to rs485 converters m 9
- Important 9
- On the rear panel of unit 9
- Otherwise none of the other units can be controlled by the pc 9
- Output1 9
- Output2 9
- Parallel output 9
- Power outputs 9
- Serial port 9
- Tiating a session between the dpa unit and your computer 9
- To from rs232 rear panel 9
- To from rs232 serial port 9
- To rs485 in 9
- With the powered up and connected to your pc s serial port as described run the pc editor 9
- Actions menu of the pc editor however if you intend to use the channel delay function for speaker time 10
- Are simultaneously applied to both channels this is achieved via the modify unit option in the 10
- Choose online from the actions menu and the pc will scan the serial port to verify that th 10
- Connected or not pressing ok will prompt the system to retrieve upload all the parameters and all previously 10
- Correspo 10
- Dpa unit 10
- Edit mode password protection 10
- Every time a download is made to the the user presets in the internal memory and any unsaved set 10
- Every time an upload is made all the user presets stored in the are transferred to the 10
- If you do not wish this to happen i e if you do not wish to overwrite the current data in the then you 10
- If your has already been installed and set up and you now wish to view and or modify some 10
- If your has not been set up yet or if you want to replace the existing set up 10
- Lock buttons a text box will open allowing you to enter a password of your own total choice click ok impor 10
- Nding numbered presets within the pc editor 10
- Rmation follows 10
- Screen you can now view the settings and edit them depending on the lock mode 10
- The inputs and each pair of outputs be ganged linked together as stereo pairs so that changes ganging 10
- The same software is used for some of our pro audio models select dpa amp and click ok 10
- Up you were working on are overwritten selecting offline from the actions menu will cause the pc to be 10
- You can create 10
- Are replaced 12
- Crossover allows the modification of the hpf and lpf crossover filters including frequency type 12
- Eq allows the modification of the eq filters parameters the graph below shows the response curves of the input 12
- Hum cancel allows the modification of the dynamic notch filter parameters the graph included shows the 12
- Mxe on your computer go to and then a window will open for you to select a destination folder file save as 12
- Parameter menus description 12
- Remember that every time you download from your pc to the dpa unit the user presets in the internal memory 12
- When you have done this take the offline click on the icon and then online again this will force the pc editor to do 12
- Working with presets 12
- You must now save your settings which may include several different preset set ups as a maxi editor file 12
- Balanced jack 13
- Balanced xlr f 13
- Balanced xlr m 13
- Connections 13
- Inputs a b 13
- Inputs a b rs485 in 13
- Parsllel output connectors rs485 out 13
- Rs232 9 pin 13
- The following diagrams show the schemes of the recommended cables and some connection examples referred to 13
- Various system configurations 13
- Application 14
- Balanced 14
- Breaker 14
- Channel 1 14
- Channel 1 channel 2 14
- Channel 2 14
- In this mode channel 1 and channel 2 operate independently just as traditional input into channel 1 can be out 14
- Input connector input connector 14
- Output1 14
- Output2 14
- Parallel output 14
- Power outputs 14
- Put from channel 1 only similarly the signal input into channel 2 can be output from channel 2 only 14
- Serial port 14
- Stereo mode 14
- Breaker 15
- From both channel 1 and channel 2 simultaneously the volume of channel 1 or channel 2 can be contr tuput olled 15
- Input connector input connector 15
- Output1 15
- Output2 15
- Parallel output 15
- Power outputs 15
- Separately 15
- Serial port 15
- You can also operate the paralleled mode via outside wiring so the signal input from channel 1 or 2 will beo 15
- Breaker 16
- Input connector input connector 16
- Mode release this button 16
- Parallel output 16
- Serial port 16
- Balanced 17
- Breaker 17
- Bridge mode 17
- Control of channel 1 is used to control the volume of whole system 17
- In this mode the signal input into channel 1 will be output from the bridged end on the other hand the output level 17
- Input connector input connector 17
- Output1 17
- Output2 17
- Parallel output 17
- Power outputs 17
- Serial port 17
- Technical specifications 18
- All the information presented in this warranty registration card gives the manufacturer a better understanding 19
- The warranty service is only available to the original consumer who purchased this product directly from 19
- Warrants that this product will be free from any defects in materials and or workmanship for a pe 19
- Warranty 19
Похожие устройства
- Hitachi WH 14 DBL Инструкция по эксплуатации
- AEG BE3002420M Инструкция по эксплуатации
- Philips 32PFL6605H Инструкция по эксплуатации
- Karcher EB 30/1 Professional Li-Ion Инструкция по эксплуатации
- Panasonic CQ-C3300N Инструкция по эксплуатации
- AEG BE3003420B Инструкция по эксплуатации
- Alto DPA2500 Инструкция по эксплуатации
- Bosch GSR 14.4 V-LI Инструкция по эксплуатации
- Panasonic SC-AK520 Инструкция по эксплуатации
- Philips 40PFL9705H Инструкция по эксплуатации
- Karcher T 7/1 Инструкция по эксплуатации
- Bosch IXO IV 0.603.959.320 Инструкция по эксплуатации
- Panasonic SC-AK52 Инструкция по эксплуатации
- Alto DPA4000 Инструкция по эксплуатации
- Panasonic CQ-C1400N Инструкция по эксплуатации
- Philips 19PFL3405 Инструкция по эксплуатации
- AEG BE3003420M Инструкция по эксплуатации
- Karcher T 10/1 Инструкция по эксплуатации
- Panasonic SC-AK5 Инструкция по эксплуатации
- Sparky BR 12E Инструкция по эксплуатации