
Olympus tough tg-3 red Инструкция по эксплуатации онлайн
Thank you for purchasing an Olympus digital camera. Before you start to
use your new camera, please read these instructions carefully to enjoy
optimum performance and a longer service life. Keep this manual in a safe
place for future reference.
We recommend that you take test shots to get accustomed to your camera
before taking important photographs.
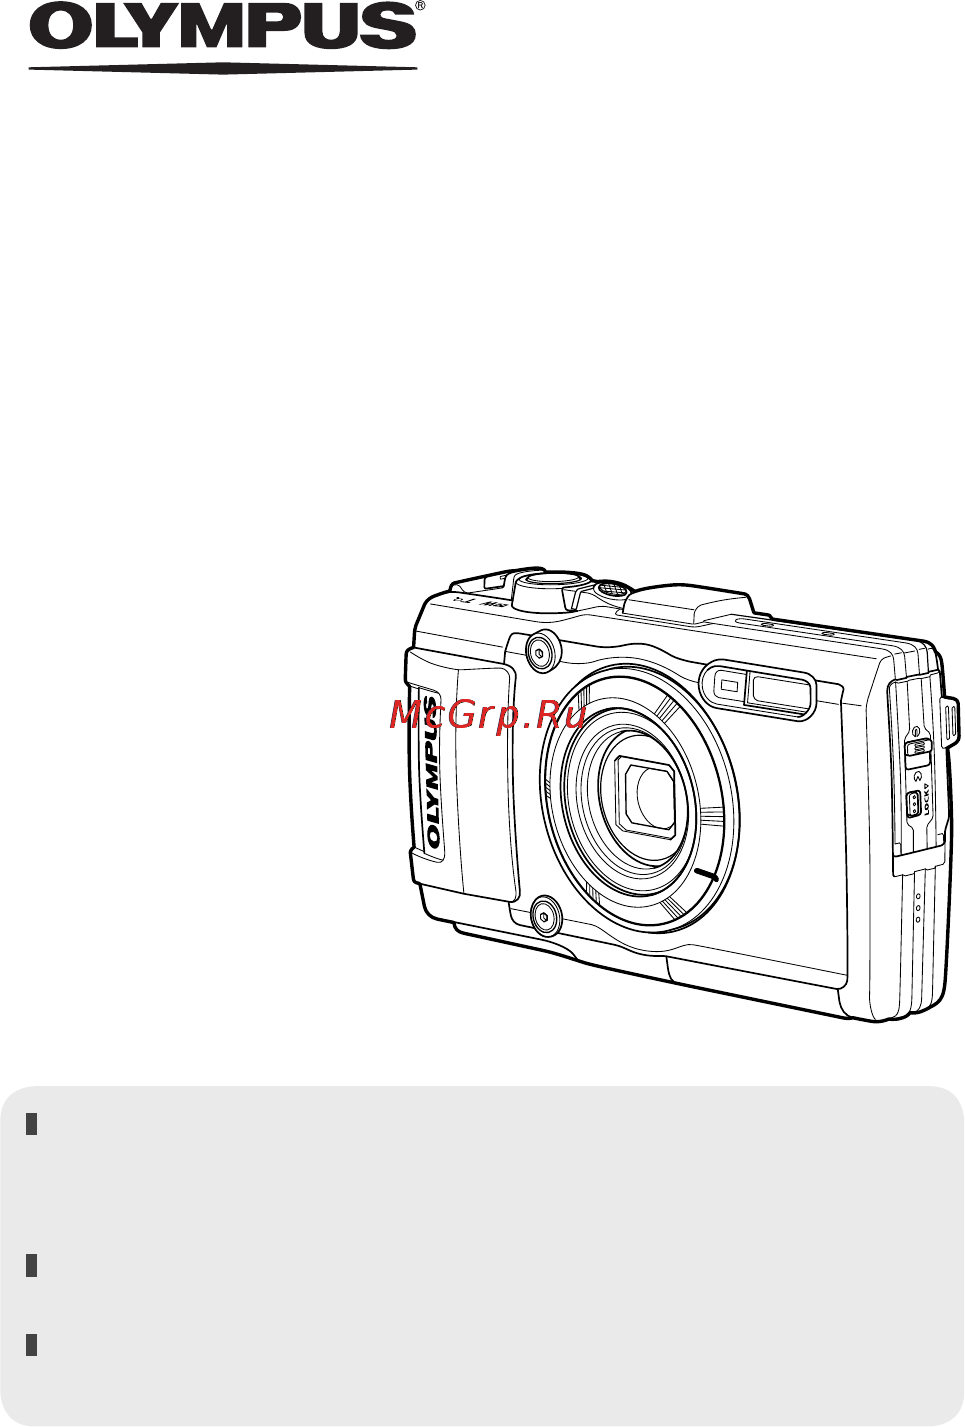
The screen and camera illustrations shown in this manual were produced
during the development stages and may differ from the actual product.
Instruction Manual
DIGITAL CAMERA
TG-3
Содержание
- Digital camera 1
- Instruction manual 1
- Attaching the camera strap 2
- The following items are included with the camera if anything is missing or damaged contact the dealer from whom you purchased the camera 2
- Unpack the box contents 2
- Names of parts 3
- Follow steps 1 2 and 3 to open the battery card compartment cover 4
- Insert the battery while sliding the battery lock knob in the direction of the arrow 4
- Insert the card straight until it clicks into place 4
- Inserting and removing the battery and card 4
- Preparations for shooting 4
- Charging the battery 6
- Check that the battery is in the camera and connect the usb cable and usb ac adapter 6
- Turning on the camera and making the initial settings 8
- Frame the shot 9
- Press the n button to turn on the camera 9
- Press the shutter button halfway down to focus 9
- Set the mode dial to p 9
- Taking photographs 9
- To take the picture gently press the shutter button all the way down while being careful not to shake the camera 9
- Using basic functions 9
- Press the q button 10
- Turn on the camera 10
- Viewing photographs playing back images 10
- Press the r movie button again to stop recording 11
- Press the r movie button to start recording 11
- Recording movies 11
- Movie playback 12
- Operations while playback is paused 12
- Select a movie in the playback mode and press the a button 12
- To stop movie playback press the button 12
- Erasing images during playback 13
- Playing back panorama and grouped images 14
- Press the a button 14
- Select a panorama image during playback 14
- Monitor display 16
- Reading a histogram 16
- Shooting screen displays 16
- Switching the displays the displays change in the order of normal detailed no info measurement position information each time the info button is pressed g gps settings p 63 16
- Playback mode display 18
- Switching the displays the displays change in the order of normal detailed no info each time the info button is pressed 18
- Selecting shooting mode 20
- Shooting using basic functions 20
- Turn the mode dial to set the shooting mode to the indicator 20
- Using the shooting modes 20
- A iauto mode 21
- K microscope 21
- Press the shutter button all the way down to shoot 21
- Press the shutter button halfway down to focus 21
- Rotate the mode dial to 21
- Rotate the mode dial to a 21
- Use hi to select a sub mode and press the a button at the end 21
- O scene mode 22
- Only by selecting a sub mode according to the subject or the scene you can shoot with an proper setting 22
- Use fg to highlight an option and press a to select 24
- W macro submode is recommended for shooting underwater 24
- W shooting underwater the snapshot wide1 wide2 24
- S panorama when shooting a panorama you can select the method of combining images using the submenu 25
- A a mode 26
- When an aperture value is set the camera automatically sets an appropriate shutter speed after pressing h you can change the aperture value using fg 26
- Art filters 27
- Rotate the mode dial to 27
- Use hi to select a sub mode and press the a button at the end 27
- P photo story 28
- Press the shutter button all the way down in standby mode to shoot 28
- Rotate the mode dial to p 28
- Select a theme using fg and press i 28
- Select desired items in the theme using fghi then press a 28
- After shooting all frames press a and save the picture 29
- C custom mode 29
- Shoot each frame in the same way 29
- Pressing the zoom lever adjusts the shooting range 30
- Using the zoom 30
- Press the button i to display options 31
- Use hi to choose a flash mode and press a 31
- Using shooting options set by direct button 31
- Exposure compensation 32
- Press the j y button g to display the direct menu 33
- Select an option using hi and press a 33
- Single sequential 33
- Afl focus lock 34
- Press the a button 34
- Press the j y button g to display the direct menu 34
- Select y 12 y 2 or y c using hi and press the a button 34
- Self timer 34
- Press h to display the function menu 35
- Use fg on the arrow pad to select settings use hi to change the selected setting and press a 35
- Using shooting options set by function menu 35
- Registering one touch white balance select one touch 1 or one touch 2 face the camera toward a piece of white paper or other white object and press the button 39
- Setup menu 40
- Using the setup menu functions 40
- Press h to select the page tabs use fg to select the desired page tab and press i 41
- Press the button 41
- Press the button to complete the setting 41
- Use fg to select the desired submenu 1 and then press the a button 41
- Use fg to select the desired submenu 2 and then press the a button 41
- Using the setup menu 41
- En 42 en 42
- For the operation method refer to p 41 42
- Restoring the shooting functions to the default settings z reset 42
- Selecting the image quality for still images z compression 42
- Z camera menu 1 42
- Brightening the subject against backlight z shadow adjust 43
- En 43 en 43
- For the operation method refer to p 41 43
- Selecting the focusing area z af mode 43
- En 44 en 44
- For the operation method refer to p 41 44
- Selecting the method for measuring the brightness z esp n 44
- Shooting at higher magnifications than optical zoom z digital zoom 44
- En 45 en 45
- For the operation method refer to p 41 45
- Reducing the blur caused by the camera shake when shooting z image stabilizer 45
- Using separately sold accessories z accessory settings 45
- Z camera menu 2 45
- En 46 en 46
- For the operation method refer to p 41 46
- Using the assist lamp for shooting a dark subject z af illuminat 46
- Viewing the image immediately after shooting z rec view 46
- Automatically rotating images shot with the camera in a vertical position during playback z pic orientation 47
- En 47 en 47
- For the operation method refer to p 41 47
- Imprinting the date of recording z date stamp 47
- En 48 en 48
- For the operation method refer to p 41 48
- Shooting larger pictures than when using optical zoom with low degrading of image quality z super res zoom 48
- A movie menu 49
- En 49 en 49
- For the operation method refer to p 41 49
- Recording sound when shooting movies a r 49
- Reducing the blur caused by the camera shake when shooting a is movie mode 49
- Selecting the image size for movies a image size 49
- Adjusting the microphone volume a recording volume 50
- En 50 en 50
- For the operation method refer to p 41 50
- Playing back pictures automatically q slideshow 50
- Q playback menu 50
- Reduce wind noise in the recorded sound when recording movie a wind noise setting 50
- Changing the image size q q 51
- Cropping image q p 51
- Editing still images q edit 51
- En 51 en 51
- For the operation method refer to p 41 51
- This saves a high resolution image as a separate image with a smaller size for use in email attachments and other applications 51
- Adding sound to still images q r 52
- Brightening areas that are dark due to backlight or other reasons q shadow adj 52
- En 52 en 52
- For the operation method refer to p 41 52
- Retouching red eyes in flash shooting q redeye fix 52
- En 53 en 53
- Erasing images q erase 53
- For the operation method refer to p 41 53
- Rotating images q y 53
- Smoothing skin tone q e portrait 53
- En 54 en 54
- For the operation method refer to p 41 54
- Protecting images q r 54
- Copying images in the internal memory to the card d backup 55
- D settings menu 1 55
- En 55 en 55
- Erasing data completely d memory format d format 55
- For the operation method refer to p 41 55
- Using an eye fi card d eye fi 55
- En 56 en 56
- For the operation method refer to p 41 56
- Saving custom settings d custom mode setup 56
- Selecting a method for connecting the camera to other devices d usb connection 56
- Turning on the camera with the q button d q power on 56
- Adjusting the brightness of the monitor d s 57
- Adjusting the image processing function d pixel mapping 57
- D settings menu 2 57
- En 57 en 57
- For the operation method refer to p 41 57
- Press the a button when start submenu 2 is displayed 57
- Selecting the camera sound and its volume d sound settings 57
- Changing the display language d l 58
- En 58 en 58
- For the operation method refer to p 41 58
- Playing back images on a tv d tv out 58
- Choosing home and alternate time zones d world time 59
- En 59 en 59
- For the operation method refer to p 41 59
- Press the info button while the camera is turned off the current time is displayed for approx 30 seconds 59
- Setting the date and time d x 59
- Displaying the current altitude water depth atmospheric hydraulic pressure manometer 60
- En 60 en 60
- For the operation method refer to p 41 60
- Setting functions specifically for tough conditions d tough settings 60
- Setting the units of elevation depth etc m ft 60
- En 61 en 61
- For the operation method refer to p 41 61
- Operating the camera by tapping the body tap control 61
- Take a picture tap the back of the camera twice only for the s snow mode 61
- When switched to playback mode by tapping the top of the camera body twice the operations below can be used display next image tap the right side of the camera once display previous image tap the left side of the camera once fast forward and reverse tilt the camera to the right or the left return to the shooting mode tap the top side of the camera twice 61
- En 62 en 62
- For the operation method refer to p 41 62
- Press and hold the info button down until the led illuminator lights up 62
- Press and hold the info button down until the led illuminator turns off 62
- Using the led illuminator as an auxiliary light led illuminator 62
- D settings menu 3 63
- En 63 en 63
- For the operation method refer to p 41 63
- Recording the shooting location and time information on the images shot d gps settings 63
- Setting wi fi d wi fi settings 63
- Adjusting interval settings d interval settings 64
- Checking the certification marks d certification 64
- En 64 en 64
- For the operation method refer to p 41 64
- Part of the certification mark for safety standards etc is displayed 64
- Setting the focus bracket shooting d focus bkt setting 64
- Connecting the camera to a smartphone 65
- If you use the wireless lan functions on the camera to connect to a smartphone with wi fi connectivity you can then use the smartphone app to do things like importing images to your smartphone and operating the camera by remote control you can also update the a gps data and import and manage the gps log and images recorded on the camera for further details on the smartphone app go to the following addresses olympus image share oi share http oishare olympus imaging com olympus image track oi track http oitrack olympus imaging com 65
- Capabilities of oi share 66
- Capabilities of oi track 66
- Change the password used for private 67
- Deselects images selected for sharing p 68 when connected to a wireless lan network 67
- Initializes content of wi fi settings 67
- Setting up a wireless lan connection wi fi settings 67
- The following describes how to set up the connection settings and change the password when using the camera s wireless lan function 67
- Connecting to a smartphone wi fi start 68
- Playback menu p 41 and press 68
- Repeat step 2 to select all images for sharing and then press the button to end share order 68
- Select share order in the 68
- Select the connection method and press a 68
- Select wi fi start in the z camera menu 1 p 41 and press a 68
- Sharing images over wi fi connection share order 68
- To end the connection press and hold on the camera 68
- Use hi to select an image for sharing and press a to display h 68
- Before update install the oi track smartphone app on your smartphone refer to the url below for details on how to update the a gps data http oitrack olympus imaging com connect the camera and the smartphone following the procedure described in connecting to a smartphone wi fi start p 68 69
- Before using gps function a gps data 69
- Depending on the status of the camera and communication it may take time to acquire the position information when the a gps is used the position determination time can be shortened from a few seconds to a few tens of seconds the a gps data can be updated using the oi track smartphone app or the pc software olympus a gps utility 69
- Download the olympus a gps utility software from the url below and install it on your pc http sdl olympus imaging com agps refer to olympus a gps utility instruction manual on the website with above url for details on how to update the data 69
- Use the camera gps function to record the position information in the images or record movement tracking 69
- Using gps function 69
- Select gps and press a 70
- Select gps settings in the d settings menu 3 p 41 and press a 70
- Select on and press a 70
- Using gps function gps settings 70
- After the gps track logs are recorded the tracked movement of the logs can be displayed using the olympus viewer 3 or oi track 72
- Choose the tv input channel 73
- Connecting the camera to another device 73
- Use the cable to connect the camera to the tv 73
- Viewing camera images on tv 73
- Operate the camera by using the tv remote control 74
- Select hdmi control and choose on 74
- Select tv out in the d settings menu 2 p 41 74
- Using the tv remote control 74
- Connect the camera to the printer using the supplied usb cable 75
- Direct printing pictbridge 75
- Printing pictures 75
- Use hi to display the pictures you want to print on the camera 75
- Connect the camera to the printer using the supplied usb cable and turn the camera on 76
- Custom printing 76
- Follow the operation guide to set a print option 76
- Press i 76
- Cancelling printing 77
- Once you have set the pictures for printing and printing data select print then press a 77
- Print reservation dpof 78
- Connecting the camera 80
- Connecting the camera to a computer 80
- Copying pictures to a computer 81
- The computer recognizes the camera as a new device 81
- Turn the camera off and connect it to the computer 81
- Follow the on screen instructions on your computer 82
- Insert the supplied cd in a cd rom drive 82
- Install olympus viewer 3 82
- Installing software 82
- Register your olympus product 82
- Insert the supplied cd in a cd rom drive 83
- Install olympus viewer 3 83
- Macintosh 83
- Battery the camera does not work even when batteries are installed 84
- Card an error message is displayed 84
- Shutter button no picture is taken when the shutter button is pressed 84
- Troubleshooting 84
- Usage tips 84
- Date and time function date and time settings return to the default setting 85
- Lens lens gets fogged 85
- Miscellaneous the compass heading is not correct or the compass needle flashes 85
- Monitor difficult to see 85
- The light is caught in the picture 85
- Error message 86
- Focusing focusing on the subject 88
- Shooting tips 88
- Camera shake taking pictures without camera shake 89
- Exposure brightness taking pictures with the right brightness 89
- Color hue taking pictures with colors at the same shade as they appear 90
- Editing erasing the sound recorded to a still image 90
- Image quality taking sharper pictures 90
- Playback 90
- Playback editing tips 90
- Playing images in the internal memory and card 90
- Viewing images with high picture quality on a highdefinition tv 90
- Camera care 91
- Cleaning and storing the camera 91
- Information 91
- A charger uc 90 sold separately can be used to charge the battery 92
- Cards compatible with this camera sd sdhc sdxc eye fi with wireless lan function card commercially available for compatibility card details visit the olympus website 92
- Storage 92
- The usb ac adapter f 3ac sold separately can be used with this camera do not use any usb ac adapter other than the dedicated one when using f 3ac be sure to use the usb cable included with this camera do not use any other usb ac adapter with this camera 92
- Using a separately sold charger 92
- Using a separately sold usb ac adapter 92
- Using the card 92
- Using your charger and usb ac adapter abroad 92
- Checking the image saving location the memory indicator shows whether the internal memory or card is being used during shooting and playback 93
- Eye fi card 93
- Format cards must be formatted with this camera before first use or after being used with other cameras or computers 93
- Readout recording process of the card during shooting the current memory indicator lights up in red while the camera is writing data never open the battery card cover or unplug the usb cable this can not only damage the image data but also render the internal memory or card unusable 93
- Sd sdhc sdxc card write protect switch the sd sdhc sdxc card body has a write protect switch if you set the switch to the lock side you will not be able to write to the card delete data or format return the switch to enable writing 93
- Increasing the number of pictures that can be taken 94
- Movies 94
- Number of storable pictures still images recording length movies in the internal memory and cards 94
- Still picture 94
- Taking pictures with the olympus wireless rc flash system 95
- Using separately sold accessories 95
- Take a test shot to check the operation of the flash and the resulting image 96
- Use the conversion lens led light guide 96
- To attach remove the conversion lens filter 97
- To attach remove the led light guide 97
- Before use 98
- Important information about water and shock resistant features 98
- After use 99
- Storage and maintenance 99
- For the available settings of o and 100
- List of settings available in each shooting mode 100
- Refer to list of o settings p 102 and list of 100
- Settings p 101 100
- List of 101
- Settings 101
- 1 some functions cannot be set 102
- Accessory settings 102
- Af illuminat 102
- Af mode 102
- Aspect 102
- Compression 102
- Date stamp 102
- Digital zoom 102
- Exposure comp 102
- Image size movies 102
- Image size still images 102
- Image stabilizer 102
- Is movie mode 102
- List of o settings 102
- Pic orientation 102
- Picture mode 102
- Rec view 102
- Recording volume 102
- Shadow adjust 102
- Super res zoom 102
- White balance 102
- Wi fi start end wi fi 102
- Wind noise setting 102
- 1 some functions cannot be set 103
- Accessory settings 103
- Af illuminat 103
- Af mode 103
- Aspect 103
- Compression 103
- Date stamp 103
- Digital zoom 103
- Exposure comp 103
- Image size movies 103
- Image size still images 103
- Image stabilizer 103
- Is movie mode 103
- Pic orientation 103
- Picture mode 103
- Rec view 103
- Recording volume 103
- Shadow adjust 103
- Super res zoom 103
- White balance 103
- Wi fi start end wi fi 103
- Wind noise setting 103
- An exclamation mark enclosed in a triangle alerts you to important operating and maintenance instructions in the documentation provided with the product 104
- Caution if the product is used without observing the information given under this symbol minor personal injury damage to the equipment or loss of valuable data may result 104
- Caution to reduce the risk of electrical shock do not remove cover or back no user serviceable parts inside refer servicing to qualified olympus service personnel 104
- Danger 104
- Danger if the product is used without observing the information given under this symbol serious injury or death may result 104
- Risk of electric shock do not open 104
- Safety precautions 104
- Warning if the product is used without observing the information given under this symbol injury or death may result 104
- Warning to avoid the risk of fire or electrical shock never disassemble expose this product to water or operate in a high humidity environment 104
- Handling the battery handling the battery 105
- Handling the camera handling the camera 105
- Warning 105
- Caution 106
- Handling the battery handling the battery 106
- Handling the camera handling the camera 106
- Using the wireless lan function using the wireless lan function 106
- Gps function electronic compass gps function electronic compass 107
- Precautions when using the wireless lan function precautions when using the wireless lan function 107
- Usb ac adapter usb ac adapter 107
- Use only dedicated rechargeable battery battery charger and usb ac adapter use only dedicated rechargeable battery battery charger and usb ac adapter 107
- Copyright notice copyright notice 108
- Disclaimer of warranty disclaimer of warranty 108
- Fcc notice fcc notice 108
- Legal and other notices legal and other notices 108
- Monitor monitor 108
- Warning warning 108
- Fcc caution fcc caution 109
- For customers in north and south america for customers in north and south america 109
- Olympus worldwide limited warranty imaging products 109
- What is not covered by this limited warranty 110
- Ce mark indicates that this product complies with the european requirements for safety health environment and customer protection ce mark cameras are intended for sales in europe 111
- For customers in europe for customers in europe 111
- Hereby olympus imaging corp and olympus europa se co kg declare that this tg 3 is in compliance with the essential requirements and other relevant provisions of directive 1999 5 ec for details visit http www olympus europa com 111
- International warranty service 111
- This symbol crossed out wheeled bin directive 2006 66 ec annex ii indicates separate collection of waste batteries in the eu countries please do not throw the batteries into the domestic refuse please use the return and collection systems available in your country for the disposal of the waste batteries 111
- This symbol crossed out wheeled bin weee annex iv indicates separate collection of waste electrical and electronic equipment in the eu countries please do not throw the equipment into the domestic refuse please use the return and collection systems available in your country for the disposal of this product 111
- What to do when service is needed 111
- Where to send product for service 111
- Notes regarding guarantee maintenance 112
- Provisions of guarantee 112
- Provisions of warranty 112
- For customer in singapore 113
- For customers in asia for customers in asia 113
- For customers in thailand 113
- Notes regarding warranty maintenance 113
- Provisions of warranty 113
- Disclaimer of warranty 114
- Trademarks trademarks 114
- Camera 115
- Specifications 115
- Design and specifications subject to change without notice 116
- Lithium ion battery li 92b 116
- Usb ac adapter f 2ac 116
Похожие устройства
- Olympus sz-17 black Инструкция по эксплуатации
- Olympus tough tg-835 blue Инструкция по эксплуатации
- ТРИД РК 122-2В4С-485 Инструкция по эксплуатации
- Olympus sp-820uz black Инструкция по эксплуатации
- Olympus ws-833 8gb черный Инструкция по эксплуатации
- Olympus TOUGH TG-310 Silver Инструкция по эксплуатации
- ТРИД РК 122-2В4С1Р-485 Инструкция по эксплуатации
- Olympus DPC I 8x21 Silver, серебристый с чехлом Инструкция по эксплуатации
- Olympus Pen E-PM1 Kit 14-150mm Black Инструкция по эксплуатации
- Olympus Pen E-PM1 Kit 14-150mm Silver-Pink Инструкция по эксплуатации
- ТРИД РК 122-2В5Р-485 Инструкция по эксплуатации
- Olympus DM-670 8Gb черный Инструкция по эксплуатации
- Olympus DPC I 10x21 Silver, серебристый Инструкция по эксплуатации
- Olympus VN-712PC 2Gb серебристый Инструкция по эксплуатации
- Olympus VN-713PC 4Gb черный Инструкция по эксплуатации
- Olympus VH-210 Green Инструкция по эксплуатации
- Olympus SZ-31MR iHS Инструкция по эксплуатации
- Olympus OM-D E-M5 Kit black (EZ-M1250) Black Инструкция по эксплуатации
- Olympus D-750 Black Инструкция по эксплуатации
- Olympus DS-2500 серебристый Инструкция по эксплуатации