![BODYCRAFT 150кг max F602 — инструкция по сборке: пошаговое руководство для установки [4/6]](/img/pdf.png)
BODYCRAFT 150кг max F602 — инструкция по сборке: пошаговое руководство для установки [4/6]
Превью страниц
Страница 4 /
6
![BODYCRAFT 150кг max F602 [4/6] Utility knife](/views2/1356199/page4/bg4.png)
3
Recommended Tools
Utility Knife (To cut packaging and banding)
Ratchet with 9/16" and 3/4" Sockets
9/16" and 3/4" Combination Wreches
Adjustable Wrench
Rubber Mallet
Assembly Instructions
NOTE: Before installing the plastic parts, please allow them
to acclimate to room temperature or they may be damaged.
CAREFULLY install all plastic components with Rubber Mallet.
PLEASE REFER TO THE EXPLODED VIEW ON THE NEXT PAGE FOR ASSEMBLY.
1. Carefully install END CAPS(21) onto FRONT STABILIZER(2) and REAR
STABILIZER(3) using a rubber mallet.
2. Bolt the FRONT STABILIZER(2) and REAR STABILIZER(3) to the MAIN FRAME(1),
using four BOLTS(53), eight WASHERS(55) and four NUTS(57). Tighten.
3. Bolt ATTACHMENT HOLDER(6) to MAIN FRAME(1), using two BOLTS(53), four
WASHERS(55) and two NUTS(57). Tighten.
4. Install END PLUGS(23) into SEAT ADJUSTER(5) and BACK SUPPORT(4) using a
rubber mallet.
5. Attach SEAT ADJUSTER(5) and BACK SUPPORT(4) to MAIN FRAME(1), using
BOLT(51) and NUT(57). (NO WASHERS) (Any moving parts that do not pivot freely,
slightly loosen the nuts counterclockwise at the pivot points to allow movement, but
not too much to allow play or wobble.)
6. Attach SEAT PAD(32) to SEAT ADJUSTER(5) and BACK PAD(31) to BACK
SUPPORT(4), using BOLT(54), WASHER(56). Tighten.
7. Install 50mm SPACER CAP(22) onto ATTACHMENT HOLDER(6).
8. Insert LEG/KNEE HOLD DOWN(10) into ATTACHMENT HOLDER(6). Using Pop-Pin.
9. Install END PLUGS(24) into LEG/KNEE HOLD DOWN(10) with Rubber Mallet.
10. Insert FOAM PAD HOLDERS(8) into the LEG/KNEE HOLD DOWN(10) and slide
FOAM ROLLER PAD(33) onto each end of the FOAM PAD HOLDER(8) and secure
with 1" ROUND CAP PLUG(25) using rubber mallet.
11. Install KNOB(43) onto the threaded end of the pre-installed BOLT(63) located at
the lower part of the BACK ADJUSTER(7). Tighten.
ASSEMBLY IS COMPLETE!
PLEASE RECHECK THAT ALL COMPONENTS ARE TIGHT AND SECURE.
Содержание
- Utility bench p.1
- Serial number location p.1
- Recreation supply inc p.1
- Owners manual p.1
- Lewis center oh 43035 p.1
- Green meadows dr p.1
- Flat incline decline p.1
- Bodycraft p.1
- No description qty p.3
- Bench assembly parts list p.3
- Adjustable wrench p.4
- Utility knife p.4
- Rubber mallet p.4
- Recommended tools p.4
- Ratchet with 9 16 and 3 4 sockets 9 16 and 3 4 combination wreches p.4
- Note before installing the plastic parts please allow them to acclimate to room temperature or they may be damaged carefully install all plastic components with rubber mallet p.4
- Assembly instructions p.4
- Exploded view p.5
- No description qty p.6
- Complete parts chart p.6
- 8 9 10 p.6
- 59 60 61 p.6
- 54 55 56 57 p.6
- 51 52 53 p.6
- 41 42 43 44 p.6
- 31 32 33 p.6
- 21 22 24 25 23 p.6
- Parts images are not to scale p.6
Похожие устройства
-
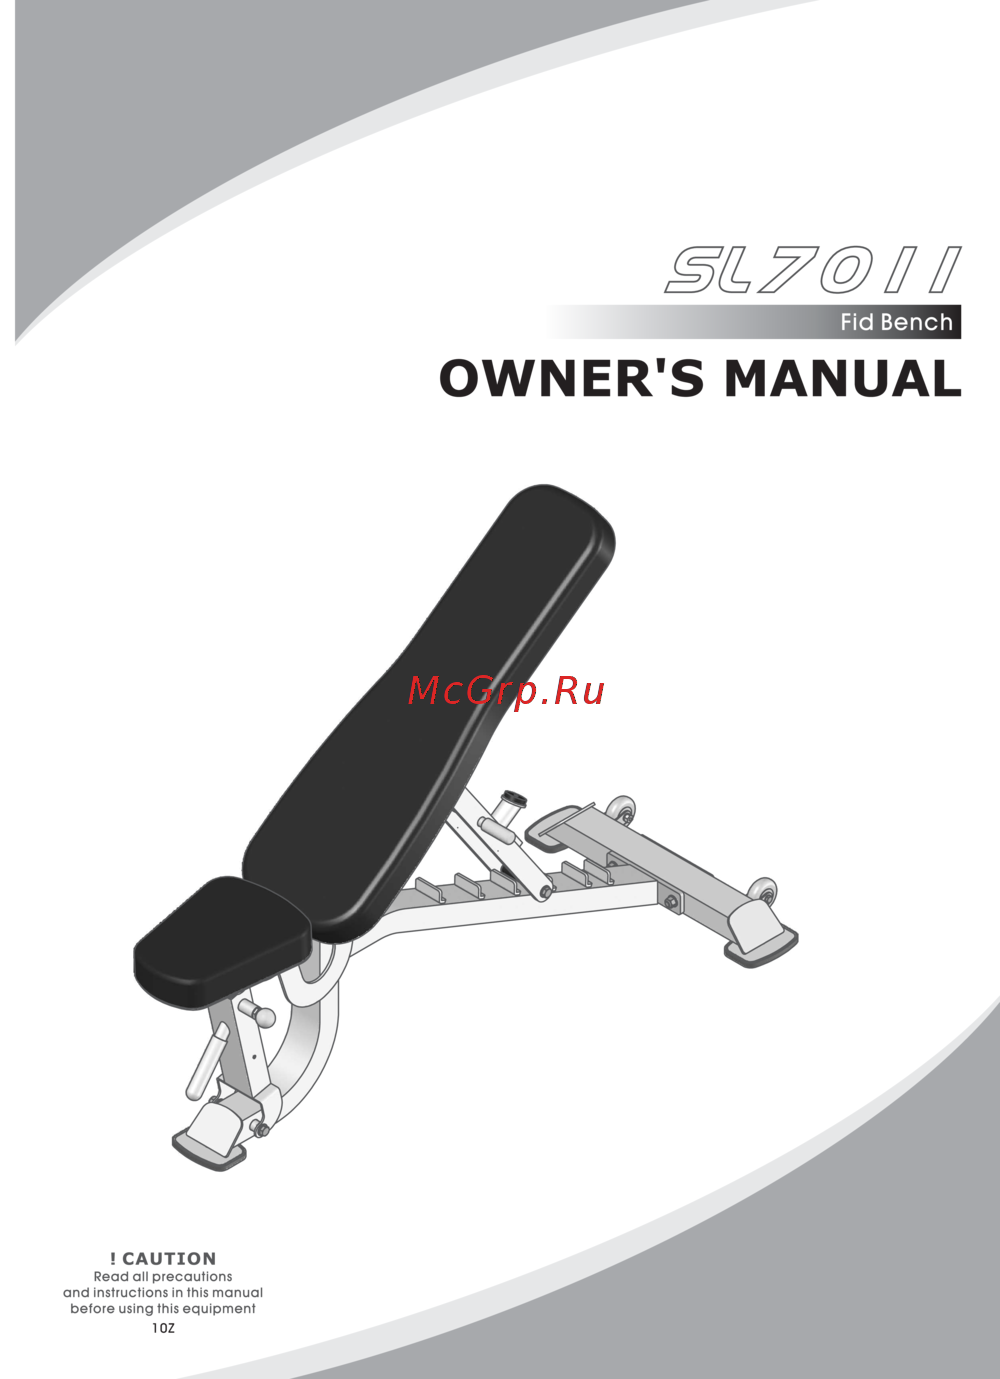 Aerofit Sterling 150кг max SL7011Руководство пользователя
 -
 Mi Smart Antibacterial HumidifierИнструкция к устройству
 -
 Kitfort КТ-177Инструкция по эксплуатации
 -
 Kitfort КТ-168Инструкция по эксплуатации
 -
 Kitfort КТ-196Инструкция по эксплуатации
 -
 Oxygen Fitness EX-45FD HRC+Руководство по эксплуатации
 -
 Oxygen Fitness GX-65Руководство по эксплуатации
 -
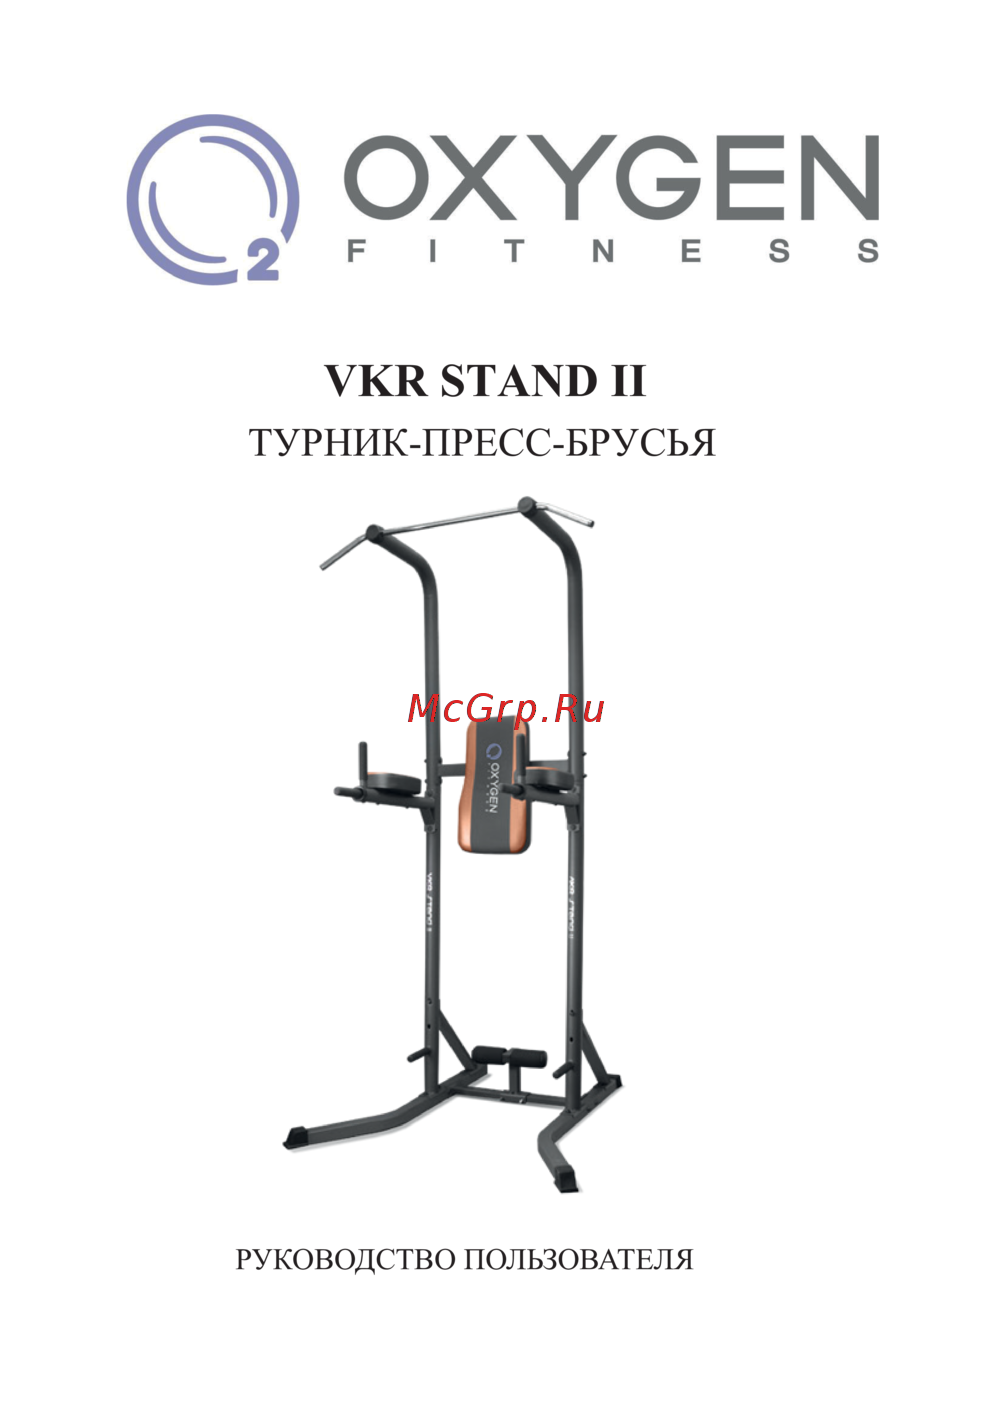 Oxygen Fitness VKR STAND IIРуководство по эксплуатации
 -
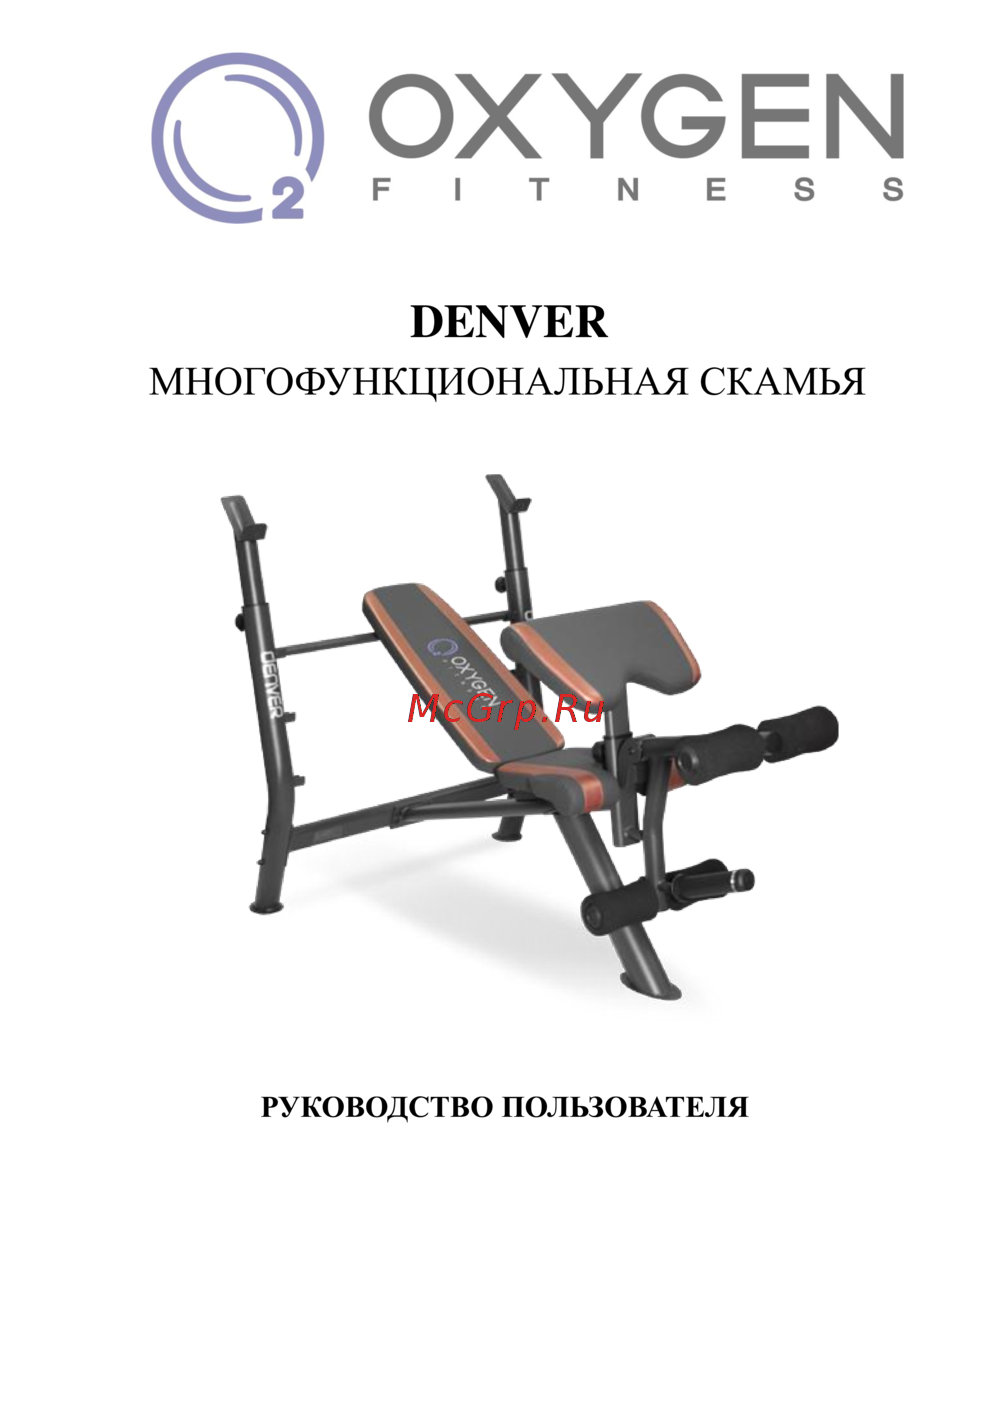 Oxygen Fitness DenverРуководство по эксплуатации
 -
 APPLEGATE R14 MИнструкция по эксплуатации
 -
 Dormakaba TPB Easy Task (8040406)Инструкция по эксплуатации
 -
 Dormakaba TS-93 G BC+DC EN 2-5 серый 43030001Инструкция по эксплуатации
Следуйте нашему пошаговому руководству по сборке, чтобы правильно установить все компоненты. Убедитесь, что все детали надежно закреплены для безопасного использования.