![Ariston ABS PRO ECO PW 30 V SLIM — инструкция по запуску и управлению водонагревателем [34/44]](/icons/site-icon-64.png)
Ariston ABS PRO ECO PW 30 V SLIM — инструкция по запуску и управлению водонагревателем [34/44]
Превью страниц
Страница 34 /
44
![Ariston ABS PRO ECO 150 V [34/44] Starting and operation](/views2/1128566/page34/bg22.png)
34
3. STARTING AND OPERATION
3.1. Commissioning
Before connect the appliance to electricity source, ll the tank up with mains water. To do this, turn on the domestic mains
tap and the hot water tap.
Once the water heater is full, the water will ow from the domestic mains tap. Visually check for water leaks from the ange
and slightly tighten it, if necessary.
Power the appliance at the switch.
3.2. Temperature control and activating the appliance function
• For models featuring a user interface as represented in gures 6 and 7:
Press the knob (Ref. А) to switch on the appliance. Set the desired temperature by using the "+" and "-" knobs. Setting
level is between 40°C and 80°C. During the heating phase, the LEDs (Ref. 1-5) corresponding to the temperature reached by
the water so far remain lit in a xed manner; all subsequent LEDs (up to the set temperature) ash progressively.
If the temperature of the water heater drops (for example after hot water has been used) the heating is reactivated
automatically and the LEDs between the last xed light and the light corresponding to the set temperature will resume
ashing progressively.
The rst time the appliance is switched on, it will be set to a temperature of 70°C.
In the event of a power failure or if the product is switched o using the knob (Ref. A), set temperature remains
memorized. During the heating phase, a slight noise may be produced as a result of the water heating process.
• For models featuring a user interface as represented in gures 8 and 9:
Press the knob (Ref. А) to switch on the water heater. The appliance has 4 heating modes:
Manual, Р1 (Programming 1), Р2 (Programming 2), and P1+P2 (Programming 1 and 2) combined.
Every time the “Mode” knob is pressed, a dierent operating mode will be selected; the mode is indicated by the ashing of
the corresponding LED on the display. Functions are selected on a cyclic basis, in the following order: P1 (Programming 1)
P2 (Programming 2) P1+P2 (Programming 1 and Programming 2 combined) Manual P1 (Programming 1), etc.
Programs P1 and P2 are set by default to the 07:00 and 19:00 time bands, and to a temperature of 70°C.
The “Manual” function (the “Manual” LED lights) allows the user to set the desired temperature simply by turning the "Set"
knob until the desired temperature is displayed (the adjustment interval is 40°C – 80°C). If the knob is pressed, the setting will
be stored in the appliance memory and the product will begin operating in "Manual" mode with these settings.
ЕСО: If the "Manual" function is used in conjunction with the "ECO" function (see "ECO function" paragraph), the temperature
will be set automatically by the water heater; this means the "Set" knob will be disabled. If it is moved, "ECO" will appear on
the display for 3 seconds. If you wish to adjust the temperature, you will have to disable the "ECO" function.
The functions “Programming 1” (“P1” LED lights), "Programming 2" ("P2" LED lights) and "Programming 1 and 2"
("P1+P2" LEDs lights) can be used to program water heating to desirable time (one or two time bands in the day).
Press the "Mode" button until the LEDs relating to the desired program begin ashing to choose this function. After that, turn
the "Set" knob to select the time band in which you would like hot water to be available (time bands are selected in
30-minute notches). Press the knob "Set" to store the time band setting in the appliance memory.
Next, set the water temperature to the desired level (from 40°C to 80°C). Press “Set” knob to begin water heater operation in
"P1" or "P2" mode.
If you have selected "P1+P2", you will need to repeat the time band and temperature setting procedures for the second time
period. Interval for which there is no set heating time will not be activated. The individual "P1" or "P2" programs are of equal
importance and may be congured independently for greater exibility.
When one of the programming functions (“P1”, “P2” or “P1+P2”) is operated, the “Set” knob is disabled. If it is moved, "Pr" will
appear on the display for 3 seconds. If you wish to adjust the parameters, press the “Set” knob.
ЕСО PLUS: If one of the programming functions ("P1" or "P2" or "P1+P2") is used in conjunction with the "ECO" function (see
"ECO function" paragraph), the temperature is set automatically by the water heater. It is therefore only possible to set the
desired time band for hot water availability. If the "Set" knob is moved, "PLUS" will appear on the display for 3 seconds.
Warning: in any setting procedure, if the user does not perform any actions for 5 seconds, the last setting will be stored in the
appliance memory.
EXTRA POWER/DOUBLE POWER function
• For models featuring a user interface as represented in gures 7 and 9:
The water heater usually operates at its basic power level. The EXTRA POWER/DOUBLE POWER function activates additional
heating element to speed up the rate of water heating. To activate it, press the knob (Ref. B). To deactivate it, press the
same knob again.
ЕСО function
ECO function starts special automatic cycle of cleaning the water and the inner surface of the water heater from bacteria
during which the optimum temperature and the rate of water heating is selected, at which most harmful bacteria that may
be present in warm dead water are killed.
This function should be applied if the water heater was not used more than 3 days or if you do not heat water above 70°C.
The optimum operating time of this function: 6-12 hours. For power saving, use of ECO function for more than 24 hours at
one-time switching on is not reasonable.
Содержание
69- Модель_ _ _ _ _ _ _ _ _ _ _ _ _ _ _ _ _ _ _ _ _ _ _ _ _ _ _ _ _ _ _ _ _ _ _ _ _ _ _ _ _ код модели_ _ _ _ _ _ _ _ _ _ _ _ _ _ _ _ _ _ _ _ _ _ _ _ _ _ _ _ _ _ _ _ _ _ _ _ _ _ _ серийный номер_ _ _ _ _ _ _ _ _ _ _ _ _ _ _ _ _ _ _ _ _ _ _ _ _ _ _ _ _ _ _ _ _ _ _ торгующая организация_ _ _ _ _ _ _ _ _ _ _ _ _ _ _ _ _ _ _ _ _ _ _ _ _ _ _ _ _ _ _ _ _ _ _ _ _ _ _ _ _ _ _ _ _ _ _ _ _ _ _ _ _ _ _ _ _ _ _ _ _ _ _ _ _ _ _ _ _ _ _ _ _ _ _ _ _ проверил и продал_ _ _ _ _ _ _ _ _ _ _ _ _ _ _ _ _ _ _ _ _ _ _ _ _ _ _ _ _ _ _ _ _ _ дата продажи _ _ _ _ _ _ _ _ _ _ _ _ _ _ _ _ _ _ _ _ _ _ _ _ _ _ _ _ _ _ 20__года с условиями гарантии согласен_ _ _ _ _ _ _ _ _ _ _ _ _ _ _ _ _ _ _ _ _ _ _ _ _ _
- Электрические водонагреватели
- Гарантийный талон
- Авторизованные сервисные центры
- Регион название телефон адрес россия
- Список адресов сервисных центров может быть изменен за справками обращайтесь в торговую организацию или представительство компании производителя
- Регион название телефон адрес россия
- Регион название телефон адрес беларусь
- Регион россия название телефон адрес
- Гарантийный талон 1
- Гарантийный талон 4
- Гарантийный талон 2
- Гарантийный талон 3
- Общие требования
- Символ значение
- Символы используемые в инструкции
- Общие правила безопасной эксплуатации
- Правило опасность символ
- Общие требования и правила безопасной эксплуатации
- Дополнительные правила техники безопасности
- При несоблюдении данных требований может быть нанесен вред имуществу растениям или животным
- Несоблюдение данных требований может привести к тяжелым травмам вплоть до смертельного исхода
- Установка
- Технические характеристики
- Общие сведения
- Включение и работа
- Техническое обслуживание и ремонт
- Модель_ _ _ _ _ _ _ _ _ _ _ _ _ _ _ _ _ _ _ _ _ _ _ _ _ _ _ _ _ _ _ _ _ _ _ _ _ _ _ _ _ код моделі_ _ _ _ _ _ _ _ _ _ _ _ _ _ _ _ _ _ _ _ _ _ _ _ _ _ _ _ _ _ _ _ _ _ _ _ _ _ _ серійний номер_ _ _ _ _ _ _ _ _ _ _ _ _ _ _ _ _ _ _ _ _ _ _ _ _ _ _ _ _ _ _ _ _ _ _ _ торгівельна організація_ _ _ _ _ _ _ _ _ _ _ _ _ _ _ _ _ _ _ _ _ _ _ _ _ _ _ _ _ _ _ _ _ _ _ _ _ _ _ _ _ _ _ _ _ _ _ _ _ _ _ _ _ _ _ _ _ _ _ _ _ _ _ _ _ _ _ _ _ _ _ _ _ _ _ _ _ перевірив та продав_ _ _ _ _ _ _ _ _ _ _ _ _ _ _ _ _ _ _ _ _ _ _ _ _ _ _ _ _ _ _ _ _ _ дата продажу _ _ _ _ _ _ _ _ _ _ _ _ _ _ _ _ _ _ _ _ _ _ _ _ _ _ _ _ _ 20__ року з умовами гарантії згоден_ _ _ _ _ _ _ _ _ _ _ _ _ _ _ _ _ _ _ _ _ _ _ _ _ _ _ _ _ _
- Електричні водонагрівачі
- Гарантійний талон
- Гарантiйный талон 1
- Гарантiйный талон 4
- Гарантiйный талон 3
- Гарантiйный талон 2
- Загальні вимоги
- Символ значення
- Загальні вимоги та правила безпечної експлуатації
- Символи що використовуються в інструкції
- При недотриманні цих вимог може бути завдана шкода майну рослинам або тваринам
- Правило небезпека символ
- Недотримання цих вимог може призвести до важких травм в тому числі до смертельного наслідку
- Загальні правила безпечної експлуатації
- Додаткові правила техніки безпеки
- Установка
- Технічні характеристики
- Загальні відомості
- Вмикання і робота
- Технічне обслуговування і ремонт
- General warnings
- Symbol meaning
- Specific safety norms for this appliance
- Ref warning risk symbol
- Key to symbols
- General safety norms
- General requirements and safe operating precautions
- Failure to comply with this warning implies the risk of personal injury in some circumstances even fatal
- Failure to comply with this warning implies the risk of damage to property plants or animals
- Installation
- General information
- Technical characteristics
- Starting and operation
- Maintenance and repair works
- Краткая инструкция по монтажу накопительного электроводонагревателя кратка iнструкцiя з монтажу накопичувального електроводонагрiвача quick manual on the storage water heater installation
- Устройство водонагревателя устрiй водонагрiвача water heater device
- 3 4 5 6 7 8 11
- Идентификационная табличка iдентифiкацiйна табличка data plate
- Серийный номер серiйний номер serial number
- Схема установки installation scheme
- Размеры розміри dimensions
Похожие устройства
-
 Ariston DUNE1 R 80 V 1.5K PLРуководство по эксплуатации
 -
 Ariston BLU1 R ABS 40 V SLIM OPTIMA 1,5 (3700657)Инструкция по эксплуатации
 -
Ariston DUNE1 R 80 V 1.5K PLИнструкция по эксплуатации
-
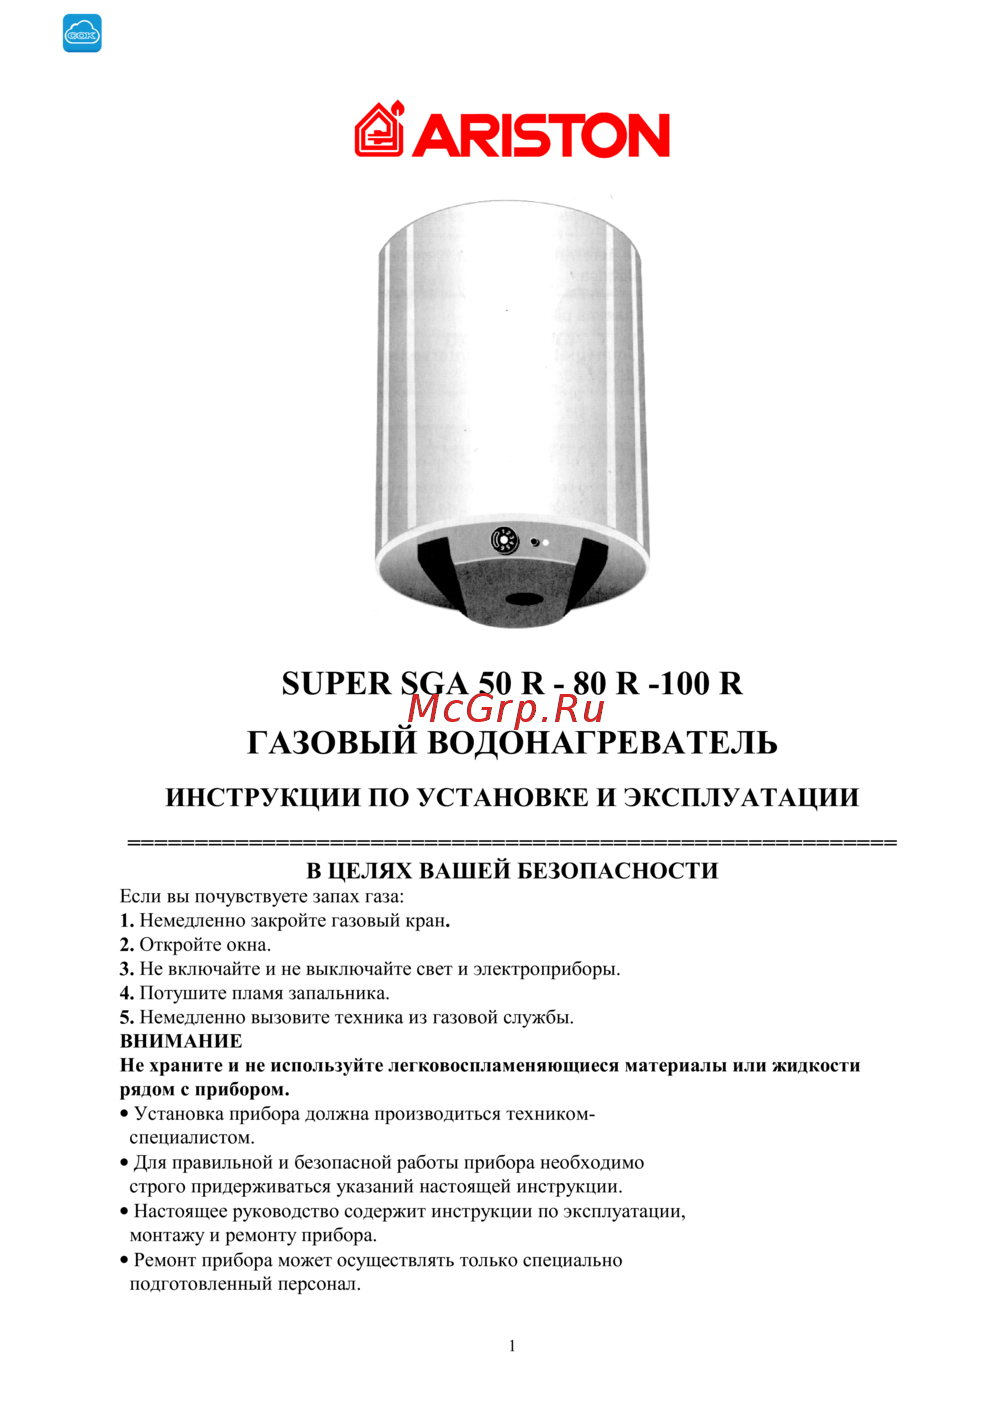 Ariston SUPER SGA 100 RИнструкция по эксплуатации
 -
Ariston SUPER SGA 80 RИнструкция по эксплуатации
-
Ariston SUPER SGA 50 RИнструкция по эксплуатации
-
 Ariston SGA 150Инструкция по эксплуатации
 -
Ariston SGA 120Инструкция по эксплуатации
-
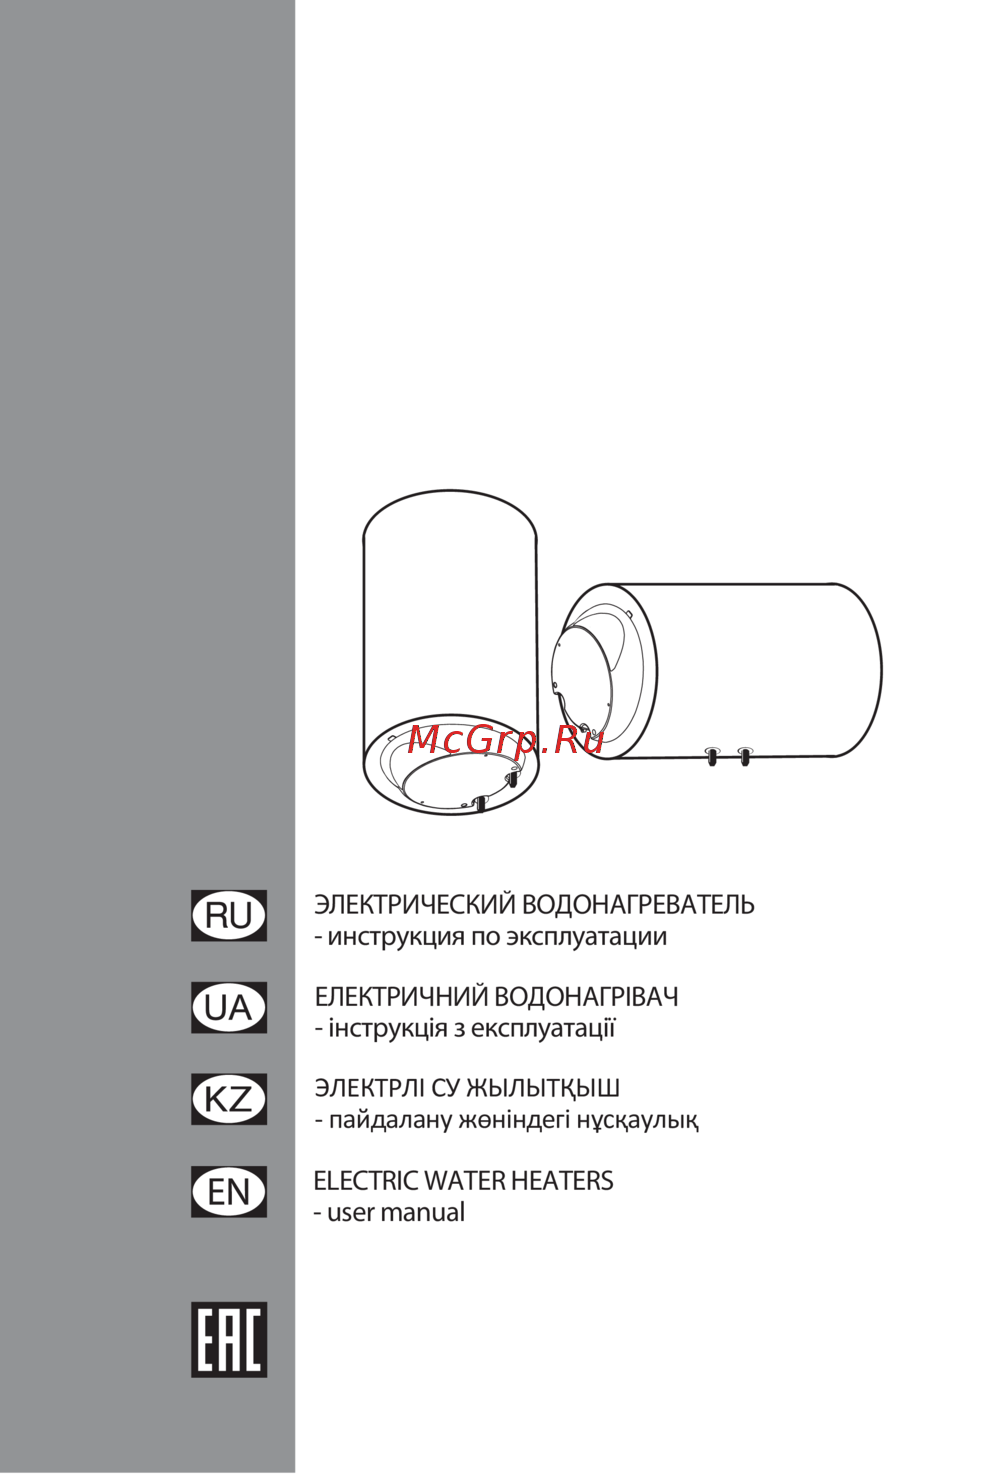 Ariston PRO R 100Инструкция по эксплуатации
 -
 Ariston ABS PRO ECO PW 50 VИнструкция по эксплуатации
 -
Ariston PRO R 50 накопительныйИнструкция по эксплуатации
-
 Ariston ABS VLS EVO QH 100Инструкция по эксплуатации
Узнайте, как правильно запустить и управлять водонагревателем. Подробные шаги по заполнению, настройке температуры и выбору режимов работы.
