
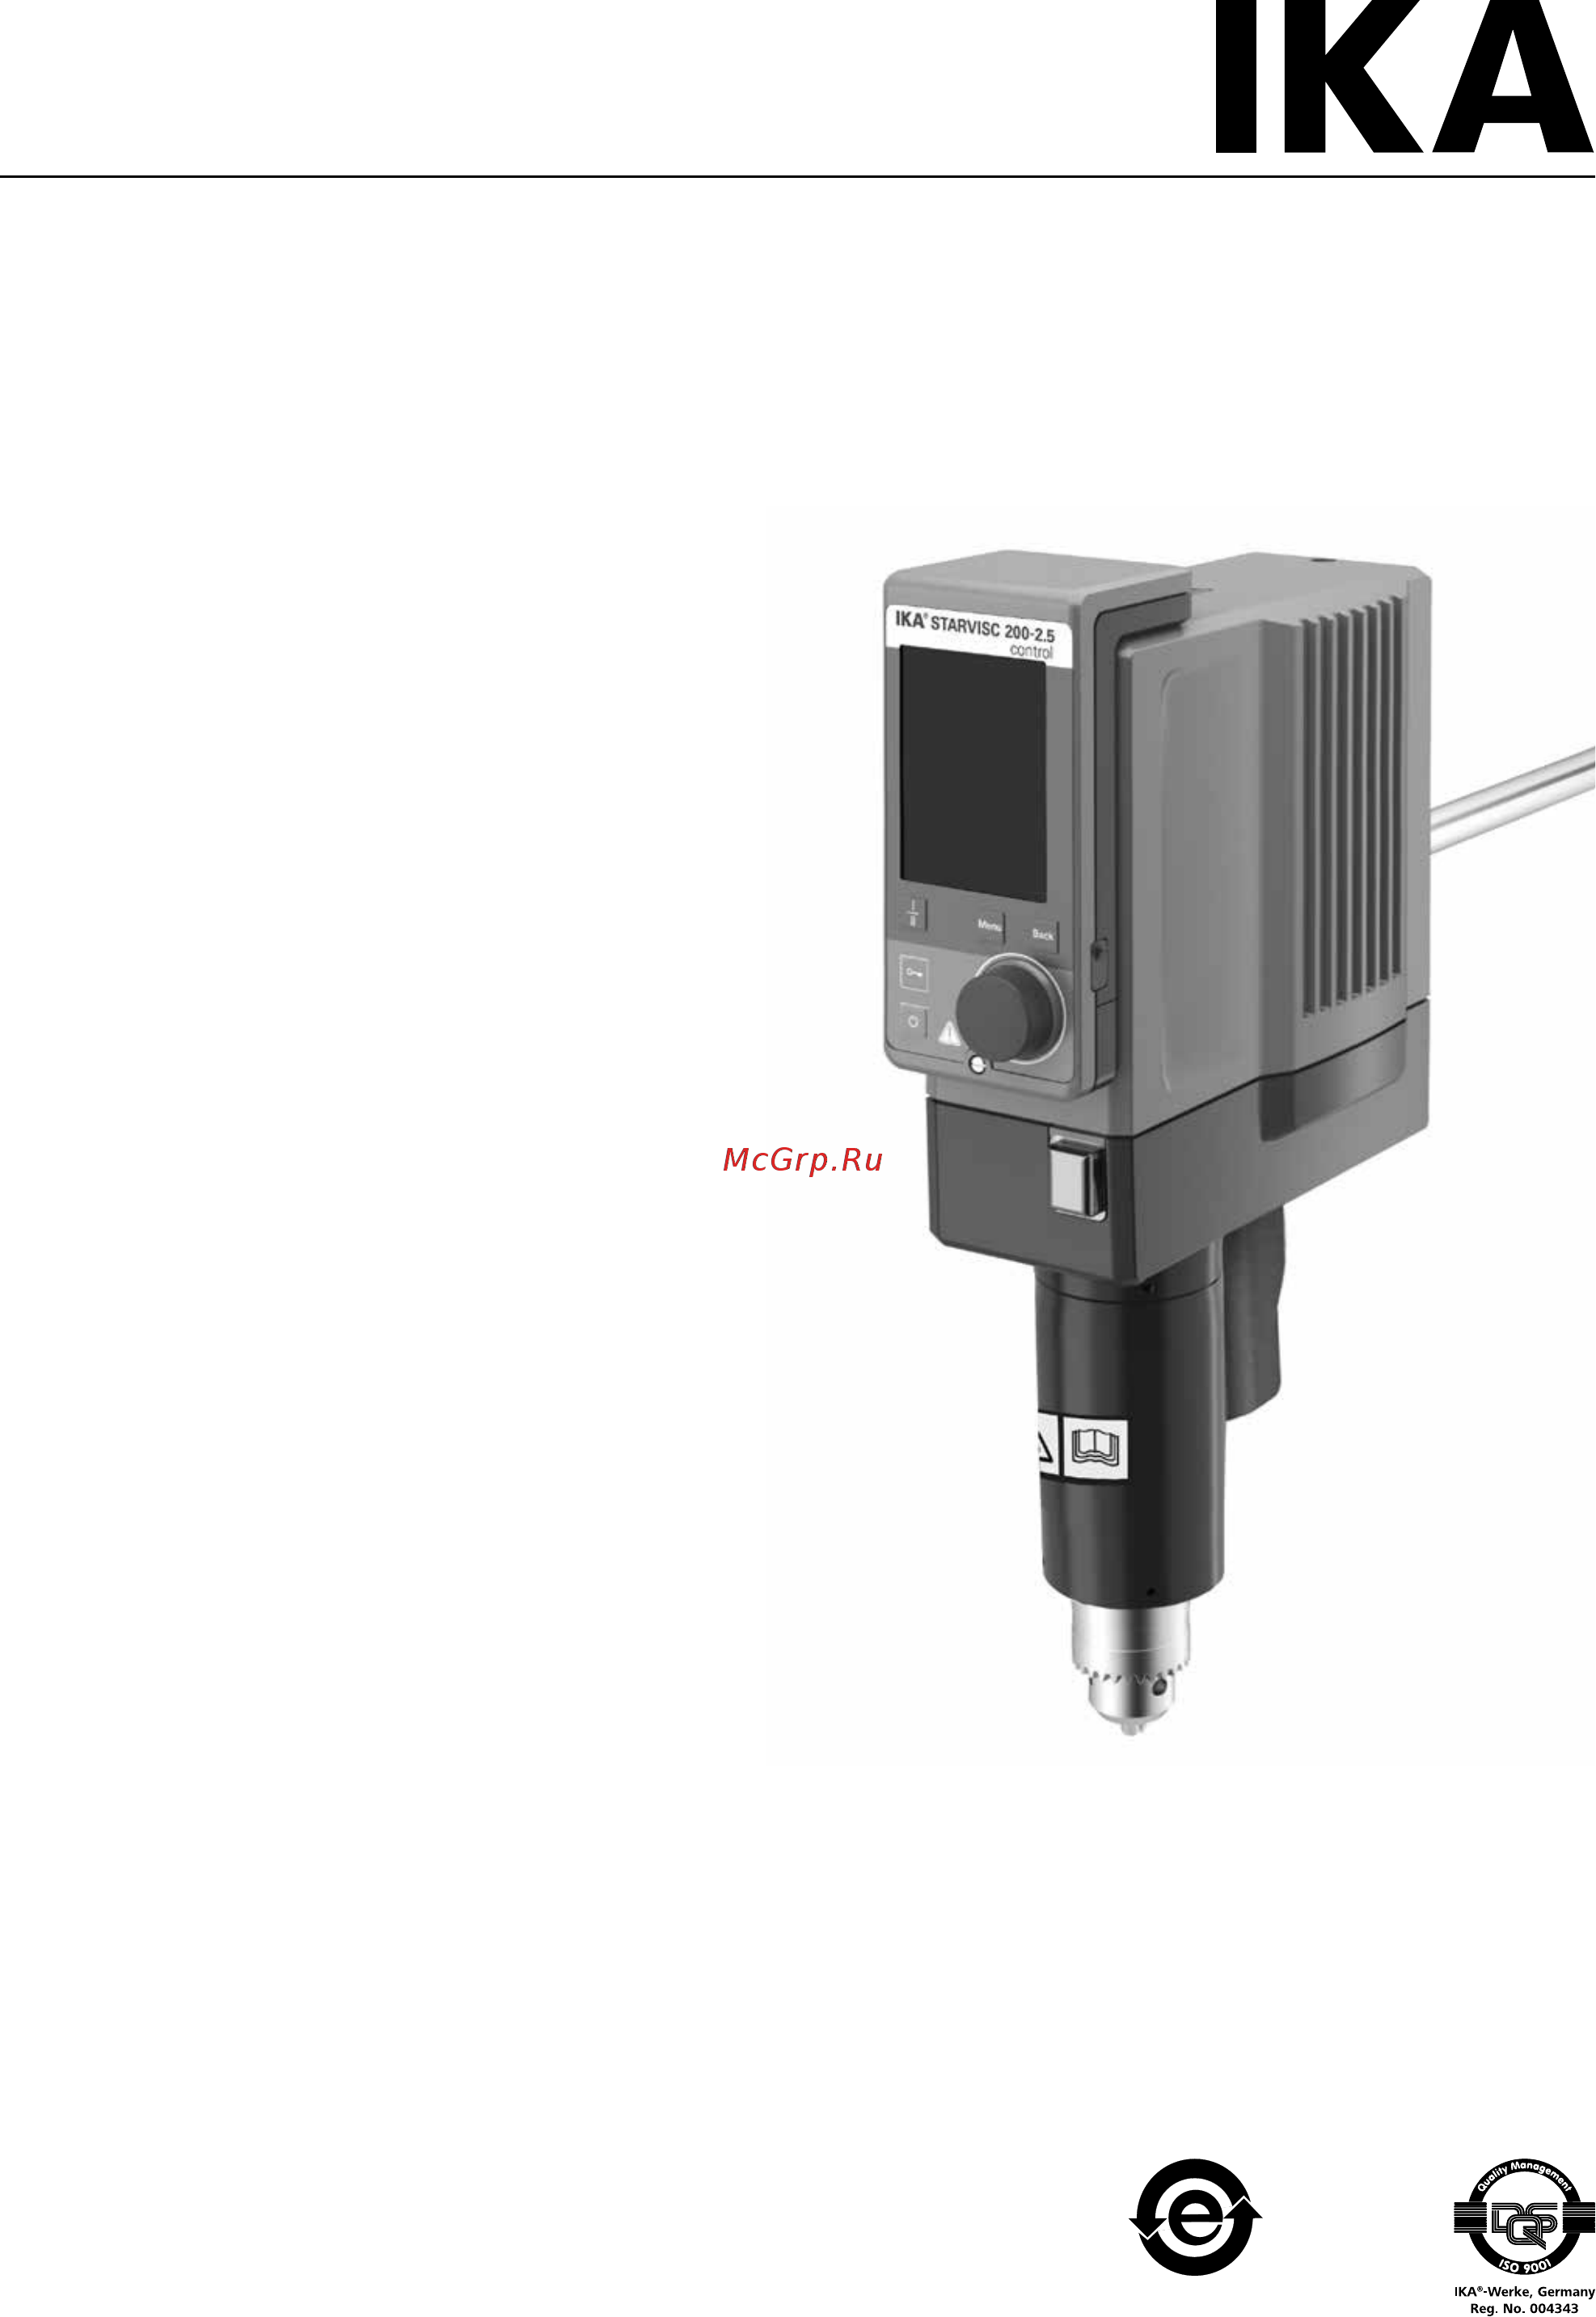
IKA STARVISC 200-2.5 control 0025003604 Руководство по эксплуатации онлайн
Содержание
- Ika starvisc 200 2 control 1
- Dangerous parts 2
- Device setup 2
- Device setup dangerous parts 2
- Fig 5 fig 6 2
- Contents 3
- Eu declaration of conformity 3
- Note for canada ic 3
- Note for usa fcc 3
- Caution 4
- Danger 4
- Explication of warning symbols 4
- Notice 4
- Safety instructions 4
- Warning 4
- Do not deform or crush the battery pack or damage it in any other way this can cause battery fluid to leak and or the bat tery pack to explode 5
- It is important to note that the surfaces of the motor cooling fins and certain parts of the bearing may get very hot during operation 5
- Wear your personal protective equipment in accordance with the hazard category of the medium to be processed there is a risk of 5
- Correct use 6
- Motor protection 6
- Notice 6
- Speed normal operation 6
- Unpacking 6
- Commissioning 7
- Output shaft 7
- Securing 7
- Speed display 7
- Speed overload operation 7
- Connection of the temperature sensor usb and rs232 cables to the stirrer diagram see fig 6 8
- Notice 8
- Securing the mixing vessel to the stand diagram see fig 7 first fix the cross sleeve h to the stand i then attach the bracket z of the strap clamp in the open side of the cross sleeve which is facing upwards according to the position of stirrer and the mixing vessel firmly tighten the two clamping bolts g 8
- Securing the wico to the stirrer diagram see fig 1 8
- Switching on the device 9
- Useful information 9
- Navigation menu and menu structure 11
- Press the menu button n select the menu by turning the rotary push knob b to the right or left to select the desired menu or sub menu which can then be selected by pressing the rotary push knob press or turn the rotary push knob b again to select the desired menu option and edit the values or settings or activate deactivate a function 11
- Menu structure 12
- Note pressing the back button while the device is running re sets the torque to 0 ncm the δ symbol then appears in the dis play in front of the torque value 13
- The torque display menu allows the user to specify that the torque is shown in the display a tick shows that the option is activated 13
- Density 14
- Display 14
- Measuring condition 14
- Mpa s vlv very low viscosity 1 100 aqueeous media lv low viscosity 100 1000 light oil mv medium viscosity 1000 10000 heavy oil hv high viscosity 10000 100000 pastes creams 14
- Stirrer 14
- Viscosity 14
- When you need to show the viscosity on the screen you need ac tive the display under viscosity menu option and meanwhile deactivate one of torque temperature or timer display 14
- Auto zeroing 15
- For compensation mechanical friction and grease viscosity you must auto zero the device before you measure the viscosity before auto zeroing empty the vessel according to the reminding of the wico firstly set the maximum speed higher a little than the select speed in the following viscosity measuring for example when you use r 1345 hv and the optimum speed 200 rpm to measure a medium viscosity the maximum speed should be set as about 210 to 250 rpm the zeroing processing will take about 150 seconds 15
- Stirrer tool r 1302 15
- Viscosity measuring 15
- Activate the viscosity display 16
- Fill 1500 ml the medium to the vessel 16
- In the temperature menu the user can specify that the tem perature sensor is displayed on the display working screen a tick shows that the option is activated the precondition for this is that a temperature sensor is connected to the eurostar station if no temperature sensor is connected or an error is present or the temperature rises above 350 c three dashes are shown as the temperature value 16
- Ml low shape beaker din 12332 to the as sembly see section securing 16
- Note after backing to the working screen if the viscosity is not shown please enter menu display and deactivate one of torque temperature or timer then activated the viscosity display 16
- Note the user can stop the stirring function before expiry of the set time in this case the countdown of the timer is interrupted 16
- Please comply with the temperature measurement range of the external temperature sensor specified in the technical data section the temperature display can be in either c or f see the settings menu 16
- Secure proper vessel and stirrer tool switch off the device and secure stirrer tool r 1302 to the stirrer then secure the 16
- Select the stirrer tool select the proper the stirrer tool r 1302 hv press on ok to confirm the setting 16
- Set the medium density set the medium density by rotating the knob press on ok to confirm the setting 16
- Set the speed range and test speed switch on the device set the device to speed range i high torque and set the speed to 200 rpm 16
- Start measuring and read the viscosity value start the measuring by pressing the knob and the device starts to run with the set speed read the viscosity value when the figure get steady 16
- Temperature 16
- Timer in the timer menu the user can specify that the timer is dis played on the display working screen a tick shows that the option is activated this setting allows the user to specify the actual time for the stirring procedure a default time can also be set for the timer this setting allows the user to start the stirring task for a standard time the device stops automatically after expiry of the set time and the set time used for the stirring procedure appears in the display 16
- Delete 17
- Details for editing the program 17
- Display 17
- Edit when the highlighted edit symbol appear on the right top of the screen the user could change the speed rpm time value or intermittent mode setting 17
- Insert 17
- Note the speed rpm value can be changed during the speed limit range of the device the time can be set from 1 minute to 10 hours 17
- Operating mode 17
- Operating mode a 17
- Operating mode b 17
- Operating mode c 17
- Press the rotary push knob on option detail the detailed settings of every segment can be seen 17
- Programs under menu programs 5 user defined speed rpm time profiles can be created in addition the user could define the intermittent mode is activated or not in the programs if the intermittent mode is activated the run time stop time value from intermittent mode setting will be taken 17
- Rotary push knob screen reminds the user to confirm the program control press ok with rotary push knob to start the program control 17
- Turn the rotary push knob the details screen of every segment can be switched 17
- View the program in graph 17
- Edit intermittent mode yes no 18
- Edit speed rpm 18
- Edit time hh mm 18
- Example for editing the program 18
- Note when intermittent mode is ac tive dashed line is used to represent the speed rpm 18
- Program diagram 18
- Function a tick shows that the option is activated 19
- Menu option allows you to activate deac tivate the bluetoot 19
- The device name menu option allows you to edit the de vice name this can relatively identify the paired station 19
- The remote control menu option allows you to select wico or other device as the remote control device the bluetoot 19
- Time out 19
- Installation 20
- Interfaces and outputs 20
- Connection capability station to the computer 21
- Connection capability wico to the station 21
- Error codes 22
- Item and designation of the spare part see 22
- Maintenance and cleaning 22
- Warranty 22
- Accessories 23
- Permitted ika stirrer tools 23
- See more accessories on www ika com 23
- Technical data 24
- Max communication distance dependent on the building 25
- Subject to technical changes 25
- Www ika com 26
Похожие устройства
- IKA STARVISC 200-2.5 control 0025003604 Технический паспорт
- IKA STARVISC 200-2.5 control 0025003604 Флаер
- IKA ROTAVISC lo-vi Complete 0025000310 Брошюра
- IKA ROTAVISC lo-vi Complete 0025000310 Руководство по эксплуатации
- IKA ROTAVISC lo-vi Complete 0025000310 Технический паспорт
- IKA ROTAVISC lo-vi Complete 0025000310 Флаер
- IKA ROTAVISC me-vi Complete 0025000311 Брошюра
- IKA ROTAVISC me-vi Complete 0025000311 Руководство по эксплуатации
- IKA ROTAVISC me-vi Complete 0025000311 Технический паспорт
- IKA ROTAVISC me-vi Complete 0025000311 Флаер
- IKA ROTAVISC hi-vi I Complete 0025000312 Брошюра
- IKA ROTAVISC hi-vi I Complete 0025000312 Руководство по эксплуатации
- IKA ROTAVISC hi-vi I Complete 0025000312 Технический паспорт
- IKA ROTAVISC hi-vi I Complete 0025000312 Флаер
- IKA ROTAVISC hi-vi II Complete 0025000313 Брошюра
- IKA ROTAVISC hi-vi II Complete 0025000313 Руководство по эксплуатации
- IKA ROTAVISC hi-vi II Complete 0025000313 Технический паспорт
- IKA ROTAVISC hi-vi II Complete 0025000313 Флаер
- IKA ROTAVISC lo-vi Advanced 0025000320 Брошюра
- IKA ROTAVISC lo-vi Advanced 0025000320 Руководство по эксплуатации