
Daikin EGSAX06UDA9W Инструкция по монтажу онлайн
Installation manual
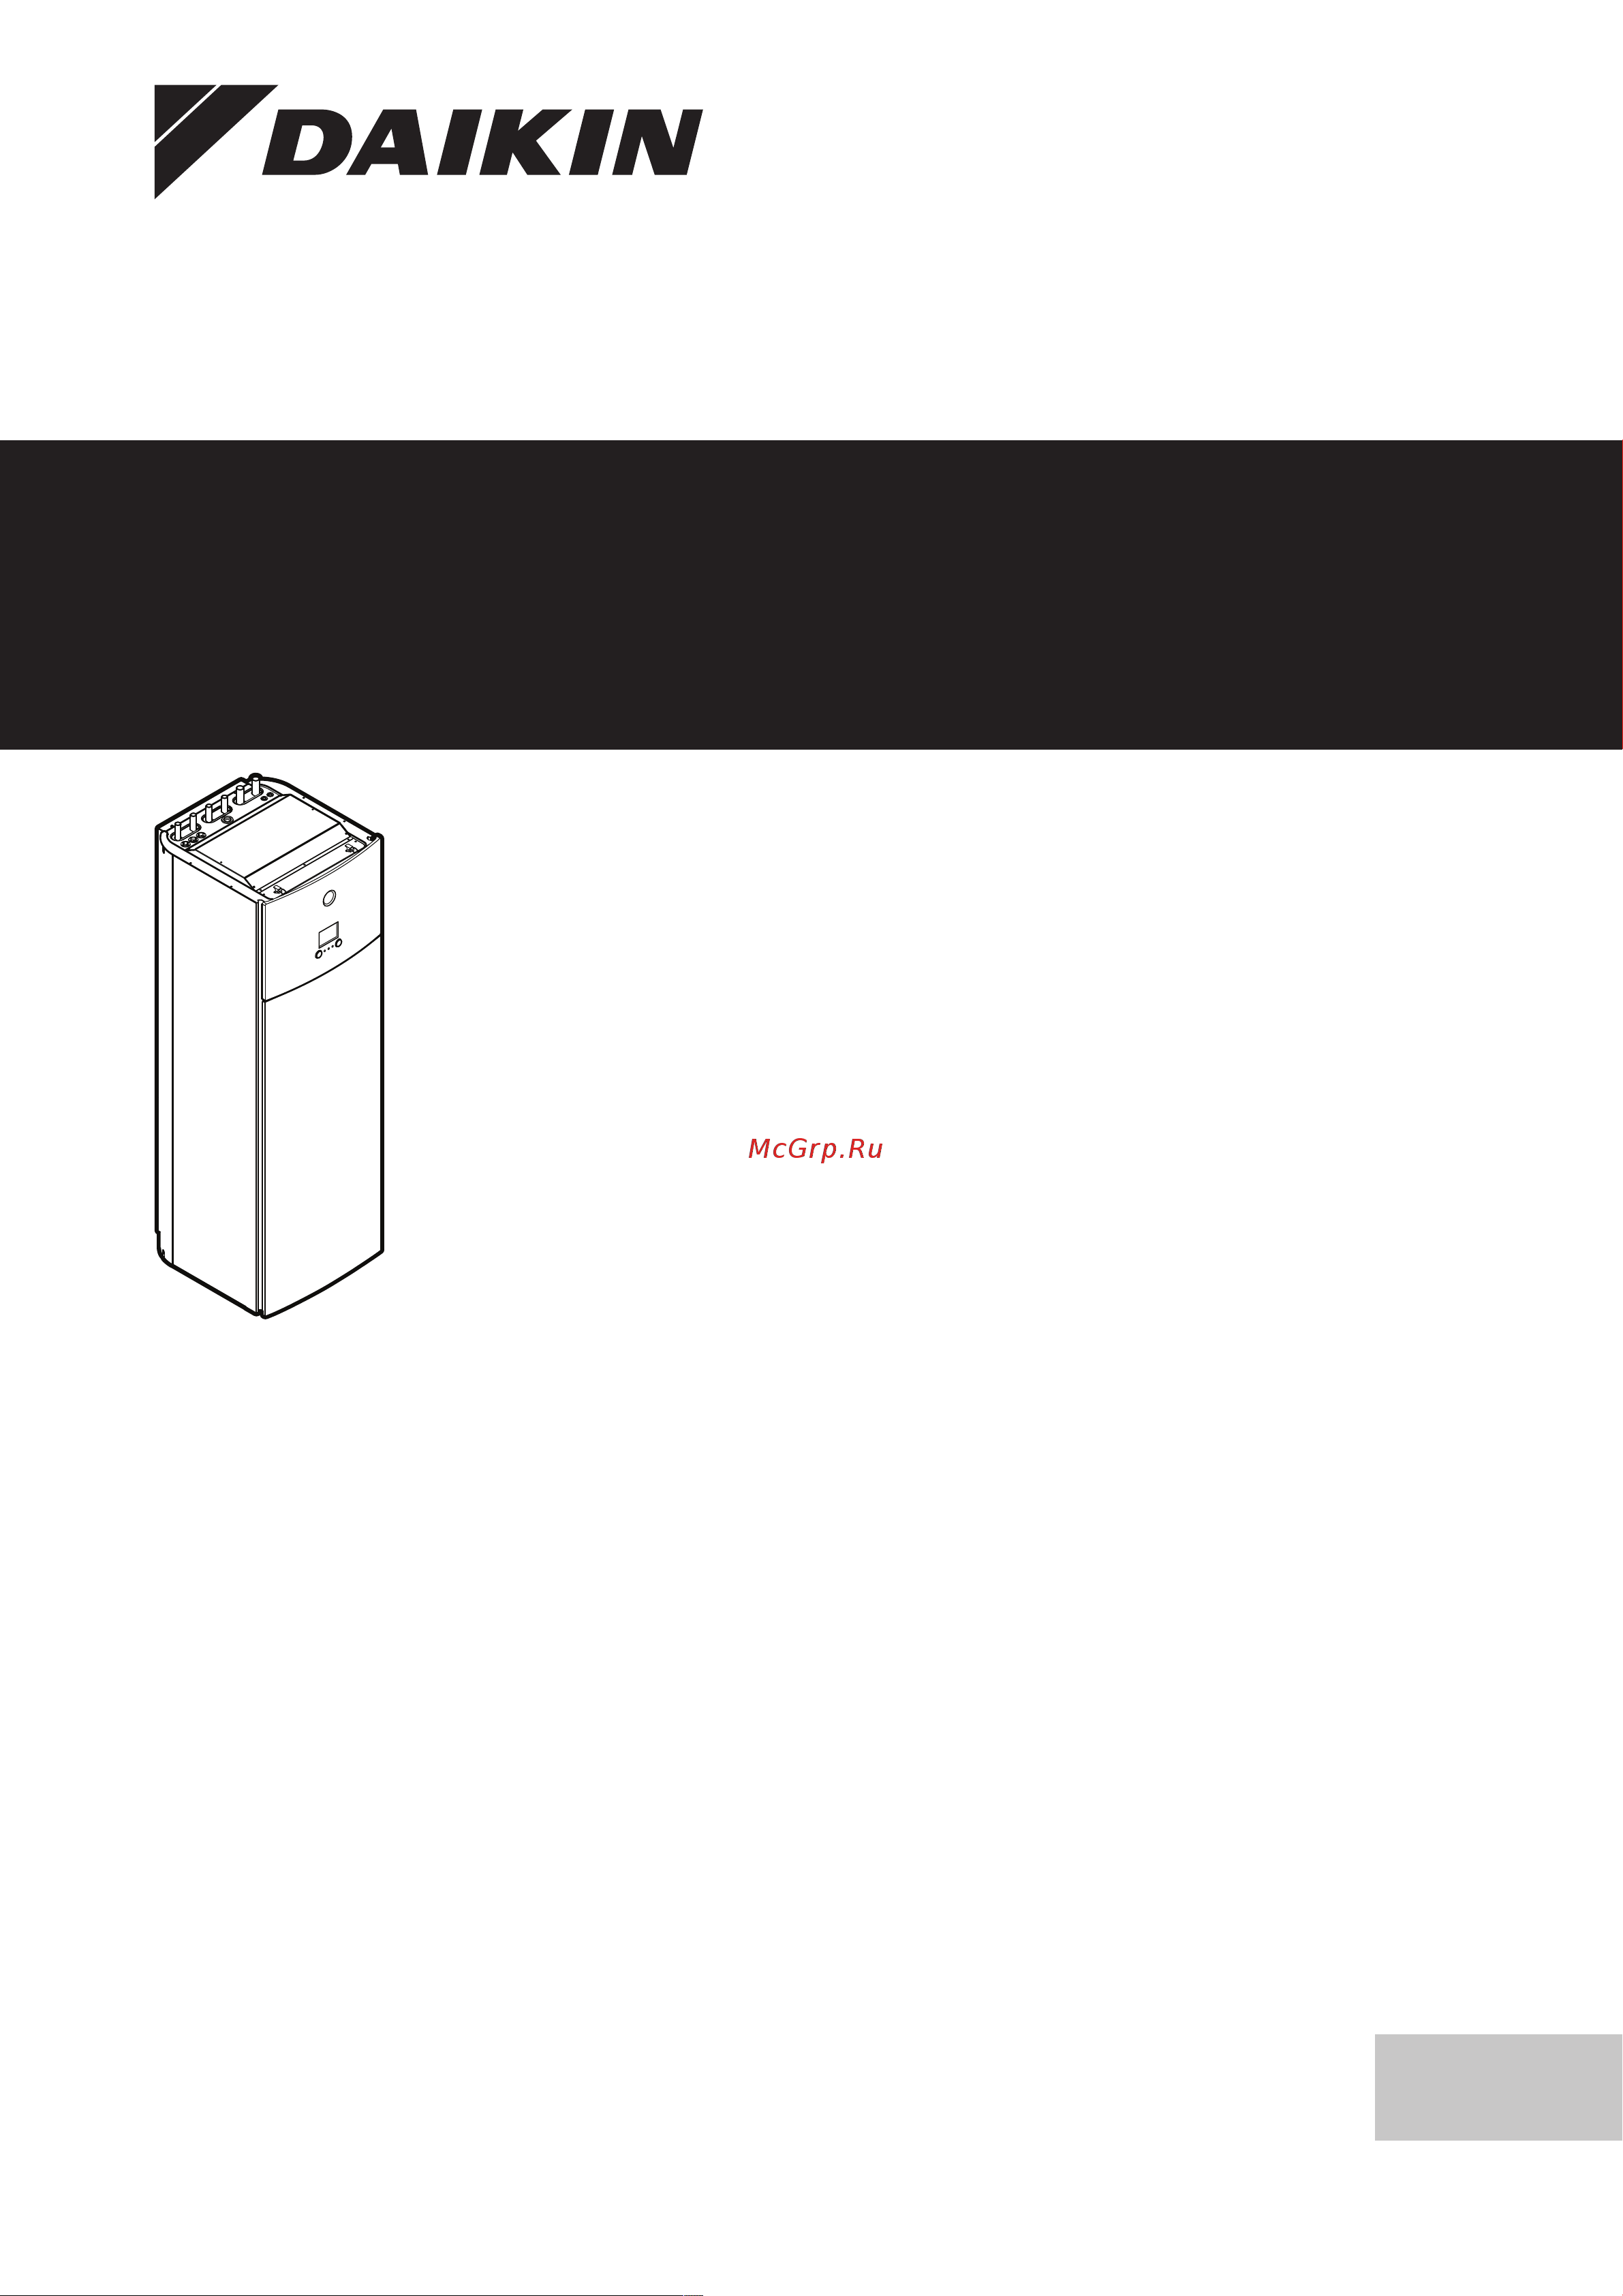
Daikin Altherma 3 GEO
English
Installation manual
Daikin Altherma 3 GEO
EGSAH06UDA9W
EGSAH10UDA9W
EGSAX06UDA9W
EGSAX10UDA9W
Содержание
- Daikin altherma 3 geo 1
- Installation manual 1
- 551 emc 2
- Daikin europe n v 2
- Daikin tcf 34a7 10 2019 2
- Daikin tcfp 17w090 2
- Dekra nb0344 2
- Director 2
- Egsah06uda9w egsah10uda9w 2
- Egsax06uda9w egsax10uda9w 2
- Electromagnetic compatibility 2014 30 eu 2
- En60335 2 40 2
- Hiromitsu iwasaki 2
- Installation manual 2
- Low voltage 2014 35 eu 2
- Ostend 2nd of december 2019 2
- P570461 2b 2
- Pressure equipment 2014 68 eu 2
- Vinçotte nv nb0026 2
- Director 3
- Hiromitsu iwasaki 3
- Jan olieslagerslaan 35 3
- Ostend 2nd of december 2019 3
- P570461 2b 3
- Vilvoorde belgium 3
- Vinçotte nv 3
- About the box 5 4
- About the documentation 4
- About the documentation 4 4
- About this document 4
- Authorised installers 4
- Commissioning 36 4
- Configuration 27 4
- Documentation set 4
- Electrical installation 14 4
- Format paper in the box of the unit 4
- General safety precautions 4
- Hand over to the user 38 4
- Information 4
- Maintenance and service 39 4
- Make sure that the user has the printed documentation and ask him her to keep it for future reference 4
- Piping installation 10 4
- Safety instructions that you must read before installing 4
- Table of contents 4
- Target audience 4
- Technical data 41 4
- This document is part of a documentation set the complete set consists of 4
- Unit installation 6 4
- About the box 5
- Indoor unit 5
- To handle the indoor unit 5
- To remove the accessories from the indoor unit 5
- Checklist for the required dhw accessories 6
- Domestic hot water tank kit 6
- Installation site requirements of the indoor unit 6
- Preparing the installation site 6
- To remove the accessories from the domestic hot water tank kit 6
- Unit installation 6
- Opening and closing the unit 7
- To open the indoor unit 7
- Unit installation 7
- To remove the hydro module from the unit 8
- Unit installation 8
- Mounting the indoor unit 9
- To close the indoor unit 9
- To install the indoor unit 9
- Unit installation 9
- Connecting the brine piping 10
- Piping installation 10
- Preparing piping 10
- To check the water volume and flow rate of the space heating circuit and brine circuit 10
- To connect the brine piping 10
- To connect the drain hose to the drain 10
- Piping installation 11
- To connect the brine filling kit 11
- To connect the brine level vessel 11
- To fill the brine circuit 11
- Connecting water piping 12
- Piping installation 12
- To connect the water piping 12
- To connect the water piping for domestic hot water 12
- To insulate the brine piping 12
- Piping installation 13
- To connect the recirculation piping 13
- About electrical compliance 14
- Electrical installation 14
- Overview of electrical connections for external and internal actuators 14
- To check for water leaks 14
- To fill the domestic hot water tank 14
- To fill the space heating circuit 14
- To insulate the water piping 14
- Electrical installation 15
- To connect the main power supply 15
- Electrical installation 16
- Electrical installation 17
- Electrical installation 18
- To connect the remote outdoor sensor 18
- To connect the shut off valve 18
- Electrical installation 19
- To connect the domestic hot water pump 19
- To connect the electricity meters 19
- Electrical installation 20
- To connect the alarm output 20
- To connect the space cooling heating on off output 20
- Electrical installation 21
- To connect the changeover to external heat source 21
- Electrical installation 22
- To connect the power consumption digital inputs 22
- To connect the safety thermostat normally closed contact 22
- Electrical installation 23
- To connect the brine low pressure switch 23
- About the lan adapter 24
- Electrical installation 24
- Lan adapter 24
- System requirements 24
- To connect the thermostat for passive cooling 24
- Electrical installation 25
- Overview of electrical connections 25
- Router 25
- To connect the router 25
- Electrical installation 26
- Electricity meter 26
- Solar inverter energy management system 26
- To connect the electricity meter 26
- Configuration 27
- Overview configuration 27
- To connect the solar inverter energy management system 27
- Configuration 28
- Configuration wizard 28
- To access the most used commands 28
- Configuration 29
- Configuration wizard language 29
- Configuration wizard system 29
- Configuration wizard time and date 29
- Configuration 30
- Configuration wizard backup heater 30
- Configuration wizard main zone 30
- Configuration 31
- Configuration wizard additional zone 31
- Configuration wizard tank 31
- 2 points curve 32
- Configuration 32
- Slope offset curve 32
- Weather dependent curve 32
- What is a weather dependent curve 32
- Configuration 33
- Using weather dependent curves 33
- Additional zone 34
- Brine freezing temperature 34
- Configuration 34
- Information 34
- Main zone 34
- Settings menu 34
- Configuration 35
- Depending on the selected installer settings and unit type settings will be visible invisible 35
- Egsah x06 10uda9w daikin altherma 3 geo 4p598591 1b 2020 7 35
- Information 35
- Installation manual 35
- Menu structure overview installer settings 35
- Only applicable in swedish language 35
- Checklist before commissioning 36
- Checklist during commissioning 36
- Commissioning 36
- To perform an air purge on the water circuit 36
- Commissioning 37
- Possible actuator test runs 37
- To perform an actuator test run 37
- To perform an air purge on the brine circuit 37
- To perform an operation test run 37
- To perform an underfloor heating screed dryout 37
- Hand over to the user 38
- To start or stop 10 day brine pump operation 38
- Maintenance and service 39
- Maintenance safety precautions 39
- Yearly maintenance 39
- Yearly maintenance instructions 39
- Yearly maintenance overview 39
- Maintenance and service 40
- To drain the domestic hot water tank 40
- Technical data 41
- To inspect the inside of the domestic hot water tank 41
- D121963 42
- Piping diagram indoor unit 42
- Technical data 42
- Technical data 43
- Wiring diagram indoor unit 43
- Technical data 44
- D121919 45
- Egsah x06 10uda9w daikin altherma 3 geo 4p598591 1b 2020 7 45
- Electrical connection diagram for more details please check the unit wiring 45
- Installation manual 45
- Technical data 45
- En12897 2016 46
- Technical data 46
- Technical specifications 46
- Technical specifications domestic hot water tank 46
- Test results in accordance with en12897 2016 46
- Warning label 46
- Warning to installer 46
- Warning to user 46
Похожие устройства
- Daikin EGSAX06UDA9W Руководство по применению для пользователя
- Daikin EGSAX06UDA9W Справочное руководство для монтажника
- Daikin EGSAX06UDA9W Руководство по применению для установщика
- Daikin EGSAX10UDA9W Общие правила техники безопасности
- Daikin EGSAX10UDA9W Инструкция по эксплуатации
- Daikin EGSAX10UDA9W Приложение к руководству для дополнительного оборудования
- Daikin EGSAX10UDA9W Инструкция по монтажу
- Daikin EGSAX10UDA9W Руководство по применению для пользователя
- Daikin EGSAX10UDA9W Справочное руководство для монтажника
- Daikin EGSAX10UDA9W Руководство по применению для установщика
- Daikin EGSQH10S18AA9W Инструкция по эксплуатации
- Daikin EGSQH10S18AA9W Общие правила техники безопасности
- Daikin EGSQH10S18AA9W Руководство по применению для пользователя
- Daikin EGSQH10S18AA9W Инструкция по монтажу
- Daikin EGSQH10S18AA9W Руководство по применению для установщика
- Daikin EKCSENS Инструкция по монтажу
- Daikin MC55VBFVM Инструкция по эксплуатации
- Daikin MCK70YB Инструкция по эксплуатации
- Daikin MCK70YVM Инструкция по эксплуатации
- Daikin LMSWHD030AV3018 Технические данные