
Haier AS12TBCHRA Инструкция по эксплуатации онлайн
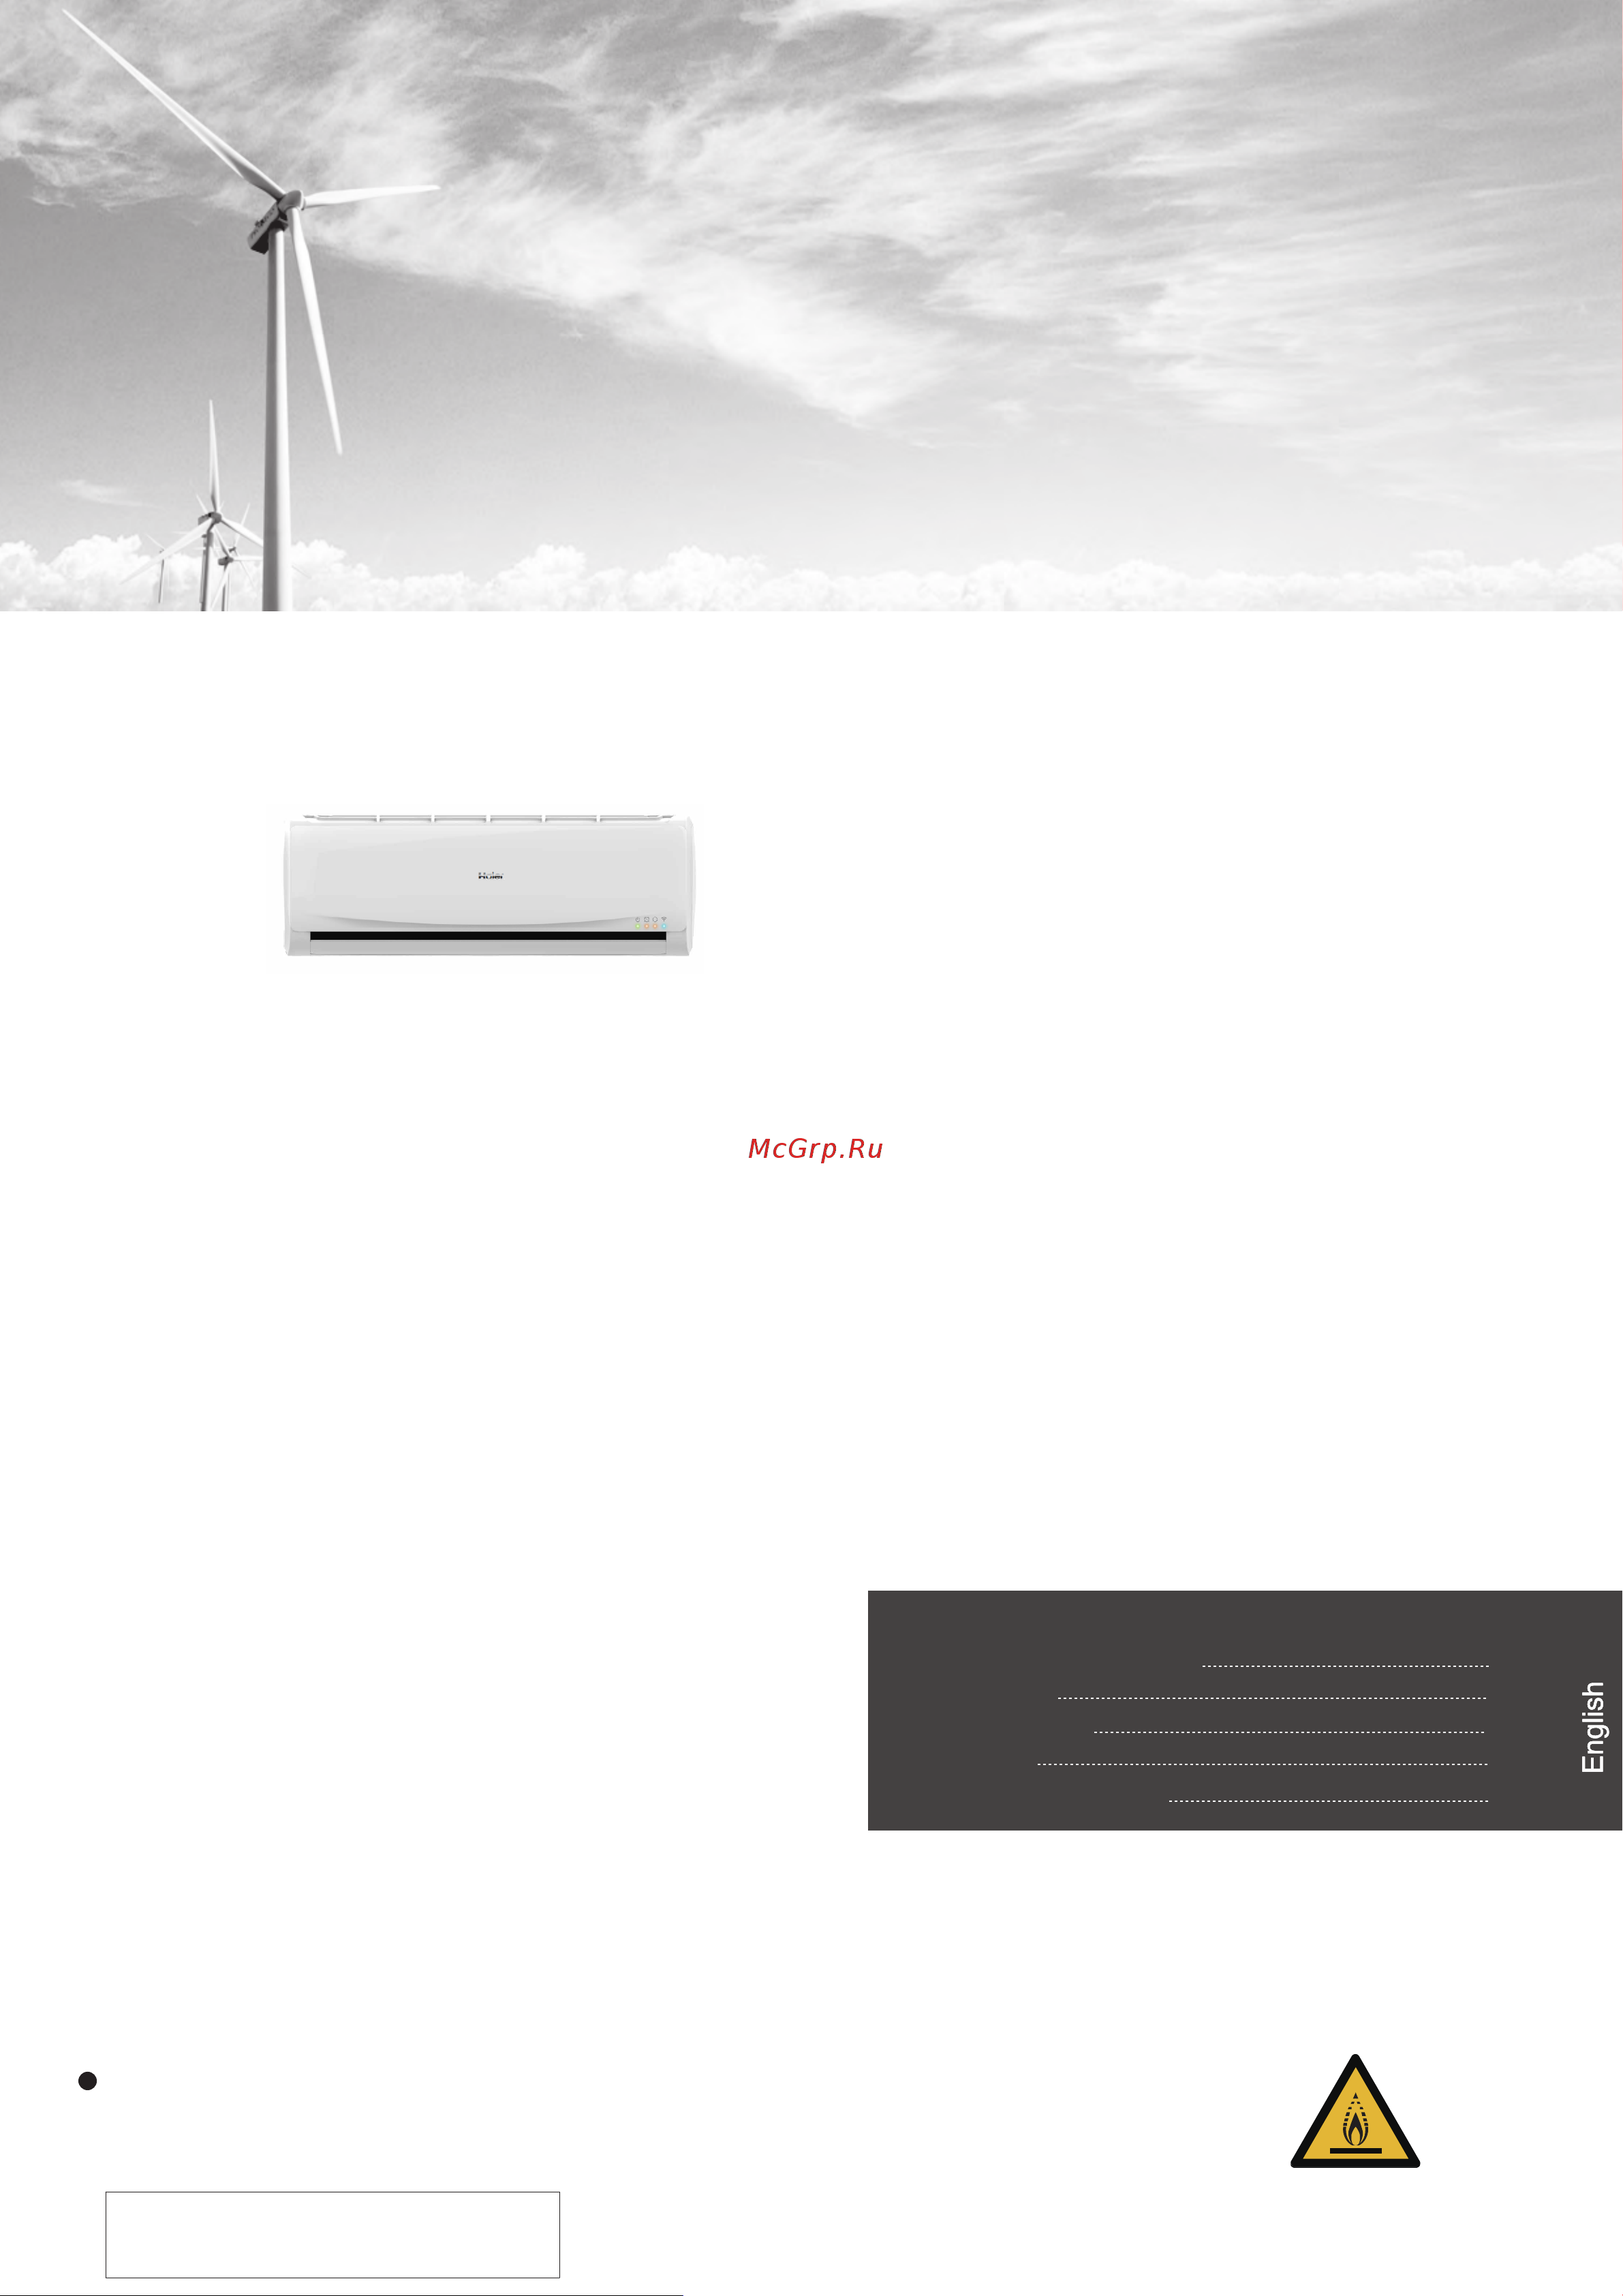
Please read this operation manual before using the air conditioner.
Keep this operation manual for future reference.
SPLIT TYPE ROOM AIR CONDITIONER
OPERATION MANUAL
0011511007
7
1
2
6
5
Contents
PARTS AND FUNCTIONS
OPERATION
MAINTENANCE
CAUTIONS
TROUBLE SHOOTING
AS09TACHRA
AS12TBCHRA
AS18TCCHRA
AS24TECHRA
AS26TACHRA
AS35TBCHRA
AS53TCCHRA
AS71TECHRA
条形码绘制区
Содержание
- As09tachra as12tbchra as18tcchra as24techra as26tachra as35tbchra as53tcchra as71techra 1
- Contents 1
- Operation manual 1
- Please read this operation manual before using the air conditioner keep this operation manual for future reference 1
- Split type room air conditioner 1
- Actual inlet grille may vary from the one shown in the manual according to the product purchased 2
- Air health 2
- Indoor unit 2
- Load the battery then put on the cover again 2
- Parts and functions 2
- Remove the battery cover load the batteries as illustrated 2 r 03 batteries resetting key cylinder be sure that the loading is in line with t 2
- Timer mode indicator 2
- Air conditioner is running under displayed fan speed when fan is set to auto the air conditioner automatically adjusts the fan speed according to room temperature 3
- Air flow direction adjustment 3
- Autoswing 3
- C if kept depressed it will decrease rapidly select a desired temperature 3
- C if kept depressed it will increase rapidly every time the button is pressed temp setting decrease 3
- Cautions 3
- Changes as follows 3
- Cool dry auto initial state 3
- Display board remote controller note 3
- Display circulated 3
- Every time the button is pressed temp setting increase 1 3
- Fan nothing 3
- Haier peaksmart enabled air conditioners have a demand response mode display on the indoor unit the display could be labelled d1 d2 d3 wording may differ model to model 3
- Heat initial state 3
- Low med hi 3
- Operation 3
- Operation mode 3
- Present position 3
- Press button 3
- Press button again 3
- Press button changes as follows pos 3
- Press fan button for each press fan speed 3
- Press on off on the remote controller unit starts 3
- Remote controller 3
- The swing function will be cancelled 3
- These modes are described in more detail below 3
- This function is unavailable on some models 3
- To choose the pos and pos 3
- Unit start stop 3
- Vertical flap 3
- Vertical flap will stop over 3
- Additional options again and to cancel power function 4
- After 30 minutes test operation ends automatically 4
- After adjust the time press button and confirm the time on or off button will not flash any more 4
- Cancel timer setting press the button by times until the time display eliminated 4
- Confirm timer setting 4
- Continue to press the test operation switch for more than 5 seconds after you hear the pi sound twice release your finger from the switch the cooling operation starts with the air flow speed hi 4
- Display to will flash and then press enter to power function when cancel the function please enter 4
- Do not use it in the normal operation 4
- During power operation in rapid cool mode the room 4
- Entry and exit press self clean button to enter this function then it will display cl on the panel of the indoor unit and also on the remote controller after running 20 30 minutes this function will exit automatically when the pi sound is heard twice then the unit returns to original state under operation process of self clean pressing the button repeatedly has no effect and the function will not exit but pressing the power off button and other mode button can make it exit 4
- Functional description the purpose of this function is to clean the evaporator 4
- H 0 h 0 h 0 h 4
- In this operation the system automatically selects the operation modes cooling or fan or heat according to the room temperature 4
- It is not possible to operate in dry mode 4
- Operation 4
- Power operation 4
- Power soft operation 4
- Press button to enter additional options when cycle 4
- Press quiet button the remote controller will show and then achieve to the quiet function press again this quiet button the quiet function will be cancelled 4
- Press the button for each time settiing time in the first 12 hours decreased by 0 hour every time after 12 hours decreased by 1 hour every time 4
- Press the button for each time setting time in the first 12 hours increased by 0 hour every time after 12 hours increased by 1 hour every time 4
- Quiet operation 4
- Self clean operation 4
- Test operation 4
- Test operation switch is the same as emergency switch 4
- This function is unavailable on some models 4
- Timer on off on off operation 4
- Use this operation only when the remote controller is defective or lost 4
- Use this switch in the test operation when the room temperature is below 4
- When the emergency operation switch is pressed the pi sound is heard once which means the start of this operation 4
- When you need rapid heating or cooling you can use this function 4
- Will show inhomogeneous temperature distribution long period quiet operation will cause effect of not too cool or not too warm 4
- You can use this function when silence is needed for rest or reading 4
- Comfortable sleep 5
- Controller 5
- Decreases 2 5
- For a minute and then start adjusting by remote 5
- Healthy airflow operation 5
- Hrs 3 hrs 5
- If user resets timer function the sleeping function will be cancelled the machine will be in the state of timing on 5
- In cool dry mode 5
- In heat mode 5
- Modes are set up at the same time 5
- Operation 5
- Operation stops 5
- Setting the comfort work conditions 5
- When timer function is set the sleeping function can t be set up after the sleeping function is set u 5
- And the white side face the unit 6
- Attach air purifying filter 6
- Attach the filter 6
- Attach the standard air filter 6
- Clean the filter 6
- Close doors and windows during operation 6
- Close the grille surely 6
- Close the inlet grille 6
- Detach old air purifying filter 6
- Do not block the air inlet or outlet 6
- For smart use of the air conditioner 6
- If the unit is not to be used for a long time turn off the power supply main switch 6
- Maintenance 6
- Necessary installation 6
- Note air purifying filter is optional part 6
- Open the inlet grille by pulling it upward 6
- Please keep the bacteria killing medium air purifying filter in avoid long time directly sunshine when you stop using it or its ability of sterilization will be reduced 6
- Prop up the inlet grille by using a small device named grille support 6
- Purifying filter face outside 6
- Put air purifying filter appliances into the right and left filter frames 6
- Remove the filter 6
- Replacement of air purifying filter 6
- Setting of proper room temperature 6
- Slide the knob slightly upward to release the filter then withdraw it 6
- The bacteria killing medium air purifying filter will be used for a long time no need for replacement but in the period of using them you should remove the dust frequently by 6
- The cool and dry conditions 6
- The photocatalyst air purifying filter will be solarized in fixed time in normal family it will be solarized every 6 months 6
- Use the louvers effectively 6
- Use the timer effectively 6
- Using vacuum cleaner or flaping them lightly otherwise its performance will be affected 6
- Which located in the right side of the indoor unit 6
- Caution 7
- Cautions 7
- Please call sales service shop for the installation do not attempt to install the air conditioner by yourself because improper works may cause electric shock fire water leakage 7
- Warning 7
- Before asking for service check the following first 8
- Cautions 8
- Specifications 8
- The machine is adaptive in following situation 8
- Trouble shooting 8
Похожие устройства
- Haier AS12TBCHRA Инструкция по монтажу
- Haier AS18TCCHRA Брошюра
- Haier AS18TCCHRA Инструкция по эксплуатации
- Haier AS18TCCHRA Инструкция по монтажу
- Haier AS24TECHRA Брошюра
- Haier AS24TECHRA Инструкция по эксплуатации
- Haier AS24TECHRA Инструкция по монтажу
- Haier AS26TACHRA Брошюра
- Haier AS26TACHRA Инструкция по эксплуатации
- Haier AS26TACHRA Инструкция по монтажу
- Haier AS35TBCHRA Брошюра
- Haier AS35TBCHRA Инструкция по эксплуатации
- Haier AS35TBCHRA Инструкция по монтажу
- Haier AS53TCCHRA Брошюра
- Haier AS53TCCHRA Инструкция по эксплуатации
- Haier AS53TCCHRA Инструкция по монтажу
- Haier AS71TECHRA Брошюра
- Haier AS71TECHRA Инструкция по эксплуатации
- Haier AS71TECHRA Инструкция по монтажу
- Haier 1U09MACFRA Инструкция по монтажу