
Haier HSU-09LEK113 Инструкция по эксплуатации онлайн
Please read this operation manual before using the air conditioner.
Keep this operation manual for future reference.
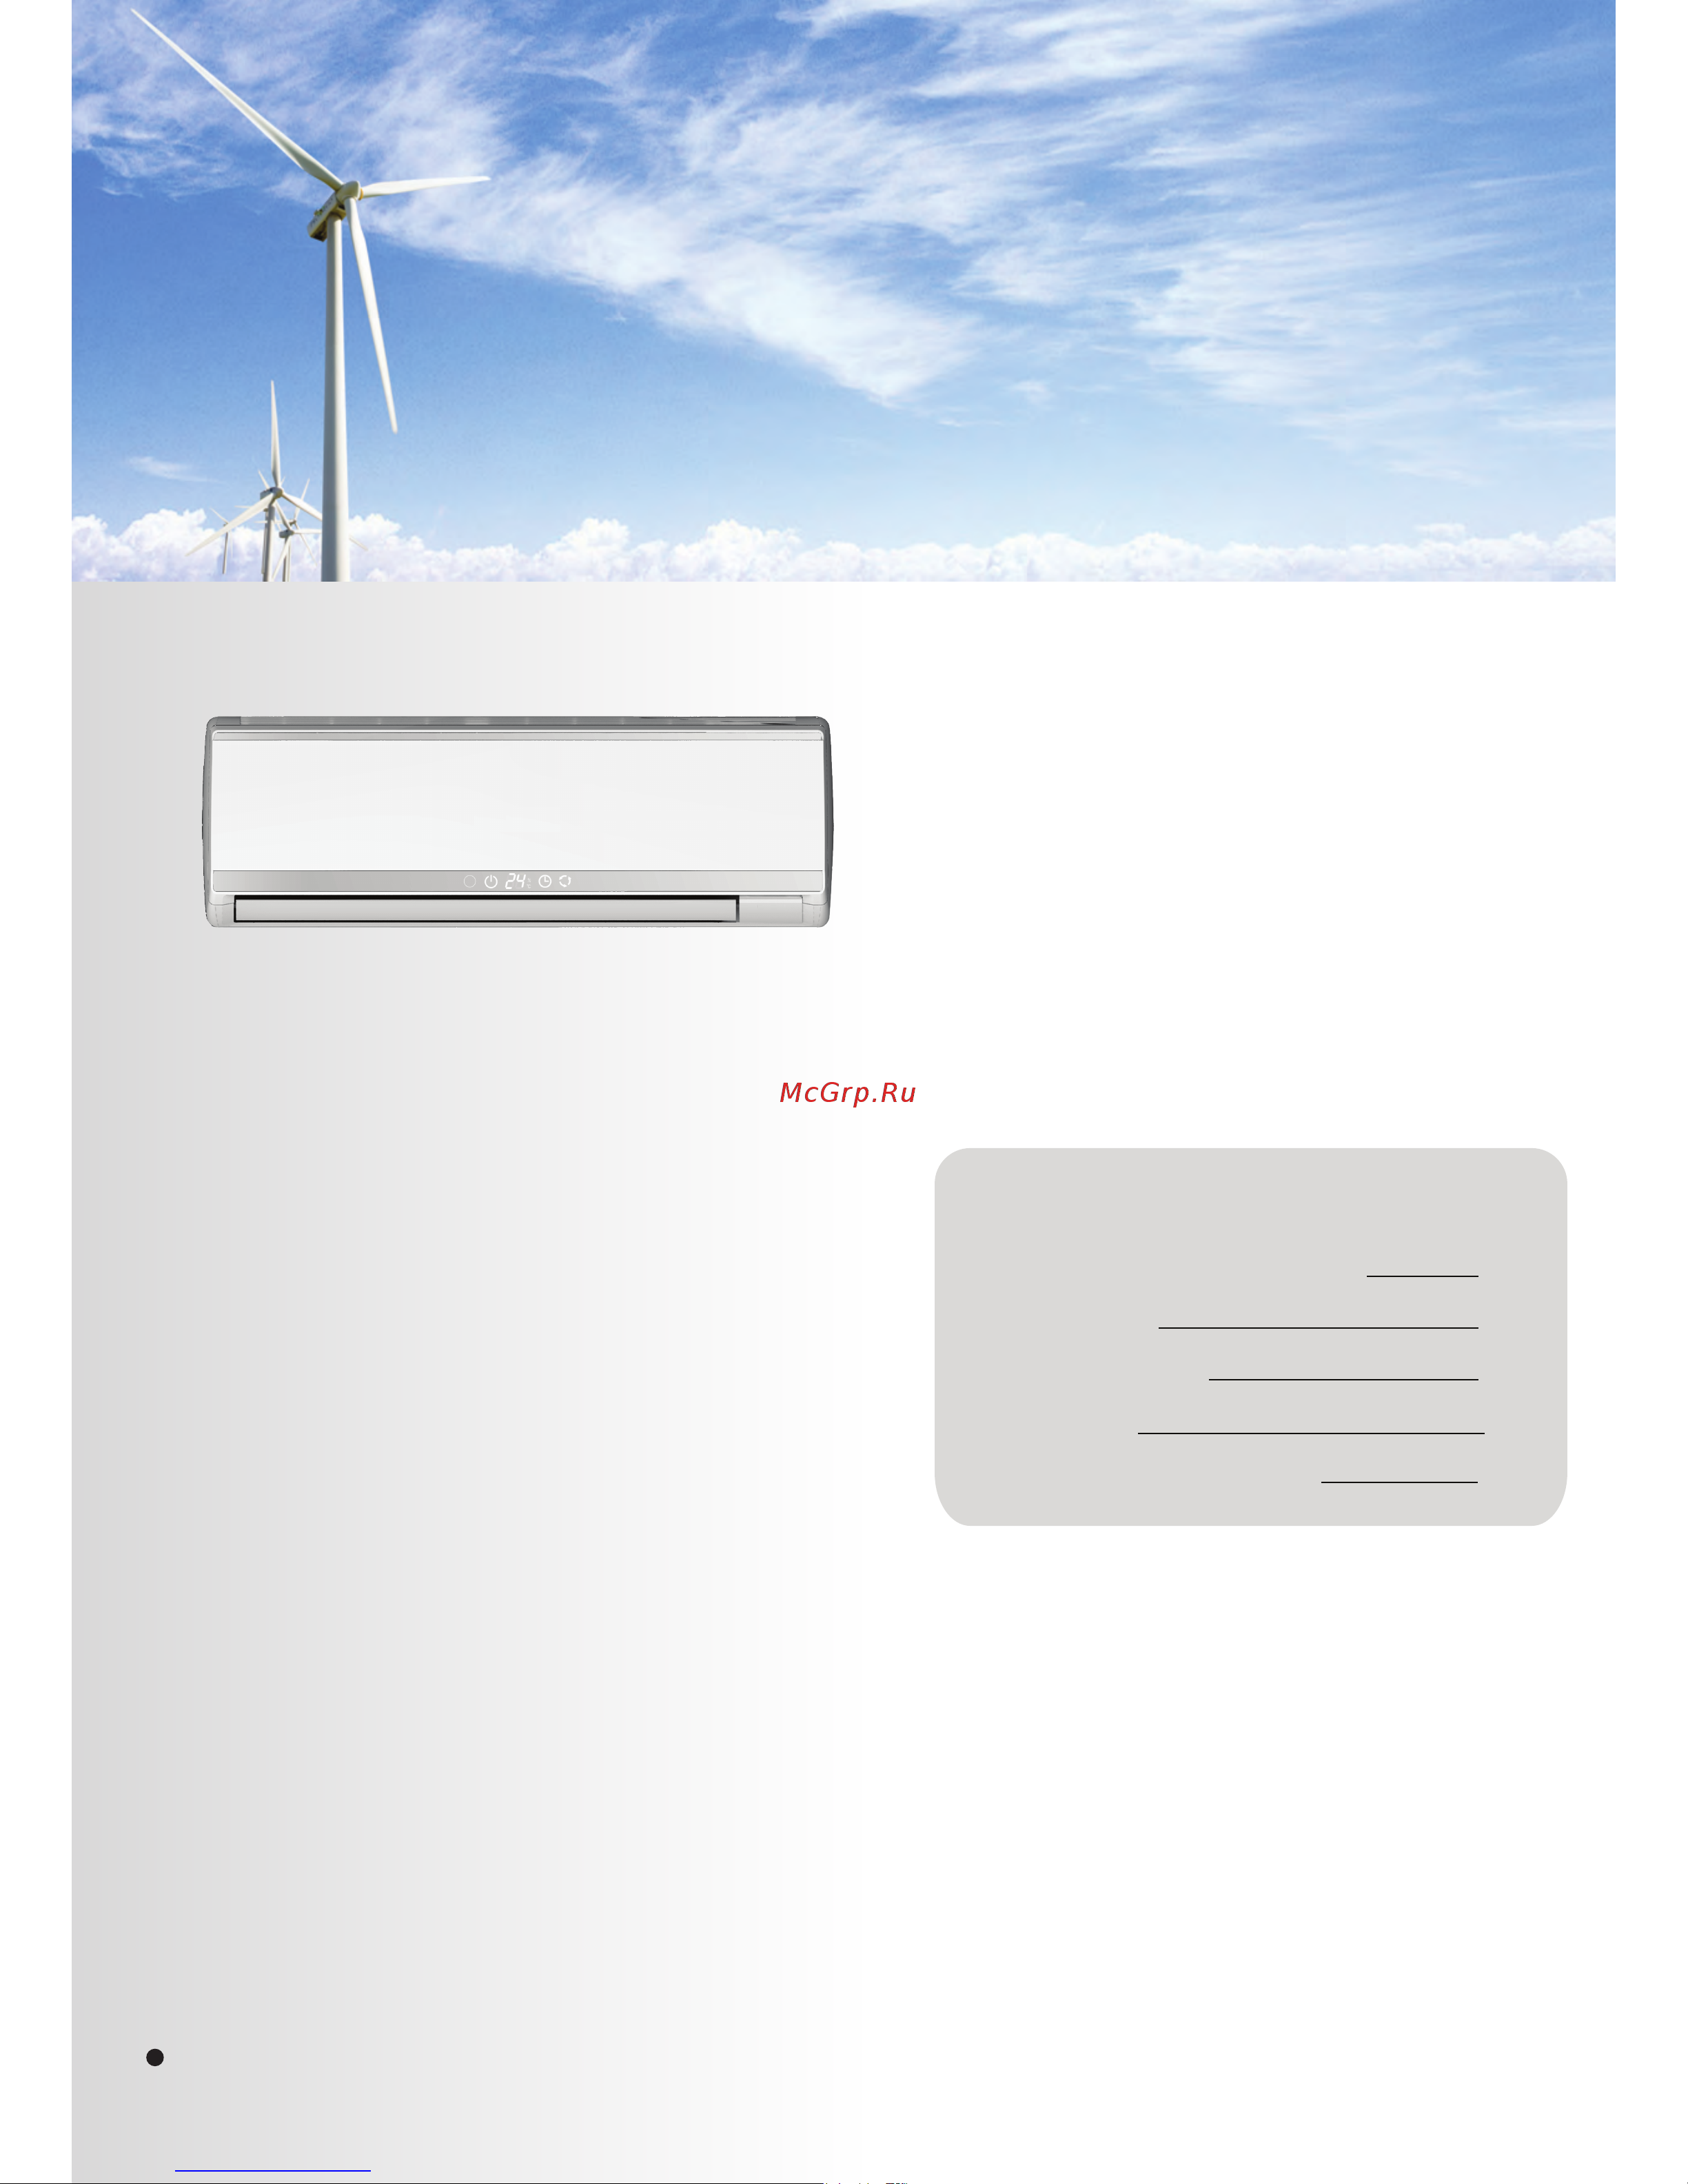
SPLIT TYPE ROOM AIR CONDITIONER
OPERATION MANUAL
0010535076
Contents
1
2-4
5
7
6.7
CAUTIONS
PARTS AND FUNCTIONS
OPERATION
MAINTENANCE
TROUBLE SHOOTING
HSU-07LEK113
HSU-09LEK113
HSU-12LEK113
HSU-09HEK113
HSU-12HEK113
HSU-07HEK113
HSU-18LEK113
HSU-24LEK113
HSU-18HEK113
HSU-24HEK113
HSU-07LEK13/R2
HSU-09LEK13/R2
HSU-12LEK13/R2
HSU-18LEK13/R2
HSU-24LEK13/R2
HSU-24HEG13(T3)
HSU-24LEG13(T3)
HSU-07HEK13/R2
HSU-09HEK13/R2
HSU-24HEK13/R2
HSU-18HEK13/R2
HSU-12HEK13/R2
HSU-18HEG13(T3)
HSU-18LEG13(T3)
HSU-30LEK113
HSU-30HEK113
HSU-12CKCS(R2DB)
HSU-18CKCS(R2DB)
HSU-13CNFR5N
HSU-18CNFR5N
HSU-13CNFG5N
HSU-18CNFG5N
HSU-18CNBW5N
HSU-18HXAR(R2DB)
Содержание
- Contents 1
- Operation manual 1
- Split type room air conditioner 1
- Display board 2
- Indoor unit 2
- Outdoor unit 2
- Parts and functions 2
- Remote controller 2
- Signal sending display 2
- Adjusts the fan speed according to room temperature 3
- After time setting is confirmed press set am and pm stop flashing while clock starts working 3
- Air conditioner is running under displayed fan speed 3
- Base operation 3
- Be sure that the loading is in line with the load the battery then put on the cover again 3
- Button is kept pressed time will 3
- C if kept depressed it will decrease rapidly select a desired temperature 3
- C if kept depressed it will increase rapidly every time the button is pressed temp setting decrease 3
- Change quickly 3
- Changes as 3
- Clock set 3
- Continue to press the test operation 3
- Downloaded from www manualslib com manuals search engine 3
- Fan speed selection 3
- Full display or unclear display during operation indicates the ries have been used up please change batteries if the remote controller can t run normally during operation reload several minutes later 3
- Increase or decrease 1min if the 3
- Load the batteries as illustrated 2 r 03 batteries resetting key cylinder 3
- Operation 3
- Operation starts with the air flow speed hi 3
- Please 3
- Press button every time the button is pressed temp setting increase 1 3
- Press clock button am or pm flashes press or to set correct time each press will 3
- Press fan speed button for each press fan speed follows 3
- Press mode button for each press operation mode changes as follows 3
- Press on off on the remote controller unit starts 3
- Remote controller 3
- Remove the batteries and 3
- Remove the batteries in case unit won t be in usage for a long period if there are any display after taking out just need to press reset key 3
- Room the receiver is apt to be disturbed in receivingthe signals 3
- Select operation mode 3
- Select temp setting 3
- So the distance to the indoor unit should be shorter 3
- Switch for more than 5 seconds after you hear the pi sound twice 3
- Temp temp 3
- Test operation switch is the same as emergency switch 3
- The distance between the signal transmission head and the receiver hole should be within 7m without any obstacle as well 3
- Unit start 3
- Use this switch in the test operation when the room 3
- When electronic started type fluorescent lamp or change over 3
- When fan is set to auto the air conditioner automatically 3
- Wireless telephone is installed in the type fluorescent lamp or 3
- Your finger from the switch the cooling 3
- Air flow direction adjustment 4
- At air outlet if all vertical louvers are right 4
- Auto swing 4
- Cautions 4
- Conditioner 4
- Controller will automatically 4
- If the 4
- In cool dry mode 4
- In heat mode 4
- It is advisable not to keep horizontal flap at downward position for a long time in coolor dry otherwise condensate water might occur 4
- Move the vertical blade by a knob on air to adjust left and right direction referring to fig 4
- Operation 4
- Power soft operation 4
- Set swing position 4
- Set the wind speed change when sleeping 4
- Sleep operation 4
- Vertical flap 4
- When adjusting the flap by hand turn off the unit when humidity is high condensate water might occur adjusted to left or 4
- When restart after remote turning off the remote memorize the previous 4
- Wind speed is high or middle before setting for the sleep set for lowing the wind speed after sleeping if it is low wind no change 4
- For smart use of the air conditioner 5
- Healthy airflow operation 5
- Operation 5
- Timer on off on off operation 5
- And the white side face the unit 6
- Attach air purifying filter 6
- Close the grille surely 6
- Detach the standard air filter 6
- Maintenance 6
- Necessary installation 6
- Note air purifying filter is optional part 6
- Open the lnlet grille 6
- Prop up the inlet grille by using a small device named grille support 6
- Purifying filter face outside 6
- Put air purifying filter appliances into the right and left filter frames 6
- Replacement of air purifying filter 6
- Slide the knob slightly upward to release the filter then withdraw it 6
- The bacteria killing medium air purifying filter will be used for a long time no need for replacement but in the period of using them you should remove the dust frequently by 6
- Using vacuum cleaner or flaping them lightly otherwise its performance will be affected 6
- Which located in the right side of the indoor unit 6
- Caution 7
- Cautions 7
- Warning 7
- Applicable ambient temperature range 8
- Application temp range of air conditioner 7 8
- Cautions 8
- Cooling 8
- Downloaded from www manualslib com manuals search engine 8
- For t1 8
- For t3 8
- Heating 8
- Indoor 8
- Maximum d b 8
- Maximum d b minimum d b maximum d b w b minimum d b w b 8
- Maximum d b w b 32 8
- Maximum d b w b minimum d b 8
- Maximum d b w b minimum d b w b 8
- Minimum d b maximum d b minimum d b maximum d b w b minimum d b w b 8
- Minimum d b w b 8
- Outdoor 8
- Person 8
- Trouble shooting 8
Похожие устройства
- Haier HSU-12LEK113 Инструкция по эксплуатации
- DKC 4412363 Инструкция по подключению и установке
- DKC 4412123 Инструкция по подключению и установке
- Haier HSU-18LEK113 Инструкция по эксплуатации
- DKC 4412111 Инструкция по подключению и установке
- DKC 4402172 Инструкция по подключению и установке
- DKC 4400371 Инструкция по подключению и установке
- DKC 4404364 Инструкция по подключению и установке
- DKC 4402391 Инструкция по подключению и установке
- DKC 4402364 Инструкция по подключению и установке
- DKC 4404391 Инструкция по подключению и установке
- DKC 4404172 Инструкция по подключению и установке
- DKC 4405391 Инструкция по подключению и установке
- Haier HSU-24LEK113 Инструкция по эксплуатации
- DKC 4405364 Инструкция по подключению и установке
- Haier HSU-07HEK113 Инструкция по эксплуатации
- Haier HSU-09HEK113 Инструкция по эксплуатации
- DKC 4405172 Инструкция по подключению и установке
- Haier HSU-12HEK113 Инструкция по эксплуатации
- Haier HSU-18HEK113 Инструкция по эксплуатации