
Haier HLT364XXQ Инструкция по эксплуатации онлайн
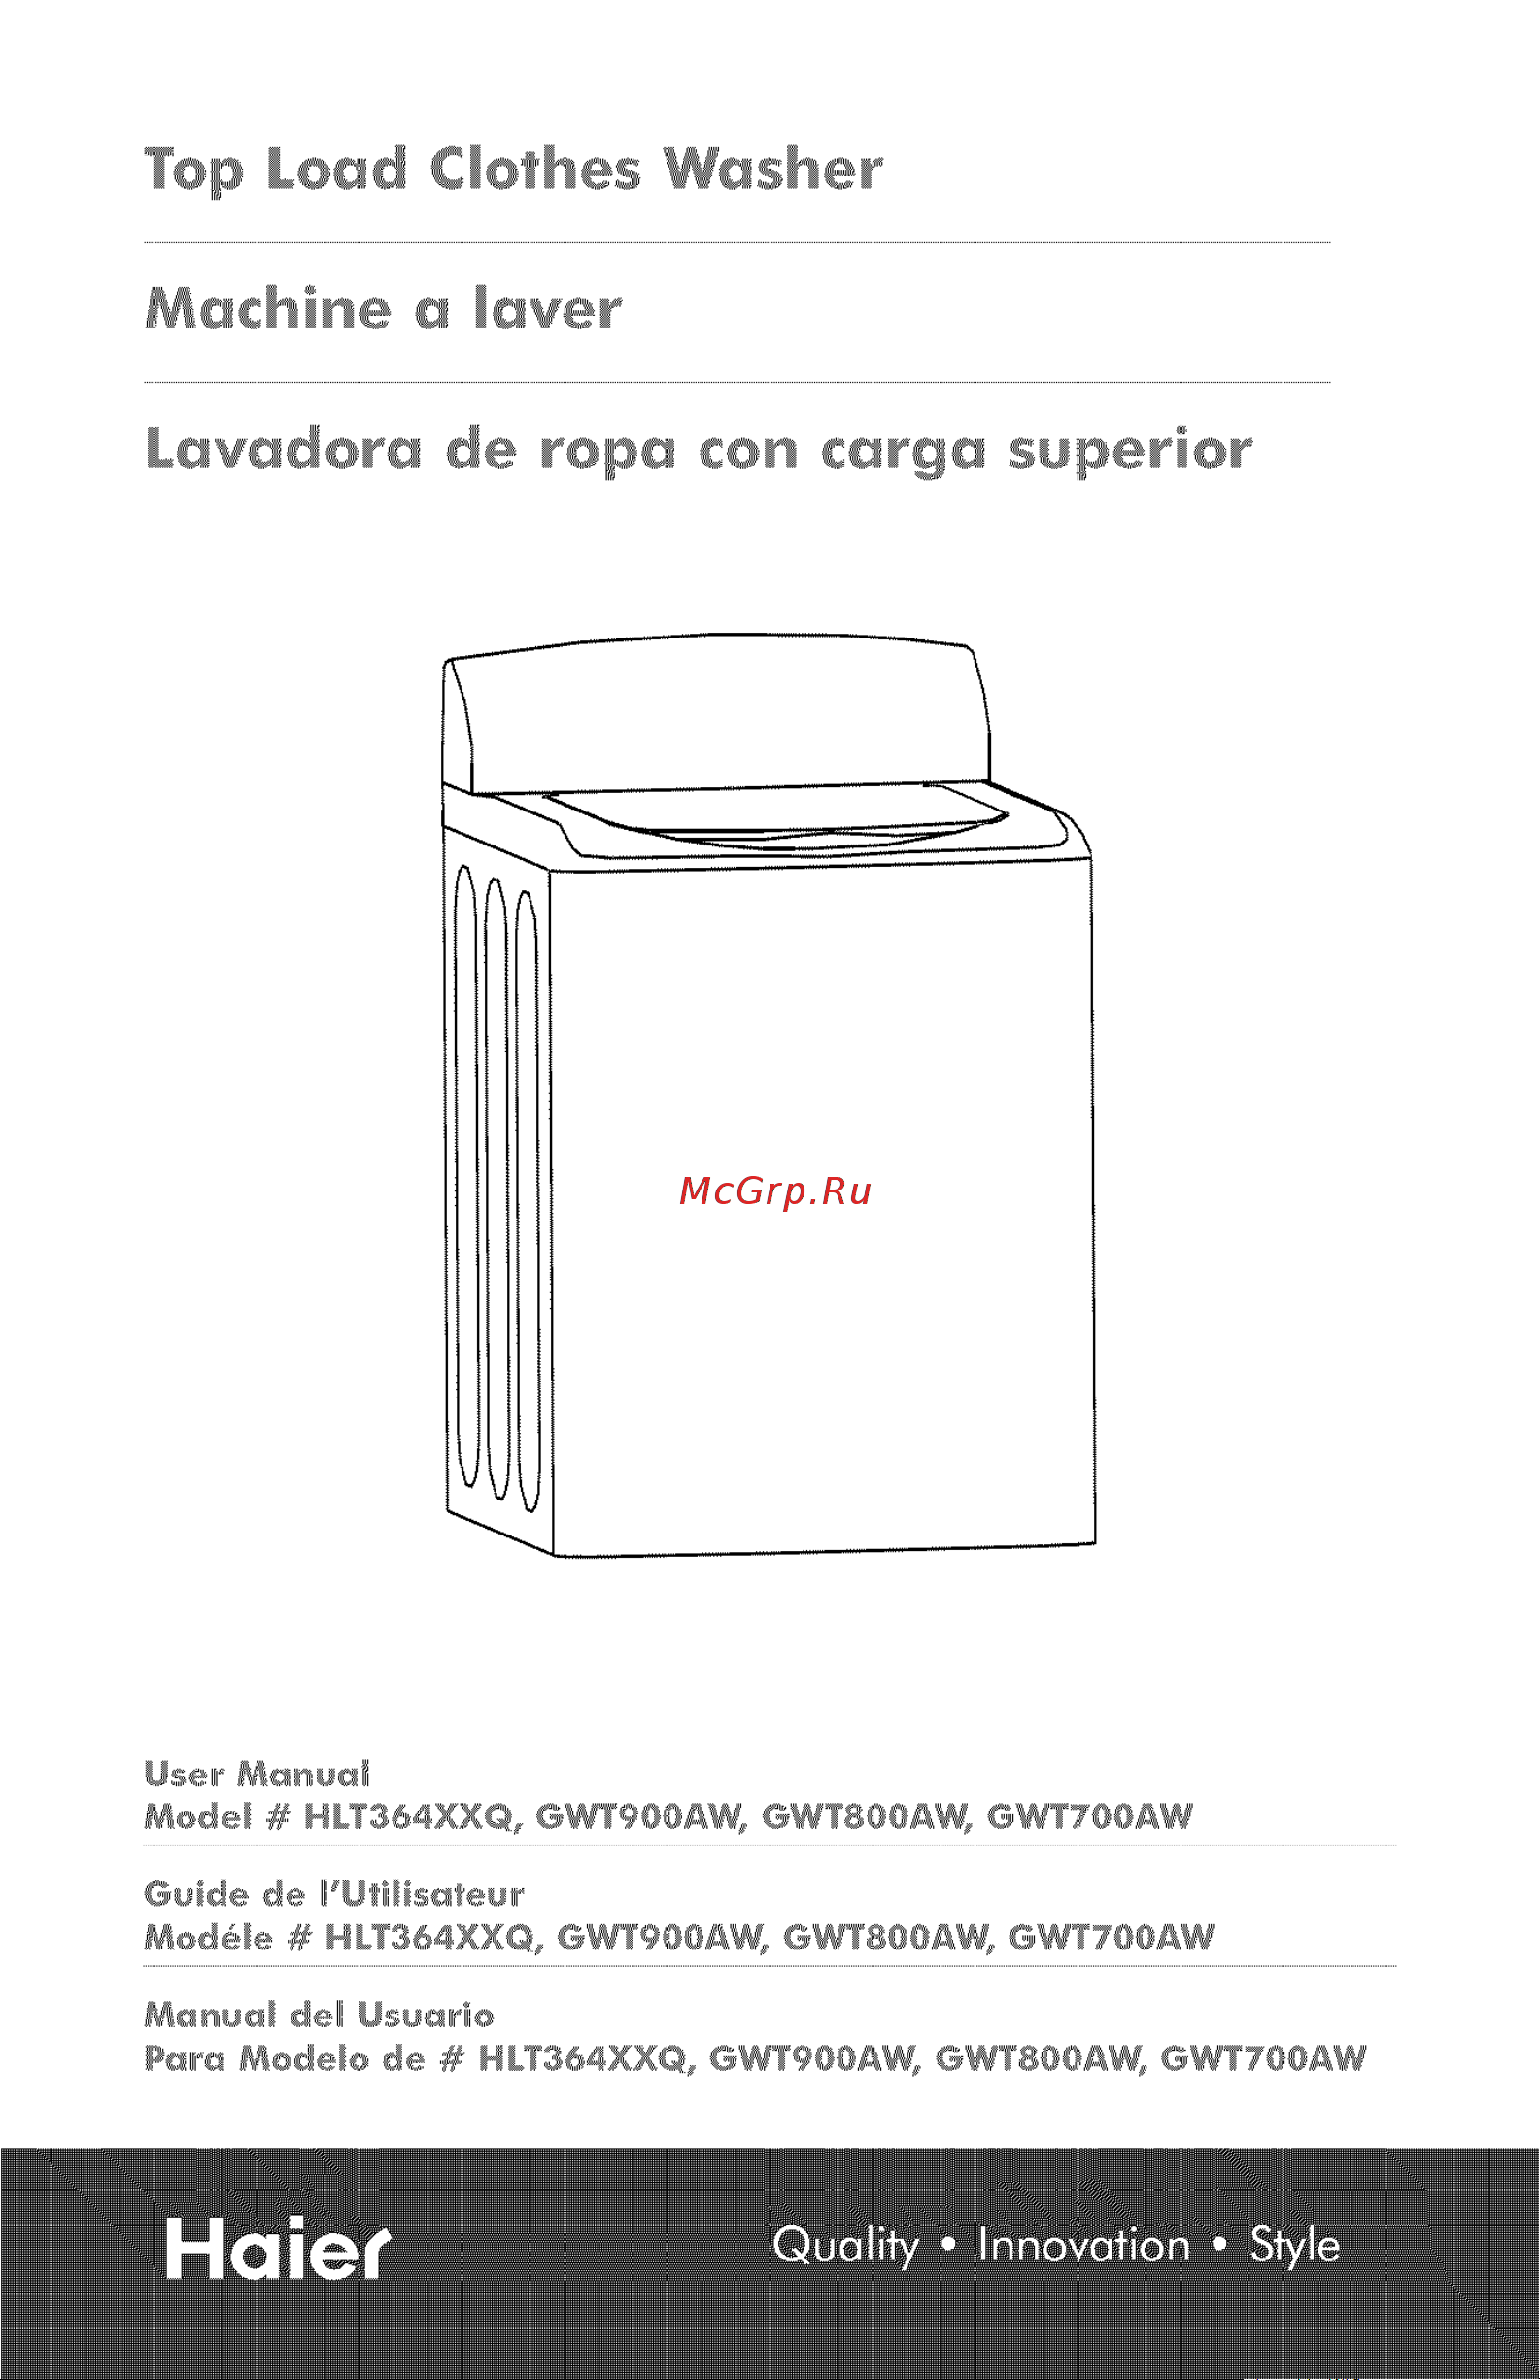
To_ Leed CIo/hes W_she_
k_vedo_e de _o_ con ce_ge s_perio_
_@edel _ MkT@G4XX©, GWT@OOAW_ OWTIOOAW, GW?TOO_W
Guide de _'Ol'_lis_teur
f@ed61e # HkTg64RX©, Gwwg@@_W_ GWWIQQ_W_ GWWTQQ_W
I@_mu_d dell Osu_r'ie
_I_Q _@edeIe de # HkWI64XX©, eWWOOOAW, ewwBooAw, GWWTQOAW
Содержание
- K_vedo_e de _o_ con ce_ge s_perio_ 1
- To_ leed cio hes w_she_ 1
- Hydrogen gas may be produced if the water heater has not been used in more than 2 weeks this could be explosive and can explode under certain circumstances hfthis is the case before using the washer turn on all the hot water faucet s and let the hot water run for a few minutes this will let the trapped hydrogen escape during this process do not turn on an electric appliance stool e light a match lighter or use a flame to avoid an accident as hydrogen gas is flammable and can explode 3
- Remernber to record the model and serial numben they are on a label in back of the washer 3
- Thank you for using our haier product this easy to use manual will guide you in getting the best use of your washer 3
- Toreduceriskofinjurydonotallowchildrento playinoronthe 3
- Washer must be connected to proper electrical outlet with the correct electrical supply 3
- Back cover 5
- Balance ring 13 inner tub 5
- Cold water inlet value 5
- Drain hose joint 5
- Hot wafer inlet valve 5
- I 1 outer tub cover 5
- P_ts _hd features 5
- Power cord 120vdf 60hz 5
- Pulsator 5
- About 25 7
- About 36 42 7
- About 38 44 7
- About 39 49 7
- About 47 53 7
- About 75 81 about 45 51 7
- Auto temp control models with this feature will automatically adiust water to the proper temperature 7
- Delicate 7
- Hand wash _ 7
- Heavy about 77 83 7
- Normal about 59 69 7
- Note total time may be affected by water inlet and drain time it may also be affected by the water pressure normal heavy and cotton programs could combine the process of soak during which the washing machine first soaks for about 20 30 minutes with slight agitation after water filling and then begins to wash 7
- Power off if washer is on push button once to shut off the power 7
- Program 7
- Quick wash s 7
- Soil level select clothes soil level wash cycle increases 2 minutes for each level increased 7
- Temperature wash rinse to select inlet water temperature for wash and rinse 7
- Total time rain 7
- Whites 7
- Ycme signal signal volume can be adiusted soft loud or off 7
- C_e_h_ng m_inten_nce 10
- Moving v tien ng 10
- S_ _ge 0 you_ w_sbe_ in c _d iiil nvi_onment 10
- Warning_ always unplug your washer to avoid electric shock before cleaning ignoring this warning may result in death or iniury before using cleaning products always read and follow manufacfure s instructions and warnings to avoid personal injury or product damage 10
- Reason 12
- The water pressure is too low the water level sensor fault call service the communication fault call service 12
- Top lid not closed during delay start sequence blockage of drain hose top lid not closed during wash operation the washer is out of balance water inlet valve closed 12
- Beveh_g yoo_ w_she_ 14
- High _ _ low 14
- Connect the hot and cold water inlet hoses to the hot and cold water faucet 15
- If after completing these steps you are unsure that unit is properly installed contact a qualified installer to ensure that your washer is properly installed it is recommended that it be installed by a certified instaljen 15
- Insert a new flat washer into each end of the water inlet hoses firmly put the washer in the coupling 15
- Nstamjing 15
- Your washer read installation instructions carefully before installation 15
- Using the drain hose clamp attach the drain hose to the unit as shown below install the drain hose hook to the outer drain hose tube 16
- Extension cords 17
- Hst ectiohs 17
- Power _te_upt_ehs 17
- This appliance must be plugged into at least a 15 amp 10 120 volt 60 hz grounded outlet 17
- Vv edo not recommend that you use an extension cord 17
- Wiring requirements 17
- Nivelez l 21
- Filfre couvercle du filtre 22
- P_eces et c_ _e_s_qees 22
- Choi du proces ceci est pour choisir un proces du lavage trernper ne foncfionnera pas sur les cycles laver a la main ddicats et rapide_ l indicateur du niveau d eau s eteingnera seulement si vous chdsissez la rota tion 23
- Cycmes 23
- Note lescaracterisfiques peuvenfvarier sdonjesmodels debu 23
- Vitess du lavage vjtesse de la rotation pour choidr la vitesse du lavage e rotation 23
- Jndicateur d un debut dejaye indique les minutes restanfes quand le cycle est en progres indique les heures restantes durant le proces de delay jndique les codes fausses ou con ions qui ne sont pas normales 24
- Liste de temps de cheque programme minute 24
- Niveau de la salet choisissez le niveau des vetements flop sales le cycle du lavage augmentera de 2 minutes pour chaque niveau augmente 24
- Signal du cycle le volume du signal peut etre aiuste ou sur doux fort ou eteint 24
- Temp total mini 24
- Temperature du bavageirjncage pour chddr la temperature d eau pour le lavage et je rincage 24
- Chargement de 25
- Machine 25
- Baquet inferieun 26
- Enlevez le fijtre de fibre retirez le filtre de fibre du 26
- Fjjtredefib_ e lefiltredefibredoitetreutilisependantl 26
- Ins_mie 26
- Take off 26
- E1 e2 de e3 e4 29
- Bes o_ths et m_te_ie_s e iges 30
- Qbiet pour niveler 30
- Deb ll g de votr m chih i ver 31
- Iiiet_pes p ur _i_st_nn_t_ _ 31
- Jnstamlez votre machine a laver 31
- Lsez les instructions d instdlation solgneusement avant d instdler votre machine 31
- Reliez les tuyaux d adrnission d eau chaude et froide aux faucets d eau chaude et frode 13 31
- Branchez la machine a un voltage regulier de 120vdf 60hz 15 amp sortie electrique 32
- Conditions de cabjage _ 33
- Kes rajjonges 33
- On ne recornrnande pas i usage des rallonges a 33
- P_h_e iiie_ect_que 33
- Si vous ne cornprenez pas les instructions de rnise a ferre ou si vous doufez si la machine a ere fondue correcternent contactez un electricien qualifie 33
- Une utilisafion impropre de la prise peut resulfer d un choc electrique 33
- _st_uct_ _ de m_se _ te_e 33
- Pag na 37
- Rernoi 39
- About 59 69 40
- Apagado si la lavadora esta encendida presione el bot6n una vez para apagarla 40
- Blancos 40
- Delicado 40
- Duraci6n de cada programa minutos 40
- Duracjon total rain 40
- Iiiiiiiiiiiiiiiiiiiiiiiiiiiiiiiiiiiiiiiiiiiiiiiiiiiii i ii i i i i i i i i i i i ii ii ii ii ii ii ii ii ii ii ii ii iiiii ill iili 40
- Jndicador de o_ienzo de_or_do ndica los minutos restantes cuando el ciclo esf en progreso ndica las horas restanfes duranfe el proceso de demora indica los c6digos de fajlas o las condiciones que no son normales 40
- Lavado a mano 40
- Lavado rapido 40
- Normal 40
- Profundo 40
- Programa 40
- Sepal signal dej cicjo el volumen de a sebal se puede regular como bajo alto o apagado 40
- Temperatur_ de javado y eniuague para seleccionar la temperatura de entrada de agua para el lavado y el eniuague 40
- Se_ides de lll us iehsmieht iil_o_m_les 41
- Aguier 42
- Dirigid 42
- Iiiiiiiiiiiiiiiiiiiiiiiiiiiiiiiiiiiiiiiiiiiiiiiiiiiii i ii i i i i i i i i i i i ii ii ii ii ii ii ii ii ii ii ii ii iiiii ill iili 42
- Retire el filffo de pelusas jale el filtro de pdusas de la fina interion 42
- Take off 42
- Gu d su i v d q h mbiehtes 43
- L_javadoraest hadendorujdos esprobablequeseanecesario volvera instalar 45
- La lavadora consulte la sec ci6n de instalaci6n de la lavadora es probable que tenga que volver a acomodar la cargo de lavado ya que puede estar distribuida en forma despareja es posible que el ruido sea ocasionado per menedas botones u otros obietos pesados lea la gu_a de funcionamiento sonidos de operaci6n normales senidos de chirridos debido a la sobrecarga de la tina de lavado ruidos de vibraci6n debido a la nivelaci6n incorrecta de la lavadora en el piso y a la distribuci6n despareja de la ropa en la tina 45
- Obieto 45
- Necesi_ar_ las siguientes herra_ientas coco ayuda para ma insta _aci6n de su k_vc_cjora 46
- Advertencja la nivelaci6n de la lavadora es muy importante para evtar las vibraciones durante el centrifugado 47
- 6mo instajar ja javadora lea afentamente las instrucciones para la instalaci6n antes de la instdaci6n 48
- Iiiiiiiiiiiiiiiiiiiiiiiiiiiiiiiiiiiiiiiiiiiiiiiiiiiii i ii i i i i i i i i i i i ii ii ii ii ii ii ii ii ii ii ii ii iiiii ill iili 48
- Pareja leio 48
- Cables de proj nga i6n 50
- Este aparafo debe enchufarse en un toma corrjente de al menos 15 amperes110 120 voltjos 60 hz con conexi n a tierra 50
- Requisitos para ja instaja i6n ej trica 50
- H_ier americ_ 52
- Important 52
- Importante 52
- Ne pas r_exp dier ce produi _u mc_gc_sin 52
- New york ny 10_18 52
- No r grese esle prod_cto _ _ _iend_ 52
Похожие устройства
- Haier GWT900AW Сервис мануал
- Haier GWT900AW Инструкция по эксплуатации
- Haier GWT800AW Сервис мануал
- Haier GWT800AW Инструкция по эксплуатации
- Haier GWT700AW Сервис мануал
- Haier GWT700AW Инструкция по эксплуатации
- Haier XQG60-HA800TX(M) Инструкция по эксплуатации
- Haier XQG60-HA1000TX(M) Инструкция по эксплуатации
- Haier HW80-B1439 Инструкция по эксплуатации
- Haier HW90-B1439 Инструкция по эксплуатации
- Haier HW100-B1439 Инструкция по эксплуатации
- Turbolava 35 Facile Руководство пользователя
- Turbolava 350 Cab Руководство пользователя
- Turbolava 350 Bat Руководство пользователя
- Turbolava 400 Compact Руководство пользователя
- Haier HW100-SB1230N Инструкция по эксплуатации
- Turbolava 500 Elettra Руководство пользователя
- Turbolava 500 ECO Руководство пользователя
- Turbolava 660 KART Руководство пользователя
- Truvox Multiwash 240 P Руководство пользователя