
Saeco Syntia Руководство по эксплуатации онлайн
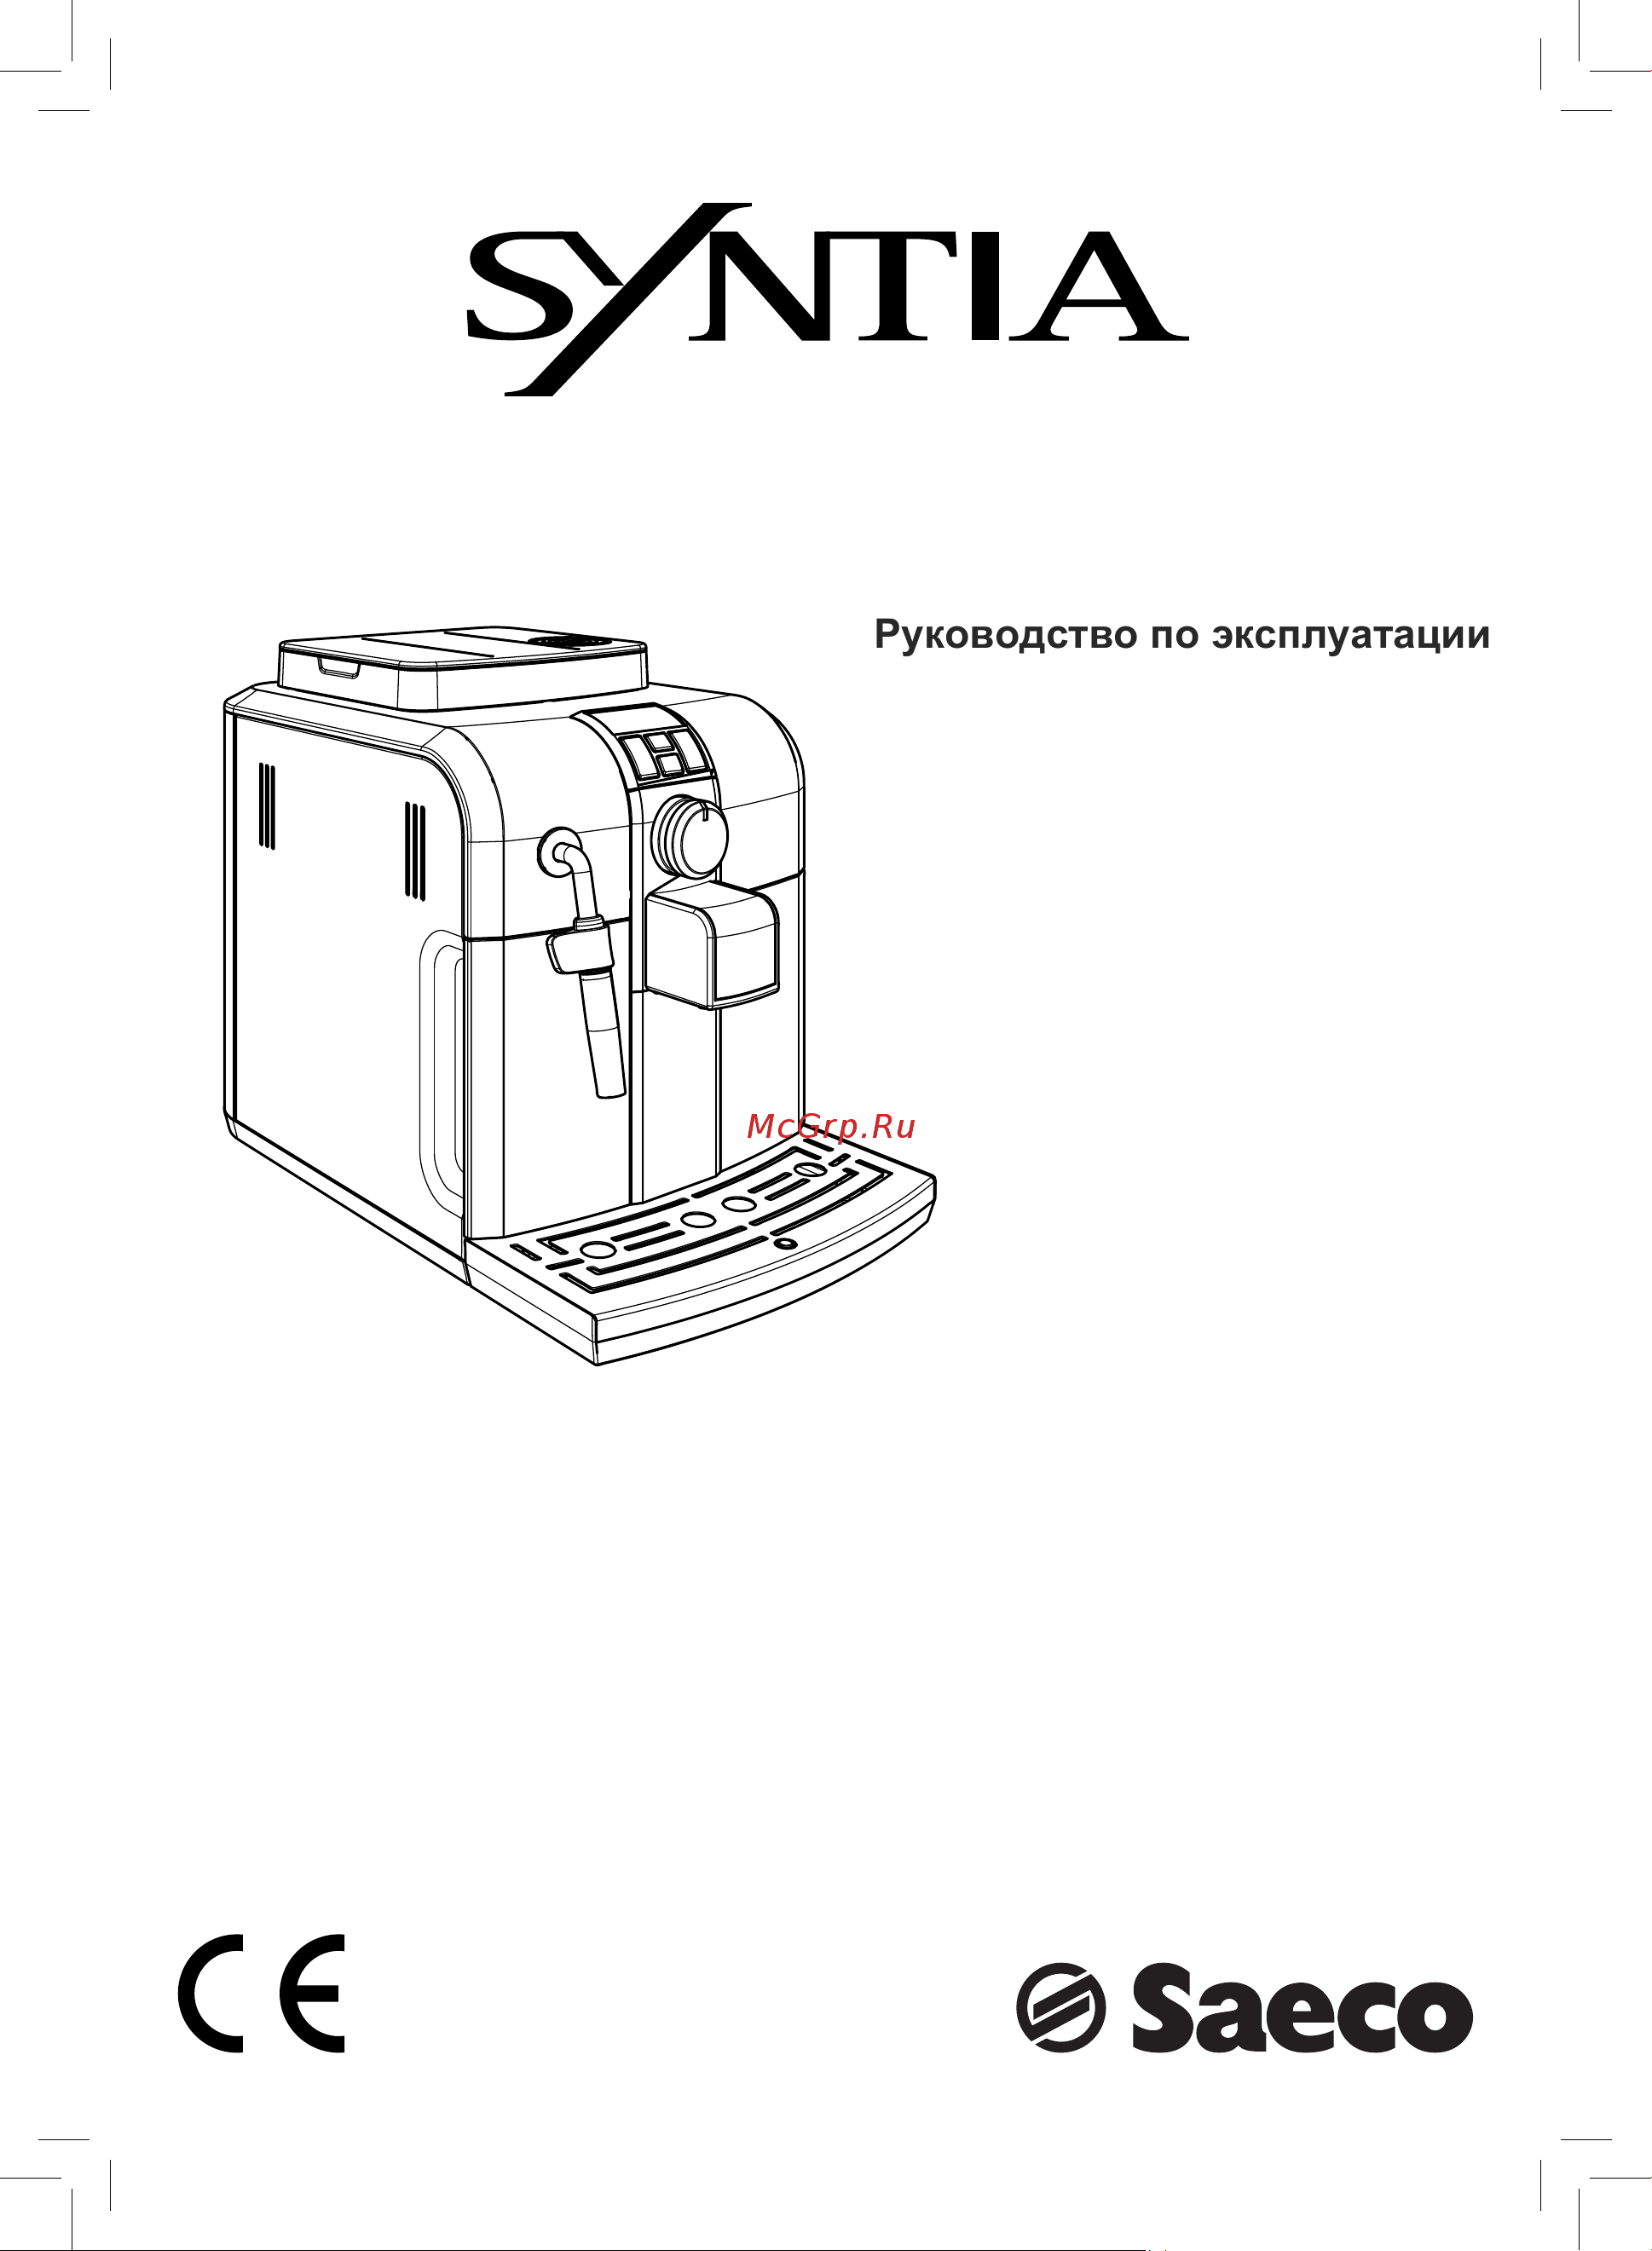
Type Sup 037R
FOR HOUSEHOLD USE ONLY
USAGE DOMESTIQUE SEULEMENT
ISTRUZIONI PER L'USO
OPERATING INSTRUCTIONS
BEDIENUNGSANLEITUNG
MODE D’EMPLOI
LEGGERE ATTENTAMENTE QUESTE ISTRUZIONI D'USO PRIMA DI UTILIZZARE LA MACCHINA.
READ THESE OPERATING INSTRUCTIONS CAREFULLY BEFORE USING THE MACHINE.
DIESE BEDIENUNGSANLEITUNG IST VOR DEM ERSTEN GEBRAUCH DER MASCHINE AUFMERKSAM ZU LESEN.
LIRE ATTENTIVEMENT CES INSTRUCTIONS AVANT D’UTILISER LA MACHINE.
ItalianoEnglishDeutschFrançais
.
Содержание
- For household use only 1
- Usage domestique seulement 1
- А и и к и 2
- Ва ы ы и 2
- Щ ч ч 2
- А е е а 3
- For the safety of others 4
- General information 4
- Intended use 4
- Power supply power cord 4
- Safety regulations 4
- Danger of burns 5
- Fire safety precautions 5
- Machine location suitable location for operation and maintenance 5
- Servicing maintenance 5
- Storing the machine cleaning 5
- Fill the tank only with fresh non sparkling water hot wa ter or any other liquid may damage the tank and or the machine do not turn on the machine when the tank is empty make sure there is enough water in the tank 7
- For your safety and the safety of others carefully follow the instruc tions provided in the safety regu lations section 7
- Important note carefully read the explanatory descrip tions of all the warnings the machine displays to the user via the lights on the control panel display see section display warnings 7
- Insert the plug into the socket on the back of the machine 7
- Insert the plug of the other end of the cable into a wall socket with suitable power voltage 7
- Installation 7
- Machine packaging 7
- Never remove the drip tray when the machine is turned on wait a couple of minutes after turning on of as the machine will be carrying out a rinse self cleaning cycle see section rinse self clea ning cycle 7
- Note insert the plug in the machine and in the wall so cket only when indicated and check that the power button is switched to 0 7
- Note the hopper may be provided with different sa fety features according to the regu lations of the country of use of the machine 7
- Only cof ee beans must be put into the cof ee bean hopper ground coffee instant coffee or any other object may damage the machine 7
- Preliminary operations 7
- Remove the cof ee bean hopper cover 7
- Remove the cof ee bean hopper cover and the drip tray with grill from the packaging remove the cof ee machine from the packaging and position it in a place that meets the requirements described in the safety regulations place the drip tray with grill into its appropriate seat on the machine make sure it is fully inserted to its limit stop insert the cof ee bean hopper cover 7
- Remove the water tank from its seat 7
- Rinse and i ll it with fresh water ma king sure that it is not i lled exceeding the max level indicated in the water tank put the water tank back in its seat 7
- Slowly pour the cof ee beans into the hopper 7
- The original packaging has been designed and constructed to protect the machine during transport we recommend keeping the packaging material for possible future transport 7
- Circuit priming 8
- Make sure the selector switch is in the position if this is not the case set it to that position to turn the machine on simply press the stand by button 8
- Note before starting the machine for the first time and after long periods of inactivity prime the water circuit 8
- Once the circuit has been primed the icon shown in the figure will start blinking on the display turn the selection knob back to its central position 8
- Switch the power button to i to turn the machine on 8
- The blinking icons shown to the side warn that the circuit must be primed 8
- The buttons and on the control panel blink slowly together to show that the machine is warming up 8
- The displayed aroma is the factory setting when the machine is switched on for the i rst time or it is the same as the aroma that was selected for the last brewed cof ee 8
- The machine is then ready to brew beverages 8
- The stand by button blinks 8
- To prime the water circuit place a container under the steam wand pannarello if supplied 8
- Turn the selector switch clockwise to set it to the position the machine starts the automatic priming of the circuit by letting out a preset quantity of water through the pannarello 8
- When the operations described above are completed the buttons and are steady on and the aroma icon on the display turns on 8
- When warm up is complete the machine performs a rinse cycle of the internal circuits during this phase the buttons and blink alternately 8
- Rinse self cleaning cycle 9
- Using the machine for the first time or after a long period of inactivity 9
- Adjustments 10
- Coffee is a natural product and its cha racteristics may change according to its origin blend and roast the saeco cof ee machine is equipped with a self adjusting system that allows the use of all types of cof ee beans available on the market non caramelized the machine automatically adjusts itself in order to optimise the extrac tion of the coffee ensuring perfect compression of the tablet to obtain a creamy espresso cof ee that will release all the aromas regardless of the type of cof ee used the optimisation process is a learning process that requires the brewing of a certain number of cof ees to allow the machine to adjust the compactness of the ground cof ee attention should be given to spe cial blends which require grinder adjustments in order to optimise the extraction of the cof ee see the cof ee grinder adjustment section 10
- Coff ee grinder adjustment 10
- Dispense the water in the tank by using the hot water function see the hot wa ter dispensing section 10
- Do not insert any material other than cof ee beans into the hopper the grinder contains moving parts that may be dangerous therefore do not insert i ngers and or other objects the grind setting may only be adjusted using the knob turn of the machine and unplug it from the socket before carrying out any type of operation inside the coffee bean hopper do not pour cof ee beans when the cof ee grinder is working 10
- Fill the tank with fresh drinking water and reinsert it into the machine 10
- Fill the water tank again the machine is now ready to be used 10
- Intenza water filter op tional 10
- Note if there is no intenza water i lter insert the small white i lter previously removed into the water tank 10
- Put the water i lter into the empty tank press it until its limit stop 10
- Remove the small white filter from the tank and store it in a dry place sheltered from dust 10
- Remove the water filter from its packa ging immerse it vertically with the ope ning positioned upwards in cold water and delicately press the sides so as to let the air bubbles out 10
- Saeco adapting system 10
- Set the intenza aroma system as specii ed on the box a soft water b medium water standard c hard water 10
- The machine that you have bought allows for certain adjustments that will permit you to use it to its full potential 10
- To improve the quality of the used water it is advisable to install the water i lter 10
- Warning the grinder adjustment knob inside the cof ee bean hopper must be turned only when the grinder is working do not pour ground and or instant cof ee into the cof ee bean hopper 10
- А intоnгк 10
- Adjusting the coff ee length 11
- As an example the following procedure describes the programming of the but ton which is normally associated with espresso cof ee 11
- At this point the button is program med each time it is pressed and released the machine will brew the same amount of cof ee that was just programmed 11
- Before brewing cof ee check the lights on the display and on the control panel check that the water tank and the cof ee bean hopper are full 11
- Before brewing the coffee adjust the height of the di spensing spout according to your needs and select the aroma or the pre ground cof ee 11
- Coffee brewing 11
- Large mark coarse grind small mark fine grind 11
- Leave the selector on the cof ee position during the dispensing phase 11
- Note during the turning of phase the machine performs a rinse cycle if a cof ee product has been brewed warning when turning the machine on after it has been turned com pletely off the machine will be in stand by mode 11
- Note should the machine not brew cof ee make sure that the water tank contains water 11
- Place a cup under the dispensing spout 11
- Press and turn the knob by one notch at a time and brew 2 3 cups of coffee this is the only way to notice differences in grind 11
- Press the button again when the amount of cof ee in the cup reaches the desired level 11
- Stand by 11
- Stкчн лв 11
- The machine allows slight adjustments to the cof ee grinder to adapt it to the kind of cof ee used 11
- The machine allows you to adjust the amount of brewed coffee according to your taste and or the size of your cups 11
- The machine is designed for energy sa ving the machine automatically turns of after 60 minutes of inactivity the button blinks when the machine is in stand by mode 11
- The reference marks inside the coffee bean hopper indicate the grind setting there are 5 dif erent grind settings to cho ose from with the following references 11
- To make any adjustment press and turn the knob inside the cof ee bean hopper 11
- To turn the machine on again simply press the stand by button if the power but ton is set to i in this case the machine will go through the rinse cycle only if the boiler is cold 11
- И е е е ъё к фе 11
- After selecting strong aroma the fun ction for brewing cof ee with pre ground cof ee is displayed this selection is displayed by the icon on the side 12
- After the prebrewing cycle coffee begins to come out of the dispensing spout coffee brewing stops automatically when the pre programmed level is reached however it is possible to in terrupt cof ee brewing by pressing the button initially pressed 12
- Aroma adjustment 12
- Arшцк 12
- Button once the pressed button will be steady on 12
- Dispensing spout adjustment 12
- For use with large cups 12
- Four choices are possible by pressing and releasing the button mild medium or strong aroma and ground cof ee 12
- Manually move the dispensing spout up or down to adjust its height by placing your i ngers as shown in the i gure the recommended positions are for use with small cups 12
- Medium aroma 12
- Mild aroma 12
- Most cups on the market can be used with this cof ee machine the height of the dispensing spout may be adjusted to better i t the dimensions of the cups that you wish to use 12
- Refer to the relevant section to use this function 12
- Selection can be made when the beans appear on the display each time the button is pressed and released the aroma changes by one degree 12
- Selection must be made prior to selecting the cof ee the system sets the aroma ac cording to the personal taste of the user 12
- Strong aroma 12
- The machine is adjusted to brew a true italian espresso coffee this feature may slightly lengthen the brewing time allowing the intense l avour of the cof ee to develop fully 12
- The machine is set up for an amount of cof ee to grind to be adjusted from 7 g to 10 g per cof ee 12
- To brew 2 cof ees the machi ne automatically grinds and doses the correct amount of cof ee brewing two coffees requires two grinding cycles and two brewing cycles which the machine carries out automatically 12
- To brew cof ee press and release the button to select the desired aroma the button for an espresso cof fee the button for a long cof ee the brewing cycle then starts to brew 1 cup of cof ee press the 12
- Two cups can be placed under the dispensing spout for brewing two cof ees at the same time 12
- Using coff ee beans 12
- After dispensing the product the cof fee beans coni guration of the machi ne is restored 13
- Before dispensing hot water check that all the lights on the display and on the control panel are on 13
- Coffee brewing stops automatically when the pre programmed level is reached however it is possible to in terrupt cof ee brewing by pressing the button initially pressed 13
- Dispensing hot water 13
- Note if no pre ground cof ee is poured into the compartment only water will be dispensed if the dose is excessive and 2 or more measuring scoops of cof ee are used the machine will not brew the product also in this case the machine will run an empty cycle and discharge any ground coffee into the coffee grounds drawer 13
- Pre ground coffee must be poured into the appropriate compartment positioned next to the cof ee bean hopper only use ground cof ee for espresso machines and never cof ee beans or instant cof ee 13
- Press and release the button for an espresso cof fee the button for a long cof ee the brewing cycle then starts after the prebrewing cycle cof ee begins to come out of the dispensing spout 13
- Repeat the operations de scribed above to brew other cof ees 13
- This function allows using pre ground and decaf eina ted cof ee 13
- To brew cof ee press and release the button until the pre ground cof ee function icon is displayed lift the pre ground coffee compart ment cover add 1 only 1 scoop of pre ground coffee to the compartment use the measuring scoop supplied with the machine to perform this operation then close the cover 13
- Using pre ground coff ee 13
- Warning at the beginning short spurts of hot water may come out danger of scalding the hot water wand may reach high temperatures never touch it with bare hands 13
- Warning only add pre ground coffee to the compartment other substances and objects may cause severe damage to the machine this damage will not be covered by warranty 13
- When the machine is ready proceed as follows place a container under the steam wand pannarello if supplied 13
- Are displayed steady on soon after only steam will begin to come out 14
- Danger of scalding brewing may be preceded by small jets of hot water the steam wand may reach high temperatures never touch it with bare hands 14
- Important note immediately after using the steam to froth the milk clean the steam wand or pannarello when provided when the machine is ready brew a small amount of hot water in a glass and clean the steam wand or pannarello when provided externally in this way all parts will be perfectly clea 14
- Lights blink during the preheating time required by the machine 14
- Ned and free of any milk residue 14
- Note the lights that indica note the lights that indica te the aroma are off when dispensing hot water 14
- Note the lights that indica note the lights that indica te the aroma are off when dispensing steam 14
- Occasionally after turning the selector switch hot water may not be dispensed and the but tons will start blinking simply wait until the end of the warm up phase so that hot water can be dispensed from the pannarello 14
- Steam dispensing preparing a cappuc cino 14
- Steam dispensing will begin when the buttons 14
- Steam may be used to froth milk for a cappuccino as well as to reheat other beverages 14
- To discharge the water in the steam wand place a container under the steam wand pannarello if supplied fill the cup with hot water to the desi red level to stop hot water dispensing turn selector switch counter clockwise back to the position the machine returns to the normal operating mode 14
- To prepare your cappuccino to prepare your cappuccino we recommend discharging the water in the steam wand 14
- Turn the selector switch clockwise and set it back to the position to stop dispensing steam 14
- Turn the selector switch clockwise to set it to the position 14
- When the machine is ready to brew cof ee turn selector switch counter clockwise to set it onto the po sition residual water may come out of the steam wand pannarello if supplied 14
- After dispensing steam for the desired time turn the selector switch clockwise and set it back to the position to stop dispensing steam the same procedure can be used to heat other beverages after using the steam wand pannarello if supplied wash it as described in the cleaning and maintenance section 15
- After preparing milk beve rages dispense hot water from the steam wand pannarello if supplied to obtain a thorough cleaning 15
- After using steam to prepare a beverage it is possible to brew coffee or to dispense steam straight after 15
- Cleaning and main tenance 15
- Every day after heating the milk remo ve the external part of the pannarello if supplied and wash it with fresh drinking water clean the steam wand weekly in order to do this perform the following ope rations remove the external part of the pannarello for standard cleaning remove the upper part of the pannarello from the steam wand wash the upper part of the pannarello with fresh drinking water wash the steam wand with a wet cloth and remove any milk residue replace the upper part in the steam wand make sure it is completely inserted 15
- Fill 1 3 of the container you wish to use to prepare the cappuccino with cold milk 15
- General cleaning empty and clean the coffee grounds drawer daily with the machine turned on 15
- If the selector switch is left on the central position the machine in order to save energy au tomatically reaches the temperature needed to dispense cof ee 15
- Immerse the steam wand pannarello if supplied in the milk to be heated 15
- Maintenance and cleaning operations can only be carried out when the ma chine is cold and disconnected from the electric network do not immerse the machine in water do not wash any of its parts in the dishwasher do not use sharp objects or harsh che mical products solvents for cleaning use a soft dampened cloth to clean the machine do not dry the machine and or its components using a microwave and or standard oven 15
- Note we recommend em ptying the container if the machine is not going to be used for some days 15
- To ensure better results when preparing a cappuccino use cold milk straight from the fridge 15
- Turn the selector switch counter clockwise to set it to the position rotate the container and move it gently up and down to obtain uniform foam 15
- Also clean the seat of the tray every week through the openings on the bottom of the machine 16
- Apply the grease evenly on both side guides 16
- Brew group 16
- Insert the brew group in its seat until it locks into place without pressing the push button insert the cof ee grounds drawer close the service door 16
- Lubricate the brew group after approximately 500 brewing cycles the grease to lubrica te the brew group may be purchased at authorised service centres 16
- Lubricate the brew group guides using the supplied grease only 16
- Make sure that the lever is in contact with the brew group press the push button to make sure that the brew group is in the correct position 16
- Make sure that the two reference signs match up 16
- Reassemble the external part of the pannarello we recommend cleaning the water tank daily for an easier removal of the water tank move the steam wand pannarello upwards remove the small white i lter in the water tank and wash it under running drinking water reposition the small white i lter in its housing by gently pressing and turning it at the same time fill the water tank with fresh drinking water empty and clean the drip tray daily perform this operation also when the l oat is raised 16
- The brew group should be cleaned every time the cof ee bean hopper is i lled or at least once a week turn of the machine by pressing the on off button and remove the plug from the socket remove the coffee grounds drawer open the service door to remove the brew group pull it by the handle and press the push button the brew group must be washed only with lukewarm water with no deter gent soap 16
- Wash the brew group with lukewarm water and carefully clean the upper i lter thoroughly wash and dry all the parts of the brew group thoroughly clean the inside of the machine 16
- 4 allow the descaling solution to work for 10 minutes 5 repeat steps 2 and 3 at intervals of 3 minutes until there is no descaling solution left in the water tank 17
- Before descaling remove the pannarello if supplied from the steam wand as de scribed in the cleaning and maintenance section 17
- Descaling 17
- Do not turn the machine of or put it in stand by mode during the descaling process 17
- Important note it is recom mended to refer to the next section remarks on descaling for some tips about keeping the machine in perfect working order 17
- Limescale normally builds up with the use of the appliance 17
- Only after adding the descaling solution in the tank turn the selector switch clockwise to position and then dispense 2 3 cups of water approx 150 ml 17
- Only use the saeco descaling solution its formula has been designed to ensure better machine performance and operation for its whole operating life if correctly used it also avoids alterations in the brewed product 17
- Place a container below the steam wand 17
- Pour the entire content of the saeco concentrated descaling solution into the water tank and then i ll the tank with fresh drinking water up to the max level place the tank back in the machine 17
- The machine must be descaled when the icon appears on the display 17
- Turn the machine on by pressing the stand by button wait for the machine to finish its rinse cycle and warm up 17
- Turn the selector switch clockwise to set it to the position the machine rinse cycle starts 17
- Use a container of at least 1 litre capacity if you do not have a container of this capacity once it is i lled close the knob empty the container and then place it again under the wand and repeat the procedure 17
- Warning never drink the descaling solution or any pro ducts dispensed until the cycle has been carried out to the end never use vinegar as a descaling solution 17
- Warning remove the inten za i lter if installed before adding the descaling solution 17
- When the icon is displayed rinse the water tank thoroughly and rei ll it with fresh drinking water 7 empty the container used to collect the liquid dispensed by the machine and place it under the steam wand 17
- At the end i ll the water tank again 18
- Before starting the procedure check that the following icons are displayed 18
- Dispense water until the no water si gnal is displayed then turn the selec tor switch counter clockwise to set it to the position 18
- Do not add the pre ground cof ee to the compartment 18
- Place a container under the steam wand pannarello if supplied 18
- Place a large container under the dispensing spout 18
- Press the button to brew a long cof fee 16 wait until brewing is completed and empty the container with water 17 repeat the operations from step 12 to step 16 for 3 times then continue with step 18 18
- Rinse the water tank thoroughly and rei ll it with fresh drinking water 11 empty the container used to collect the liquid dispensed by the machine 18
- Select the pre ground cof ee function by pressing the button one or more times 18
- The icon will appear on the display 18
- Turn the selector switch clockwise to set it to the position 18
- When the water in the tank is i nished the icon on the side is displayed to indicate that the selector switch must be brought back to the position 18
- After completing the desca ling cycle wash the brew group as described in the brew group section in the cleaning and maintenance section 19
- Even if the machine is not used often e g 1 coffee per day it is recommended to perform descaling cycles more frequen tly 19
- Hold the button pressed for 6 seconds to reset the machine and cancel the descaling alarm signal the light turns of 19
- If the machine is switched of during the descaling cycle next time the machine is switched on the cycle must be repeated from the beginning 19
- In case of especially hard water high calcium content descaling cycles might have to be carried out more frequently even if the machine does not display war ning signals 19
- In these specific cases it is recommended to perform descaling cycles every 1 2 months even if the machine does not signal it 19
- Reassemble the external part of the pan narello 19
- Remarks on descaling 19
- The descaling cycle is complete then the products can be brewed 19
- The descaling solution must be disposed of according to the manufacturer s instructions and or regulations in force in the country of use 19
- The machine you have purchased is equip ped with advanced software to check the quantity of used water in order to provide reliable information about the right time to carry out descaling operations 19
- The previous section explains the correct operations to perform to descale the machine 19
- This software has been programmed for standard water hardness 19
- Control panel display 20
- Ready signals 20
- Alarm signals 21
- Warning signals 21
- Machine actions causes solutions 22
- Note these problems can be considered normal if the cof ee blend has been changed or if the machine has just been installed in this case wait until the machine performs a self adjusting operation as described in section saeco adapting system 22
- Please contact saeco customer service or an authorized service center for any problems not covered in the above table or when the suggested solutions do not solve the problem 22
- Troubleshooting 22
- Machine disposal 23
- Sup 037r 23
- Technical specifications 23
Похожие устройства
- Saeco Talea Giro Plus V2 Руководство по эксплуатации
- Saeco Vienna Руководство пользователя
- Saeco Vienna Plus Руководство по эксплуатации
- Siemens CT636LES1 (iQ700) Руководство по эксплуатации
- Siemens CT636LES6 (iQ700) Руководство по эксплуатации
- Siemens CT636LEW1 (iQ700) Руководство по эксплуатации
- Siemens TE501201RW Руководство по эксплуатации
- Siemens TE501205RW Руководство по эксплуатации
- Siemens TE501209RW (EQ.5) Инструкция по эксплуатации
- Siemens TE502206RW Руководство по эксплуатации
- Siemens TE503207RW Инструкция по эксплуатации
- Siemens TE503209RW Инструкция по эксплуатации
- Siemens TE509201RW (EQ.5) Руководство по эксплуатации
- Siemens TE515201RW Руководство по эксплуатации
- Siemens TE515209RW Руководство по эксплуатации
- Siemens TE603201RW (EQ.6 s300) Руководство по эксплуатации
- Siemens TE603209RW (EQ.6 s300) Руководство по эксплуатации
- Siemens TE613209RW (EQ6 s300) Руководство по эксплуатации
- Siemens TE615209RW Руководство по эксплуатации
- Siemens TE617203RW Руководство по эксплуатации