
LINE 6 POD HD500 Руководство по эксплуатации онлайн
®
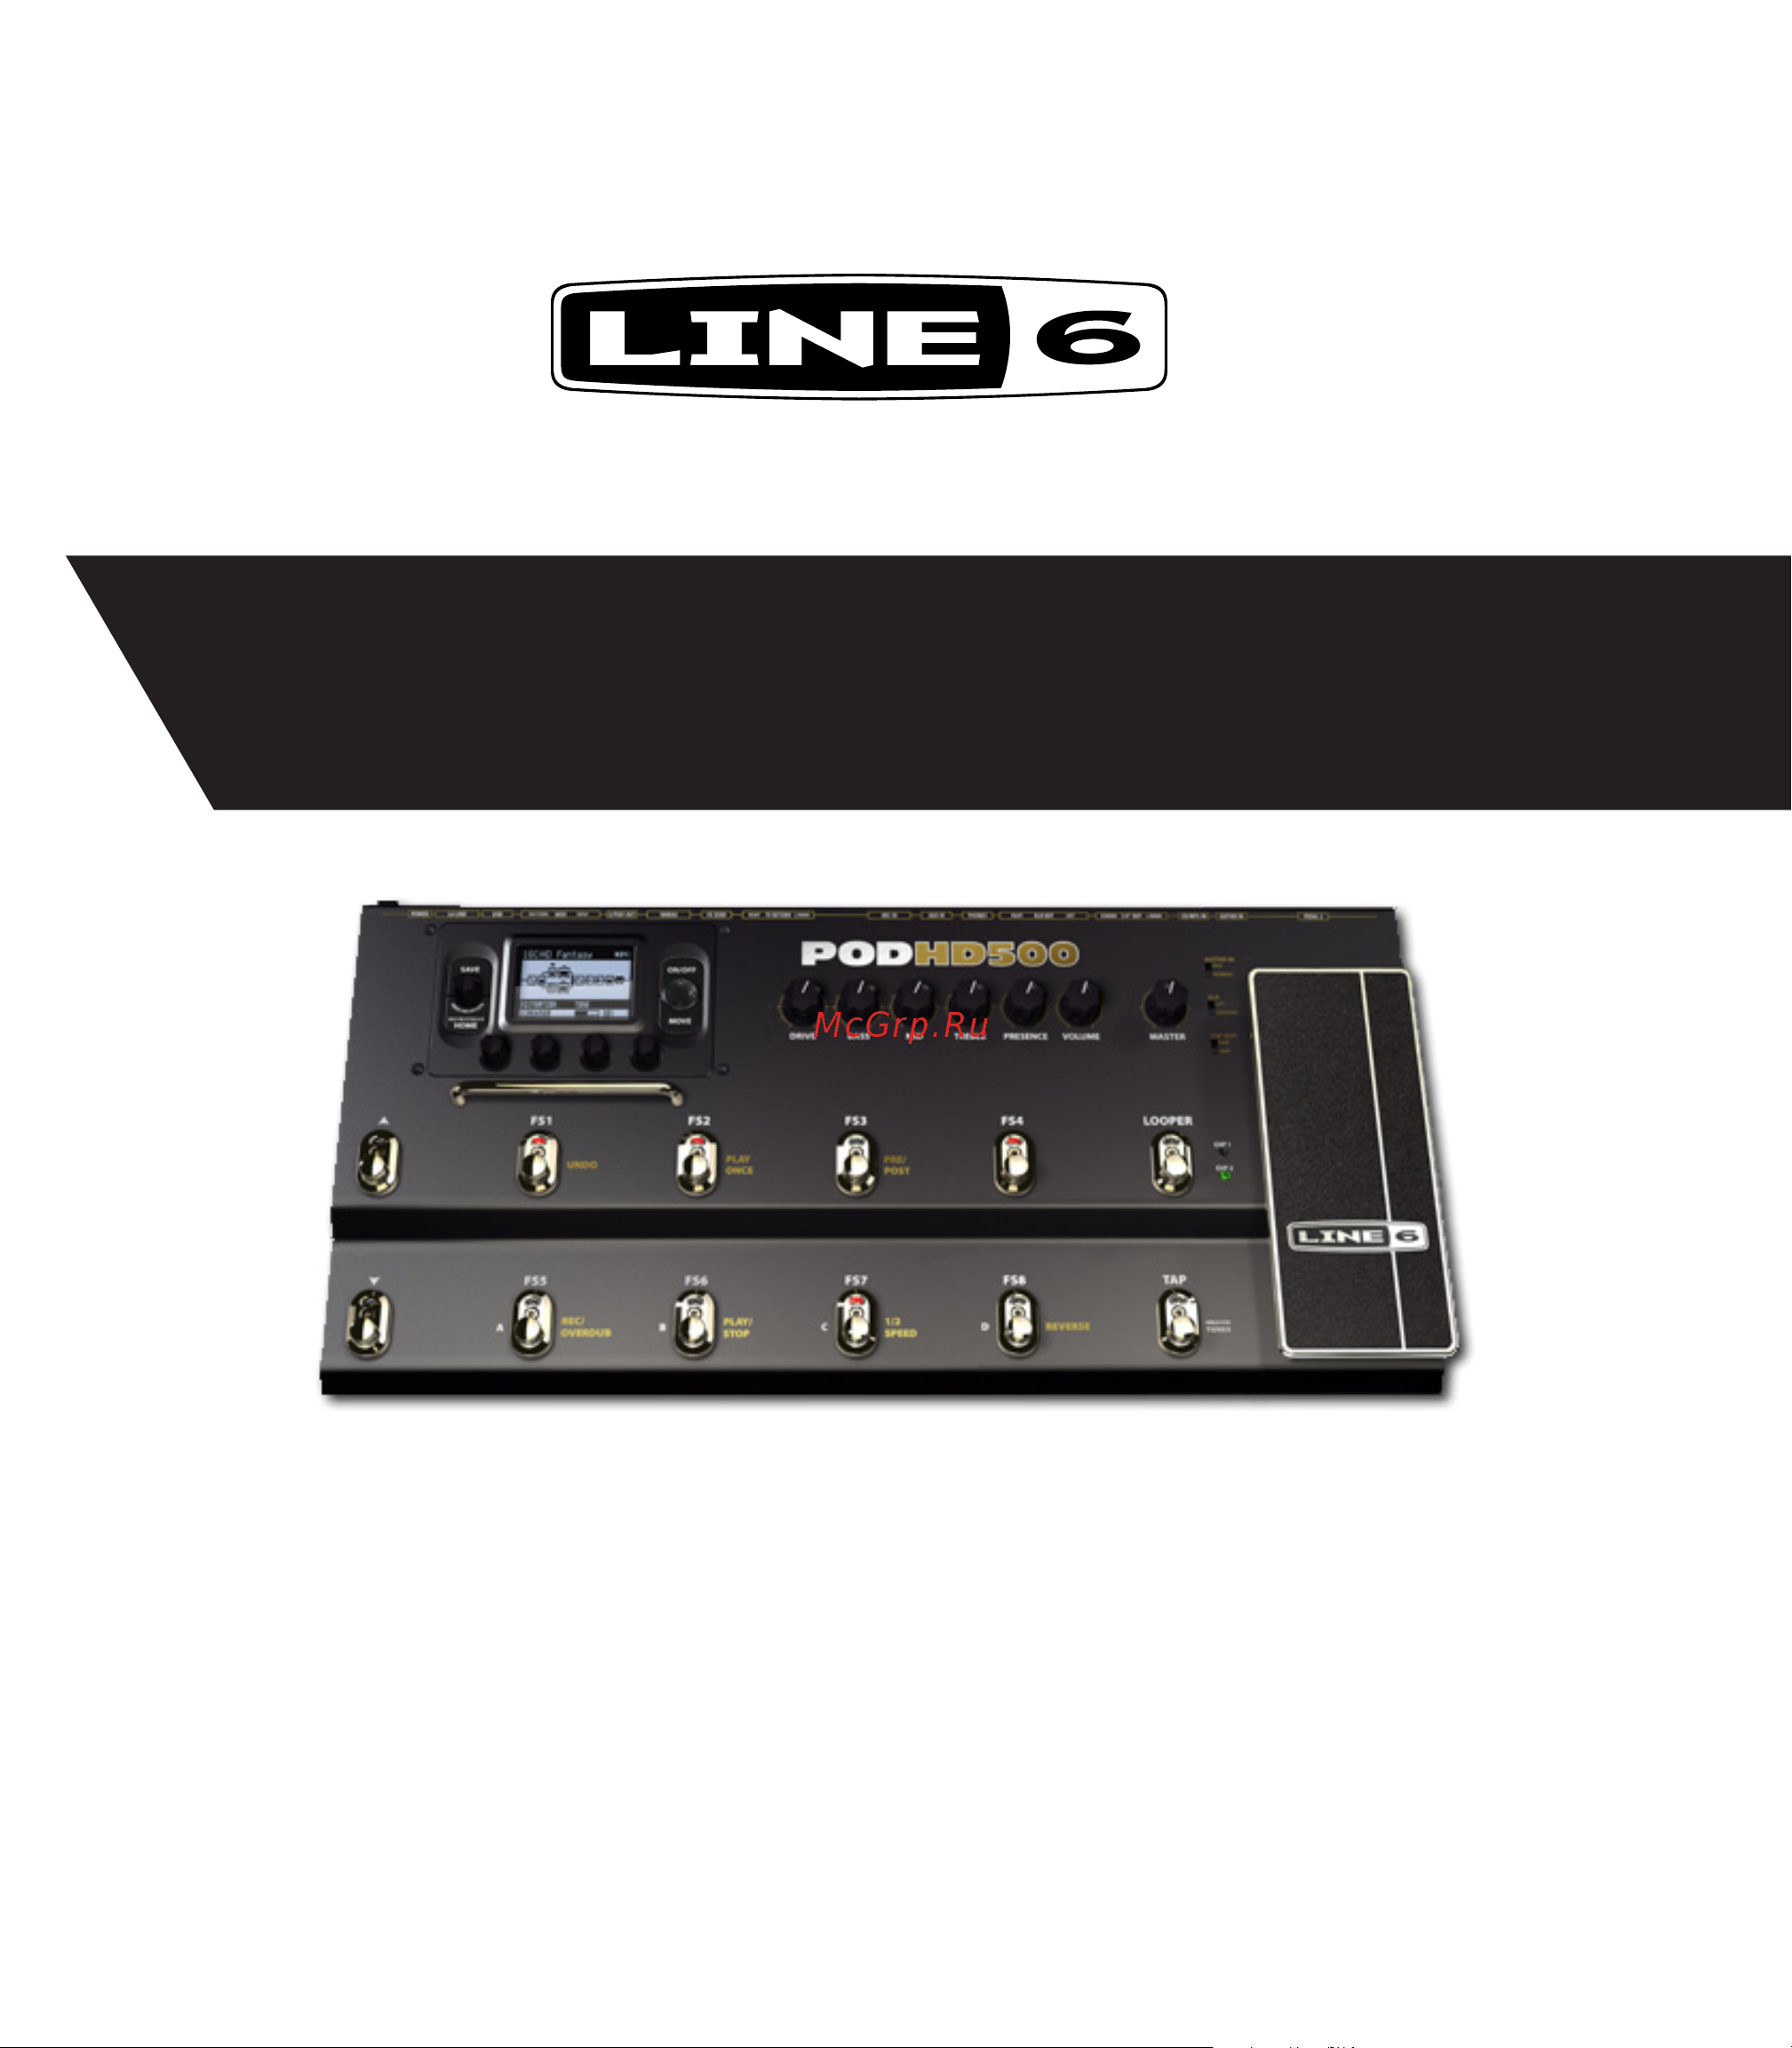
POD
®
HD500
An in-depth exploration of the features &
functionality of POD HD500
Electrophonic Limited Edition
Advanced Guide
Содержание
- Pod hd500 advanced guide 1
- Features functionality 3 1 2
- Overview 1 1 2
- System setup 2 1 2
- Table of contents 2
- Amp cab mic models 6 1 3
- Fx edit mode 5 1 3
- Fx models 7 1 3
- Looper mode 8 1 3
- Set lists presets 4 1 3
- Appendix a line 6 monkey a 1 4
- Appendix b midi b 1 4
- Usb audio 9 1 4
- Home views 5
- Overview 5
- Signal flow view 5
- Verview 5
- Performance view 6
- Big user view 7
- Tuner mode 7
- Connections 8
- Tap tempo 8
- Pod hd500 edit software 9
- Accessing system setup 11
- System setup 11
- Page 1 setup utilities options 12
- Page 2 setup utilities options 13
- Page 3 setup input options 14
- Amp fx model guitar input impedance ratings 16
- Model guitar input impedance 16
- About source input signal routing 17
- Page 4 setup output options 18
- Page 5 setup s pdif output options 19
- Page 6 midi tempo options 20
- Page 7 setup variax options 21
- James tyler variax 22
- Variax electric 23
- Variax acoustic 700 24
- Variax bass 700 705 25
- Page 8 james tyler variax tuning options 26
- Page 10 setup l6 link control 27
- Page 9 setup l6 link audio 27
- Eature 29
- Features functionality 29
- Fx blocks 29
- Unctionality 29
- Fx loop 30
- Amp blocks 31
- Mixer block 32
- Moving fx blocks 33
- Model types and mono stereo signal routing 34
- Exp 1 and exp 2 35
- Expression pedal variax knob controller assignment 35
- Controlling amp fx parameters 36
- Exp 1 and exp 2 with pedal 2 connected 36
- Variax knobs as controllers 36
- Button to display the performance view screen the assignments for 38
- Each of the 38
- Footswitches as well as the exp pedal s toe switch can be configured to toggle any of the fx or amp blocks on off you can reference the current preset s fx footswitch assignments by pressing the 38
- Fx amp block footswitch assignment 38
- Through 38
- To create controller assignment to an fx loop parameter simply select the fx loop block within the signal flow view and go to the controller assign screen as described above 38
- Will differ depending on your current setup fs mode setting see page 1 setup utilities options on page 2 2 38
- Assigning an fx or amp block to a footswitch 39
- Button to display the footswitch assign screen 39
- From the signal flow view select the fx or amp block that you want assigned to one of your footswitches as an example we ll select the delay fx block then press and hold the 39
- Looper footswitch controls performance view on page 8 39
- Using the exp pedal toe switch 41
- Dynamic dsp 42
- Accessing set lists 45
- Resets 45
- Set lists presets 45
- Working with set lists 45
- Arranging presets within set lists 46
- Accessing presets 48
- Working with presets 48
- Bank channel footswitches 49
- Saving presets 50
- Accessing fx edit mode 53
- Fx edit mode 53
- Knob 1 type 54
- Knob 2 model 54
- Knob 3 parameter 54
- Fx loop 55
- Knob 4 value 55
- Amp cab mic models 57
- Amp model positioning 57
- Amps within paths a b 57
- Amp block in pre or post positions 58
- Button to display the signal flow view and use the nav disc to select amp a or amp b 59
- Model types and mono stereo signal routing on page 3 59
- Press the 59
- Selecting amp cab mic models 59
- With the amp in post as shown above the parallel paths a b are fed into the input of the amp you can still move fx into either path a or b in which case they ll be in parallel with each path s output individually controlled by the mixer s a b level and pan options to allow you to custom blend them before they hit the amp 59
- Amp and preamp models 60
- About default amp settings 61
- Amp block states 61
- Bass cab mic models 62
- Guitar cab mic models 62
- Mic model descriptions 62
- Mic models 62
- Mic name based on 62
- To follow is a list of all mic models note that all guitar amp s cabs offer a selection of 8 mics and the 1x15 flip top bass cab offers its own selection of 8 mic models 62
- Amp cab edit display 63
- Editing amp parameters 63
- To adjust the amp tone 63
- To toggle the selected amp model on or off 63
- Amp edit page 1 64
- Amp edit page 2 65
- Page 2 of the amp edit screen not displayed for preamp models 65
- Amp edit page 3 66
- Amp edit page 4 66
- Page 3 of the amp edit screen not displayed for preamp models 66
- Amp edit page 5 67
- Amp preamp model based on 68
- Amp preamp models 68
- Button or double press the 68
- Button to exit the 68
- Knob 3 adjusts the decay time of the modeled speaker resonance this control 68
- Pod hd amp preamp models 68
- Press the 68
- Provides the feel of a tighter speaker cone at lower values and a looser speaker at higher values 68
- Screen when done be sure to save your preset to retain customized amp model settings 68
- To follow is a table showing the classic amplifiers upon which all our hd amp preamp models are based for more details please also check out the pod hd model gallery available from http line6 com support manuals 68
- Amp control labels 69
- Amp preamp model based on 69
- For some amp models you ll see slightly different labels for the amp tone knobs displayed in the amp edit screen in the cases where the classic amps we ve modeled include special knob controls we ve emulated their behaviors accordingly these are listed as follows 69
- Knob and invented bass treble and presence controls 69
- Pod hd amp preamp models 69
- Super o the actual supro only has a drive and a tone knob so we mapped tone 69
- To the 69
- Cab model based on 71
- Cab models 71
- Pod hd cab models 71
- To follow is a table showing the classic speaker cabinets upon which our cab models are based 71
- Common parameters 73
- Dynamics models 73
- Fx models 73
- Common parameters 74
- Distortion models 74
- Modulation models 75
- Common parameters 76
- Common parameters 77
- Filter models 77
- Bass octaver 78
- Pitch fx model parameters 78
- Pitch models 78
- Pitch glide 79
- Smart harmony 79
- Common parameters 81
- Preamp eq models 81
- Vintage pre 81
- Delay models 82
- Common parameters 83
- Reverb models 83
- Common parameters 84
- Particle verb 84
- Volume 85
- Volume pan wah models 85
- Before path a b split 86
- After path a b mixer 87
- Placing a mono output fx model after the pan 87
- Common parameters 88
- Wah models 88
- Looper footswitch controls performance view 89
- Looper mode 89
- 2 speed operation 93
- Looper settings 93
- The line 6 usb audio driver 95
- Usb audio 95
- Audio routing 96
- When using the pod hd500 usb connection the audio driver manages several tasks the driver feeds the processed guitar signal out the usb record send to your computer and receives playback audio from the computer it also grabs the processed guitar signal before routing it to the record send to provide a low latency monitor signal and then mixes the monitor signal with the playback audio and feeds this combined signal to your pod hd500 analog outputs 96
- The line 6 audio midi devices panel 97
- The pod hd500 record send 97
- Line 6 audio midi settings driver options mac 98
- Mac line 6 audio midi devices 98
- Inputs recording page 99
- Mac os x audio midi setup utility 100
- Pod hd500 utilizes the mac core audio driver type making it a compatible audio interface for practically any mac audio multimedia software as with most core audio devices some settings are found in the audio devices page of the mac audio midi setup dialog 100
- This slider independently controls the volume of your processed guitar tone output for monitoring the signal fed to the device s main outputs it does not affect the level of the signal fed to your computer via the record send this allows you to balance your guitar s monitor level against the playback audio from your computer such as when recording in daw software 100
- Windows line 6 audio midi devices 102
- Asio driver settings 105
- Sample rate converter active 105
- Usb audio streaming buffer 105
- Inputs recording page 106
- Appendix a line 6 monkey 107
- Launch line 6 monkey 107
- Ppendi 107
- Grab those updates 108
- Register your hardware 108
- Line 6 variax updates 109
- Appendix b midi 111
- B midi 111
- Midi input out thru 111
- Pod hd500 midi setup options 111
- Ppendi 111
- Controlling pod hd500 functions via midi 112
- Midi cc value function 112
- Pod hd500 footswitch pedal assignments looper functions and more can be can controlled remotely via a midi controller device connected to the pod hd500 112
- Pod hd500 midi control reference 112
- Port the following reference table shows the necessary midi cc settings to configure your midi controller device to access these pod functions 112
- Bank program change messages 113
- The midi assign screen 115
- Using pod hd500 as a midi controller device 115
- Footswitch midi cc value 118
- Looper mode footswitch behaviors 118
- Looper mode footswitches midi cc transmit reference 118
- When pod hd500 is actively in looper mode the looper function footswitches automatically transmit the following midi cc messages these are global midi cc assignments and cannot be edited 118
Похожие устройства
- LINE 6 POD HD Pro X Руководство по эксплуатации
- Sennheiser SKM 3072-U Руководство по эксплуатации
- Sennheiser SR 2000 IEM GW-X Руководство по эксплуатации
- Sennheiser MB 1 Pro Руководство по эксплуатации
- Sennheiser SDC 8200 SYS-M Руководство по эксплуатации
- Sennheiser SDC 8200 ID Руководство по эксплуатации
- Sennheiser SDC 8200 DC Руководство по эксплуатации
- Sennheiser SDC 8200 C Руководство по эксплуатации
- Sennheiser SDC 8200 CC Руководство по эксплуатации
- Sennheiser SDC 8200 CV Руководство по эксплуатации
- Sennheiser SDC 8200 DV Руководство по эксплуатации
- Sennheiser SDC 8200 CU-M Руководство по эксплуатации
- LINE 6 XD-V70L Руководство по эксплуатации
- Sennheiser SDC 8200 D Руководство по эксплуатации
- LINE 6 StageScape M20d Руководство по эксплуатации
- Axelvox KEY49j Инструкция по эксплуатации
- Axelvox SkyMIA HD Руководство по эксплуатации
- STUDIOLOGIC Numa Organ 2 Руководство по эксплуатации
- STUDIOLOGIC Sledge 2.0 Руководство по эксплуатации
- Sennheiser UI 760 Руководство по эксплуатации
Скачать
Случайные обсуждения