
LINE 6 Spider IV 75 Руководство по эксплуатации онлайн
Advanced Guide
®
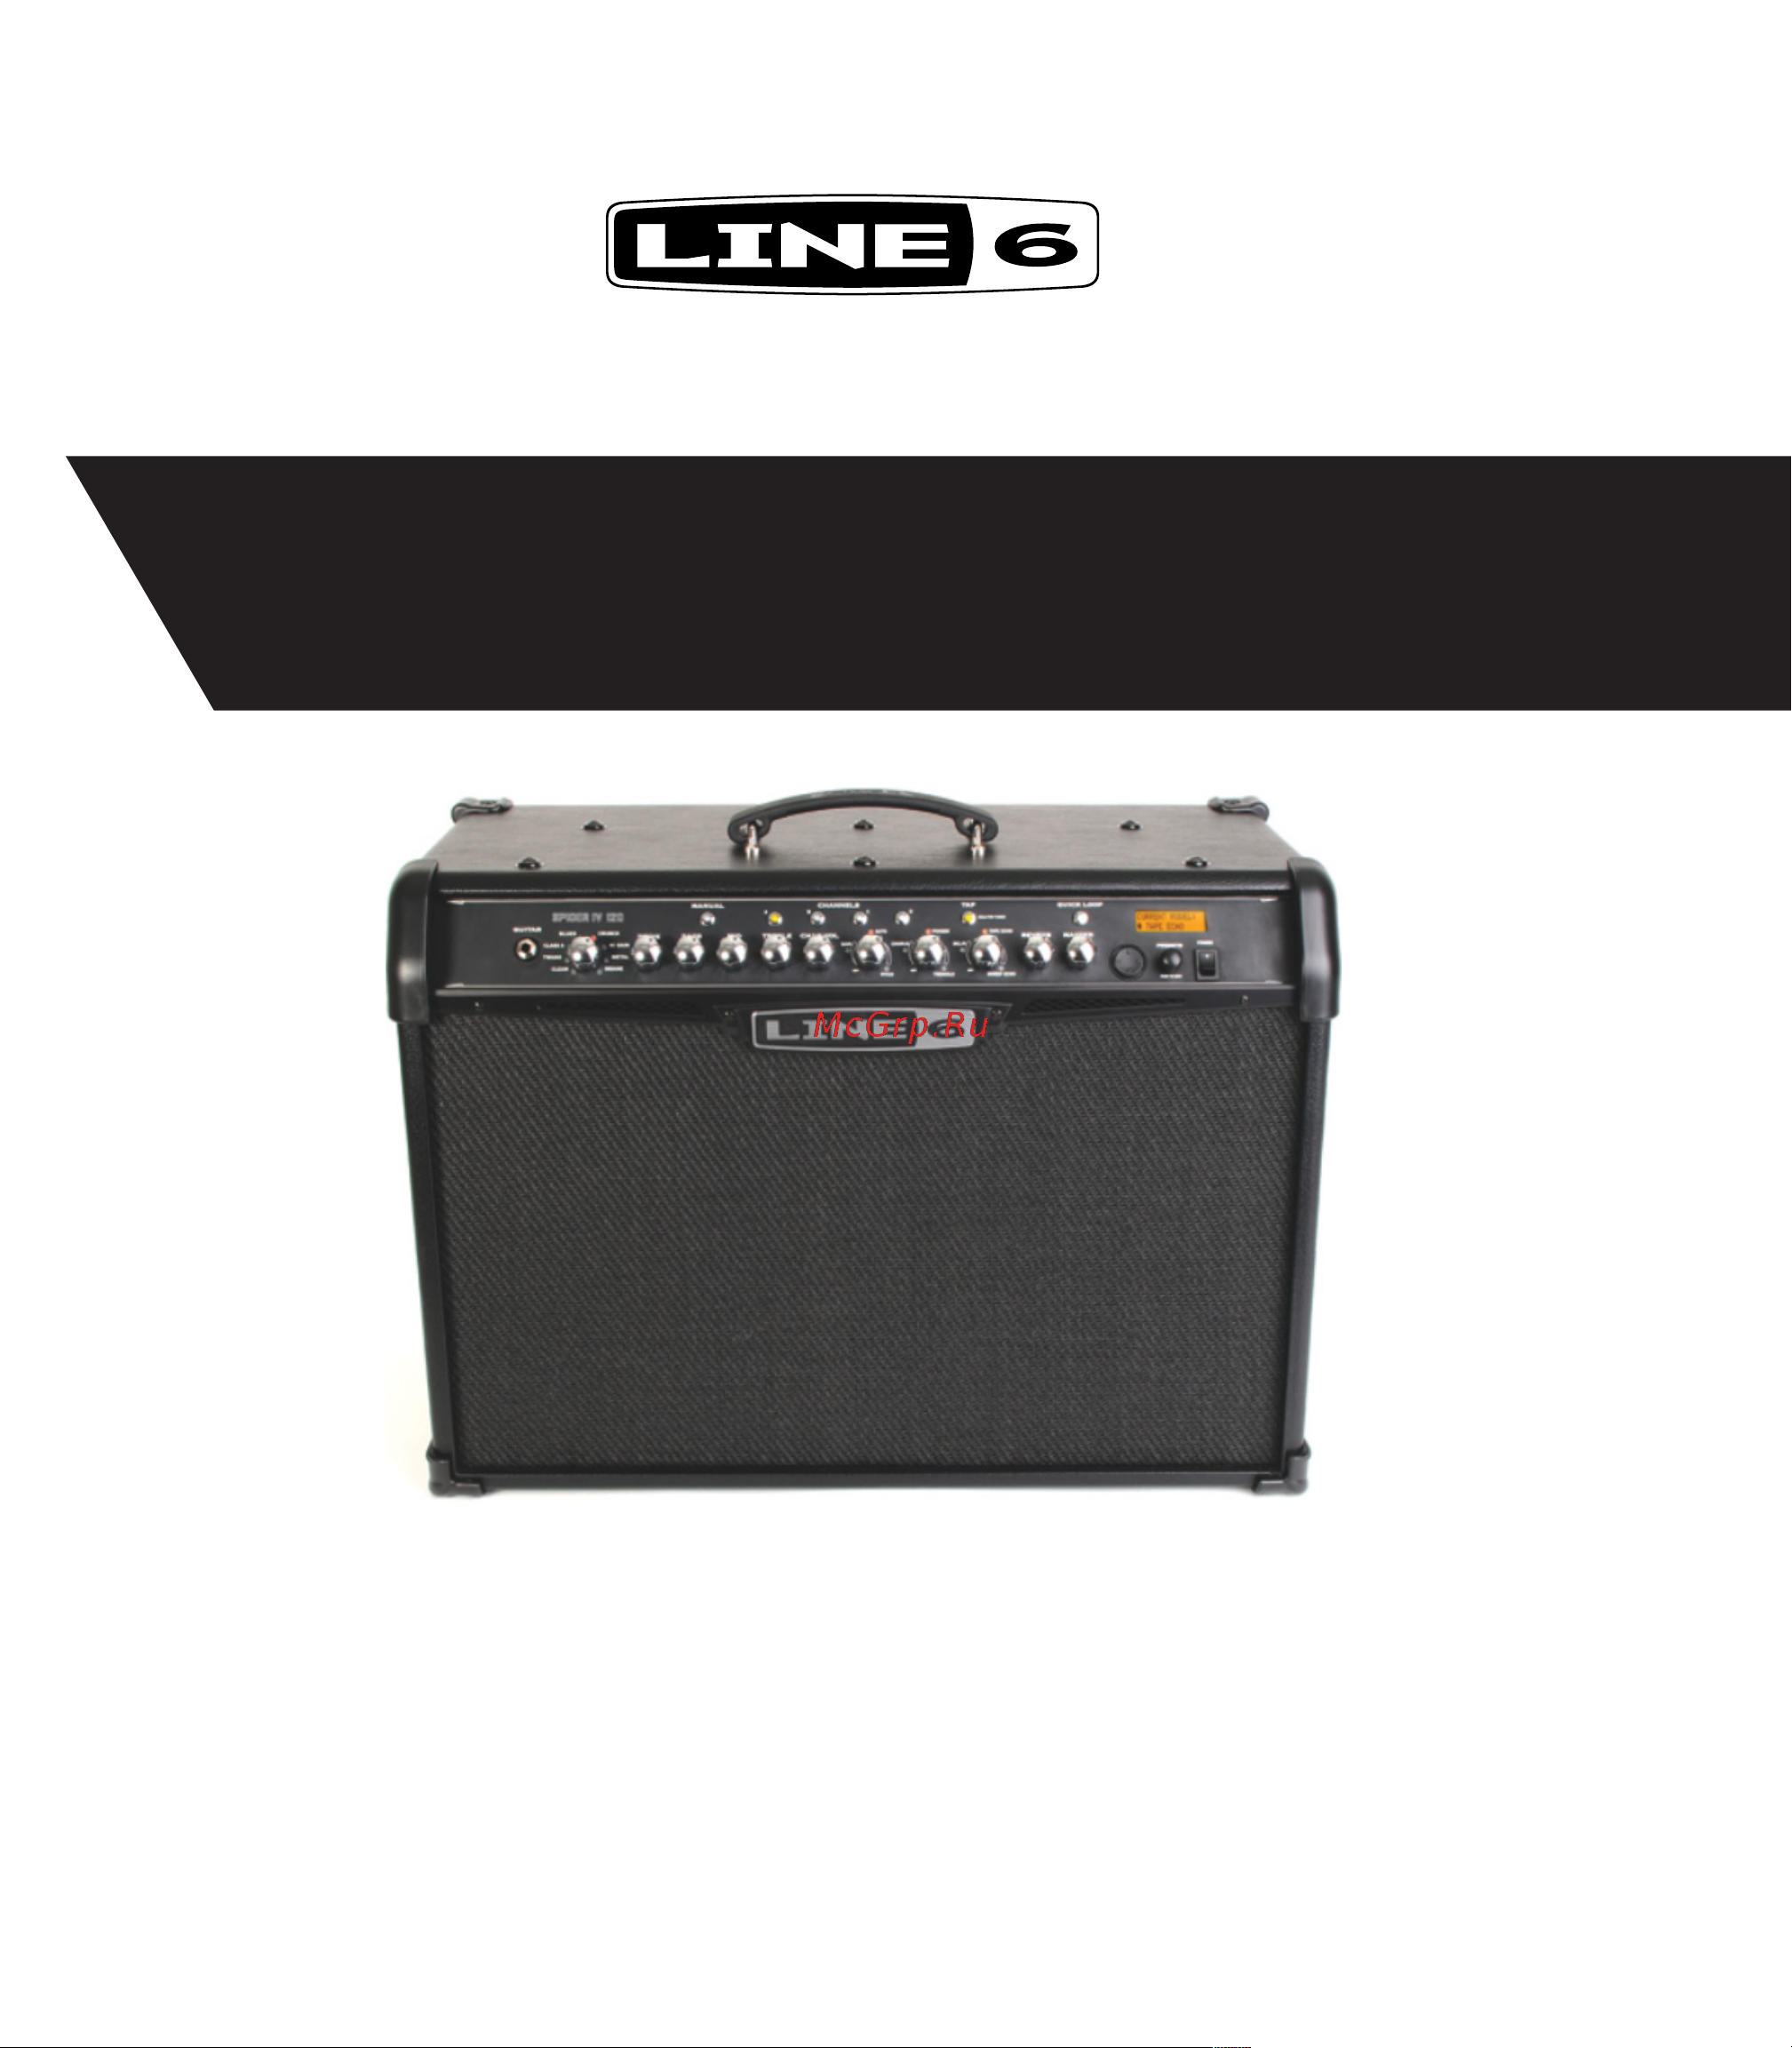
Spider IV
Electrophonic Limited Edition
An in-depth guide to the features and functionality of the
Spider IV 75, 120, 150 and HD150
Содержание
- Advanced guide 1
- Spider iv 1
- Appendix amp models a 1 3
- Editing 3 1 3
- Foot control 6 1 3
- Looper control mode 5 1 3
- Overview 1 1 3
- Presets 2 1 3
- Smart fx 4 1 3
- Table of contents 3
- Features 5
- Verview 5
- Amp models 6
- Channel volume 6
- Channels 6
- Front panel controls 6
- Guitar in 6
- Manual mode 6
- Tone controls 6
- Smart fx controls 7
- Lcd display 8
- Master volume 8
- Presets press to edit 8
- Quick loop 8
- Reverb 8
- Way navigation disc 8
- Cd mp3 in 9
- Extension speaker outs 9
- Fbv pedal input 9
- Rear panel i o 9
- Stereo phones direct output 9
- Manual mode 11
- Preset select 11
- Resets 11
- Here s an overview of the save routines for spider iv 12
- If you re starting from an artist or song preset press any a b c or d channel button 12
- Once you ve edited a preset to your liking you ll want to save it in one of the user banks artist and song presets can t be overwritten so if you want to save an edited version of an artist or song preset or a custom preset you ve created from scratch it must be stored in one of the 64 memory locations in user banks 1 thru 16 channel a b c or d 12
- Once your preset name is set press a channel button as your preset destination 12
- Press hold the channel button of the current preset location all 4 leds will flash 12
- Rename the preset if desired l r arrows select character presets knob changes it 12
- Saving 12
- Select the destination bank by pressing the up down arrows on the nav disc 12
- The leds will flash rapidly a few times indicating the save routine is complete 12
- To save a preset 12
- Your preset is now saved to the bank and channel location you ve selected 12
- A note about smartfx 14
- Depending on the fx you re editing you ll have a variety of parameters to adjust these include routing mix tone feedback depth speed time and tap control among others that will be specific to each fx model 14
- In preset select mode when you turn the fx1 fx2 or fx3 knobs to select effects you ll notice that parameters have already been set up for you these smartfx provide you with an instantly musical sound without having to tweak an effect s individual parameters 14
- This makes it quick and easy to audition the various effects and not have to worry about setting them up when you hear an effect that you d like to use for the current preset you can then enter edit mode to customize it to your personal taste 14
- Use the l r arrows to navigate thru the fx blocks use the up down arrows to select the various parameters in each block to adjust a parameter value turn the presets knob 14
- We ll cover smartfx in more detail including customization in chapter 4 smartfx 14
- With each of your fx assigned you ll want to enter edit mode to tweak the individual fx parameters to do so press the presets knob the lcd will look like this for fx3 14
- Smart fx customization 19
- Pitch glide tips 20
- Smart harmony tips 21
- If you want to experiment with your own smart harmony settings you ll want to enter edit mode with smart harmony selected here are the various smart harmony edit screens that will be available for tweaking 22
- Notice the two top screens display a swoosh graphic to the left of e and major this means the key and scale settings are the smart fx defaults and haven t been customized the shift and mix parameters display a knob graphic indicating they have been customized routing always displays a knob graphic for pre or post 22
- Using the smart harmony settings above if you play some single note riffs on your guitar in the key of e you ll hear a 5th note along with every note you play with the mix level at 50 the two notes should be equally balanced in volume give it a try 22
- Smart harmony scales 24
- Auditioning editing presets 25
- Looper tips 27
- Record overdub 27
- Arm overdub from playback 28
- Exit overdub mode stop playback 28
- Set out point arm overdub 28
- Fbv options 29
- Ontrol 29
- Blues green 31
- Blues red 31
- Class a green 31
- Class a red 31
- Clean green 31
- Clean red 31
- Ppendi 31
- Twang green 31
- Twang red 31
- Crunch green 32
- Crunch red 32
- Hi gain green 32
- Hi gain red 32
- Insane green 32
- Insane red 32
- Metal green 32
- Metal red 32
Похожие устройства
- LINE 6 Spider IV 120 Руководство по эксплуатации
- LINE 6 Spider IV HD150 Руководство по эксплуатации
- LINE 6 Relay G75 Руководство по эксплуатации
- LINE 6 Spider Valve MkII 112 Руководство по эксплуатации
- LINE 6 POD HD Desktop Руководство по эксплуатации
- LINE 6 Spider Valve MkII 212 Руководство по эксплуатации
- Sennheiser EK 2000 IEM-GW-X Руководство по эксплуатации
- Sennheiser SKP 2000 Руководство по эксплуатации
- Sennheiser SK 2000 Руководство по эксплуатации
- Sennheiser EM 2000 Руководство по эксплуатации
- Sennheiser SKM 2000 Руководство по эксплуатации
- Sennheiser EK 2000 Руководство по эксплуатации
- Sennheiser SK 50-A Руководство по эксплуатации
- Sennheiser SKM 5200 Руководство по эксплуатации
- Sennheiser SKM 5200-II Руководство по эксплуатации
- Sennheiser EK 3241 Руководство по эксплуатации
- Sennheiser EM 2050 Руководство по эксплуатации
- Sennheiser MB 2 Pro Руководство по эксплуатации
- AKAI Professional AMX Руководство по эксплуатации
- AKAI Professional LPD8 Руководство по эксплуатации