
Alto DIGAN 2.14 Инструкция по эксплуатации онлайн
User's Manual
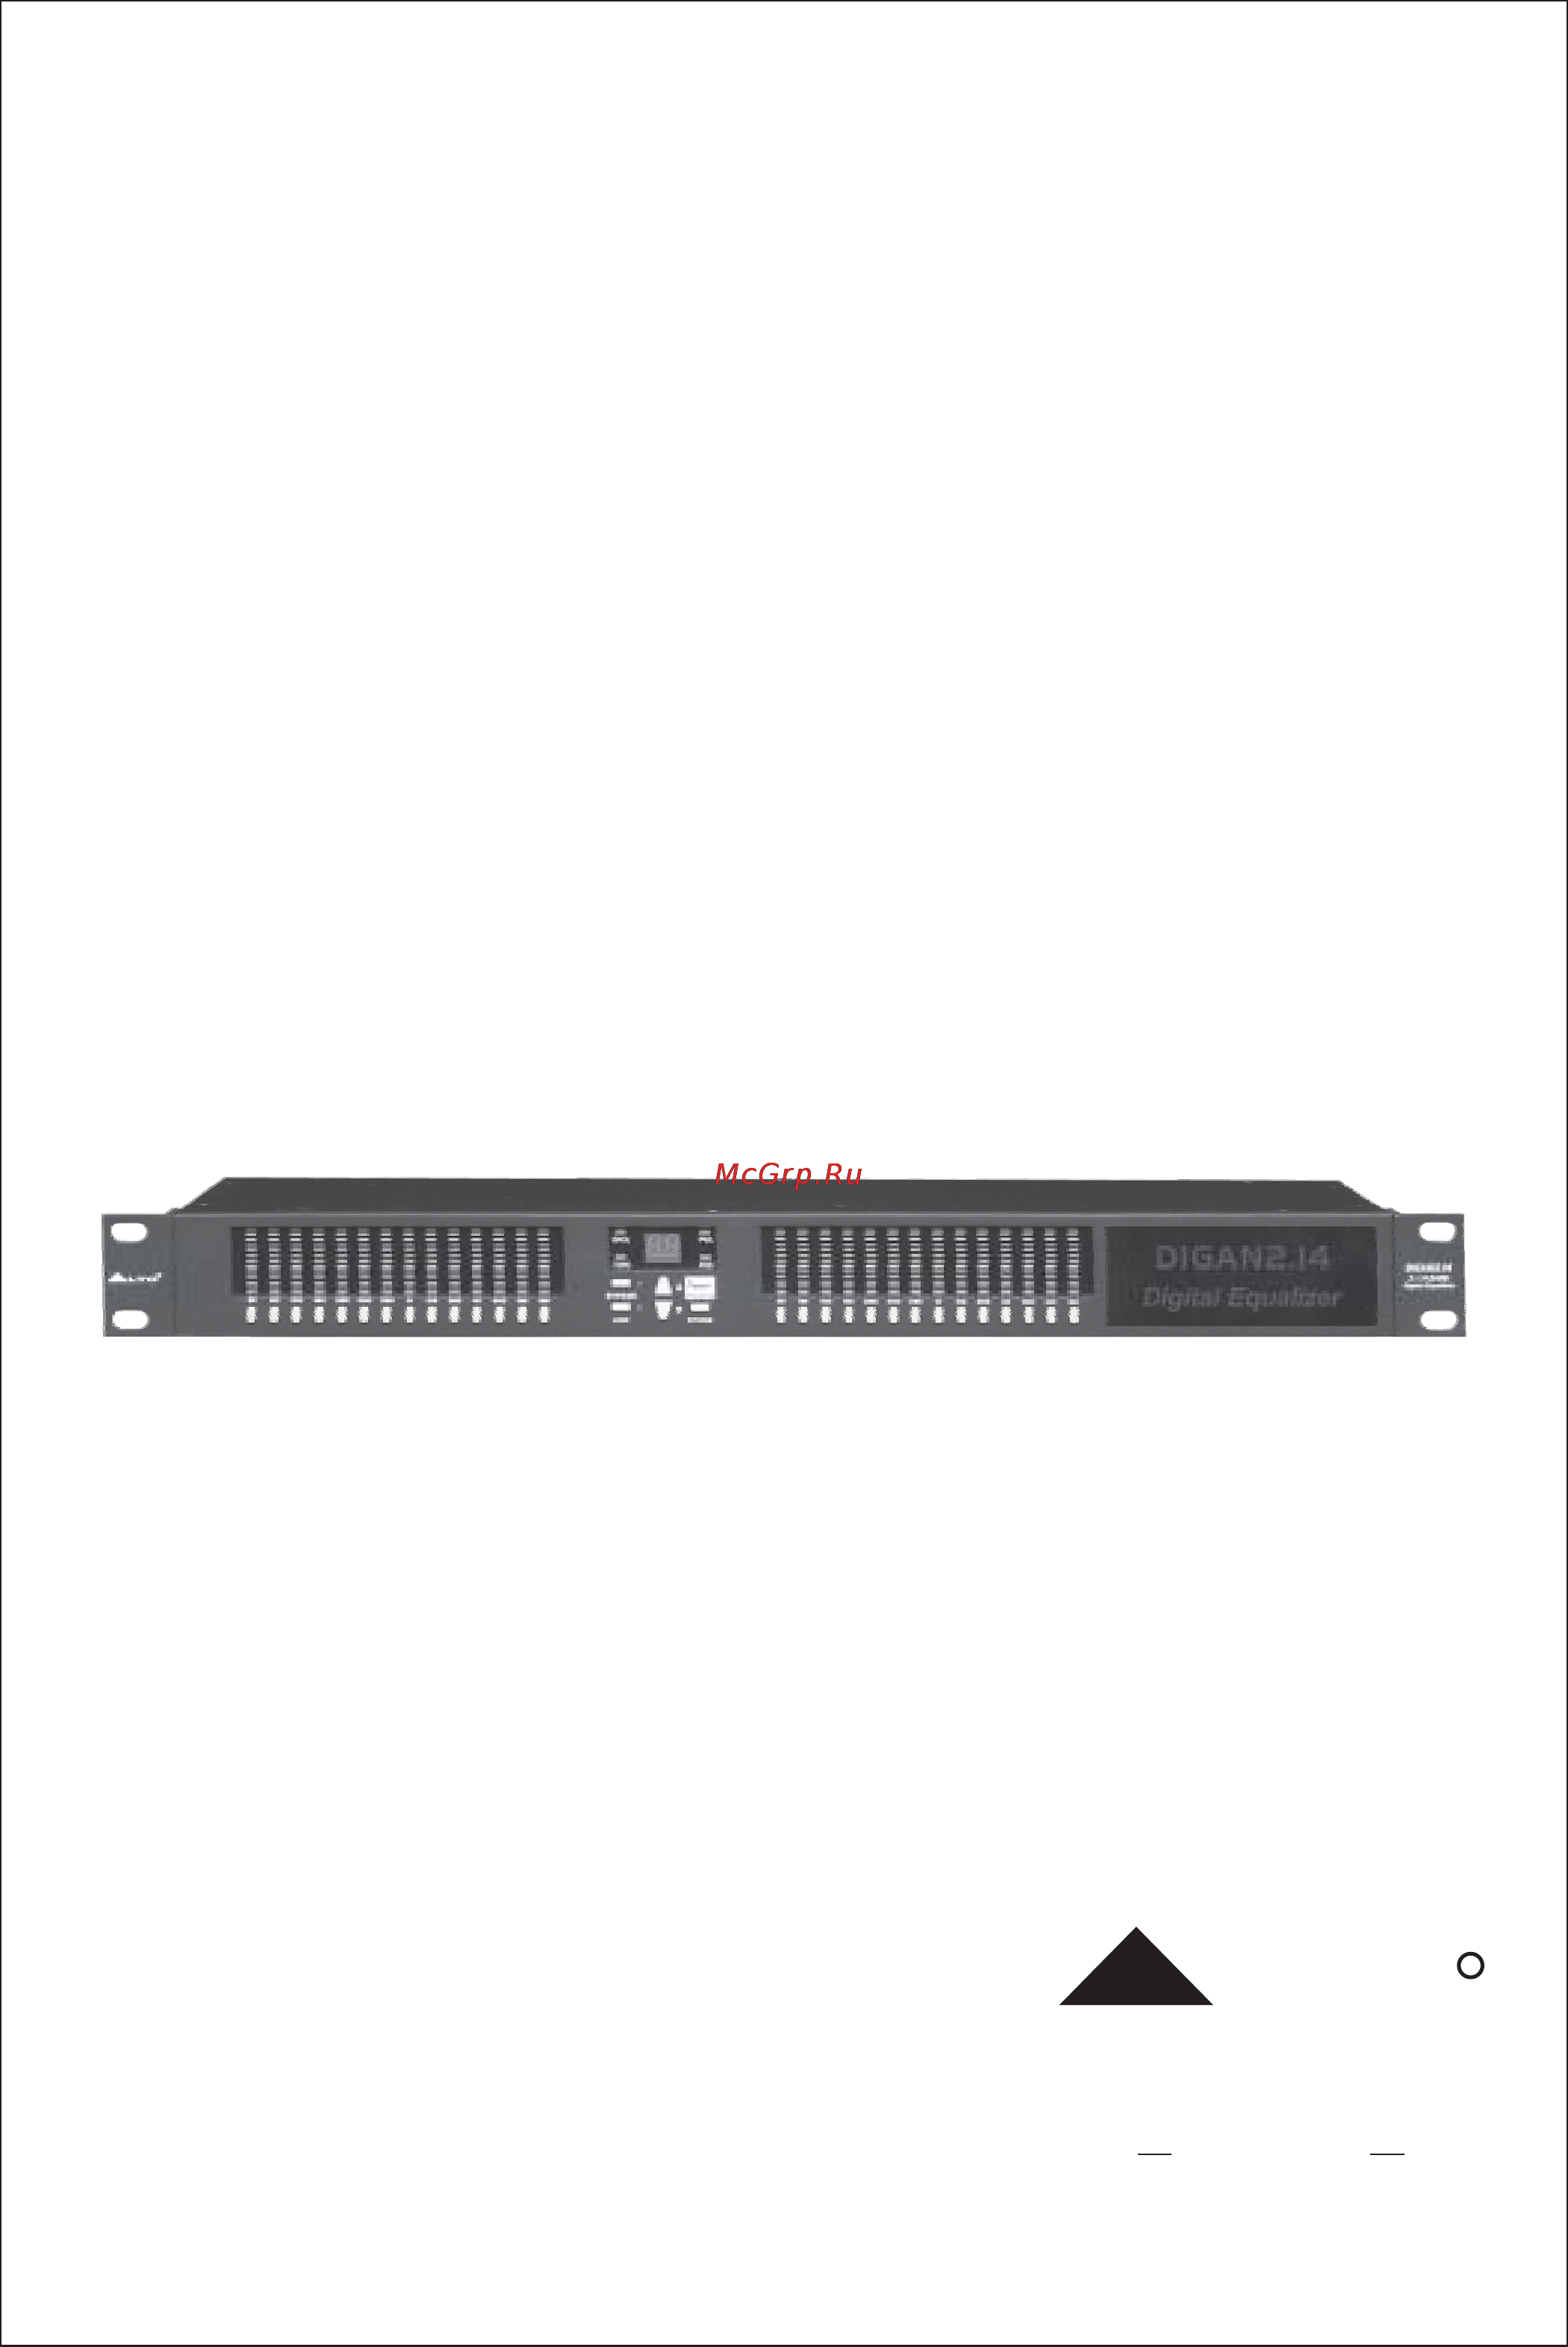
2 x 14 BAND
DIGITAL EQUALIZER
DIGAN2.14
LTO
R
www.altoproaudio.com
Version 1.2 May 2006
English
Содержание
- Digan2 4 1
- User s manual 1
- A registered electrician 2
- Always use proper ready made insulated mains 2
- And when unused for long periods of time to reduce 2
- Before turning the product on make sure that it is 2
- Cabling power cord failure to do so could result 2
- Caution 2
- Connected to ground this is to prevent the risk of 2
- Cord is removed 2
- Could result in fire 2
- Covers should be removed by qualified service 2
- Describes precautions that should be observed to 2
- Do not block areas of ventilation failure to do so 2
- Do not remove any covers 2
- Do not use this product when in close proximity to 2
- Electric shock 2
- External connection 2
- Ground terminal 2
- Important safety instructions 2
- In shock death or fire if in doubt seek advice from 2
- Instructions 2
- Keep product away from naked flames 2
- Manual do not short circuit the fuse holder before 2
- May present to reduce the risk of electric shock do 2
- Never cut internal or external ground wires likewise 2
- Never remove ground wiring from the protective 2
- No user serviceable parts inside 2
- Not remove any covers unless the ac mains power 2
- Off and disconnected from the ac outlet 2
- Personnel only 2
- Placed in municipal waste and should be 2
- Possibly the user 2
- Power supply 2
- Prevent damage to the product 2
- Prevent the possibility of death or injury to the user 2
- Protect the power cord and plug from any physical 2
- Replacing the fuse make sure that the product is 2
- Safety related symbols 2
- Separate collection 2
- The recommended fuse type as indicated in this 2
- The risk of electric shock or fire 2
- To avoid the risk of electric shock and damage do 2
- To do so could result in damage to the product and 2
- Warning 2
- Because we are convinced you are the most important member of lto audio team and the one confirming the 3
- Centers in italy netherlands united kingdom and taiwan the core of our digital audio products is a sophisticated 3
- Following this idea we create our products and we will create the new ones from our side we guarantee you and 3
- Our lto digan2 4 is the result of many hours of listening and tests involving common people area experts 3
- Preface 3
- Control elements 4
- Installation and connection 4
- Introduction 4
- Operation overview 4
- Remote control 4
- Control elements 3 control elements 5
- Digan2 4 5
- Efficient single unit rack package our new is a versatile and very powerful parametric graphic equalizer it will 5
- Features 2 features 5
- Introduction 1 introduction 5
- Purchasing lto digan 2 4 you purchase a very powerful digital equalizer easy to use and contain in a very 5
- The front panel 5
- Audio connection 6
- For 1 4 phone jack 6
- For xlr connector 6
- Installation connection 4 installation connection 6
- Mains connection 6
- The 9vac adapter that meets all the international safety regulations is supplied with your lto digan2 4 6
- The rear panel 6
- For these applications the lto digan2 4parametric graphic equalizer provides 1 4 trs and xlr 7
- If you are connecting to a mixing console s main inserts you may have a single trs jack for send and 7
- Modify the parameters 7
- Operation overview 5 operation overview 7
- Return 7
- Return in this case use an insert y cable that configured like the examples below 7
- Sleeve 7
- Tip ring 7
- All blinking then you can adjust the gain value of all these selected bands simultaneously via up down keys 8
- Bypass mode 8
- Demo mode 8
- Hz ch a then ill be flashing it allows you to adjust the level of ch b via up down keys and r w l r 8
- Include the modified and unmodified will be adjusted together at the same time via up down keys 8
- Keys to select the right preset you want for example preset 32 8
- Link mode 8
- Note you can select as many as bands that you wish to change once the indicators of selected bands are 8
- Press and hold down key then press up key the current preset will change to 0 the preset will increase 10 8
- Press and hold link key then press up key the current preset will be displayed one by one the bypass 8
- Press and hold the key of 80hz ch a then press bypass isplays while is flashing it allows you l r d l 8
- Release down or up key your selected preset will be loaded for example preset 30 then use up down 8
- Select preset fast 8
- Setup mode 8
- Store preset 8
- System setting 6 system setting 8
- To compare the processed signal with unprocessed signal 8
- A install digan editor program run diganeditor100 exe latest version may differ then select the folder where 9
- By selecting the digan editor icon in the windows programs menu select new from the file menu 9
- First steps with the pc editor 9
- Haven t stored and reload the settings before storing the preset 9
- Remote control 7 remote control 9
- Reset mode 9
- Software installation 9
- Status connected or disconnected see following picture 9
- The program is installed and press next select the program location and press next it is suggested to use 9
- Verify the digan2 4 unit is correctly connected the network scan window should show the system 9
- Be reduced when the ratio is 1 1 the signal hasn t been compressed at all and the signal will be over 10
- Compressed with high compression rate which results in much loss in dynamic range 10
- It is input signal to output signal ratio that is to say how the signal exceeding the threshold has to ratio 10
- The 2 band equalizer allowing you to adjust the high and low frequencies separately you can use the tone 10
- A turn on digan2 4 while it is not connected with pc then press 16k of channel b and bypass key at the 11
- And bandwidth according to the application if this unit is in link function the change on channel a will be 11
- Update system 11
- Upload or download 11
- You to update your system in digan2 4 unit or your digan2 4 can t be recognized by your computer to 11
- Adjust gain value 12
- Band select 12
- Led display blinking 12
- Link exit 12
- Operation flow chart 12
- Preset user location 30 99 save preset 12
- Start preset 0 99 12
- Technical specification 9 technical specification 13
- Of 1 year from the purchase date if you have completed the warranty registration card in time 14
- Please fill out all the information carefully and genuinely miswriting or absence of this card will void your warranty 14
- Retail dealer and it can not be transferred 14
- The warranty service is only available to the original consumer who purchased this product directly from the 14
- Warrants that this product will be free from any defects in materials and or workmanship for a period 14
- Warranty 10 warranty 14
- All rights reserved to alto all features and content might be changed without prior notice any photocopy translation or reproduction of part of this manual without written permission is forbidden copyright 2006 seikaku group 15
Похожие устройства
- Panasonic CQ-C1110AN Инструкция по эксплуатации
- Akai LEA22H03P Инструкция по эксплуатации
- Toshiba 55WL768 Инструкция по эксплуатации
- Karcher BV 5/1 Инструкция по эксплуатации
- Panasonic SC-AK300 Инструкция по эксплуатации
- Panasonic CQ-C1120GN Инструкция по эксплуатации
- Bosch GDR 10,8-LI 0.601.9A6.972 Инструкция по эксплуатации
- Alto DIGAN 2.7 Инструкция по эксплуатации
- Bosch KGV 39VW20 R Инструкция по эксплуатации
- Akai LEA 32 S02P Инструкция по эксплуатации
- Toshiba 42HL833R Инструкция по эксплуатации
- Karcher CV 66/2 Professional Инструкция по эксплуатации
- Panasonic SC-AK28 Инструкция по эксплуатации
- Alto CONTROL60 Инструкция по эксплуатации
- Bosch GSB 14,4 VE-2-LI Инструкция по эксплуатации
- Panasonic CQ-C1120AN Инструкция по эксплуатации
- Akai LEA-19 S02P Инструкция по эксплуатации
- Toshiba 32SL738 Инструкция по эксплуатации
- Karcher CV 85/2 RS Bp Professional Инструкция по эксплуатации
- Panasonic SC-AK27 Инструкция по эксплуатации