
Apach A91/6RXS Инструкция по эксплуатации онлайн
COD.000.000
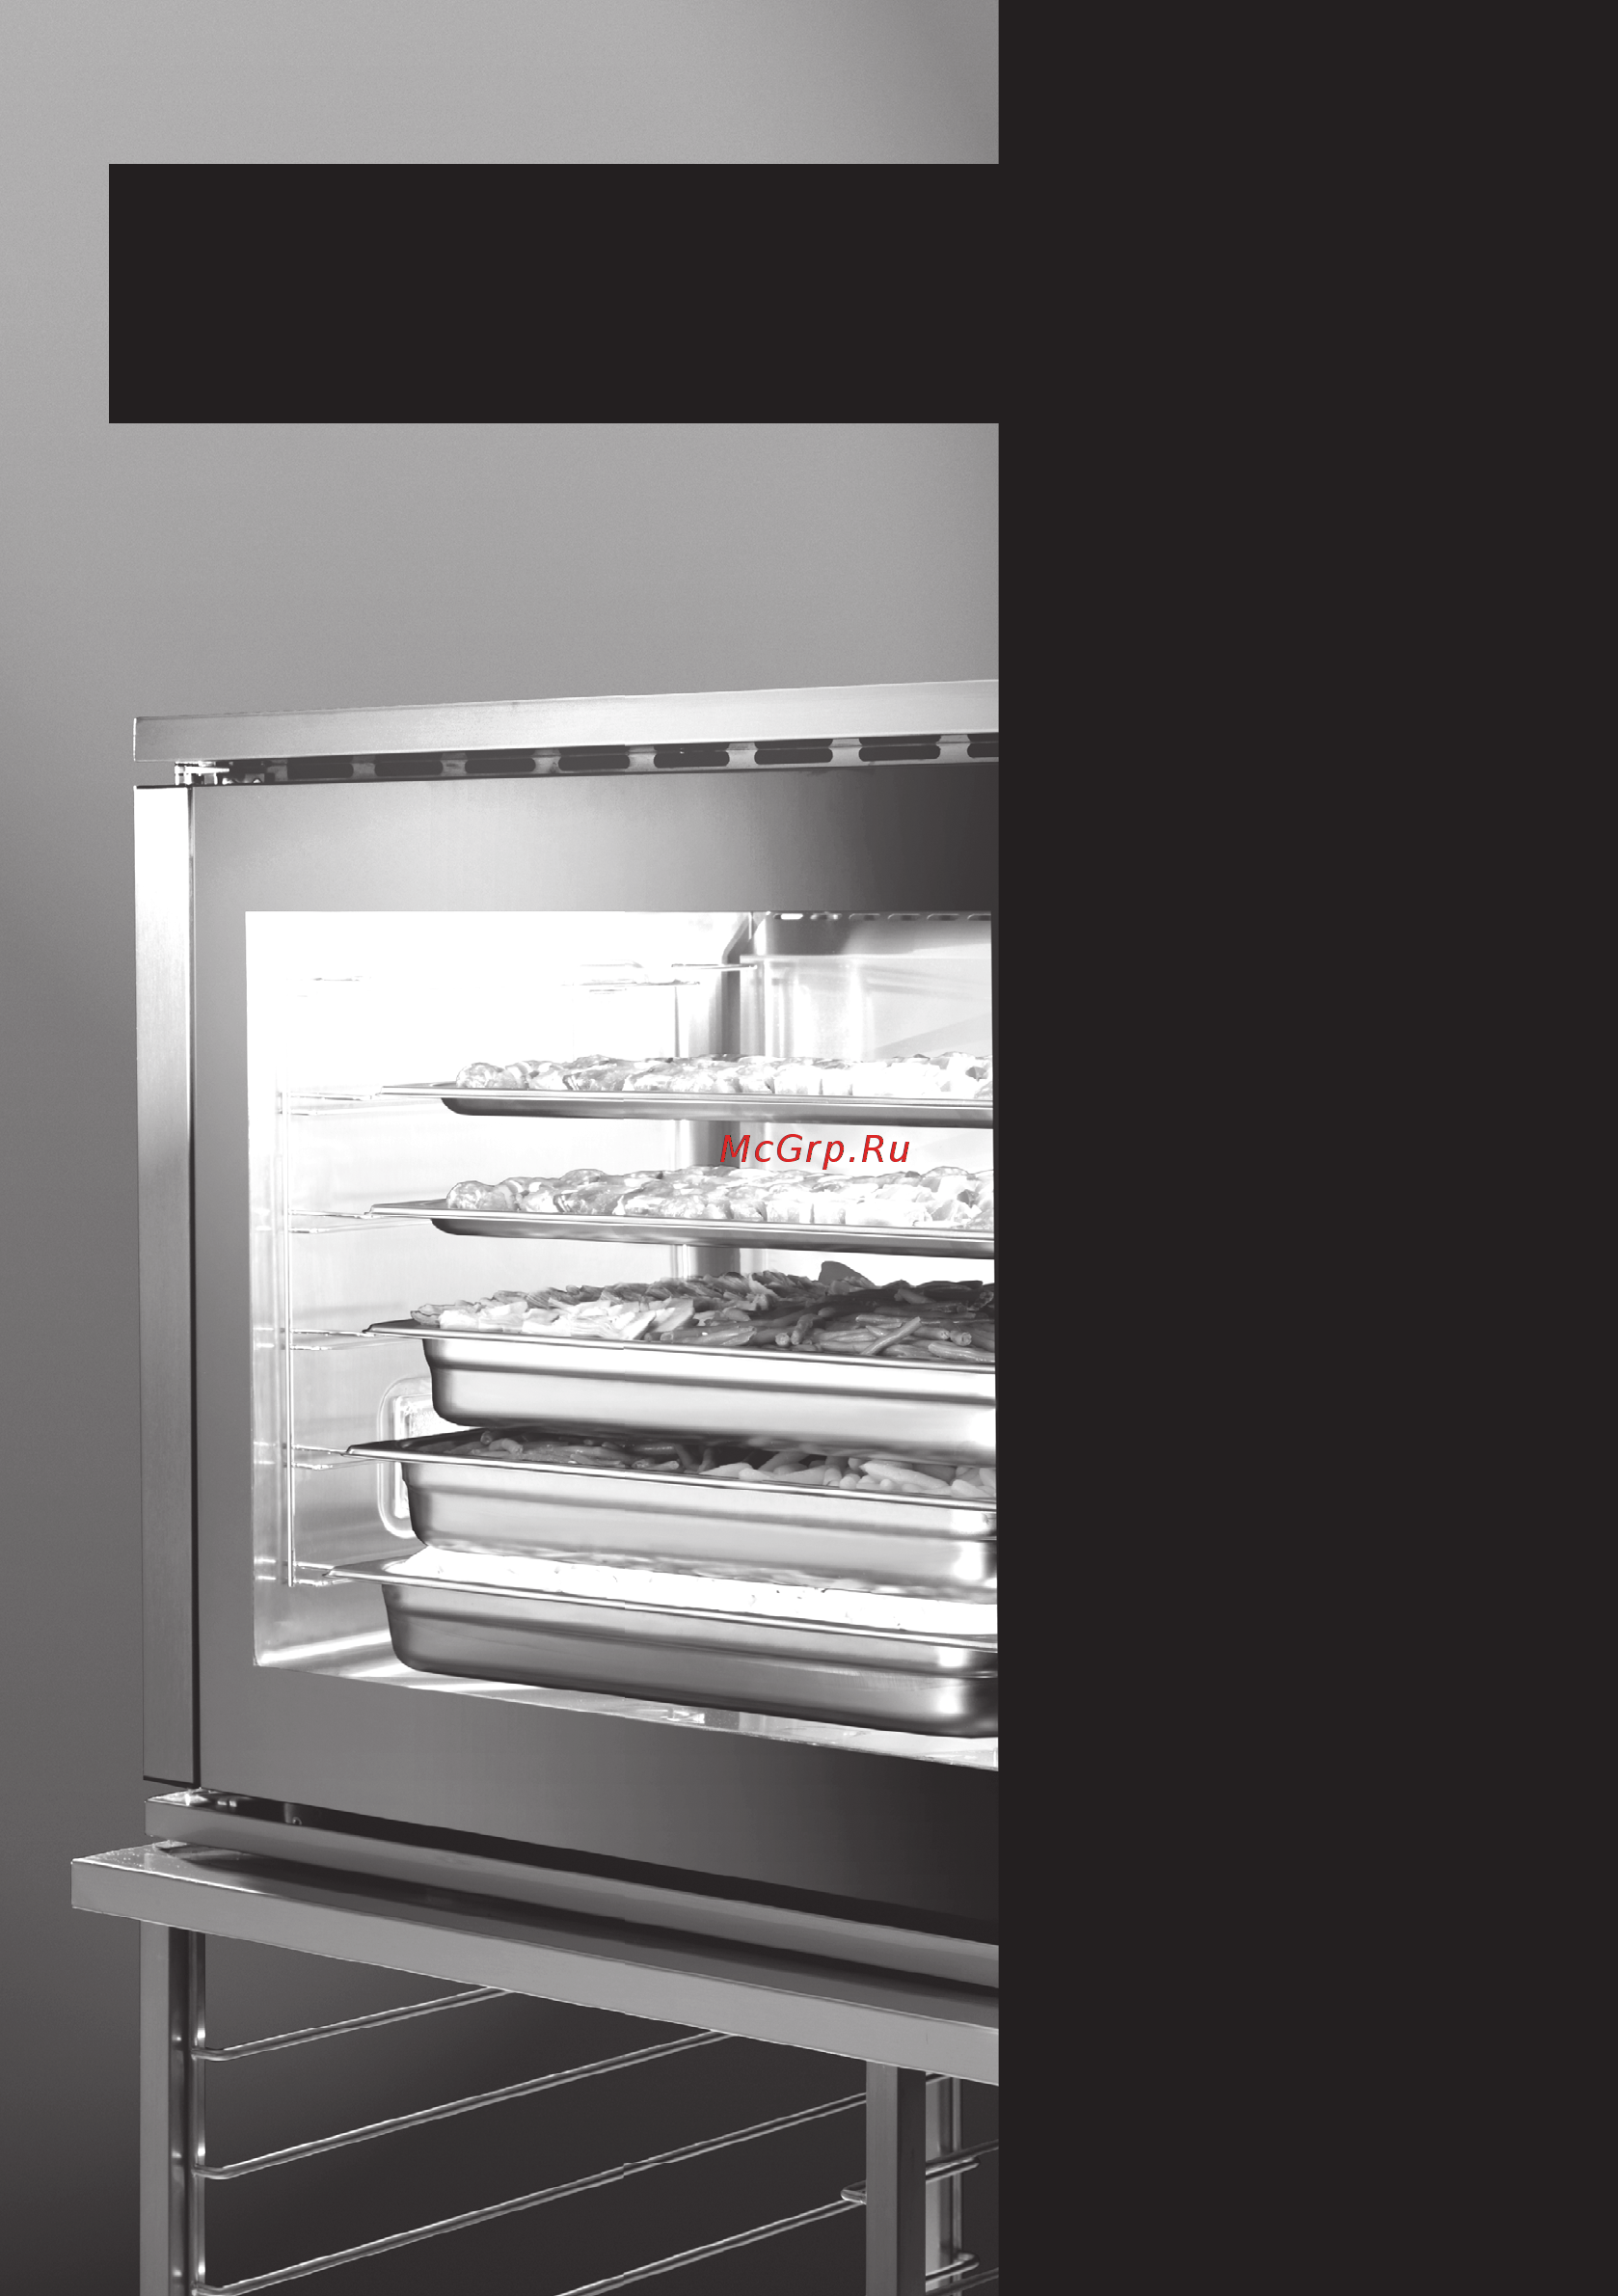
Professional Ovens
Manuale di servizio
Instruction manual
Bedienungsanweisung
Notice d’utilisation
Manual de instrucciones
Инструкция по эксплуатации
Содержание
- Professional ovens 1
- Professional ovens 2
- Avvertenze 3
- Indice 3
- Installazione 3
- Introduzione 3
- Italiano 3
- Professional ovens manuale di servizio 3
- Italiano 4
- Professional ovens manuale di servizio 4
- Uso del forno 4
- Italiano 5
- Panello comandi digitali 5
- Professional ovens manuale di servizio 5
- Italiano 6
- Professional ovens manuale di servizio 6
- Sistemi di cottura 6
- Attenzione non togliere i dispositivi antirotazione dalla loro sede quando la porta è tolta 7
- Attenzione non utilizzare mai detergenti contenenti sabbia soda caustica acidi oppure cloruri che intaccano la superfi cie 7
- Avvertirà una certa resistenza quindi sollevare la porta per poterla sfi lare affi nché le cerniere fuoriescano dalla loro sede 7
- Avviso non appoggiare eccessivo peso o mettersi in piedi sulla porta questo può rompere la porta o ferire l utente inoltre non usare il forno fi no a che la porta non sia stata rimontata correttamente 7
- C programmi di cottura pre impostati 7
- Italiano 7
- Manutenzione e pulizia 7
- Memorizzazione programmi da parte dell utente il forno è dotato di n 99 programmi di cui i primi 16 sono già pre impostati per memorizzare i restanti programmi dal numero 17 al numero 99 procedere come segue entrare in modalità programmi premendo il puslante p m fi nchè appare p01 selezionare il numero di programma da memorizzare premendo il pulsante 7
- Nel momento in cui i dati lampeggiano al termine di 5 secodi signifi ca che il programma viene memorizzato 7
- Porta forno per facilitare la pulizia è possibile smontare la porta fi g 4 5 questa operazione deve essere effettuata da personale qualifi cato 7
- Professional ovens manuale di servizio 7
- Pulizia della superfi cie utilizzare un panno umido con detersivo non abrasivo poi utilizzare un soffi ce panno asciutto su parti in acciaio inossidabile con incrostazioni di sporco usare solo spatole di plastica o una spugna con aceto e acqua tiepida attenzione non usare generatori di vapore per la pulizia del forno 7
- Pulizia forno sicurezza per la pulizia spegnere il forno ed aspettare che tutti gli elementi riscaldanti siano freddi prima di toccarli o pulirli pulire l elettrodomestico con cura 7
- Qualsiasi lavoro di manutenzione deve essere effettuato solamente da personale qualifi cato è consigliabile pulire quotidianamente la camera di cottura per mantenere livelli di igienicità elevati e per evitare che l acciaio inossidabile all interno della camera di cottura si rovini 7
- Reinserire la porta forno per reinserire la porta forno procedere seguendo le indicazioni sopraelencate all inverso assicurandosi che le cerniere siano correttamente inserite nella loro sede fig 4 5 7
- Ricambi per l assistenza dell elettrodomestico possono essere utilizzati solo componenti autorizzati non riparare o sostituire alcun componente del forno che non sia stato raccomandato da questo manuale tutti gli altri interventi devono essere effettuati da personale tecnico 7
- Rimuovere la porta forno aprire completamente la porta forno inserire nell apposito foro della cerniera un utensile fi g 5 una chiave esagonale o un cacciavite per bloccare il movimento di rotazione come mostrato in fi gura afferrare la porta ai lati verso il basso e chiuderla lentamente fi nché si 7
- Si impostano i parametri di funzionamento tempo temperatura al cuore temperatura camera percentuale di umidità ricordando che per ogni programma di cottura ci sono da 1 a 4 step 7
- Si tiene premuto il puslante memory 7
- Sostituzione lampada forno attenzione per prevenire scosse elettriche e o danni alla persona leggere ed attenersi alla seguente procedura prima di sostituire la lampada forno assicurarsi che la corrente elettrica sia stata tolta aprendo l interruttore generale assicurarsi che il forno e la lampada siano freddi poi rimuovere il coperchio della lampadina vedi punto 1 fi gura 3 non toccare la lampadina calda con un panno umido può causare la rottura della lampadina stessa svitare e sostituire la lampadina con altra appropriata per elettrodomestici punto 2 fi gura 3 dopo la sostituzione rimettere il coperchio nel caso in cui la calotta lampada sia danneggiata o rotta non usare il forno fi nché la calotta non sia stata sostituita o reinserita in modo corretto e sicuro 7
- Autorizzato per richiedere un componente di ricambio bisogna indicare i seguenti dati 1 sigla del modello di forno e numero di produzione che si trovano sull etichetta prodotto posizionata sulla parte posterior 8
- Descrizione e numero del componente di ricambio informazione tecnica a disposizione solo del servizio di assistenza autorizzato 3 8
- Figure sull utilizzo e manutenzione 8
- Guasti più frequenti 8
- Italiano 8
- Professional ovens manuale di servizio 8
- Professional ovens 9
- Contents 10
- English 10
- Installation 10
- Introduction 10
- Preliminary remarks 10
- Professional ovens instruction manual 10
- English 11
- Professional ovens instruction manual 11
- Using the oven 11
- Digital control panel 12
- English 12
- Professional ovens instruction manual 12
- Cooking systems 13
- English 13
- Professional ovens instruction manual 13
- C preset cooking programs 14
- Cleaning and maintenance 14
- Cleaning safety warnings while cleaning switch the oven off and wait for it to cool down before you proceed with cleaning clean the appliance with care 14
- English 14
- How to re attach the oven door for attaching the oven door carry out viceversa the indications above described paying attention the hinge fi ts in its own seat picture 4 5 14
- Keep the memory button pressed 14
- Memorising programs the oven has 99 programs with just the fi rst 16 preset to memorise programs from number 17 to 99 do the following enter the program mode by pressing p m 14
- Notice do not place excessive weight on the top of the oven door do not stand on the oven door do not use the oven until the door has been correctly re attached 14
- Oven door removal open completely the oven door put in the apposite hinge hole an utensil an allen key or a screwdriver which blocks movement of rotation as shown in the picture 4 5 hold the door from both sides and close it slowly until you feel a sort of resistance at this moment lift up the door in order to free the hinge dap from the oven body and take it off 14
- Oven door to remove and re attach the oven door follow these instructions picture 4 5 this operation should be carried by qualifi ed personnel 14
- Professional ovens instruction manual 14
- Replacement of the oven light bulb 14
- Set function parameters time core temperature chamber temperature humidity percentage remembering that each cooking program has 1 to 4 steps 14
- Spare parts any kind of replacement needed must be done using authorized spare parts do not fi x or replace any part of the oven for which no explanation is given in this manual every kind of maintenance must be carried out by authorized personnel only when requesting a spare part please include the following 14
- Surface cleaning use a damp cloth and non abrasive detergent followed by a soft dry cloth use a plastic spatula or a sponge with vinegar and tepid water to remove incrustations on the steel parts 14
- The appliance must be regularly serviced by a qualifi ed service technician it is advised to clean the cooking chamber every day in order to maintain a high level of hygiene and to avoid damage to the stainless steel chamber 14
- Till p01 appears choose the program number to be memorised by pressing 14
- Warning do not remove the door lock hooks from their housing when the door is removed do not close the hinges without the door s weight it will cause the springs to close the hinges violently 14
- Warning do not use steam cleaners on any part of the oven 14
- Warning to avoid electric shocks or any other accidents carefully read the following instructions prior to replacing the light bulb make sure the oven has been unplugged from the mains make sure the oven and the lamp have cooled down with a tool remove the lamp cover picture 3 point 1 do not touch the bulb with a damp cloth it will cause it to break unscrew the lamp from the holder and replace with an appropriate one see picture 3 point 2 at the end of this operation place the cover again on its centre in case the lamp cover is damaged or broken do not use the oven until the cove has been replaced or reinserted correctly 14
- Warnings never use soaps containing sand caustic soda acids or chlorides that could damage surfaces 14
- When the data fl ashes after 5 seconds this means the program is being memorised 14
- English 15
- Information 1 oven model and production number found on the data plate on the bottom of the cooking chamber 2 description and number of the spare part which is information held by the authorized service centre only 3 information regarding the oven seller and the service centre nearest to you 15
- Malfunctions problems causes and remedies 15
- Pictures on use and maintenance 15
- Professional ovens instruction manual 15
- Professional ovens 16
- Deutsch 17
- Einleitung 17
- Hinweise 17
- Inhalt 17
- Installation 17
- Professional ovens bedienungsanweisung 17
- Bedienung des ofens 18
- Deutsch 18
- Professional ovens bedienungsanweisung 18
- Achtung während des betriebs kann der ofen sehr hohe temperaturen erreichen achten sie darauf die heizelemente oder brennelemente im ofen nicht zu berühren der hersteller weist jegliche zivil oder strafrechtliche verantwortung im falle von anschlüssen die nicht normgerecht und unter befolgung der angaben in dieser bedienungsanleitung gemacht wurden zurück dieser ofen entspricht den vorgaben der eu richtlinien ewg 87 308 73 23 93 68 und 89 336 19
- Auftauen und feuchtigkeitsentzug für nur die mit der funktion vorbereiteten modelle grill 19
- Befeuchter 19
- Beschwadung 19
- Deutsch 19
- Digitales bedienfeld 19
- Ein ausschalten des ofens beim zuschalten der spannung am ofen wird das bedienfeld automatisch aktiviert nachdem über 10 min keine taste gedrückt wird schaltet die elektronische steuerung auf stand by und auf dem display wird off aus angezeigt um das bedienfeld wieder einzuschalten genügt es die taste on off zu betätigen 19
- Garstufen beim ausführen eines garvorgangs im manuellen betrieb ist nur eine garstufe vorhanden beim ausführen eines garvorgangs mit programmen gibt es von 1 bis 4 garstufen betätigen sie um zwischen den einzelnen stufen umzuschalten die taste 19
- Grillen für nur die mit der funktion vorbereiteten modelle grill diese funktion zum grillen verwenden grillvorgänge mit regulierung der hitzeintensität für weitere informationen lesen sie bitte das kapitel verwenden des grills 19
- Professional ovens bedienungsanweisung 19
- Und der anwender kann folgende parameter einrichten 19
- Verwenden des grills für nur die mit der funktion vorbereiteten modelle grill die funktion grill mit dem umschalter wählen und den thermostat auf höchsttemperatur stellen damit der garraum vorgeheizt werden kann bevor die speise in den ofen gegeben wird dann die ofentür schließen 19
- Verwendung des befeuchters für nur die mit der funktion vorbereiteten modelle befeuchter 19
- Deutsch 20
- Garsysteme 20
- Professional ovens bedienungsanweisung 20
- C vorab eingerichtete garprogramme 21
- Deutsch 21
- Erscheint wählen sie die nummer des zu speichernden programms mit der taste beim einrichten der betriebsparameter zeit kerntemperatur temperatur der kammer feuchtigkeitsgehalt ist zu berücksichtigen dass für jedes garprogramm von 1 bis 4 garstufen vorhanden sind 21
- Gedrückt wenn die daten blinken nach 5 s wird das programm gespeichert 21
- Halten sie die taste memory 21
- Professional ovens bedienungsanweisung 21
- Rufen sie die funktion programme durch betätigen der taste p m auf bis p01 erscheint wählen sie die nummer des programms mit den tasten betätigen sie die taste start stopp 21
- Speichern von programmen durch den anwender der ofen verfügt über 99 programme von denen die ersten 16 bereits voreingestellt sind gehen sie zum speichern der übrigen programme von nummer 17 bis nummer 99 wie folgt vor rufen sie die funktion programme durch betätigen der taste p m auf bis p01 21
- Wartung und reinigung 21
- Abbildungen zu gebrauch und wartung 22
- Deutsch 22
- Funktionsstorungen problemursachen und problembehebung 22
- Professional ovens bedienungsanweisung 22
- Professional ovens 23
- Avertissements 24
- Français 24
- Installation 24
- Introduction 24
- Français 25
- Utilisation du four 25
- Français 26
- Panneau commandes digitales 26
- Français 27
- Systemes de cuisson 27
- Attention ne jamais utiliser de detergents contenant sable soude caustique acides ou bien chlorures qui attaquent les surfaces 28
- Attention ne pas enlever les dispositifs anti rotation de leur emplacement quand la porte est enlevée 28
- Avertissement ne pas poser un poids excessif ou se mettre debout sur la porte ceci peut briser la porte ou blesser l utilisateur de plus ne pas utiliser le four tant que la porte n est pas complètement remontée 28
- C programmes de cuisson préréglés 28
- Enlever la porte du four 28
- Entretien et nettoyage 28
- Français 28
- Mémorisation programmes de la part de l utilisateur le four est doté de 99 programmes dont les 16 premiers sont déjà préréglés pour mémoriser les programmes restants du numéro 17 au numéro 99 procéder comme suit entrer en modalité programmes en appuyant sur la touche p m jusqu à ce que p01 apparaisse sélectionner le numéro de programme à mémoriser en appuyant sur la touche 28
- Nettoyage de la surface utiliser un chiffon humide avec détergent non abrasif ensuite utiliser un chiffon doux sec sur les parties en acier inox avec saleté incrustée utiliser uniquement des spatules en plastique ou une éponge avec vinaigre et eau tiède attention ne pas utiliser d appareils à vapeur pour le nettoyage du four 28
- Nettoyage du four securite pour le nettoyage eteindre le four et attendre que tous les éléments chauffants soient froids avant de les toucher et de les nettoyer nettoyer l électroménager avec soin 28
- On maintient enfoncée la touche memory 28
- On règle les paramètres de fonctionnement durée température au coeur température chambre pourcentage d humidité en se rappelant que pour chaque programme de cuisson il y a de 1 à 4 étapes 28
- Pièces de rechange pour l assistance de l électroménager on ne peut utiliser que des composants autorisés ne pas réparer ou remplacer aucun composant du four qui n ait pas été recommandé dans ce manuel toutes les autres interventions doivent 28
- Porte du four pour faciliter le nettoyage il est possible de démonter la porte fi g 4 5 cette opération doit être effectuée par du personnel qualifi é 28
- Reinserer la porte du four pour réinsérer la porte du four procéder en suivant en sens inverse les indications ci dessus en s assurant que les charnières soient correctement insérées dans leur emplacement fig 4 5 28
- Remplacement lampe du four 28
- Si les données clignotent après 5 secondes cela signifi e que le programme est mémorisé 28
- Description et numéro du composant de rechange information technique à disposition uniquement du service d assistance autorisé 3 et en dernier lieu indiquer les données du distributeur qui a vendu le four et les données du centre d assistance le plus proche 29
- Figures sur l utilisation et l entretien 29
- Français 29
- Les pannes plus fréquentes 29
- Être effectuées par du personnel technique autorisé pour demander une pièce de rechange il faut indiquer les données suivantes 29
- Advertencias 31
- Español 31
- Indice 31
- Instalación 31
- Introduccion 31
- Professional ovens manual de instrucciones 31
- Español 32
- Professional ovens manual de instrucciones 32
- Uso del horno 32
- Español 33
- Panel de mandos digitales 33
- Professional ovens manual de instrucciones 33
- Español 34
- Professional ovens manual de instrucciones 34
- Sistemas de cocción 34
- Advertencia no poner pesos excesivo y no estar de pie en la puerta del horno esto puede romper la puerta o herir el usuario además no usar el horno hasta que la puerta no está correctamente montada 35
- Advertencias para la limpieza apagar el horno y esperar que todos los elementos calentadores se enfríen antes de tocarlos o limpiarlos limpiar el aparato con cuidado 35
- Atención no sacar los dispositivos anti rotación cuando la puerta está abierta 35
- Atención no usar detergentes que contienen arena sosa cáustica ácidos o cloruros que corroen la superfi cie 35
- C programas de cocción preconfi gurados 35
- Cuando parpadean los datos a los 5 segundos signifi ca que el programa se ha memorizado 35
- Desmontar la puerta del horno abrir completamente la puerta del horno introducir en el hoyo apropiado de la bisagra un útil una llave hexagonal o un destornillador 35
- Español 35
- Limpieza de la superfi cie usar un paño húmedo con detergente no corrosivo luego usar un paño blando y seco para limpiar las incrustaciones en las partes en acero inoxidable usar sólo una espátula de plástico o una esponja con vinagre y agua tibia aio atención no utilizar generadores de vapor para limpiar el horno 35
- Limpieza horno 35
- Mantenimiento y limpieza 35
- Memorización de programas de parte del usuario el horno tiene 9 programas de los cuales los primeros 16 están preconfi gurados para memorizar los restantes programas desde el número 17 hasta el 99 realizar lo siguiente entrar en la modalidad de programas pulsando la tecla p m hasta que aparezca p01 seleccionar el número del programa que desea memorizar presionando el pulsador 35
- Motar la puerta horno para montar la puerta seguir las instrucciones de arriba viceversa prestar atención a introducir correctamente las bisagras ver fi guras 4 y 5 35
- Para bloquear la rotación ver fi guras 4 y 5 esto evita que las bisagras se cierren de repente durante el desmontaje de la puerta coger la puerta por los lados y cerrarla despacio hasta que se siente la resistencia del sistema de bloqueo levantar la puerta para que las bisagras saquen de sus asientos 35
- Pieza de recambio 35
- Professional ovens manual de instrucciones 35
- Puerta horno para simplifi car la limpieza es posible desmontar la puerta fi g 4 5 esta operación tendrá que ser llevada a cabo por personal cualifi cado 35
- Quelquiera que sea la labor de manutenciòn debe ser efectuado solamente por personal califi cado se aconseja limpiar cotidianamente la càmara de cocciòn para mantener niveles de higiene elevados y para evitar que el acero inoxidable en el interior de la càmara de cocciòn se deteriore 35
- Se confi guran los parámetros de funcionamiento tiempo temperatura de la cámara porcentaje de humedad recordando que para cada programa de cocción existe del paso 1 al paso 4 35
- Si se mantiene presionado el pulsador memory 35
- Sustitución de la lámpara horno atención para prevenir descargas eléctricas o daños a la persona leer con atención el siguiente procedimiento antes de la sustitución de la lámpara horno desconectar el aparato de la corriente asegurarse de que el horno y la lámpara estén frios luego sacar la tapa de la bombilla ver 1 fi gura 3 no tocar la bombilla caliente con un paño húmedo porque la bombilla puede romperse desatornillar y sustituir la bombilla con otra de las mismas características punto 2 fi gura 3 luego poner otra vez la tapa si la tapa de la bombilla se rompe o se derrumba sustituirla o introducirla correctamente antes de utilizar el aparato 35
- Avarias mas frecuentes 36
- Componente por lo cual no hay ninguna explicación en este manual todas las operaciones de mantenimiento deben ser realizadas por personal autorizado para pedir una pieza de recambio se deben indicar los siguientes datos 1 el modelo del horno y número de producción que se encuentran en la etiqueta del producto que está en la cara posterior del horno 36
- Descripción y número de la pieza de recambio informaciones técnicas que sólo los centros de servicio postventa autorizados pueden indicar 3 luego indicar los datos del vendedor del horno y del centro asistencia más cerca de usds 36
- Español 36
- Figuras sobre el uso y mantenimiento 36
- Professional ovens manual de instrucciones 36
- Professional ovens 37
- Professional ovens 38
- Предупреждение 38
- Русский 38
- Самые частые поломки 38
- Указатель 38
- Установка 38
- Professional ovens 39
- Русский 39
- Эксплуатация печи 39
- Professional ovens 40
- Панель цифрового управления 40
- Русский 40
- Professional ovens 41
- Русский 41
- Способы приготовления 41
- Professional ovens 42
- Русский 42
- Эксплуатация и уход 42
- Professional ovens 43
- Для запроса запчастей необходимо указать следующие данные 43
- Заводской знак модели печи и ее номер который находится на этикетке расположенной на нижней фронтальной части печи 43
- Описание и номер детали запчасти техническая информация дается только службе сервиса 3 и последнее указать данные продавца продавшего печь и данные ближайшего сервисного центра 43
- Рисунки по использованию и уходу 43
- Рисунки по эксплуатации и уходу 43
- Русский 43
Похожие устройства
- Apach A91/6RXS D Инструкция по эксплуатации
- Apach A92/10RXS D Инструкция по эксплуатации
- Apach APPE-47P Инструкция по эксплуатации
- Apach APPE-47P Каталог оборудования Apach 2017
- Apach A92/10RXS Инструкция по эксплуатации
- Apach A1/10LD Инструкция по эксплуатации
- Apach A1/10LD Схема
- Apach A1/10LD Каталог оборудования Apach 2017
- Abat ЭМК-70ПМ-01 Паспорт и руководство по эксплуатации Abat ЭМК-70ПМ-01
- Abat ЭМК-70ПМ-01 Сертификат
- Apach APPG-77P Инструкция по эксплуатации
- Apach APPG-77P Каталог оборудования Apach 2017
- Apach A1/6LD Инструкция по эксплуатации
- Apach A1/6LD Схема
- Apach A1/6LD Каталог оборудования Apach 2017
- Santos серия 52С Инструкция по эксплуатации
- Josper HJX 25-L BC Инструкция по эксплуатации
- Josper HJX 25-L BC Рекомендации по установке Josper HJX
- Josper HJX 25-L BC Рекомендации по выбору печей Josper HJX
- Josper HJX 25-L BC Каталог оборудования Josper