![Ariston ABS PRO ECO PW 50 V — руководство по обслуживанию и ремонту водонагревателей [36/44]](/icons/site-icon-64.png)
Ariston ABS PRO ECO PW 50 V — руководство по обслуживанию и ремонту водонагревателей [36/44]
Превью страниц
Страница 36 /
44
![Ariston ABS PRO PLUS PW 50 V Slim [36/44] Maintenance and repair works](/views2/1128566/page36/bg24.png)
36
4. MAINTENANCE AND REPAIR WORKS
All maintenance and repair works should be carried out by a competent person only in conformity with the safety
norms and with any provisions set forth in this manual.
4.1. Water Drain
If there is a chance that the ambient temperature drops below 0°C in the room where the appliance is installed, drain water
from the water heater.
To do this, the following steps should be done:
4.1.1. Disconnect the appliance from the electrical supply;
4.1.2. Make sure that the water in the appliance is of safe temperature;
4.1.3. Turn o the tap of cold water supply to the water heater;
4.1.4. Turn on the hot water domestic mains tap for discharge of pressure inside the tank;
4.1.5. Turn on the tap (D in Fig. 1) to allow air into the tank. If it is absent, remove the supply tube to the hot water pipe of the
water heater (marked with the red collar);
4.1.6. Connect drain hose directed into the sewer to the drain cock (B in Fig. 1) and open it. If there is no a "T" piece union
with the drain cock, remove the supply pipe to the cold water inlet of the water heater (marked with the blue collar), connect
drain hose directed to the sewer to the cold water inlet;
4.1.7. After draining, make sure there is no water inside the water heater.
Freezing of water inside the water heater leads to irreversible changes and defects.
It invalidates all warranty liability on the part of the manufacturer.
4.2. Replacing internal parts
Disconnect the water heater from the electricity supply. Remove the appliance cover.
• For models featuring a user interface as represented in gures 6 and 8:
To replace the electronic thermostat (Ref. T), disconnect the power supply cable (Ref. C) and the control panel wires (Ref. Y).
Next, remove it from its slot, taking care not to bend the sensor support rod (Ref. K) too much.
To replace the control panel (Ref. W), disconnect the wires (Ref. Y) and loosen the screws.
• For models featuring a user interface as represented in gures 7 and 9:
To replace the sensor support rod (Ref. K), disconnect the wires (Ref. F) from the P.C.B. and remove it from its slot, taking care
not to bend it too much.
To replace the control board (Ref. W), disconnect the wires (Ref. Y) and loosen the screws. To replace the power board (Ref. Z),
disconnect the cables and wires (Ref. C, Y, F and P) and loosen the screws.
During reassembly, please, make sure that all components are put back in their original positions.
Prior to work, the water heater must rst be emptied. For models tted with a surge protection ange, remove the nut (D in
Fig. 7) and remove the bracket xing the ange in place (S in Fig. 7), then press the ange (F in Fig. 7) inwards and remove it
with a semicircular movement.
For other models, loosen the 5 nuts (C in Fig. 8) and remove the ange (F in Fig. 8). The heating element and anode are
attached to the ange. During reassembly, make sure that the ange gasket, the thermostat and the heating element are put
back in their original positions. We recommend the ange gasket is replaced every time it is removed.
Only use original spare parts.
4.3. Periodical maintenance
4.3.1. Magnesium anode
The magnesium anode is an integral part of the protection system of water tank against corrosion. Given that aggressive
properties of water cause faster wear of the magnesium anode, conditions of the magnesium anode should be checked
ANNUALLY. In case of severe wear, the magnesium anode must be replaced. The warranty for water-containing tank with the
worn magnesium anode (residual volume is less than 30%) is not valid. To replace the anode, disassemble the heating
element and unscrew from the support bracket.
The magnesium anode should be replaced at least 1 in 24 months (excluding the water heater with the inner tank of stainless
steel).
The magnesium anode is a consumable item that cannot be replaced under warranty.
Following the rules of scheduled maintenance will allow you to ensure a long life of the water heater.
Содержание
69- Модель_ _ _ _ _ _ _ _ _ _ _ _ _ _ _ _ _ _ _ _ _ _ _ _ _ _ _ _ _ _ _ _ _ _ _ _ _ _ _ _ _ код модели_ _ _ _ _ _ _ _ _ _ _ _ _ _ _ _ _ _ _ _ _ _ _ _ _ _ _ _ _ _ _ _ _ _ _ _ _ _ _ серийный номер_ _ _ _ _ _ _ _ _ _ _ _ _ _ _ _ _ _ _ _ _ _ _ _ _ _ _ _ _ _ _ _ _ _ _ торгующая организация_ _ _ _ _ _ _ _ _ _ _ _ _ _ _ _ _ _ _ _ _ _ _ _ _ _ _ _ _ _ _ _ _ _ _ _ _ _ _ _ _ _ _ _ _ _ _ _ _ _ _ _ _ _ _ _ _ _ _ _ _ _ _ _ _ _ _ _ _ _ _ _ _ _ _ _ _ проверил и продал_ _ _ _ _ _ _ _ _ _ _ _ _ _ _ _ _ _ _ _ _ _ _ _ _ _ _ _ _ _ _ _ _ _ дата продажи _ _ _ _ _ _ _ _ _ _ _ _ _ _ _ _ _ _ _ _ _ _ _ _ _ _ _ _ _ _ 20__года с условиями гарантии согласен_ _ _ _ _ _ _ _ _ _ _ _ _ _ _ _ _ _ _ _ _ _ _ _ _ _
- Электрические водонагреватели
- Гарантийный талон
- Авторизованные сервисные центры
- Регион название телефон адрес россия
- Список адресов сервисных центров может быть изменен за справками обращайтесь в торговую организацию или представительство компании производителя
- Регион название телефон адрес россия
- Регион название телефон адрес беларусь
- Регион россия название телефон адрес
- Гарантийный талон 1
- Гарантийный талон 4
- Гарантийный талон 2
- Гарантийный талон 3
- Общие требования
- Символ значение
- Символы используемые в инструкции
- Общие правила безопасной эксплуатации
- Правило опасность символ
- Общие требования и правила безопасной эксплуатации
- Дополнительные правила техники безопасности
- При несоблюдении данных требований может быть нанесен вред имуществу растениям или животным
- Несоблюдение данных требований может привести к тяжелым травмам вплоть до смертельного исхода
- Установка
- Технические характеристики
- Общие сведения
- Включение и работа
- Техническое обслуживание и ремонт
- Модель_ _ _ _ _ _ _ _ _ _ _ _ _ _ _ _ _ _ _ _ _ _ _ _ _ _ _ _ _ _ _ _ _ _ _ _ _ _ _ _ _ код моделі_ _ _ _ _ _ _ _ _ _ _ _ _ _ _ _ _ _ _ _ _ _ _ _ _ _ _ _ _ _ _ _ _ _ _ _ _ _ _ серійний номер_ _ _ _ _ _ _ _ _ _ _ _ _ _ _ _ _ _ _ _ _ _ _ _ _ _ _ _ _ _ _ _ _ _ _ _ торгівельна організація_ _ _ _ _ _ _ _ _ _ _ _ _ _ _ _ _ _ _ _ _ _ _ _ _ _ _ _ _ _ _ _ _ _ _ _ _ _ _ _ _ _ _ _ _ _ _ _ _ _ _ _ _ _ _ _ _ _ _ _ _ _ _ _ _ _ _ _ _ _ _ _ _ _ _ _ _ перевірив та продав_ _ _ _ _ _ _ _ _ _ _ _ _ _ _ _ _ _ _ _ _ _ _ _ _ _ _ _ _ _ _ _ _ _ дата продажу _ _ _ _ _ _ _ _ _ _ _ _ _ _ _ _ _ _ _ _ _ _ _ _ _ _ _ _ _ 20__ року з умовами гарантії згоден_ _ _ _ _ _ _ _ _ _ _ _ _ _ _ _ _ _ _ _ _ _ _ _ _ _ _ _ _ _
- Електричні водонагрівачі
- Гарантійний талон
- Гарантiйный талон 1
- Гарантiйный талон 4
- Гарантiйный талон 3
- Гарантiйный талон 2
- Загальні вимоги
- Символ значення
- Загальні вимоги та правила безпечної експлуатації
- Символи що використовуються в інструкції
- При недотриманні цих вимог може бути завдана шкода майну рослинам або тваринам
- Правило небезпека символ
- Недотримання цих вимог може призвести до важких травм в тому числі до смертельного наслідку
- Загальні правила безпечної експлуатації
- Додаткові правила техніки безпеки
- Установка
- Технічні характеристики
- Загальні відомості
- Вмикання і робота
- Технічне обслуговування і ремонт
- General warnings
- Symbol meaning
- Specific safety norms for this appliance
- Ref warning risk symbol
- Key to symbols
- General safety norms
- General requirements and safe operating precautions
- Failure to comply with this warning implies the risk of personal injury in some circumstances even fatal
- Failure to comply with this warning implies the risk of damage to property plants or animals
- Installation
- General information
- Technical characteristics
- Starting and operation
- Maintenance and repair works
- Краткая инструкция по монтажу накопительного электроводонагревателя кратка iнструкцiя з монтажу накопичувального електроводонагрiвача quick manual on the storage water heater installation
- Устройство водонагревателя устрiй водонагрiвача water heater device
- 3 4 5 6 7 8 11
- Идентификационная табличка iдентифiкацiйна табличка data plate
- Серийный номер серiйний номер serial number
- Схема установки installation scheme
- Размеры розміри dimensions
Похожие устройства
-
 Ariston DUNE1 R 80 V 1.5K PLРуководство по эксплуатации
 -
 Ariston BLU1 R ABS 40 V SLIM OPTIMA 1,5 (3700657)Инструкция по эксплуатации
 -
Ariston DUNE1 R 80 V 1.5K PLИнструкция по эксплуатации
-
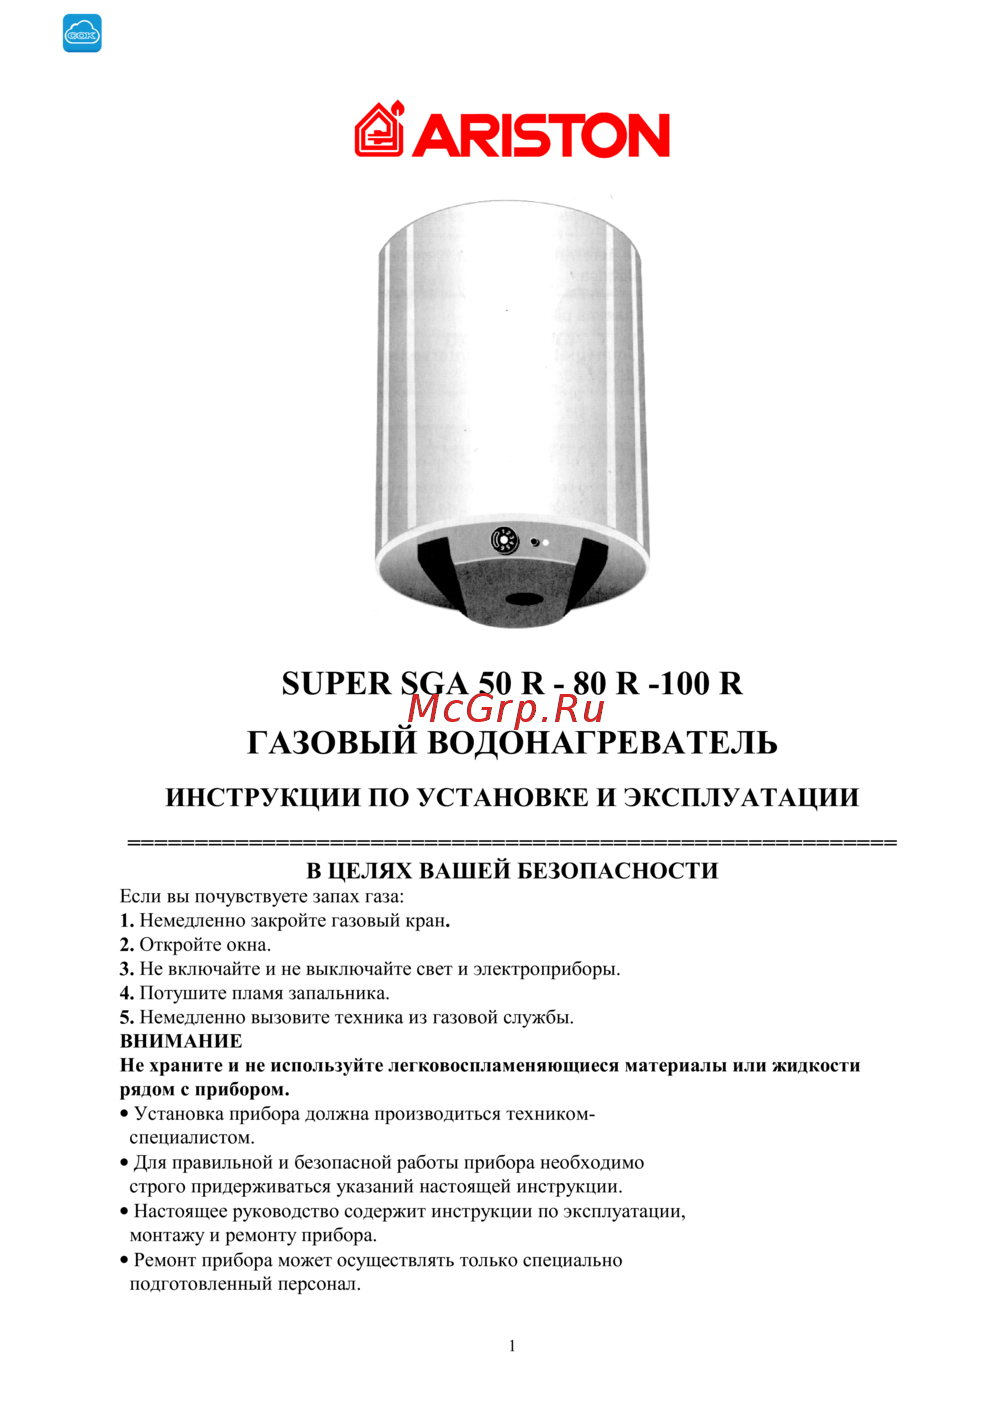 Ariston SUPER SGA 100 RИнструкция по эксплуатации
 -
Ariston SUPER SGA 80 RИнструкция по эксплуатации
-
Ariston SUPER SGA 50 RИнструкция по эксплуатации
-
 Ariston SGA 150Инструкция по эксплуатации
 -
Ariston SGA 120Инструкция по эксплуатации
-
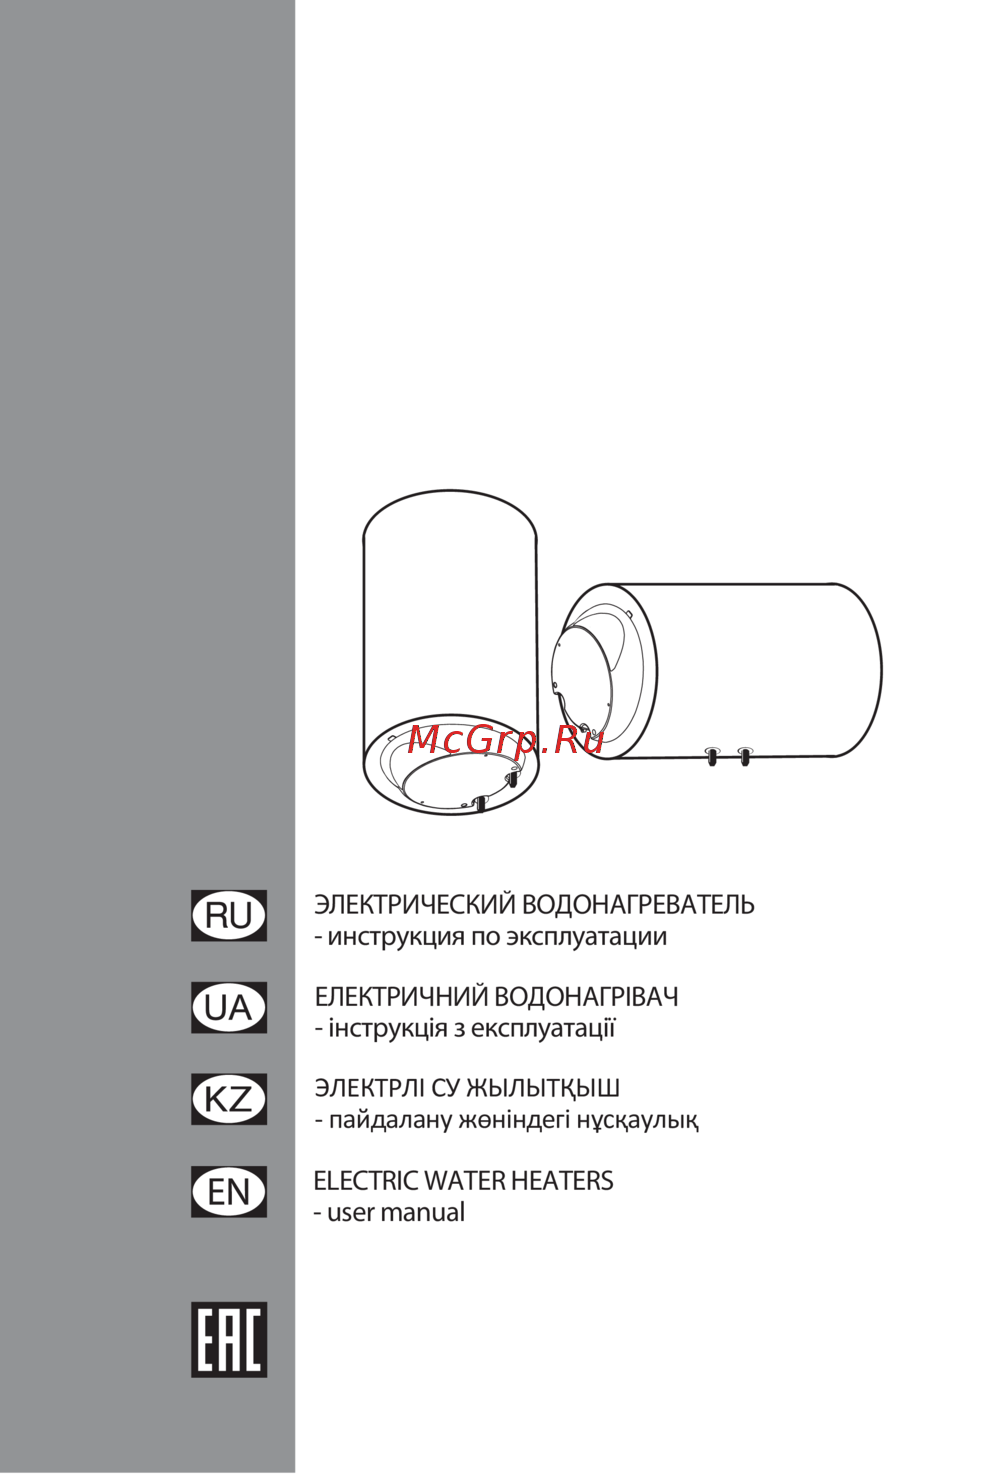 Ariston PRO R 100Инструкция по эксплуатации
 -
 Ariston ABS PRO ECO PW 30 V SLIMИнструкция по эксплуатации
 -
Ariston PRO R 50 накопительныйИнструкция по эксплуатации
-
 Ariston ABS VLS EVO QH 100Инструкция по эксплуатации
Узнайте, как правильно обслуживать и ремонтировать водонагреватели. Следуйте инструкциям по сливу воды и замене внутренних частей для безопасной эксплуатации.