
Vitek VT-1211 Инструкция по эксплуатации онлайн
ИНСТРУКЦИЯ ПО ЭКСПЛУАТАЦИИ
MANUAL INSTRUCTION
МОДЕЛЬ VT1211
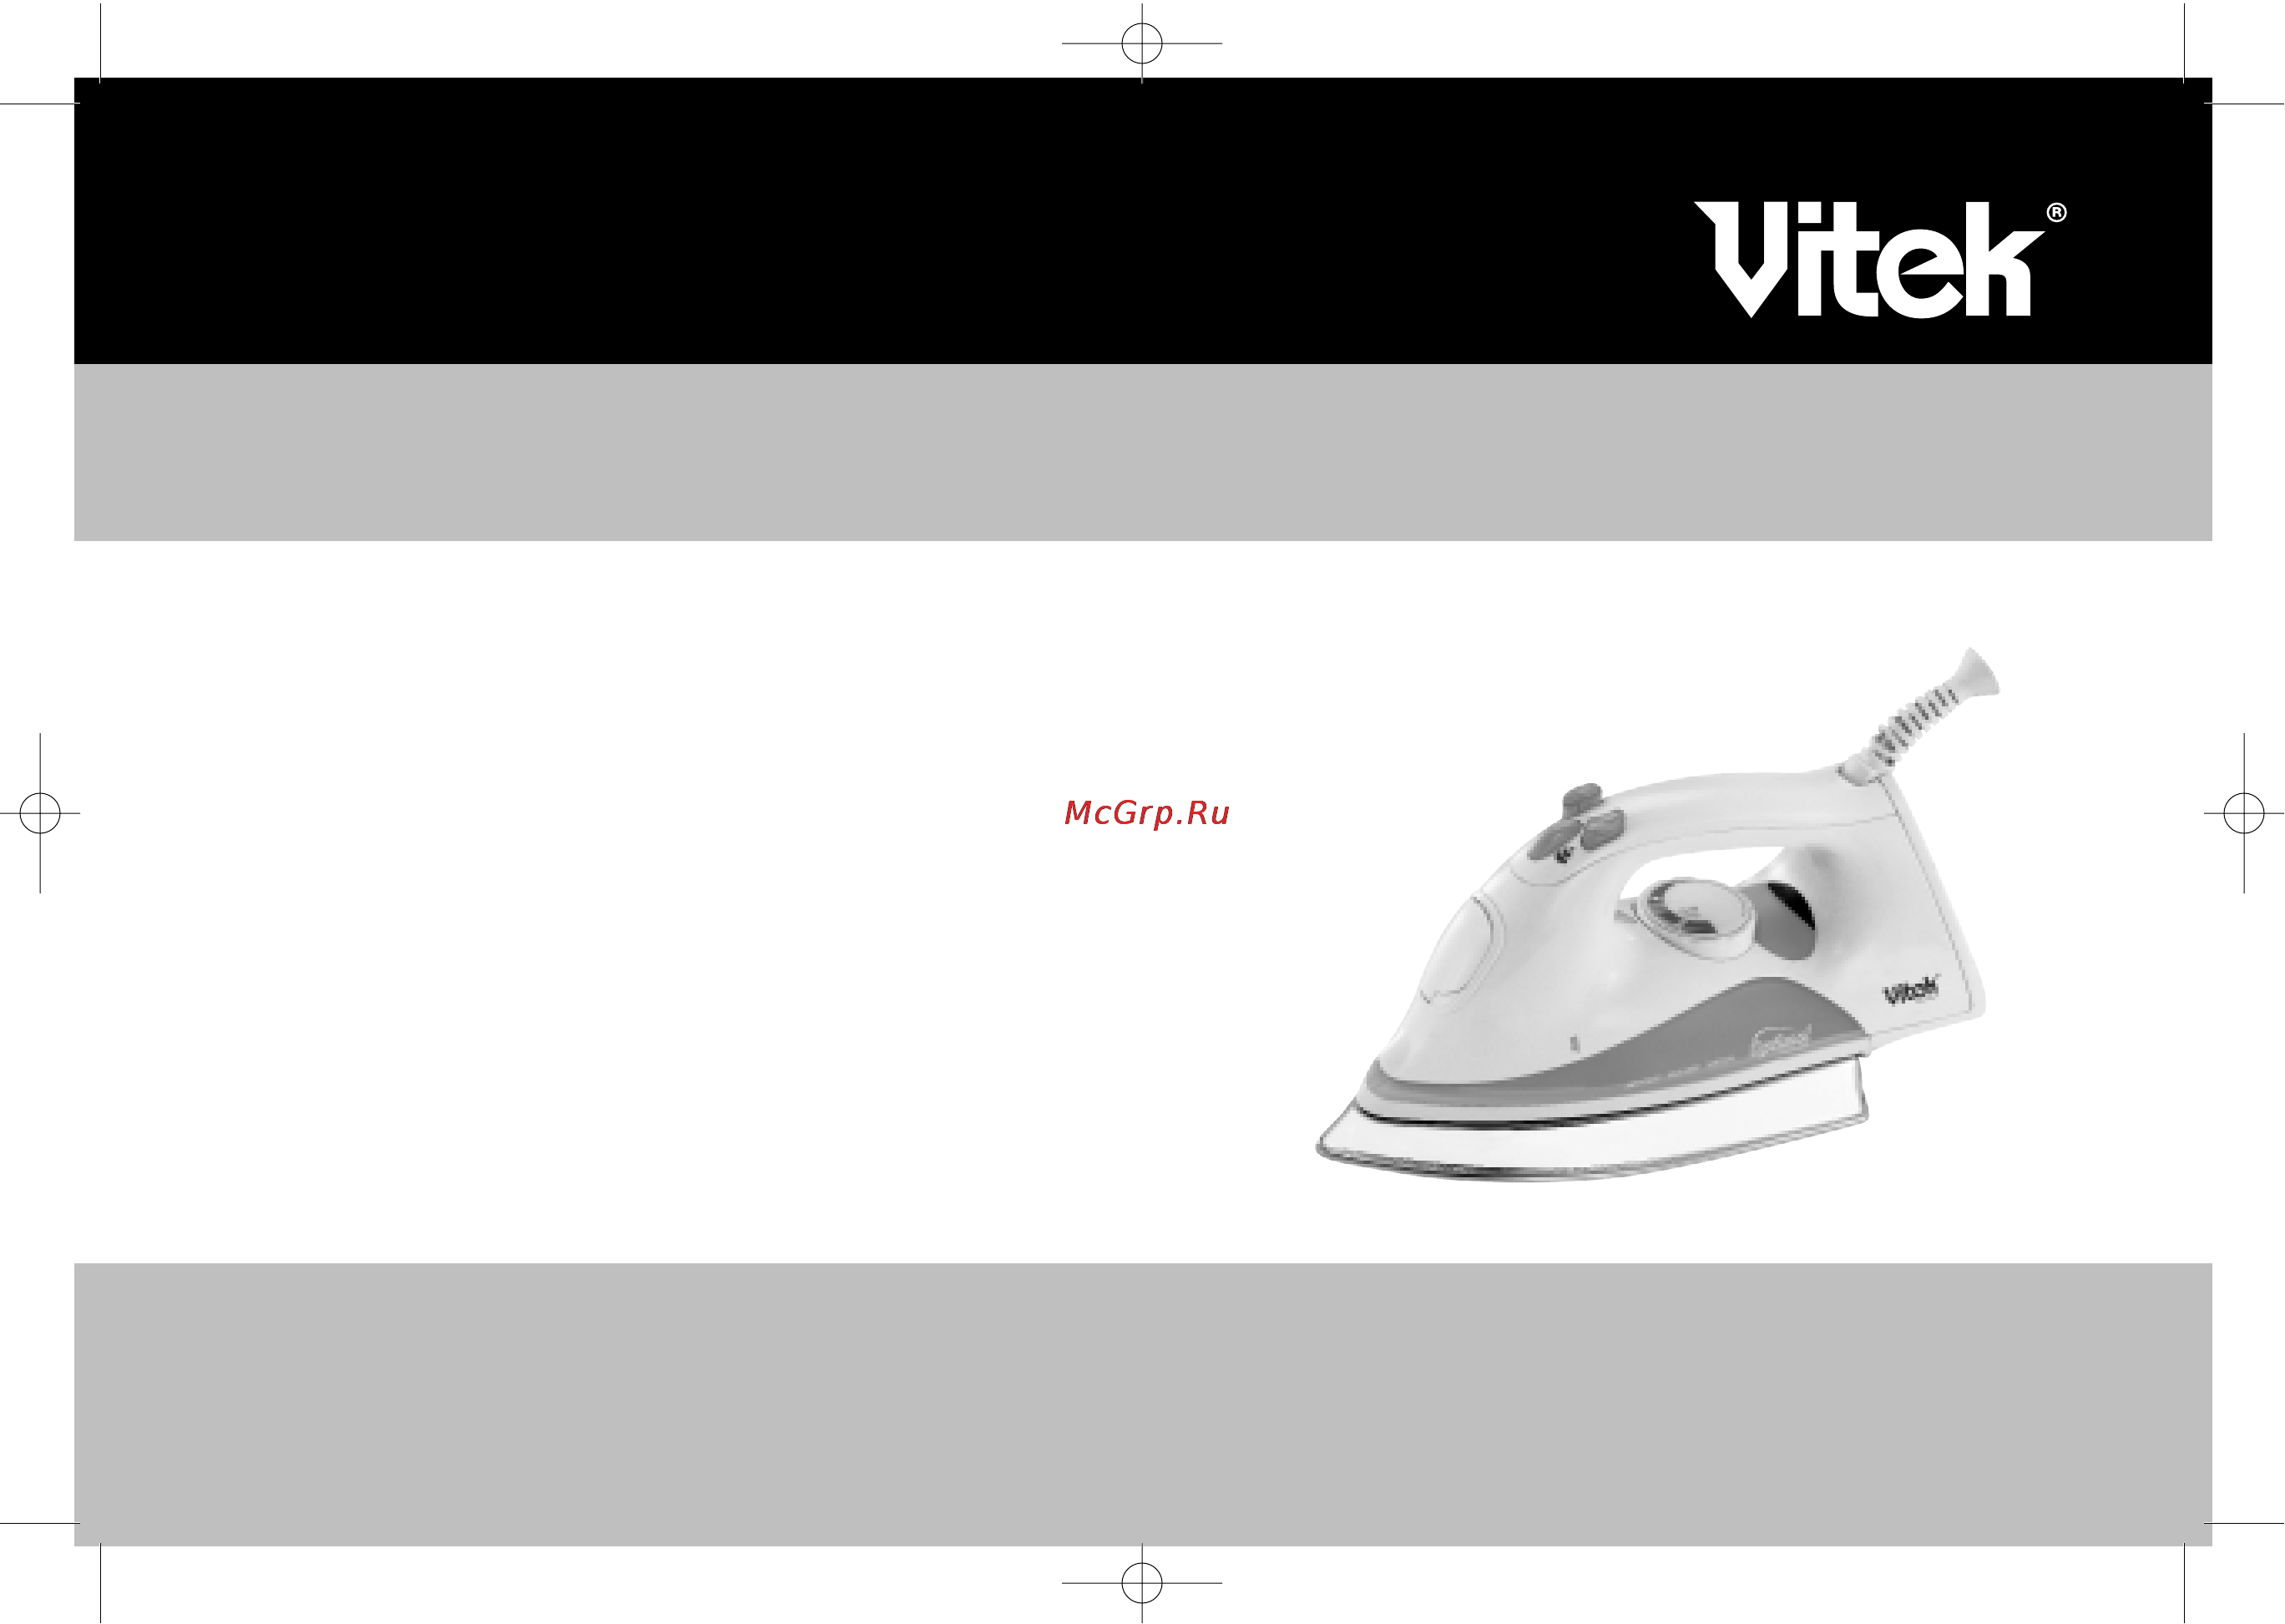
ПАРОВОЙ УТЮГ
STEAM IRON
1211.qxd 03.07.03 16:50 Page 2
Содержание
- Модель vt 1211 1
- English 2
- Qxd 03 7 3 16 50 page 4 2
- Гарантийный талон 2
- Дата покупки 2
- Купон 1 2
- Купон 2 2
- Купон 3 2
- Модель 2
- Название и адрес продающей организации 2
- Сведения о покупке 2
- Сведения о продавце 2
- Серийный 2
- Телефон 2
- English 3
- Qxd 03 7 3 16 50 page 6 3
- Damaged and needs replacing contact an authorised service centre 9 the electrical safety of this device can be guaranteed only if it is cor rectly connected to an efficient earth circuit as indicated by current elec trical safety regulations it is necessary to check this fundamental safety prerequisite and if in doubt ask a professionally qualified technician to check the circuit the manufacturer declines all responsibility for any damage caused by failure to earth the equipment 4
- English 4
- More specifically do not let children or untrained persons use the appliance without supervision never immerse the iron cable or plug in any liquid do not leave the hot iron touching fabrics or very inflammable surfaces do not leave the appliance unnecessarily plugged in disconnect the plug from the mains when the appliance is not being used never touch the appliance with wet or damp hands do not use the appliance with bare feet do not tug the power cord or the appliance in order to pull the plug out of the socket do not leave the appliance exposed to the weather rain sun etc do not leave the iron without supervision when it is connected to the power supply do not fill the reservoir with water before removing the plug from the socket please note do not use chemical additives scented substances or decalcifiers failure to comply with the above mentioned regulations leads to the loss of guarantee 4
- Please note use tap water only distilled and demineralised water makes the zero 4
- Qxd 03 7 3 16 50 page 8 4
- Zero calc anti scale system a special resin filter inside the water reservoir softens the water and pre vents scale build up in the plate the resin filter is permanent and does not need replacing 4
- Русский 4
- English 5
- Qxd 03 7 3 16 50 page 10 5
- Русский 5
- English 6
- Qxd 03 7 3 16 50 page 12 6
- Вертикальное отпаривание повесьте одежду на плечики держите утюг вертикально на расстоянии 15 30 см от одежды нажмите на кнопку подачи струи пара 3 несколько раз двигая утюгом вдоль того места которое вы отпариваете при отпаривании глубоких складок нажмите на кнопку несколько раз 6
- Русский 6
- Спецификация питание 230 в 50 гц максимальная мощность 1600 вт 6
- Срок службы утюга не менее 3 х лет 6
- Чистка 6
- English 7
- Qxd 03 7 3 16 50 page 14 7
- Глажение без пара 7
- Кратковременная обработка паром эта функция используется для 7
- Паровое глажение 7
- Русский 7
- Увлажнение 7
- E g 40 cotton 60 synthetics set the thermostat to the temperature of the fibre requiring the lower temperature if you don t know the composition of the fabric determine the suitable temperature by testing on a hidden comer of the garment start with a low temperature and increase it gradually until it reaches the ideal tempera ture never iron areas with traces of perspiration or other marks the heat of the plate fixes the stains on the fabric making them irremovable the size is more effective if you use a dry iron at a moderate temperature excess heat scorches it with the risk of forming a yellow mark to avoid making silk woollen or synthetic garments shiny iron them inside out to avoid making velvet garments shiny iron in one direction following the fibre and do not press down on the iron the heavier the washing machine is loaded the more garments come out creased this also happens when the spin drying revolutions are very high many fabrics are easier to iron if they are not completely 8
- English 8
- Power requirement 230 v 50 hz max power 1600 w 8
- Qxd 03 7 3 16 50 page 16 8
- Service life of the iron not less than 3 years 8
- Specification 8
- Медленно налейте воду в отверстие 2 до отметки max 8
- Наполнение утюга водой 8
- Русский 8
- С помощью мерного стаканчика 13 8
- Убедитесь что утюг отключен от сети 8
- Установите регулятор отпаривания 5 в положение 0 8
- English 9
- Qxd 03 7 3 16 50 page 18 9
- Индикатор 7 9
- Отметка мах 12 подошва утюга 13 мерный стаканчик 9
- Панель для намотки шнура 9 9
- Первое использование утюга удалите этикетки с подошвы и корпуса утюга раскрутите шнур наполните резервуар 10 водой через отверстие для заполнения водой 2 с помощью мерного стаканчика 9
- Русский 9
- Температура глажения 9
- Qxd 03 7 3 16 50 page 20 10
- Детали утюга 10
- Меры безопасности 10
- Отверстие для заполнения водой 10
- Распылитель воды 10
- Русский русский 10
Похожие устройства
- D-Link DAP-1360 Инструкция по эксплуатации
- SonyEricsson Vivaz U5i Cosmic Black Инструкция по эксплуатации
- Samsung SRG-058 Инструкция по эксплуатации
- D-Link DAP-1420 Инструкция по эксплуатации
- SonyEricsson U8i Black Инструкция по эксплуатации
- Novex NDP-782AT Инструкция по эксплуатации
- D-Link DAP-1513 Инструкция по эксплуатации
- HP LASERJET PRO P1102S Инструкция по эксплуатации
- SonyEricsson Vivaz U5i Venus Ruby Инструкция по эксплуатации
- Texet T-538 Инструкция по эксплуатации
- D-Link DAP-1522 Инструкция по эксплуатации
- SonyEricsson Vivaz U5i Moon Silver Инструкция по эксплуатации
- JVC AV-2134WE Инструкция по эксплуатации
- D-Link DAP-1525 Инструкция по эксплуатации
- HP Deskjet Ink Advantage 1015 Инструкция по эксплуатации
- SonyEricsson Vivaz U5i Galaxy Blue Инструкция по эксплуатации
- Vitek VT-1208 Инструкция по эксплуатации
- D-Link DAP-1533 Инструкция по эксплуатации
- Canon LBP6020B Инструкция по эксплуатации
- SonyEricsson E15i/XperiaX8 Black Инструкция по эксплуатации