
Daikin RXYTQ10U7YF Руководство по эксплуатации онлайн
Installer and user reference guide
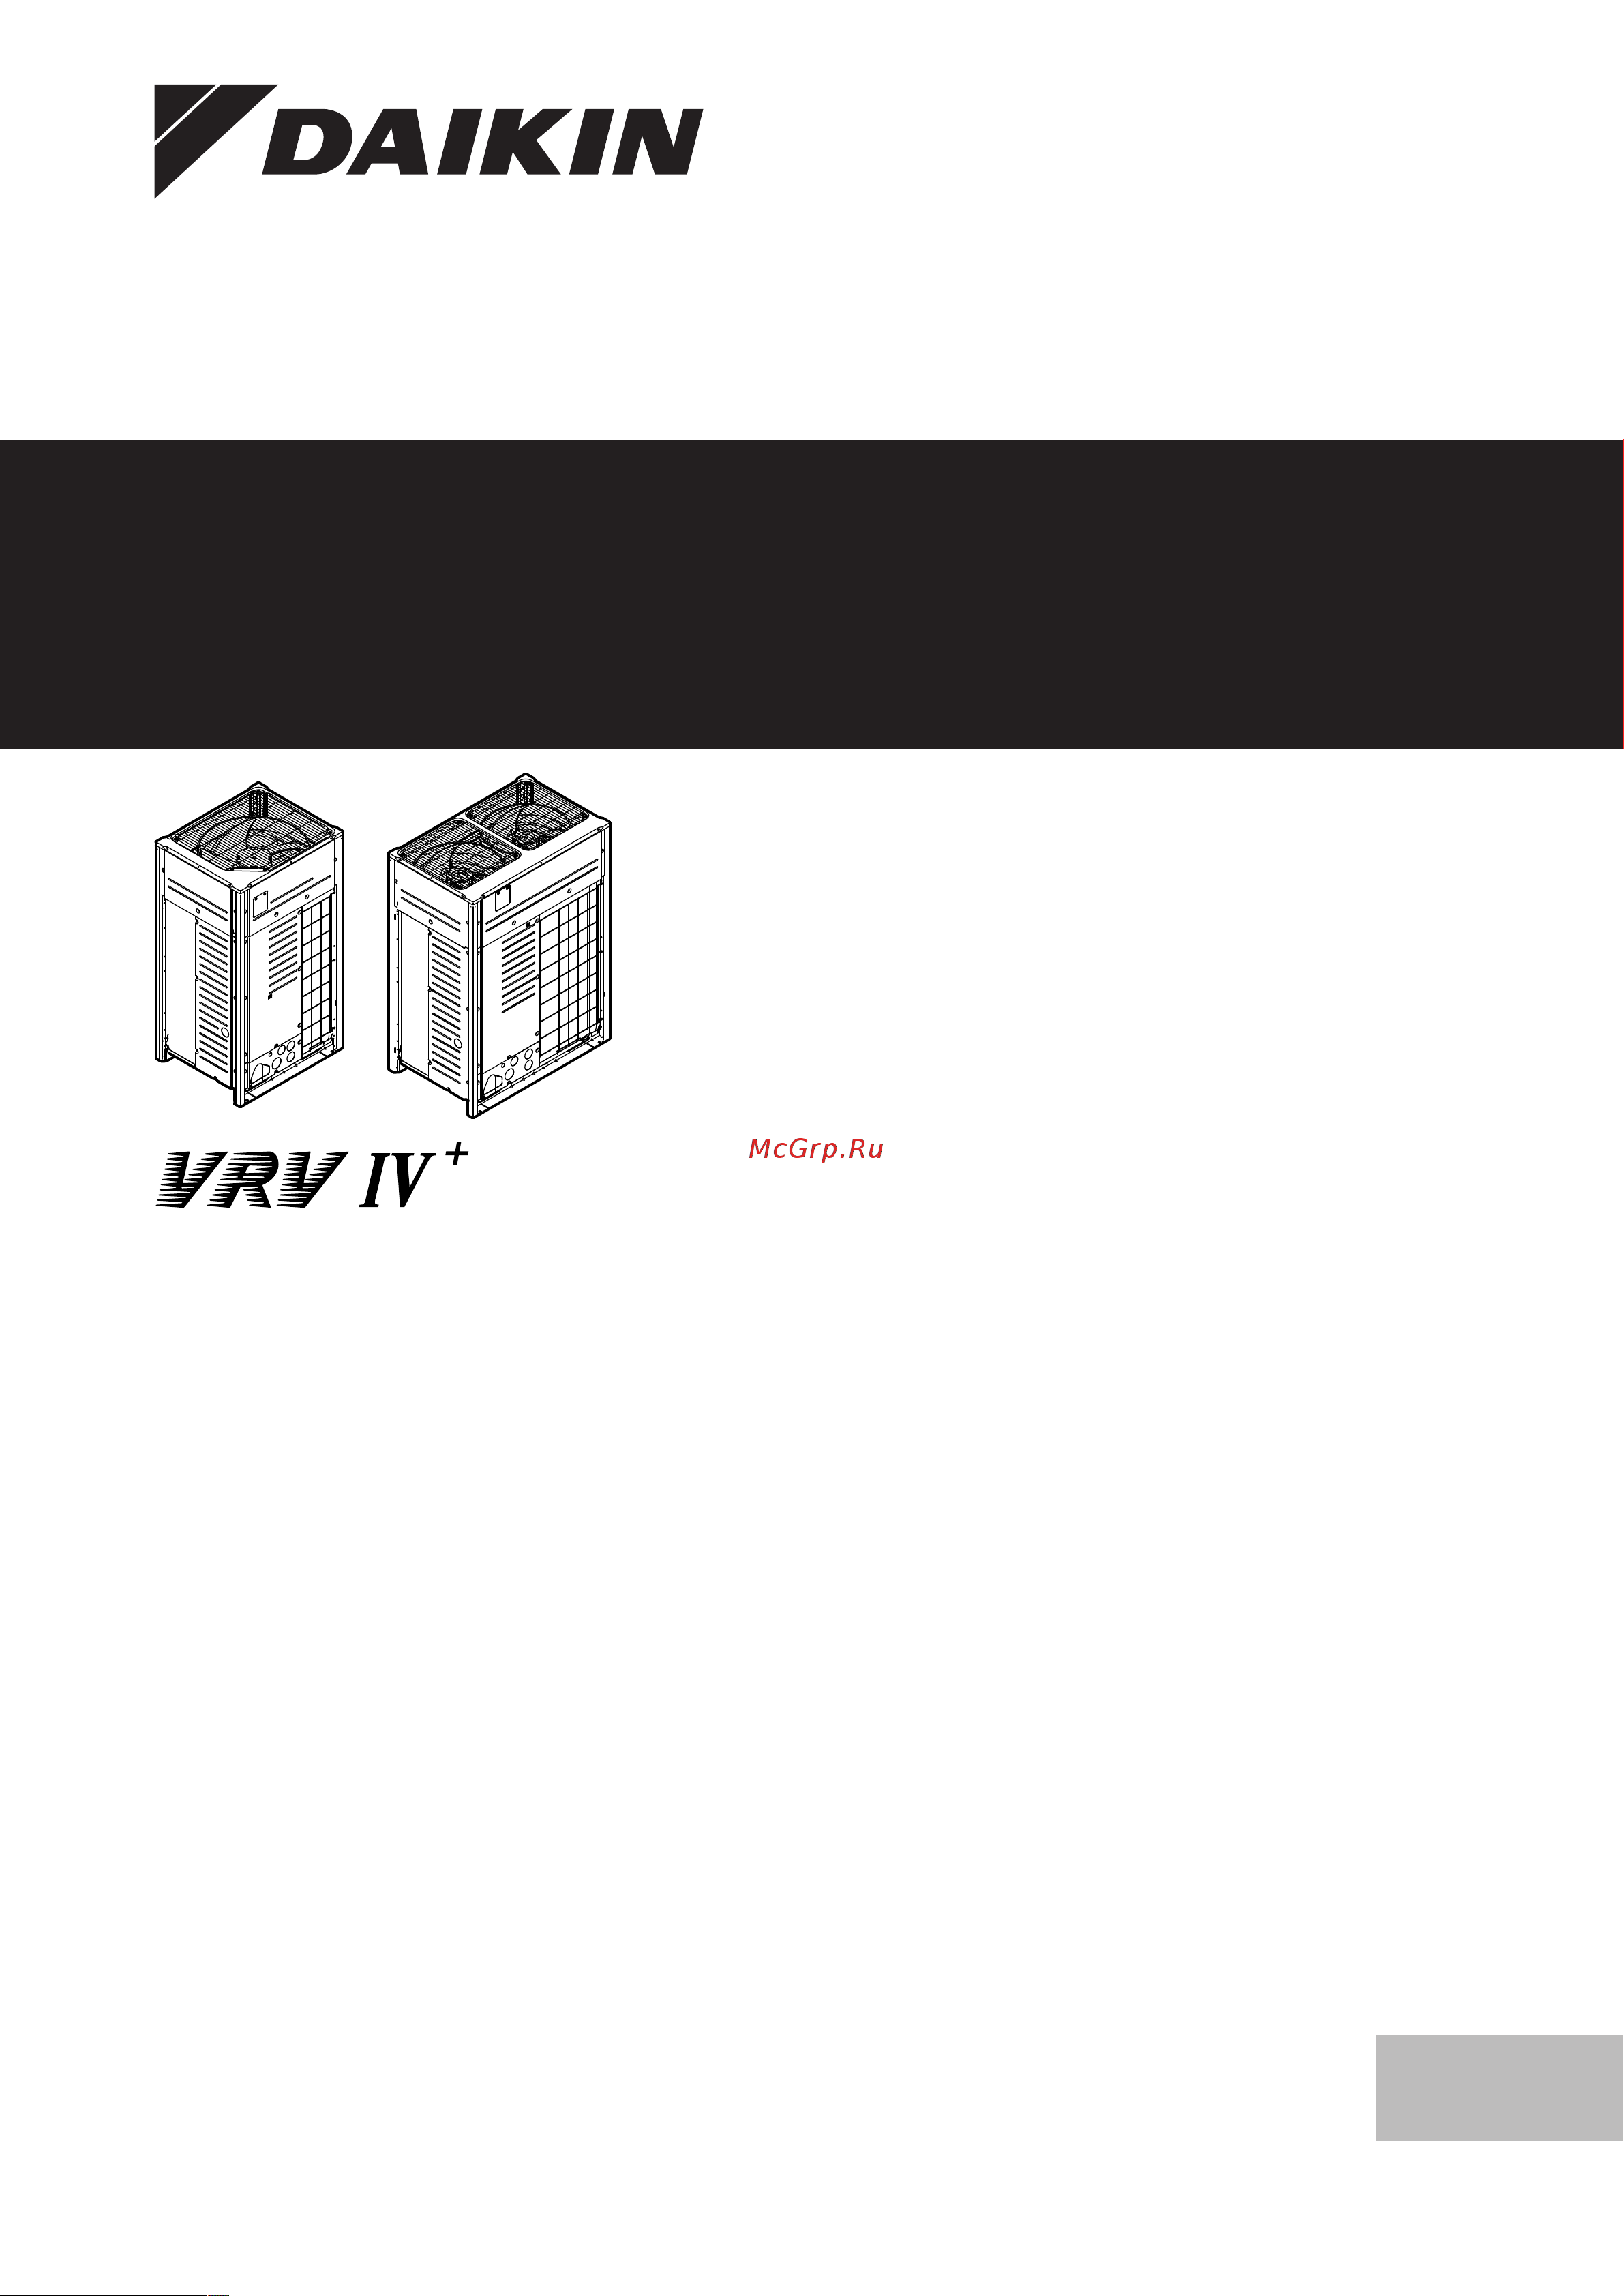
VRV IV+ heat pump for high ambient temperatures
English
Installer and user
reference guide
VRV IV+ heat pump for high ambient temperatures
RXYTQ8U7YF
RXYTQ10U7YF
RXYTQ12U7YF
RXYTQ14U7YF
RXYTQ16U7YF
Содержание
- Installer and user 1
- Reference guide 1
- Vrv iv heat pump for high ambient temperatures 1
- About the box 7 2
- About the documentation 6 2
- About the units and options 8 2
- Commissioning 40 2
- Configuration 32 2
- For the installer 7 2
- General safety precautions 3 2
- Installation 17 2
- Installer and user reference guide 2
- Maintenance and service 41 2
- Preparation 10 2
- Table of contents 2
- Troubleshooting 42 2
- About the documentation 3
- About the system 52 3
- Before operation 52 3
- Caution 3
- Danger 3
- Danger risk of burning 3
- Danger risk of electrocution 3
- Danger risk of explosion 3
- Disposal 46 3
- Disposal 60 3
- Energy saving and optimum operation 55 3
- For the user 52 3
- General safety precautions 3
- Glossary 60 3
- Indicates a situation that could result in burning because of extreme hot or cold temperatures 3
- Indicates a situation that could result in death or serious injury 3
- Indicates a situation that could result in electrocution 3
- Indicates a situation that could result in equipment or property damage 3
- Indicates a situation that could result in explosion 3
- Indicates a situation that could result in minor or moderate injury 3
- Indicates a situation that results in death or serious injury 3
- Installation manual and the installer reference guide must be performed by an authorised installer 3
- Languages are translations 3
- Maintenance and service 55 3
- Meaning of warnings and symbols 3
- Notice 3
- Operation 52 3
- Relocation 60 3
- Technical data 47 3
- The installation of the system and all activities described in the 3
- The original documentation is written in english all other 3
- The precautions described in this document cover very important 3
- Topics follow them carefully 3
- Troubleshooting 57 3
- User interface 52 3
- Warning 3
- Warning flammable material 3
- For the installer 4
- For the user 4
- General 4
- General safety precautions 4
- General safety precautions 5
- Installation site 5
- Refrigerant 5
- About the documentation 6
- About this document 6
- Electrical 6
- About the box 7
- For the installer 7
- Overview about the box 7
- To unpack the outdoor unit 7
- 16 hp 8 hp 8
- 3 12 n m 8
- About the units and options 8
- Accessory pipes diameters 8
- Accessory pipes mm hp øa øb 8
- After filling in this table please put it on the switch box cover 8
- Be sure to fill out the blanks which are needed for after sale services 8
- Bottom connection 8
- Calculation of additional refrigerant charging amount 8
- For details concerning piping selection and calculation or how to operate the leak detection function please refer to the installation manual 8
- Front connection 8
- Gas pipe 8
- Hp 10 16 hp 8
- Id øa 8
- Id øb 8
- Identification of the outdoor unit 8
- If the unit is operated with the transportation stay attached abnormal vibration or noise may be generated 8
- Liquid pipe 8
- Make sure that all accessories are available in the unit 8
- Notice 8
- Od øb 8
- Only for 14 16 hp 8
- Overview about the units and options 8
- Record for settings contents see installation manual 8
- Record of additional refrigerant charge amount and result of leak check operation 8
- Record of indoor unit model and installation site 8
- Remove the transportation stay b as shown in the figure below 8
- Slightly loosen the fixing nut a 8
- The transportation stay installed over the compressor leg for protecting the unit during transport must be removed proceed as shown in the figure and procedure below 8
- This chapter contains information about 8
- Tighten the fixing nut a again 8
- To remove the accessories from the outdoor unit 8
- To remove the transportation stay 8
- Where the outdoor unit fits in the system layout 8
- Which outdoor units can be combined 8
- Which outdoor units have to be used as standalone units and 8
- With which indoor units and options you can combine the outdoor 8
- 16 hp 8 hp 9
- About combining units and options 9
- About the outdoor unit 9
- About the units and options 9
- Combining units and options 9
- Identification label outdoor unit 9
- Possible combinations of indoor units 9
- Possible combinations of outdoor units 9
- System layout 9
- Installation site requirements of the outdoor unit 10
- Overview preparation 10
- Possible options for the outdoor unit 10
- Preparation 10
- Preparing the installation site 10
- Additional installation site requirements of the outdoor unit in cold climates 11
- Preparation 11
- About safety against refrigerant leaks 12
- About the maximum concentration level 12
- Preparation 12
- Securing safety against refrigerant leaks 12
- To check the maximum concentration level 12
- A b b b c 13
- A b c piping between outdoor unit and first refrigerant branch kit 13
- D piping between refrigerant branch kits 13
- E piping between refrigerant branch kit and indoor unit 13
- Preparation 13
- Preparing refrigerant piping 13
- Refrigerant piping requirements 13
- To select the piping size 13
- About the piping length 14
- Piping length vrv dx only 14
- Preparation 14
- To select refrigerant branch kits 14
- 40 60 m minimum connection ratio connected 80 15
- 60 65 m minimum connection ratio connected 90 15
- 65 80 m minimum connection ratio connected 100 15
- 80 90 m minimum connection ratio connected 110 15
- A b c d e f g h i j k l m n p 1000 m 15
- A b c d e f g h i j k l m n p 500 m 15
- Actual piping length 15
- Between outdoor and indoor units single installation multi 15
- Between refrigerant branch kit and indoor unit on page 13 15
- Branch with refnet header 15
- Branch with refnet joint 15
- Branch with refnet joint and refnet header 15
- Combinations 15
- Conditional extension up till 90 m is possible without additional option kit 15
- Dedicated setting on outdoor unit is required see 2 35 15
- Dedicated setting on outdoor unit is required see 2 49 15
- Equivalent length 13 m 15
- Equivalent length 190 m 160 m 15
- Example 1 15
- Example 1 unit 6 b h 40 m unit 8 i k 40 m 15
- Example 1 unit 8 b c d e f g p 40 m 15
- Example 1 unit 8 i 40 m 15
- Example 2 15
- Example 3 15
- Example description 15
- Extension is possible up till 90 m and following 2 conditions must be fulfilled 15
- Extension is possible up till 90 m and following 6 conditions must be fulfilled 15
- H1 50 m 40 m if outdoor is located below indoor units 15
- H2 30 m 15
- H3 5 m 15
- In 7 mode 2 field settings on page 35 15
- In case the outdoor location is higher than indoor 15
- In case the outdoor location is lower than indoor 15
- Indoor unit refnet joint refnet header outdoor multi connection piping kit 15
- Installer and user reference guide 15
- Liquid piping size up see table size up in e piping 15
- M 135 m 15
- M 500 m 15
- Maximum allowable height difference 15
- Maximum allowable length 15
- Maximum allowable length after branch 15
- Multi outdoor 15
- Preparation 15
- R s t 10 m u 5 m 15
- Rxytq8 16u7yf vrv iv heat pump for high ambient temperatures 4p561157 1 2018 9 15
- Single outdoor 15
- System setup 15
- The pipe length from the first refrigerant branch kit to the indoor unit 40 m 15
- Total piping length 15
- Unit 6 a b h 165 m 15
- Unit 8 a b c d e f g p 135 m 15
- Unit 8 a b c d e f g p 165 m 15
- Unit 8 a i 165 m 15
- Unit 8 a i k 165 m 15
- With standard multi layout 15
- A b b b 16
- Multiple outdoor units possible layouts 16
- Preparation 16
- About preparing electrical wiring 17
- Installation 17
- Overview installation 17
- Preparing electrical wiring 17
- Safety device requirements 17
- Installation 18
- Mounting the outdoor unit 18
- Opening the units 18
- About connecting the refrigerant piping 19
- Connecting the refrigerant piping 19
- Installation 19
- Precautions when connecting the refrigerant piping 19
- To connect the refrigerant piping to the outdoor unit 19
- To route the refrigerant piping 19
- Installation 20
- Multiple outdoor units knockout holes 20
- To connect the multi connection piping kit 20
- To connect the refrigerant branching kit 20
- To protect against contamination 20
- A b c d e 21
- Installation 21
- Tightening torques 21
- To braze the pipe end 21
- To handle the service port 21
- To handle the stop valve 21
- To open close the stop valve 21
- Using the stop valve and service port 21
- About checking the refrigerant piping 22
- Checking the refrigerant piping 22
- Installation 22
- To remove the pinched pipes 22
- Checking refrigerant piping general guidelines 23
- Checking refrigerant piping setup 23
- Installation 23
- To check for leaks pressure leak test 23
- To check for leaks vacuum leak test 23
- To perform a leak test 23
- To perform vacuum drying 23
- About charging refrigerant 24
- Charging refrigerant 24
- Installation 24
- Precautions when charging refrigerant 24
- To determine the additional refrigerant amount 24
- To insulate the refrigerant piping 24
- Installation 25
- For more information see 6 to charge refrigerant on page 27 26
- Installation 26
- Pre charging refrigerant 26
- To charge refrigerant flow chart 26
- Installation 27
- To charge refrigerant 27
- Error codes when charging refrigerant 28
- Installation 28
- Step 6 to manually charge refrigerant 28
- Checks after charging refrigerant 29
- Connecting the electrical wiring 29
- Field wiring overview 29
- Installation 29
- Precautions when connecting the electrical wiring 29
- A b c d 30
- About the electrical wiring 30
- After knocking out the holes we recommend removing any burrs 30
- And paint the edges and areas around the holes using repair paint to prevent rusting 30
- Apart from each other transmission wiring and power supply wiring may cross but may not run parallel 30
- As to prevent the lid or other parts from coming loose 30
- B g g h h 30
- Be sure to follow the limits below if the unit to unit cables are 30
- Be sure to keep the power line and transmission line 30
- Beyond these limits it may result in malfunction of transmission 30
- Branching is allowed after branching see figure below 30
- F f f h 30
- Field piping can be routed from front or bottom of the unit going left or right refer to 6 to route the refrigerant piping on page 19 30
- Firmly close the lid and arrange the electrical wires so 30
- For the above wiring always use vinyl cords with 0 5 to 1 5 m 30
- Guidelines when knocking out knockout holes 30
- Hp 10 16 hp 30
- Installation 30
- It is important to keep the power supply and the transmission wiring separated from each other in order to avoid any electrical interference the distance between both wiring should always be at least 25 mm 30
- Maximum inter unit wiring length between outdoor units 30 m 30
- Maximum number of branches 16 30
- Maximum number of independent interconnectable systems 10 30
- Maximum wiring length 1000 m 30
- Notice 30
- Prevent damage to the wires by wrapping the wiring with protective tape putting the wires through field supplied protective wire conduits at that location or install suitable field supplied wire nipples or rubber bushings into the knockout holes 30
- Sheath or cables 2 core wires 3 core wire cables are allowable for the cooler heater changeover user interface only 30
- The transmission wiring outside the unit should be wrapped and routed together with the field piping 30
- To punch a knockout hole hit on it with a hammer 30
- To route and fix the transmission wiring 30
- Total wiring length 2000 m 30
- Touch internal piping except the inverter pcb cooling pipe in order to avoid wire damage due to high temperature piping 30
- Transmission wiring and power supply wiring may not 30
- Transmission wiring can be routed through the front side only fix it to the upper mounting hole 30
- Transmission wiring to cool heat selector 500 m 30
- Up to 16 branches are possible for unit to unit cabling no 30
- When passing electrical wiring through the knockout holes 30
- A b a b 31
- A b c d e 31
- D d e f 31
- Hp 10 16 hp 31
- Installation 31
- To connect the transmission wiring 31
- To finish the transmission wiring 31
- To route and fix the power supply 31
- A b c d 32
- Configuration 32
- Hp 10 16 hp 32
- Overview configuration 32
- To connect the power supply 32
- About making field settings 33
- Configuration 33
- Field setting components 33
- Making field settings 33
- To access mode 1 or 2 33
- To access the field setting components 33
- Configuration 34
- Mode 1 monitoring settings 34
- To use mode 1 34
- To use mode 2 34
- Configuration 35
- Mode 2 field settings 35
- Configuration 36
- Available main operation methods 37
- Configuration 37
- Energy saving and optimum operation 37
- To connect the pc configurator to the outdoor unit 37
- Available comfort settings 38
- Configuration 38
- Configuration 39
- Example automatic mode during cooling 39
- Example automatic mode during heating 39
- Checklist before commissioning 40
- Commissioning 40
- Overview commissioning 40
- Precautions when commissioning 40
- About the test run 41
- Correcting after abnormal completion of the test run 41
- Maintenance and service 41
- Maintenance safety precautions 41
- Operating the unit 41
- Overview maintenance and service 41
- To perform a test run 41
- About service mode operation 42
- Overview troubleshooting 42
- Solving problems based on error codes 42
- To prevent electrical hazards 42
- To recover refrigerant 42
- To use vacuum mode 42
- Troubleshooting 42
- Error codes overview 43
- Troubleshooting 43
- Troubleshooting 44
- Troubleshooting 45
- Disposal 46
- Overview technical data 47
- Service space outdoor unit 47
- Technical data 47
- Piping diagram outdoor unit 48
- Piping diagram rxytq10 12 48
- Piping diagram rxytq8 48
- Technical data 48
- Piping diagram rxytq14 16 49
- Technical data 49
- Technical data 50
- Wiring diagram outdoor unit 50
- Technical data 51
- About the system 52
- Before operation 52
- For the user 52
- Operation 52
- Operation range 52
- System layout 52
- User interface 52
- About cooling heating fan only and automatic operation 53
- About operating the system 53
- About the heating operation 53
- Operating the system 53
- Operation 53
- To operate the system with cool heat changeover remote control switch 53
- To operate the system without cool heat changeover remote control switch 53
- About setting the master user interface 54
- About the air flow flap 54
- About the dry program 54
- Adjusting the air flow direction 54
- Operation 54
- Setting the master user interface 54
- To designate the master user interface vrv dx and hydrobox 54
- To use the dry program with cool heat changeover remote control switch 54
- To use the dry program without cool heat changeover remote control switch 54
- Using the dry program 54
- About control systems 55
- Available comfort settings 55
- Available main operation methods 55
- Energy saving and optimum operation 55
- Maintenance and service 55
- About the refrigerant 56
- After sales service and warranty 56
- Maintenance after a long stop period 56
- Maintenance and service 56
- Maintenance before a long stop period 56
- Recommended maintenance and inspection 56
- Warranty period 56
- Recommended maintenance and inspection cycles 57
- Shortened maintenance and replacement cycles 57
- Troubleshooting 57
- Error codes overview 58
- Troubleshooting 58
- 0 symptom noise of air conditioners 59
- 1 symptom noise of air conditioners 59
- 2 symptom dust comes out of the unit 59
- 3 symptom the units can give off odours 59
- 4 symptom the outdoor unit fan does not 59
- Indoor unit outdoor unit 59
- Outdoor unit 59
- Symptom cool heat cannot be changed over 59
- Symptom fan operation is possible but cooling and heating do not work 59
- Symptom noise of air conditioners indoor unit 59
- Symptom the fan direction does not correspond to the setting 59
- Symptom the fan speed does not correspond to the setting 59
- Symptom the system does not operate 59
- Symptom the user interface display reads u4 or u5 and stops but then restarts after a few minutes 59
- Symptom white mist comes out of a unit indoor unit 59
- Symptom white mist comes out of a unit indoor unit outdoor unit 59
- Symptoms that are not system malfunctions 59
- Troubleshooting 59
- 5 symptom the display shows 88 60
- 6 symptom the compressor in the outdoor 60
- 7 symptom the inside of an outdoor unit is 60
- 8 symptom hot air can be felt when the 60
- Disposal 60
- Glossary 60
- Indoor unit is stopped 60
- Relocation 60
- Unit does not stop after a short heating operation 60
- Warm even when the unit has stopped 60
Похожие устройства
- Daikin RXYTQ10U7YF Руководство по применению для установщика
- Daikin RXYTQ12U7YF Общие правила техники безопасности
- Daikin RXYTQ12U7YF Инструкция по эксплуатации
- Daikin RXYTQ12U7YF Руководство по эксплуатации
- Daikin RXYTQ12U7YF Руководство по применению для установщика
- Daikin RXYTQ14U7YF Общие правила техники безопасности
- Daikin RXYTQ14U7YF Инструкция по эксплуатации
- Daikin RXYTQ14U7YF Руководство по эксплуатации
- Daikin RXYTQ14U7YF Руководство по применению для установщика
- Daikin RXYTQ16U7YF Общие правила техники безопасности
- Daikin RXYTQ16U7YF Инструкция по эксплуатации
- Daikin RXYTQ16U7YF Руководство по эксплуатации
- Daikin RXYTQ16U7YF Руководство по применению для установщика
- Daikin RXYTQ18U7YF Общие правила техники безопасности
- Daikin RXYTQ18U7YF Инструкция по эксплуатации
- Daikin RXYTQ18U7YF Руководство по эксплуатации
- Daikin RXYTQ18U7YF Руководство по применению для установщика
- Daikin RXYTQ20U7YF Общие правила техники безопасности
- Daikin RXYTQ20U7YF Инструкция по эксплуатации
- Daikin RXYTQ20U7YF Руководство по эксплуатации