
Daikin RZAG140L7V1B Общие правила техники безопасности онлайн
Installer reference guide
Split system air conditioners
English
Installer reference guide
Split system air conditioners
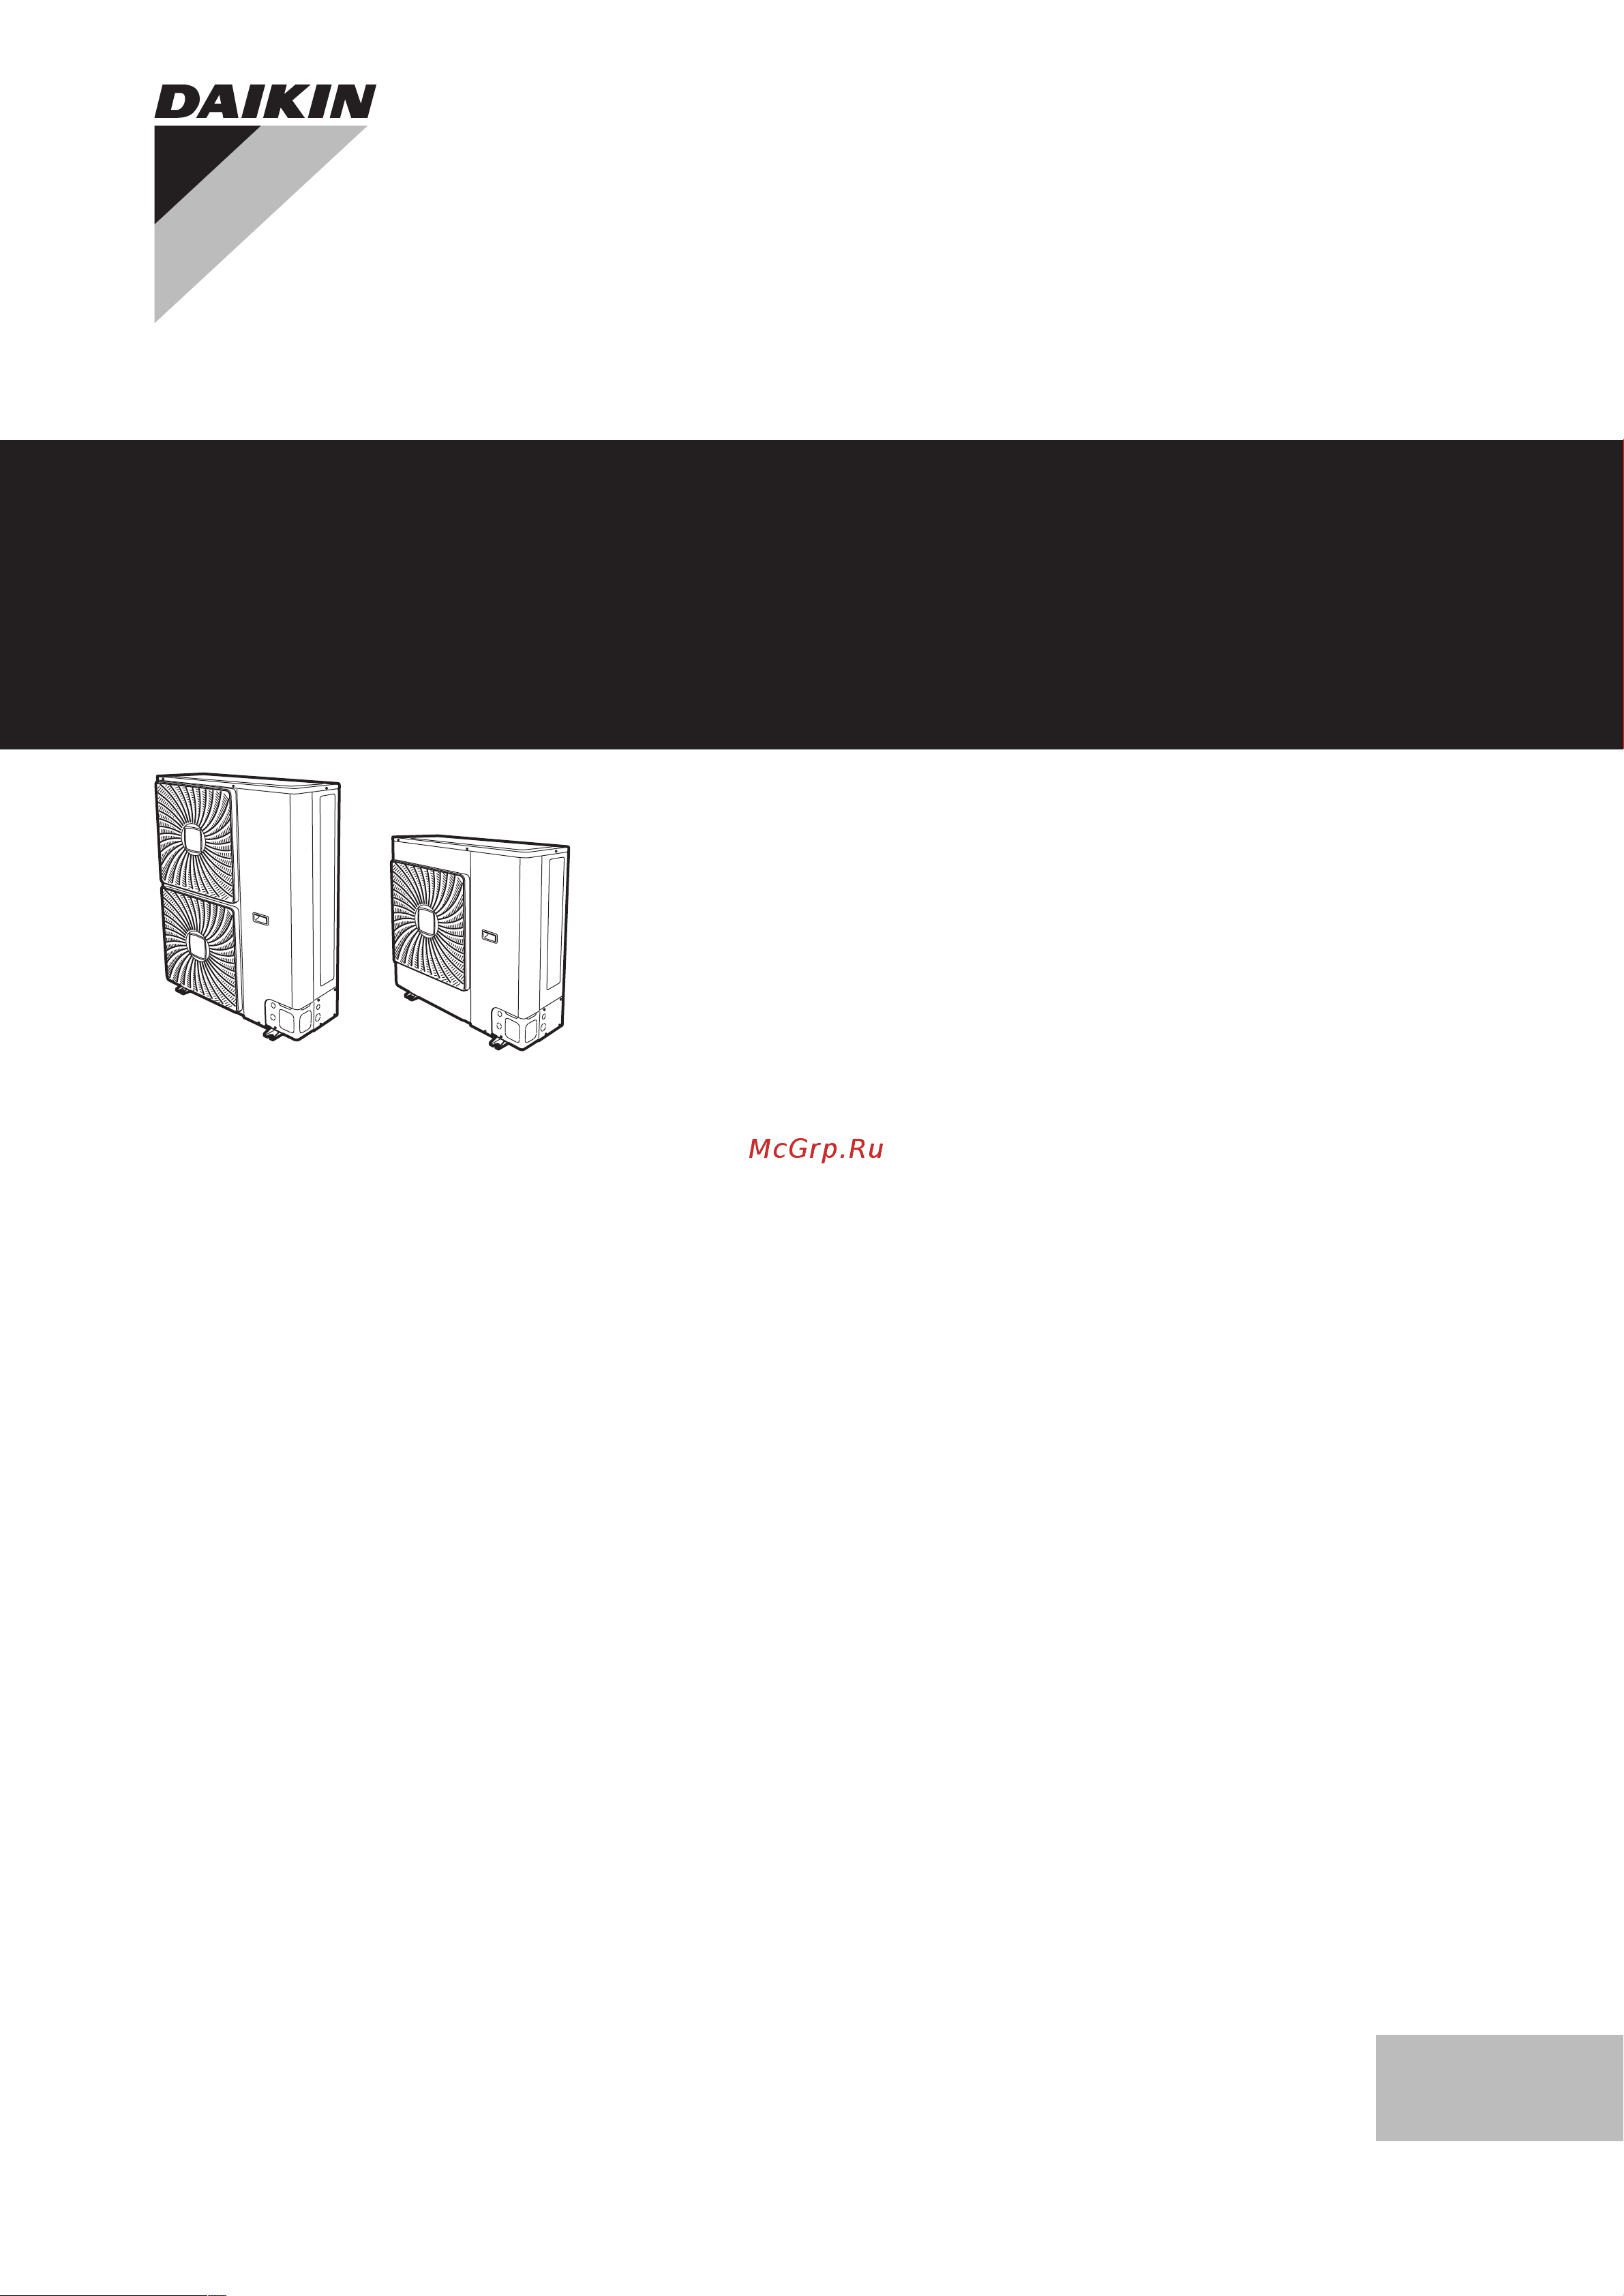
RZAG71L7V1B
RZAG100L7V1B
RZAG125L7V1B
RZAG140L7V1B
Содержание
- Installer reference guide 1
- Split system air conditioners 1
- About the box 6 2
- About the documentation 2
- About the documentation 5 2
- About the units and options 7 2
- Commissioning 21 2
- Disposal 23 2
- General safety precautions 2
- General safety precautions 2 2
- Glossary 38 2
- Hand over to the user 23 2
- Installation 10 2
- Installer reference guide 2
- Languages are translations 2
- Maintenance and service 23 2
- Preparation 7 2
- Table of contents 2
- Technical data 25 2
- The original documentation is written in english all other 2
- The precautions described in this document cover very important 2
- Topics follow them carefully 2
- Troubleshooting 23 2
- For the installer 3
- General 3
- General safety precautions 3
- Installation site 3
- Meaning of warnings and symbols 3
- Refrigerant 3
- General safety precautions 4
- About the documentation 5
- About this document 5
- Electrical 5
- About the box 6
- Installer reference guide at a glance 6
- Outdoor unit 6
- Overview about the box 6
- To handle the outdoor unit 6
- To remove the accessories from the outdoor unit 6
- To unpack the outdoor unit 6
- About the units and options 7
- Combining units and options 7
- Identification 7
- Identification label outdoor unit 7
- Installation site requirements of the outdoor unit 7
- Overview about the units and options 7
- Overview preparation 7
- Possible options for the outdoor unit 7
- Preparation 7
- Preparing installation site 7
- Preparation 8
- About the minimum floor area 9
- Additional installation site requirements of the outdoor unit in cold climates 9
- Preparation 9
- To determine the minimum floor area 9
- Wall mounted uni 9
- About preparing electrical wiring 10
- Installation 10
- Overview installation 10
- Preparing electrical wiring 10
- Preparing refrigerant piping 10
- Refrigerant piping diameter 10
- Refrigerant piping insulation 10
- Refrigerant piping length and height difference 10
- Refrigerant piping material 10
- Refrigerant piping requirements 10
- About mounting the outdoor unit 11
- About opening the units 11
- Installation 11
- Mounting the outdoor unit 11
- Opening the units 11
- Precautions when mounting the outdoor unit 11
- To install the outdoor unit 11
- To open the outdoor unit 11
- To provide drainage 11
- To provide the installation structure 11
- About connecting the refrigerant piping 12
- Connecting the refrigerant piping 12
- Installation 12
- Precautions when connecting the refrigerant piping 12
- To prevent the outdoor unit from falling over 12
- Ø6 mm 12
- Guidelines when connecting the refrigerant piping 13
- Installation 13
- Pipe bending guidelines 13
- To braze the pipe end 13
- To flare the pipe end 13
- A b c d e 14
- Installation 14
- To connect the refrigerant piping to the outdoor unit 14
- To handle the service cap 14
- To handle the stem cap 14
- To handle the stop valve 14
- To open close the stop valve 14
- Using the stop valve and service port 14
- B a 4 ø6 mm 15
- Installation 15
- To determine if oil traps are required 15
- About checking the refrigerant piping 16
- Checking refrigerant piping setup 16
- Checking the refrigerant piping 16
- Installation 16
- Precautions when checking the refrigerant piping 16
- To check for leaks 16
- To perform vacuum drying 16
- About charging refrigerant 17
- About the refrigerant 17
- Charging refrigerant 17
- Installation 17
- Charging refrigerant setup 18
- Installation 18
- Precautions when charging refrigerant 18
- To charge refrigerant 18
- To determine the additional refrigerant amount 18
- To determine the complete recharge amount 18
- To fix the fluorinated greenhouse gases label 18
- About connecting the electrical wiring 19
- About electrical compliance 19
- Connecting the electrical wiring 19
- Guidelines when connecting the electrical wiring 19
- Installation 19
- Precautions when connecting the electrical wiring 19
- Specifications of standard wiring components 19
- To connect the electrical wiring on the outdoor unit 19
- A b c d e 20
- Finishing the outdoor unit installation 20
- Installation 20
- To close the outdoor unit 20
- To finish the outdoor unit installation 20
- Checklist before commissioning 21
- Commissioning 21
- Overview commissioning 21
- Precautions when commissioning 21
- To check the insulation resistance of the compressor 21
- Commissioning 22
- Error codes when performing a test run 22
- To perform a test run 22
- Checklist for yearly maintenance of the outdoor unit 23
- Disposal 23
- Hand over to the user 23
- Maintenance and service 23
- Maintenance safety precautions 23
- Overview disposal 23
- Overview maintenance and service 23
- Overview troubleshooting 23
- Precautions when troubleshooting 23
- Troubleshooting 23
- About pump down 24
- Disposal 24
- To pump down 24
- Components 25
- D103893 25
- Dimensions 25
- Dimensions outdoor unit 25
- Latest information can be found in the technical engineering data 25
- Overview technical data 25
- Piping diagram 25
- Rzag71 dimensions in mm 25
- Service space 25
- Technical data 25
- Technical specifications 25
- This chapter contains information about 25
- Wiring diagram 25
- A gas pipe connection ø15 flare connection 26
- B liquid pipe connection ø9 flare connection 26
- C internal service port in the unit 26
- D earthing terminal m5 in the switch box 26
- D103894 26
- E refrigerant piping intake 26
- F power supply wiring intake knockout hole ø34 26
- G control wiring intake knockout hole ø27 26
- H drain hole 26
- I anchor point bolt 4 m12 26
- Installer reference guide 26
- P418663 1 2016 2 26
- Rzag100 140 dimensions in mm 26
- Rzag71 140l7v1b 26
- Split system air conditioners 26
- Technical data 26
- Discharge side take refrigerant piping work into account when positioning the units if your layout does not match any of the layouts below contact your dealer 27
- Service space outdoor unit 27
- Single unit single row of units 27
- Suction side in the illustrations below the service space at the suction side is based on 35 c db and cooling operation forsee more space in the following cases 27
- Technical data 27
- When the heat load of the outdoor units is expected to regularly exceed the maximum operating capacity 27
- When the suction side temperature regularly exceeds this temperature 27
- Multiple rows of units 28
- Stacked units max 2 levels 28
- Technical data 28
- Components outdoor unit 29
- Rzag71 29
- S1ph a d s1pl y2s 29
- S1ph m 29
- Technical data 29
- Rzag100 140 30
- S1pl s1ph m s1ph a 30
- Technical data 30
- Piping diagram outdoor unit 31
- Technical data 31
- 240 v 1n 50 hz 32
- Blk black 32
- Blu blue 32
- Brn brown 32
- Colours 32
- Colours see below 32
- Connection 32
- Connector 32
- D099152 1 32
- Field wiring 32
- Grn green 32
- L live 32
- N l l n 32
- N neutral 32
- Noiseless earth 32
- Option 32
- Ppl purple 32
- Protective earth 32
- Red red 32
- Refer to the combination table and the option manual for how to connect the wiring to x6a x28a and x77a 32
- Refer to the service manual for instructions on how to set the selector switches ds1 the factory setting of all switches is off 32
- Refer to the wiring diagram sticker on the back of the service cover for how to use the bs1 bs4 and ds1 switches 32
- See note 7 32
- Symbols 32
- Symbols see below 32
- Technical data 32
- Terminal 32
- Terminal strip 32
- The wiring diagram is delivered with the unit located at the inside of the service cover rzag71 32
- This wiring diagram applies only to the outdoor unit 32
- When operating do not short circuit protective devices s1ph and s1pl 32
- Wht white 32
- Wiring diagram outdoor unit 32
- Ylw yellow 32
- Technical data 33
- 240 v 1n 50 hz 34
- A1p printed circuit board main 34
- A2p printed circuit board 34
- Blk black 34
- Blu blue 34
- Brn brown 34
- Bs1 bs4 push button switch 34
- C1 c3 capacitor 34
- Colours 34
- Colours see below 34
- Connection 34
- Connector 34
- D099153 1 34
- Ds1 dip switch 34
- E1h bottom plate heater option 34
- Field wiring 34
- Grn green 34
- L live 34
- Legend for wiring diagram rzag100 140 34
- N neutral 34
- Noiseless earth 34
- Option 34
- Ppl purple 34
- Protective earth 34
- Red red 34
- Refer to the combination table and the option manual for how to connect the wiring to x6a x28a and x77a 34
- Refer to the service manual for instructions on how to set the selector switches ds1 the factory setting of all switches is off 34
- Refer to the wiring diagram sticker on the back of the service cover for how to use the bs1 bs4 and ds1 switches 34
- Rzag100 140 34
- Symbols 34
- Symbols see below 34
- Technical data 34
- Terminal 34
- Terminal strip 34
- This wiring diagram applies only to the outdoor unit 34
- When operating do not short circuit protective devices s1ph and s1pl 34
- Wht white 34
- Ylw yellow 34
- Technical data 35
- Technical data 36
- Technical specifications outdoor unit 36
- Technical data 37
- Glossary 38
Похожие устройства
- Daikin RZAG140L7V1B Руководство по применению для установщика
- Alpine INE-F904D Руководство пользователя
- Alpine INE-F904D Инструкция по эксплуатации
- Alpine X903D-F Инструкция по эксплуатации
- Alpine X903D-F Руководство пользователя
- Alpine X703D-F Инструкция по эксплуатации
- Alpine X703D-F Руководство пользователя
- Alpine INE-W611D Инструкция по эксплуатации
- Alpine INE-W611D Руководство пользователя
- Alpine iLX-W650BT Руководство пользователя
- Alpine iLX-W650BT Инструкция по эксплуатации
- Alpine CDE-W296BT 4x50Вт Руководство пользователя
- Daikin RZQ71D7V1B Инструкция по монтажу
- Daikin RZQ71D2V1B Инструкция по монтажу
- Daikin RZQ100D7V1B Инструкция по монтажу
- Daikin RZQ125D7V1B Инструкция по монтажу
- Daikin RZQ140D7V1B Инструкция по монтажу
- Daikin RZQ200B8W1B Инструкция по монтажу
- Daikin RZQ200B8W1B Технические данные
- Daikin RZQ250B8W1B Инструкция по монтажу