
Panasonic CS-WE9NKE / CU-QE9NKE Сервис мануал онлайн
© Panasonic Appliances Air-Conditioning Malaysia
Sdn. Bhd. 2012. Unauthorized copying and distribution
is a violation of law.
Order No: PAPAMY1207095CE
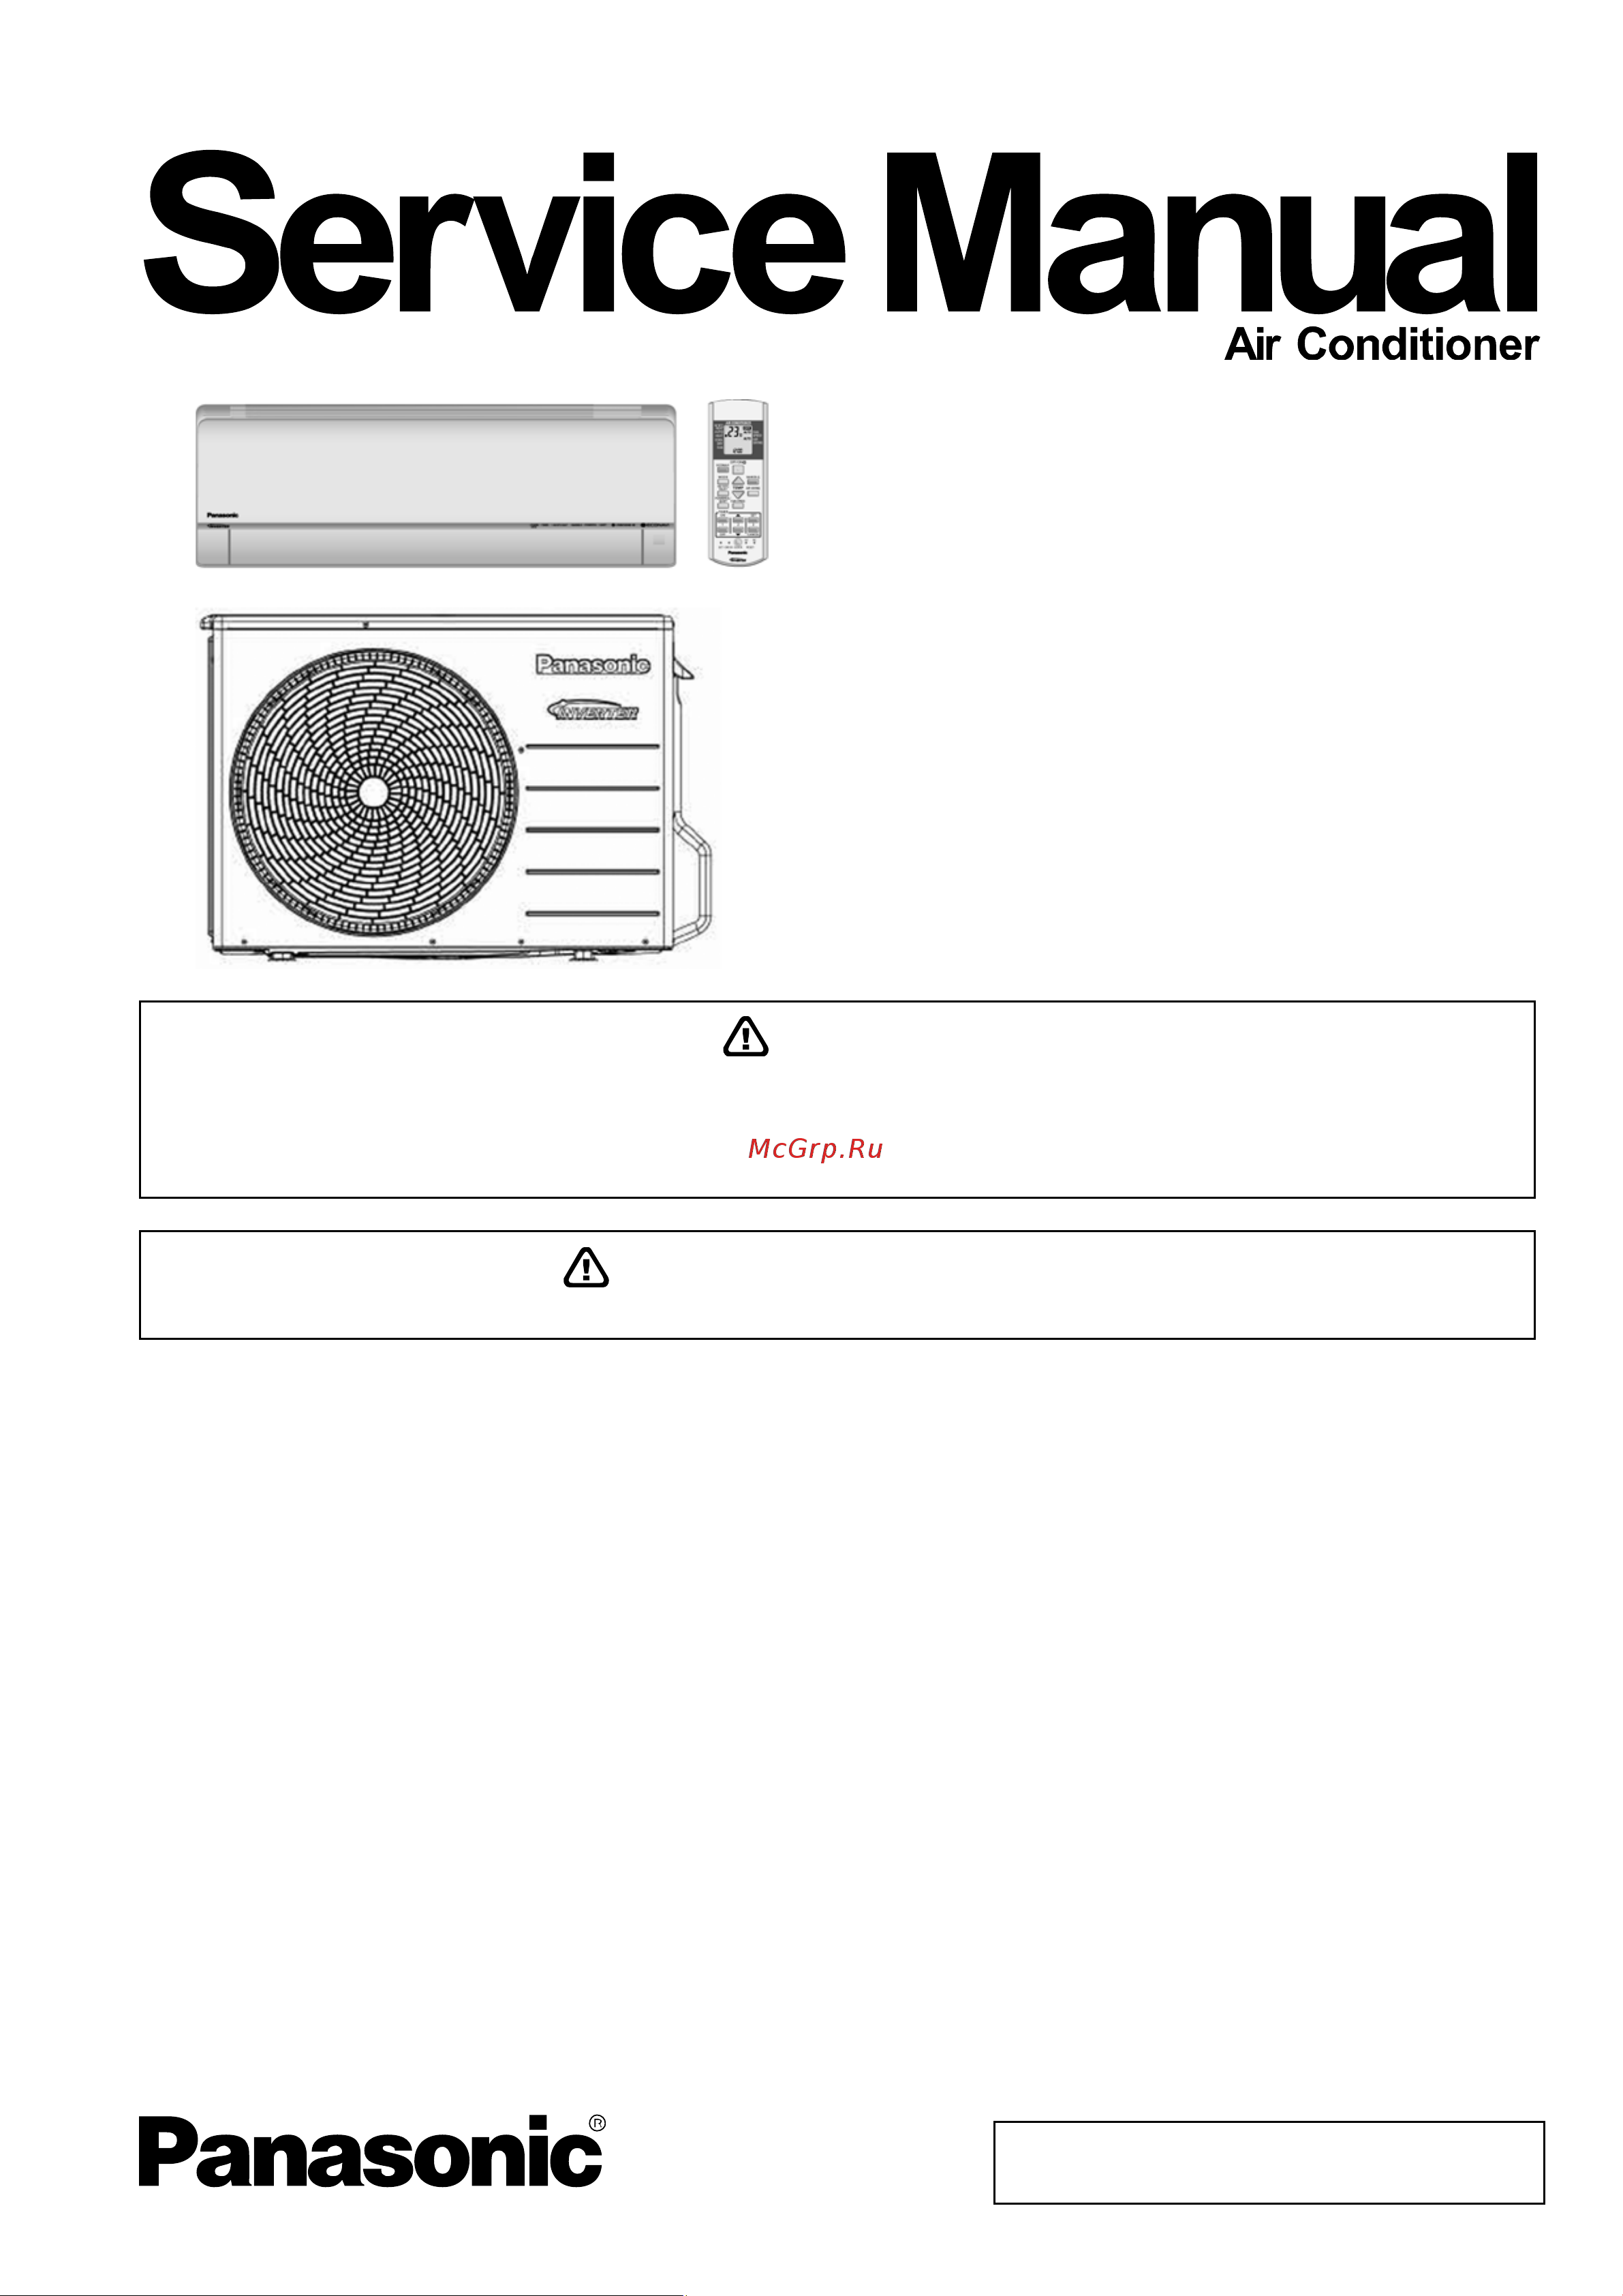
Indoor Unit Outdoor Unit
CS-NE9NKE
CS-NE12NKE
CS-XE9NKE-5
CS-XE12NKE-5
CS-QE9NKE
CS-QE12NKE
CS-WE9NKE
CS-WE12NKE
CU-NE9NKE
CU-NE12NKE
CU-NE9NKE
CU-NE12NKE
CU-QE9NKE
CU-QE12NKE
CU-QE9NKE
CU-QE12NKE
TABLE OF CONTENTS
1. Safety Precautions.............................................3
2. Specification .......................................................5
3. Features ............................................................11
4. Location of Controls and Components .........12
4.1 Indoor Unit..................................................12
4.2 Outdoor Unit...............................................12
4.3 Remote Control ..........................................12
5. Dimensions.......................................................13
5.1 Indoor Unit..................................................13
5.2 Outdoor Unit...............................................14
6. Refrigeration Cycle Diagram...........................15
7. Block Diagram ..................................................16
8. Wiring Connection Diagram............................17
8.1 Indoor Unit..................................................17
8.2 Outdoor Unit...............................................18
9. Electronic Circuit Diagram ..............................19
9.1 Indoor Unit..................................................19
9.2 Outdoor Unit ...............................................20
10. Printed Circuit Board .......................................21
10.1 Indoor Unit..................................................21
10.2 Outdoor Unit ...............................................23
11. Installation Instruction.....................................24
11.1 Select The Best Location ...........................24
11.2 Indoor Unit..................................................25
11.3 Outdoor Unit ...............................................30
12. Operation and Control .....................................33
12.1 Basic Function............................................33
12.2 Indoor Fan Motor Operation.......................34
12.3 Outdoor Fan Motor Operation ....................35
12.4 Airflow Direction .........................................35
12.5 Quiet operation (Cooling Mode/Cooling area
of Dry Mode)...............................................36
PRECAUTION OF LOW TEMPERATURE
In order to avoid frostbite, be assured of no refrigerant leakage during the installation or repairing of refrigerant circuit.
WARNING
This service information is designed for experienced repair technicians only and is not designed for use by the general public.
It does not contain warnings or cautions to advise non-technical individuals of potential dangers in attempting to service a product.
Products powered by electricity should be serviced or repaired only by experienced professional technicians. Any attempt to
service or repair the product or products dealt with in this service information by anyone else could result in serious injury or death.
Содержание
- Cs ne9nke cs ne12nke cs xe9nke 5 cs xe12nke 5 cs qe9nke cs qe12nke cs we9nke cs we12nke 1
- Cu ne9nke cu ne12nke cu ne9nke cu ne12nke cu qe9nke cu qe12nke cu qe9nke cu qe12nke 1
- Indoor unit outdoor unit 1
- Table of contents table of contents 1
- Carry out test run to confirm that no abnormality occurs after the servicing then explain to user the operation care and maintenance as stated in instructions please remind the customer to keep the operating instructions for future reference 3
- Caution 3
- Read the following safety precautions carefully before perform any servicing electrical work must be installed or serviced by a licensed electrician be sure to use the correct rating of the power plug and main circuit for the model installed the caution items stated here must be followed because these important contents are related to safety the meaning of each indication used is as below incorrect installation or servicing due to ignoring of the instruction will cause harm or damage and the seriousness is classified by the following indications 3
- Safety precautions 3
- The items to be followed are classified by the symbols 3
- Warning 3
- Caution 4
- Warning 4
- Specification 5
- Features 11
- Indoor unit 12
- Location of controls and components 12
- Outdoor unit 12
- Remote control 12
- Dimensions 13
- Indoor unit 13
- Outdoor unit 14
- Refrigeration cycle diagram 15
- Block diagram 16
- Indoor unit 17
- Wiring connection diagram 17
- Outdoor unit 18
- Electronic circuit diagram 19
- Indoor unit 19
- Outdoor unit 20
- Indicator printed circuit board 21
- Indoor unit 21
- Main printed circuit board 21
- Printed circuit board 21
- High voltage power supply printed circuit board 22
- Receiver printed circuit board 22
- Main printed circuit board 23
- Outdoor unit 23
- Indoor outdoor unit installation diagram 24
- Indoor unit 24
- Installation instruction 24
- Outdoor unit 24
- Select the best location 24
- How to fix installation plate 25
- Indoor unit 25
- To drill a hole in the wall and install a sleeve of piping 25
- Connect the cable to the indoor unit 27
- Wire stripping connecting requirement 28
- Connect the piping 30
- Connecting the piping to indoor 30
- Connecting the piping to outdoor 30
- Install the outdoor unit 30
- Outdoor unit 30
- Evacuation of the equipment 31
- Connect the cable to the outdoor unit 32
- Cutting and flaring the piping 32
- Outdoor unit drain water 32
- Piping insulation 32
- Basic function 33
- Cooling operation 33
- Heating operation 33
- Internal setting temperature 33
- Operation and control 33
- Soft dry operation 33
- Thermostat control 33
- Automatic operation 34
- Fan operation 34
- Indoor fan motor operation 34
- Airflow direction 35
- Outdoor fan motor operation 35
- A purpose to provide quiet cooling operation compare to normal operation b control condition a quiet operation start condition when quiet button at remote control is pressed quiet led illuminates b quiet operation stop condition 1 when one of the following conditions is satisfied quiet operation stops a powerful button is pressed b stop by off on switch c timer off activates d quiet button is pressed again 2 when quiet operation is stopped operation is shifted to normal operation with previous setting 3 when fan speed is changed quiet operation is shifted to quiet operation of the new fan speed 4 when operation mode is changed quiet operation is shifted to quiet operation of the new mode 5 during quiet operation if timer on activates quiet operation maintains 6 after off when on back quiet operation is not memorised 36
- Automatic vertical airflow direction can be set using remote control the vane swings up and down within the angles as stated above for heating mode operation the angle of the vane depands on the indoor heat exchanger temperature as figure 1 below it does not swing during fan motor stop when the air conditioner is stopped using remote control the vane will shift to close position 2 manual vertical airflow direction can be set using remote control the angles of the vane are as stated above and the positions of the vane are as figure 2 below when the air conditioner is stopped using remote control the vane will shift to close position 36
- Horizontal airflow 36
- Quiet operation cooling mode cooling area of dry mode 36
- The horizontal airflow direction louvers can be adjusted manually by hand 36
- Vertical airflow 36
- Powerful mode operation 37
- Quiet operation heating 37
- Auto restart control 38
- Indication panel 38
- Off timer control 38
- On timer control 38
- Timer control 38
- Nanoe g operation 39
- Press continuously for 15s 40
- Remote control normal mode 40
- Transmit check code and after 2 seconds return to normal mode 40
- Transmit eco demo code and after 2 seconds return to normal mode 40
- Transmit sunlight sensor check code and after 2 seconds return to normal mode 40
- Econavi operation 42
- Judge ambient condition 42
- Judge sunlight intensity 42
- Sunlight intensity reset 42
- Sunlight sensor 42
- Temperature shift 42
- Default battery insert set to level 3 other than default display last set data 43
- Judge sunlight intensity 43
- Press and release within 10s 43
- Press timer 43
- Remote control normal mode 43
- Security level 1 less sensitive to sunlight intensity 43
- Security level 3 default sensitivity level 43
- Security level 5 more sensitive to sunlight intensity 43
- Set to level 1 43
- Set to level 2 43
- Set to level 4 43
- Set to level 5 43
- Transmit solar radiation level after 2 secs go back to normal mode 43
- Econavi is activated while it is cloudy night econavi is activated while it is sunny 44
- Judge ambient condition 44
- Press continuously for 15s 44
- Remote control normal mode 44
- Sunlight sensor check mode 44
- Temperature shift 44
- Transmit check code and after 2 seconds return to normal mode 44
- Transmit eco demo code and after 2 seconds return to normal mode 44
- Transmit sunlight sensor check code and after 2 seconds return to normal mode 44
- Sunlight sensor abnormality 45
- 8 10 c heat operation 46
- Ipm power transistor prevention control 47
- Protection control 47
- Protection control for all operations 47
- Restart control time delay safety control 47
- Total running current control 47
- Compressor overheating prevention control 48
- Low frequency protection control 1 48
- Low frequency protection control 2 48
- Low pressure prevention control gas leakage detection 48
- Cooling overload control 49
- Dew prevention control 1 49
- Freeze prevention control 1 49
- Freeze prevention control 2 49
- Outdoor air temperature control 49
- Protection control for cooling soft dry operation 49
- Dew prevention control 2 50
- Intake air temperature control 50
- Odor cut control 50
- Outdoor air temperature control 50
- Overload protection control 50
- Protection control for heating operation 50
- Cold draught prevention control 51
- Compressor oil return control 51
- Deice operation 51
- Auto off on button 52
- Servicing mode 52
- Remote control button 53
- Reset ac 53
- Reset rc 53
- Set button 53
- Refrigeration cycle system 54
- Troubleshooting guide 54
- Relationship between the condition of the air conditioner and pressure and electric current 55
- Breakdown self diagnosis function 56
- Self diagnosis function three digits alphanumeric code 56
- Temporary operation depending on breakdown status 56
- To clear memorized error protective operation status after repair 56
- To display memorized error protective operation status 56
- To make a diagnosis 56
- Error code table 57
- H11 indoor outdoor abnormal communication 59
- Self diagnosis method 59
- H12 indoor outdoor capacity rank mismatched 60
- H14 indoor intake air temperature sensor abnormality 61
- H15 compressor temperature sensor abnormality 62
- H16 outdoor current transformer open circuit 63
- H19 indoor fan motor dc motor mechanism locked 64
- H23 indoor pipe temperature sensor 1 abnormality 65
- H24 indoor pipe temperature sensor 2 abnormality 66
- H25 e ion air purifying system abnormal 67
- 0 h27 outdoor air temperature sensor abnormality 68
- 1 h28 outdoor pipe temperature sensor abnormality 69
- 2 h30 compressor discharge temperature sensor abnormality 70
- 3 h32 outdoor heat exchanger temperature sensor 2 abnormality 71
- 4 h33 unspecified voltage between indoor and outdoor 72
- 5 h34 outdoor heat sink temperature sensor abnormality 73
- 6 h36 outdoor gas pipe sensor abnormality 74
- 7 h37 outdoor liquid pipe temperature sensor abnormality 75
- 8 h97 outdoor fan motor dc motor mechanism locked 76
- 9 h98 indoor high pressure protection 77
- 0 h99 indoor freeze prevention protection cooling or soft dry 78
- 1 f11 4 way valve abnormality 79
- 2 f17 indoor standby units freezing abnormality 80
- 3 f90 power factor correction protection 81
- 4 f91 refrigeration cycle abnormality 82
- 5 f93 compressor rotation failure 83
- 6 f95 cooling high pressure abnormality 84
- 7 f96 ipm overheating 85
- 8 f97 compressor overheating 86
- 9 f98 input over current detection 87
- 0 f99 output over current detection 88
- Disassembly and assembly instructions 89
- Indoor electronic controllers cross flow fan and indoor fan motor removal procedures 89
- Indoor unit 89
- To remove electronic controller 89
- To remove front grille 89
- To remove discharge grille 90
- To remove control board 91
- To remove cross flow fan and indoor fan motor 91
- Outdoor electronic controller removal procedure 94
- Cu ne9nke cu qe9nke 95
- Operation characteristics 95
- Technical data 95
- Cu ne12nke cu qe12nke 99
- Cu ne12nke cu qe12nke 103
- Cu ne9nke cu qe9nke 103
- Sensible capacity chart 103
- Tc total cooling capacity kw shc sensible heat capacity kw ip input power kw indoor 27 c 19 c outdoor 35 c 24 c 103
- Exploded view and replacement parts list 104
- Indoor unit 104
- Note the above exploded view is for the purpose of parts disassembly and replacement the non numbered parts are not kept as standard service parts 104
- Note all parts are supplied from papamy malaysia vendor code 00029488 o marked parts are recommended to be kept in stock 112
- Note the above exploded view is for the purpose of parts disassembly and replacement the non numbered parts are not kept as standard service parts 113
- Outdoor unit 113
Похожие устройства
- Panasonic CS-WE12NKE / CU-QE12NKE Сервис мануал
- Приборэнерго RS485 (Исполнение 24В) Руководство по эксплуатации
- Приборэнерго RS485 (Исполнение 12В) Руководство по эксплуатации
- Sharp LC-70LE741E-RU Инструкция по эксплуатации
- Приборэнерго RS232-RS485 Руководство по эксплуатации
- Приборэнерго USB-RS485 Руководство по эксплуатации
- Приборэнерго PVR1-57,7V-5VA Руководство по эксплуатации
- Приборэнерго PСR1-1A-1VA Руководство по эксплуатации
- Приборэнерго PСR1-1A-2VA Руководство по эксплуатации
- Приборэнерго PСR1-1A-3VA Руководство по эксплуатации
- Приборэнерго PСR1-1A-4VA Руководство по эксплуатации
- Приборэнерго PСR1-1A-5VA Руководство по эксплуатации
- Приборэнерго PСR1-5A-1VA Руководство по эксплуатации
- Приборэнерго PСR1-5A-1,5VA Руководство по эксплуатации
- Приборэнерго PСR1-5A-2VA Руководство по эксплуатации
- Приборэнерго PСR1-5A-2,5VA Руководство по эксплуатации
- Приборэнерго PСR1-5A-3VA Руководство по эксплуатации
- Приборэнерго PСR1-5A-4VA Руководство по эксплуатации
- Приборэнерго PСR1-5A-5VA Руководство по эксплуатации
- Приборэнерго PVR1-57,7V-10VA Руководство по эксплуатации