![AMERICAN DJ Dotz TPAR System [5/14] Sound mod](/img/pdf.png)
AMERICAN DJ Dotz TPAR System [5/14] Sound mod
Превью страниц
Страница 5 /
14
![AMERICAN DJ Dotz TPAR System [5/14] Sound mod](/views2/2014468/page5/bg5.png)
Dotz TPar System System Menu
Auto Run -
1. Press the MENU button until “Auto Run” is displayed, and
“FQN:XX” will be displayed underneath. “XX” representing the
the number displayed.
2. Press ENTER and the number will begin to ash, use the UP
and DOWN buttons to adjust the amount of times you would like
the program to cycle before changing to the next program. Press
ENTER to conrm.
Built-In Programs - See the chart on page 7 to nd
your desired program. Built-In Programs will not be dis-
played, one of the programs listed on page 7 will.
1. Press the MENU button until one of the Programs on page
7 is displayed. The displayed program depends on the last pro-
gram you had set the unit to.
2. Press ENTER to move through the various adjustments of each
program, and use the UP and DOWN button to make adjust-
ments.
Dim Curve - This setting will let you select your desired
dimming curve.
1. Press the MENU button until “Dim Curve” is displayed, press
ENTER.
2. 1 of 5 dimming curve settings will be displayed: Standard,
Stage, TV, Architectural, or Theatre. Use the UP and DOWM but-
tons to select your desired dimming curve and press ENTER to
conrm.
ADJ Products, LLC - www.adj.com - Dotz TPar System User Manual Page 9
Dotz TPar System System Menu
The LCD backlight will shut o after 30 seconds, to relight
the background, press the MODE button for 5 seconds.
DMX Mode - Set the DMX Address and DMX Channel
Mode -
1. Press the MENU button until “DMX Mode” and underneath
“ADDR: XXX” and “CH:XX” is displayed, press ENTER.
2. “XXX” will now begin to ash, use the UP and DOWN buttons
to nd your desired DMX address, then press ENTER.
3. “XX” will now begin to ash, use the UP and DOWN buttons to
nd your desired DMX Channel mode, then press ENTER.
Slave Mode - This will let you set your unit as a slave in
a master/slave conguration.
1. Press the MENU button until “Slave Mode” is displayed. Your
unit will now follow the Master.
Sound Mode - In this mode the unit will run in sound
active mode.
1. Press the MENU button until “Sound Mode” is displayed.
2. Press ENTER to adjust your sound sensitivity. When you press
ENTER the number next to “Sens” will begin to ash, use the
UP and DOWN buttons to adjust the sound sensitivity. Once you
found your desired sensitivity press ENTER to conrm.
3. When you press ENTER the number next to “FQN” will begin
to ash, use the UP and DOWN buttons to adjust the amount of
times you would like the program to cycle before changing to the
next program. Press ENTER to conrm.
ADJ Products, LLC - www.adj.com - Dotz TPar System User Manual Page 8
Содержание
49- User instructions
- Dotz tpar system
- Warning
- Unpacking
- Introduction
- Customer support
- Caution
- Data cable dmx cable requirements for dmx operation
- Power supply
- Dmx 512
- When longer runs of cable are used you may need to use a terminator on the last unit to avoid erratic behavior a terminator is a 90 120 ohm 1 4 watt resistor which is con nected between pins 2 and 3 of a male xlr connector data and data this unit is inserted in the female xlr connector of the last unit in your daisy chain to terminate the line using a cable terminator adj part number z dmx t will decrease the possibilities of erratic behavior
- Special note line termination
- Some manufactures use 5 pin xlr connectors for data transmission in place of 3 pin 5 pin xlr fixtures may be implemented in a 3 pin xlr dmx line when inserting standard 5 pin xlr connectors in to a 3 pin line a cable adaptor must be used these adaptors are readily available at most electric stores the chart below details a proper cable conversion
- Pin xlr dmx connectors
- Notice
- Dotz tpar system system menu
- Dotz tpar system set up
- Built in programs
- Be sure to follow figures two and three when making your own cables do not use the ground lug on the xlr connector do not con nect the cable s shield conductor to the ground lug or allow the shield conductor to come in contact with the xlr s outer casing grounding the shield could cause a short circuit and erratic behavior
- Slave mod
- Dmx mod
- Dim curv
- Built in program
- Auto ru
- Sound mod
- This menu will let you activate the rf remote control
- Rf activ
- Press the menu button until rf active is displayed press enter
- Press the menu button until pixel flip is displayed press enter 2 either off or on will be displayed off the unit will illumi nate left to right and on the unit will illuminate right to left use the up and down buttons to find your desired mode and press enter
- Pixel fli
- In this mode you adjust the unit so that the leds in dmx mode will illuminate at your desired starting point the unit can start at either the left or the right
- Either on or off will be displayed use the up or down buttons to activate on or deactivate off the remote press enter to confirm
- If extra lights are attached to the top of the bar channels 17 18 will control the lights
- Dotz tpar system power cord daisy chaining
- Dotz tpar system photometrics
- Dotz tpar system 18 channel mode
- Dimmer curves 128 170 architectural 171 213 theater 214 255 default to unit curve setting 17 light 1 if appicable 0 127 light 1 off 128 255 light 1 on 18 light 2 if appicable 0 127 light 2 off 128 255 light 2 on
- Channel value function
- Beam opening m
- 1 2 3 4 5
- With this feature you can connect the fixtures to one another using the iec input and output sockets the quantity that can be connected is 7 fixtures maximum for 120v and 14 fixtures maxi mum for 230v after the maximum fixtures has been reached you will need to use a new power outlet they must be the same fix tures do not mix fixtures
- When channel 13 is being used between the values of 240 255 channel 14 will control sound sensitivity
- When channel 13 is being used between the values of 16 135 channel 14 will control the dimming
- When channel 13 is being used between the values of 136 239 channel 14 will control the speed of the programs
- Intensity lux
- Dotz tpar system warranty
- Dotz tpar system notes
- Adj products llc www adj com dotz tpar system user manual page 24 adj products llc www adj com dotz tpar system user manual page 25
- Auto sensing voltage
Похожие устройства
-
 AMERICAN DJ Stinger StarРуководство по эксплуатации
 -
 AMERICAN DJ Stinger GoboРуководство по эксплуатации
 -
 AMERICAN DJ ZipperРуководство по эксплуатации
 -
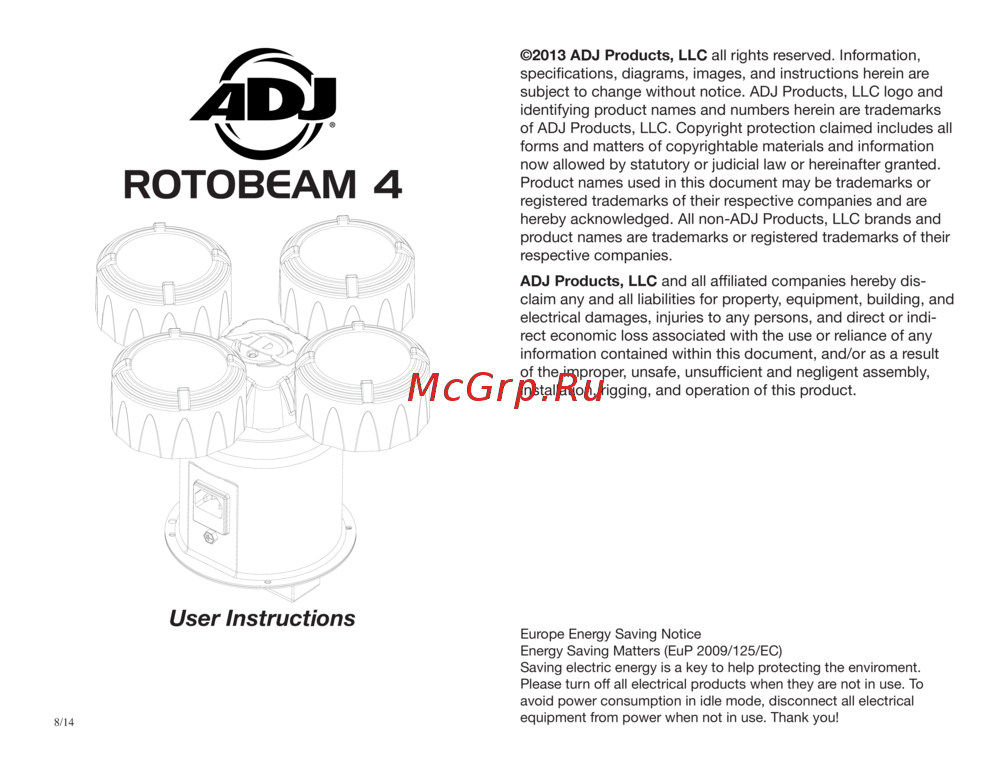 AMERICAN DJ Rotobeam 4Руководство по эксплуатации
 -
 AMERICAN DJ BOOM BOX FX3Руководство по эксплуатации
 -
 Involight DD6Руководство по использованию
 -
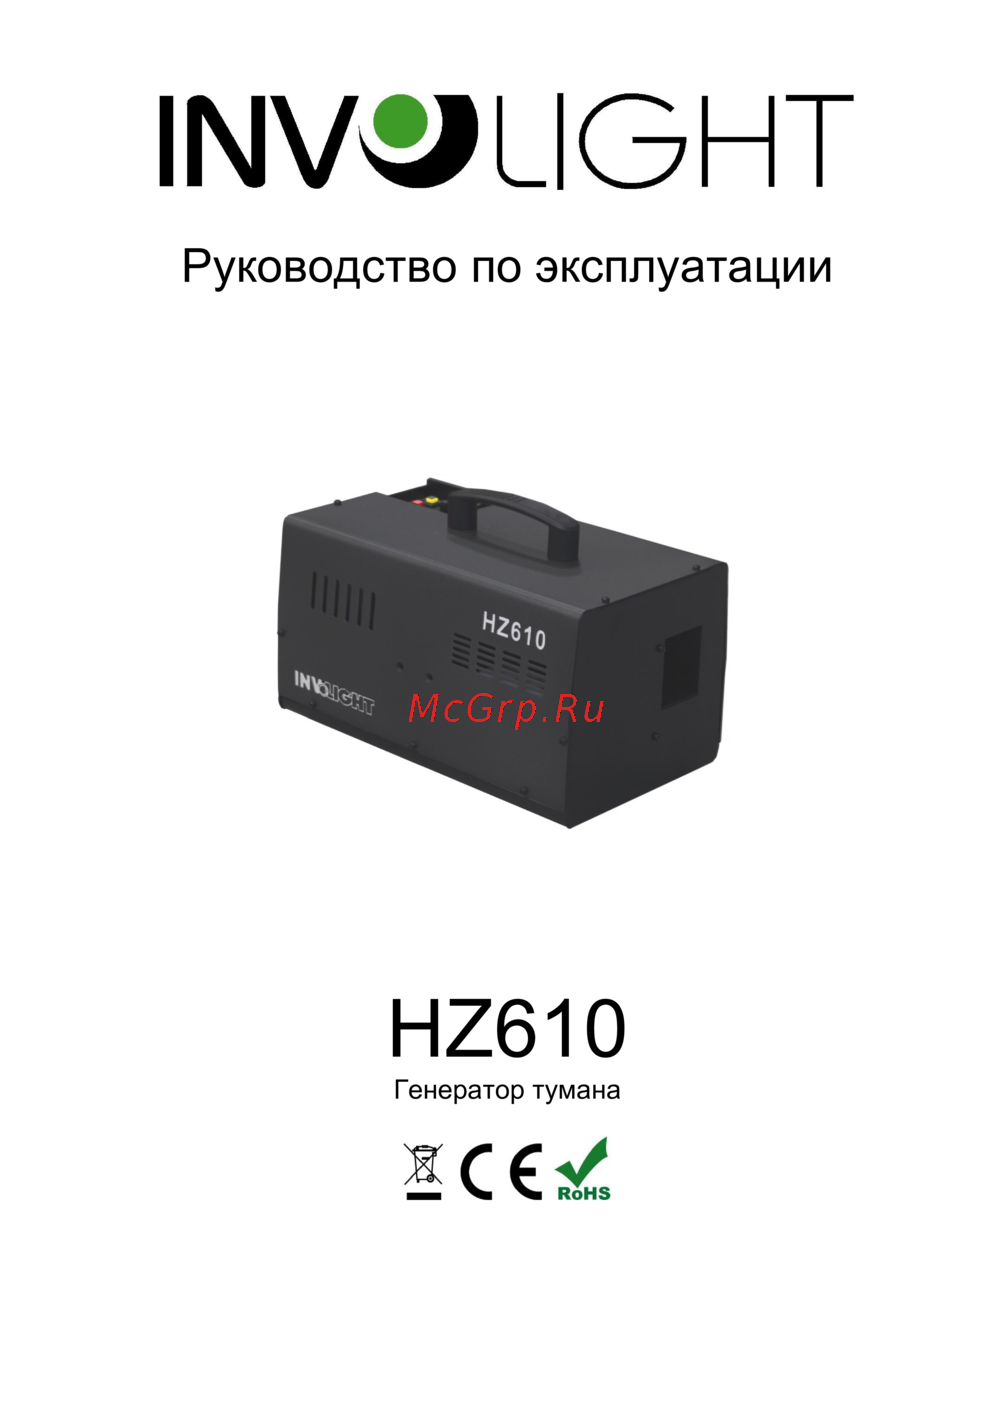 Involight HZ610Руководство по использованию
 -
 Involight FM900DMXИнструкция пользователя
 -
 ILDA Pangolin Quick-ShowРуководства пользователя
 -
 ADJ Hydro Beam X1Руководство по эксплуатации
 -
 Involight LDF100Руководство по эксплуатации
 -
 AMERICAN DJ Focus Spot ONEРуководство по эксплуатации