Vitek VT-1661 Инструкция по эксплуатации онлайн
Превью страниц
Страница 1 /
10
Содержание
61- Модель vt 1661
- Русский
- English
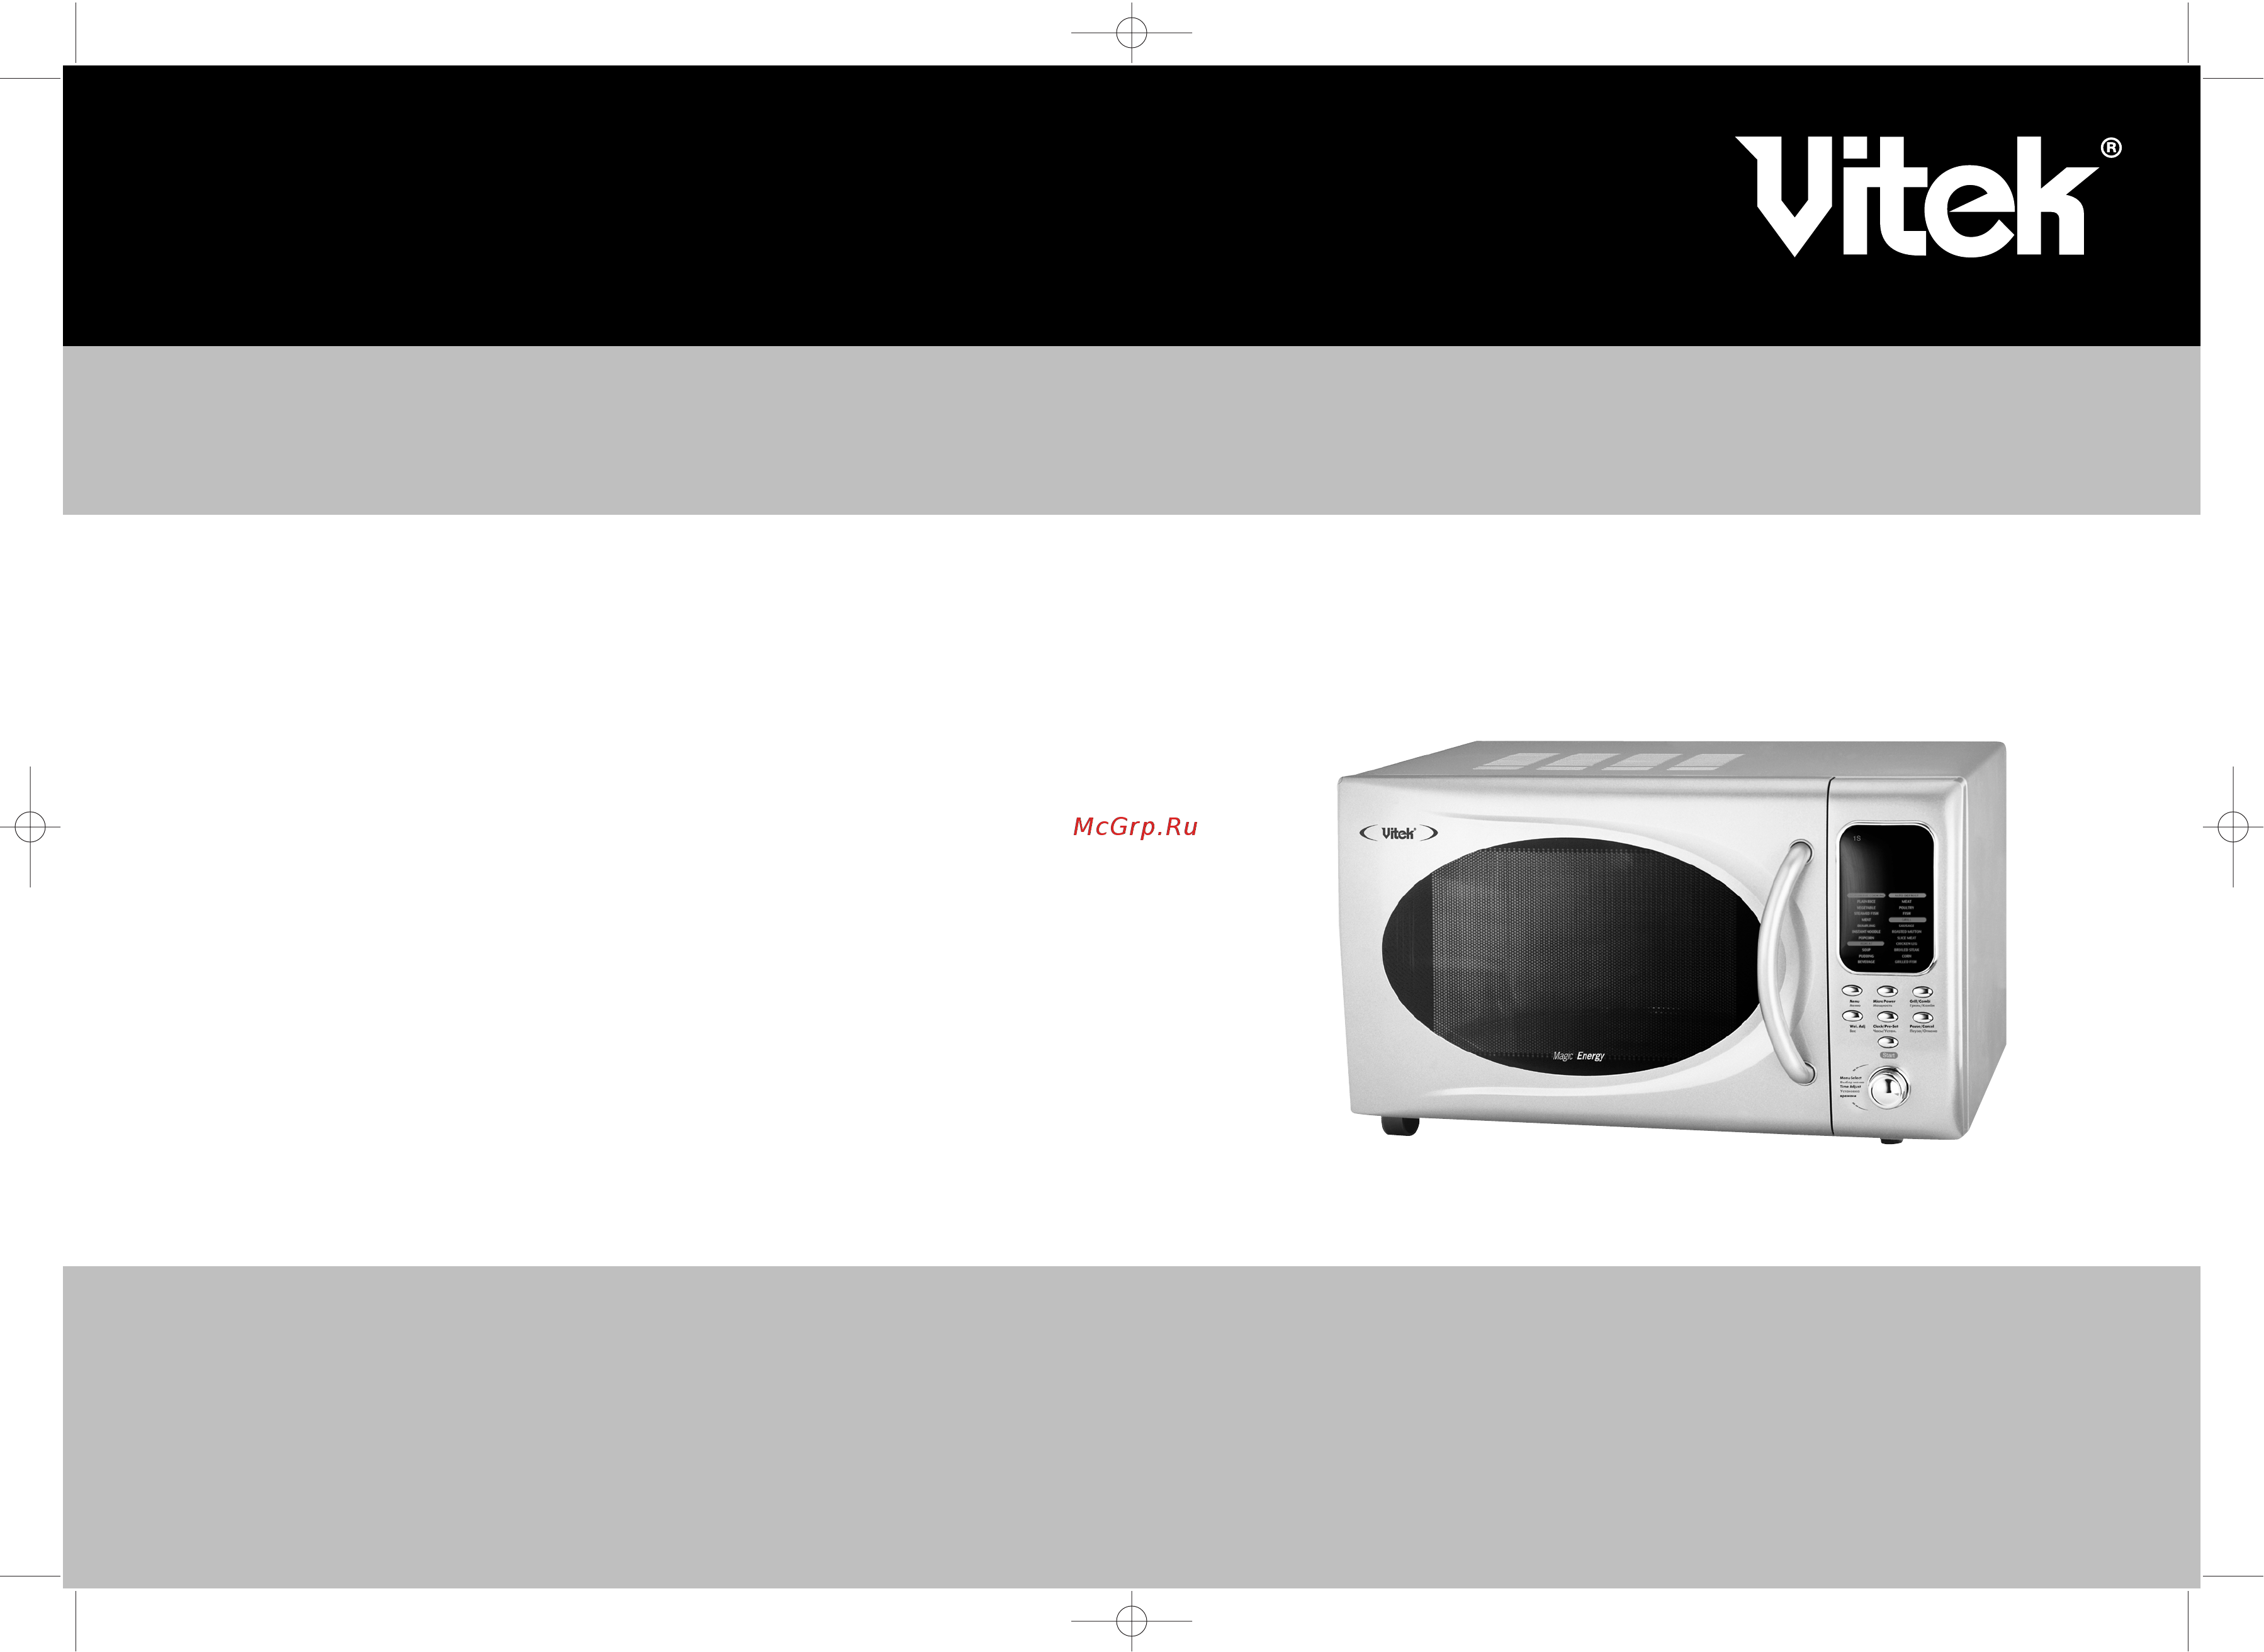
- Door safety lock system 2 oven window 3 oven air vent 4 shaft 5 roller ring
- Glass tray 7 control panel 8 grill heater 9 metal rack
- Precautions to avoid possible exposure to excessive microwave energy 1 do not attempt to operate this oven with the door open since open door operation can result in harmful exposure to microwave energy it is important not to defeat or tamper with the safety interlocks 2 do not place any object between the oven front face and the door or allow soil or clean er residue to accumulate on sealing surfaces 3 do not operate the oven if it is damaged it is particularly important that the oven door close properly and that there is no damage to the a door bent b hinges and latches broken or loosened c door seals and sealing surfaces 4 the oven should not be adjusted or repaired by anyone except properly qualified serv ice personnel
- Part name
- Clock pre set touch this button to start setting the oven clock and ending by touching it again delay start control enables you to place food in the oven and program the oven to cook it later
- Русский
- Control panel
- Menu press this button to start setting an auto cook program
- English
- Проблема возможная причина устранение
- Печь не нагревается плохо закрыта дверь плотно закройте дверь
- Start touch to start a cooking program
- Pause cancel press to cancel setting or reset the oven before setting a cooking program press once to temporarily stop cooking or twice to cancel cooking altogether it is also used for setting child lock
- Micro power touch this button a number of times to set microwave cooking power level
- Menu select time adjust turn the dial to set the oven clock time or input cooking time turn the dial to select an auto cooking menu including auto defrost rotate the dial to indicate cooking time and start up the oven quickly at full power
- Menu action screen cooking time power action indicators and clock time are displayed
- Grill combi touch this button up to 3 times to set a grill cook ing program or cook with combined microwave and grill power
- Стеклянный столик грязные роликовое кольцо и дно вымойте эти создает шум печи аксессуары
- Печь не прибор не включен в сеть включите еще раз включается перегорел предохранитель замените предохранитель перебои в сети обратитесь к электрику
- Wei adj press this button and then use the menu select time adjust dial to indicate weight of food
- Русский
- Menu action screen
- Installation 1 make sure that all the packing materials are removed from the inside of the door 2 check the oven for any damage such as misaligned or bent door damaged door seals and sealing surface broken or loose door hinges and latches and dents inside the cavity or on the door if there is any damage do not operate the oven and contact qualified serv ice personnel 3 this microwave oven must be placed on a flat stable surface to hold its weight and the heaviest food likely to be cooked in the oven 4 do not place the oven where heat moisture or high humidity are generated or near combustible materials 5 for correct operation the oven must have sufficient airflow allow 20cm of space above the oven 10cm at back and 5cm at both sides do not cover or block any openings on the appliance do not remove feet 6 do not operate the oven without glass tray roller support and shaft in their proper positions 7 make sure that the power supply cord is undamaged and does not run under the oven or over
- English
- Before you call for service 1 check to ensure that the oven is plugged in securely if it is not remove the plug from the outlet wait 10 seconds and plug it in again securely 2 check for a blown circuit fuse or a tripped main circuit breaker if these seem to be operating properly test the outlet with another appliance 3 check to ensure that the control panel is programmed correctly and the timer is set 4 check to ensure that the door is securely closed engaging the door safety lock system otherwise the microwave energy will not flow into the oven if none of the above rectify the situation then contact a qualified tech nician do not try to adjust or repair the oven yourself
- English русский
- Radio interference operation of the microwave oven can cause interference to your radio tv or similar equipment when there is interference it may be reduced or eliminated by taking the fol lowing measures 1 clean door and sealing surface of the oven 2 reorient the receiving antenna of radio or television 3 relocate the microwave oven with respect to the receiver 4 move the microwave oven away from the receiver 5 plug the microwave oven into a different outlet so that microwave oven and receiver are on different branch circuits
- Important safety instructions when using electrical appliance basic safety precautions should be followed impound ing the following warning to reduce the risk of burns electric shock fire injury to persons or exposure to excessive microwave energy 1 read all instructions before using the appliance 2 use this appliance only for its intended use as described in this manual do not use corrosive chemicals or vapors in this appliance this type of oven is specifically designed to heat cook or dry food it is not designed for industrial or laboratory use 3 do not operate the oven when empty 4 do not operate this appliance if it has a damaged cord or plug if it is not working prop erly or if it has been damaged or dropped 5 as with any appliance close supervision is necessary when used by children 6 to reduce the risk of fire in the oven cavity a when heating food in plastic or paper container check the oven frequently to the pos sibility of ignition b remove wire twist ties from paper or plast
- Grounding instruction this appliance must be grounded this oven is equipped with a cord having a grounding wire with a grounding plug it must be plugged into a wall receptacle that is properly installed and grounded in the event of an electrical short circuit grounding reduces risk of electric shock by providing an escape wire for the electric current it is recommended that a separate circuit serving only the oven be provided using a high voltage is danger ous and may result in a fire or other accident causing oven damage warning improper use of the grounding plug can result in a risk of electric shock note 1 if you have any questions about the grounding or electrical instructions consult a qualified electrician or service person 2 neither the manufacturer nor the dealer can accept any liability for damage to the oven or personal injury resulting from failure to observe the electrical connection procedures the wires in this cable main are colored in accordance with the following code g
- Русский
- English
- Times setting
- Setting clock time with the oven plugged in the oven screen will show the default time setting 12 00 you need to set the oven clock time in order for example to be able to use the pre set cook ing function later you can do so by the following steps 1 press the clock preset button once 2 press the pause cancel button once to indicate that you are setting clock time not programming a pre set cooking session yet 3 rotate the menu select time adjust dial to indicate the hour digits 4 press the clock pre set once again 5 rotate the menu select time adjust dial to set the minute digits 6 press the clock rre set finally to confirm the setting
- Русский
- Times medium low
- Times medium
- Times low
- Press power
- Oven timer
- Once high
- Microwave cooking to cook with microwave power press the micro power button a number of times to set a cooking power level then rotate the time adjust dial to set cooking time the oven will work immediately after you have pressed the start button select power level by pressing the micro power button for example suppose you want to cook for 1 minute at 80 of microwave power 1 press micro power button 2 times 2 turn time menu to 1 00 3 press start button
- How to set the oven controls each time a button is touched a beep will sound to acknowledge the touch
- Grill to broil slices of meat steaks chops kebabs pieces of chicken sausages or hot sand wiches etc you start by pressing the grill comb button once and then rotate the
- English
- Description
- Button
- And cavity the list below is a general guide to help you select the correct utensils
- Twice medium
- Русский
- English
- Русский
- Setting timer the minute timer will enable you to set a countdown time the oven light turntable and cooling fan are in operation but there is no microwave radiation you may use this feature in case you want to time cooking operation for example suppose you want to set timer for 3 minutes 1 press pause cancel button 2 press micro power button 6 times
- Rotate the menu select time adjust dial to select fish under auto defrost cat egory 3 touch wei adj button and rotate the menu select time adjust dial to indicate weight 600g 4 touch start button
- Pre set cooking you can put food in the oven and program the oven to start up in a later time within the oven s clock cycle 12 hours suppose you want to set the oven to start up at 11 30 o clock with 50 microwave power for 30 minutes 1 place food in the oven 2 touch clock pre set button 3 rotate the time adjust dial to the designated hour digit s 4 touch clock pre set button 5 rotate the mneu time dial to the designated minutes digit s 6 set a cooking program by inputting cooking power press the power button 3 times and time rotate the menu select time adjust dial until 11 30 is displayed 7 touch start button
- Multi stage cooking the oven can be programmed to do several consecutive functions the following steps are needed if we are going to set a cooking program involving auto defrost microwave and grill cooking 1 input auto defrost program with display screen showing 1s light 2 input microwave cooking program with display screen showing 2s light 3 input grill cooking program with display screen showing 3s light 4 touch start button note logically any defrosting program must precede a cooking function in a multistage cook ing program the respective lights will come on to indicate which stage the oven is oper ating in after total time has elapsed 3 beep sound
- Express cooking you can start the oven to work immediately at full power by rotating the menu select time adjust dial to indicate a desired cooking time and then press the start button for example to set the oven to cook for 2 minutes using this feature 1 rotate the menu select time adjust dial till the display shows 2 00 2 press the start button
- English
- English русский
Похожие устройства
-
 Vitek VT-1697 BKЭксплуатационная инструкция
 -
 Vitek VT-1661 WИнструкция по применению
 -
 Vitek VT-2453 WРуководство по эксплуатации
 -
 Vitek VT-2453WИнструкция по эксплуатации
 -
 Vitek VT-2451 BKИнструкция по эксплуатации
 -
 Vitek VT-2452 WИнструкция по эксплуатации
 -
 Vitek VT-2453 WИнструкция по эксплуатации
 -
 Vitek VT-1661 WИнструкция по эксплуатации
 -
 Vitek VT-1697 BKИнструкция по эксплуатации
 -
 Vitek VT-1695 BKИнструкция по эксплуатации
 -
 Vitek VT-1692Инструкция по эксплуатации
 -
 Vitek VT-1691Инструкция по эксплуатации
