
Vitek VT-3211 Инструкция по эксплуатации онлайн
MANUAL INSTRUCTION
ИНСТРУКЦИЯ ПО ЭКСПЛУАТАЦИИ
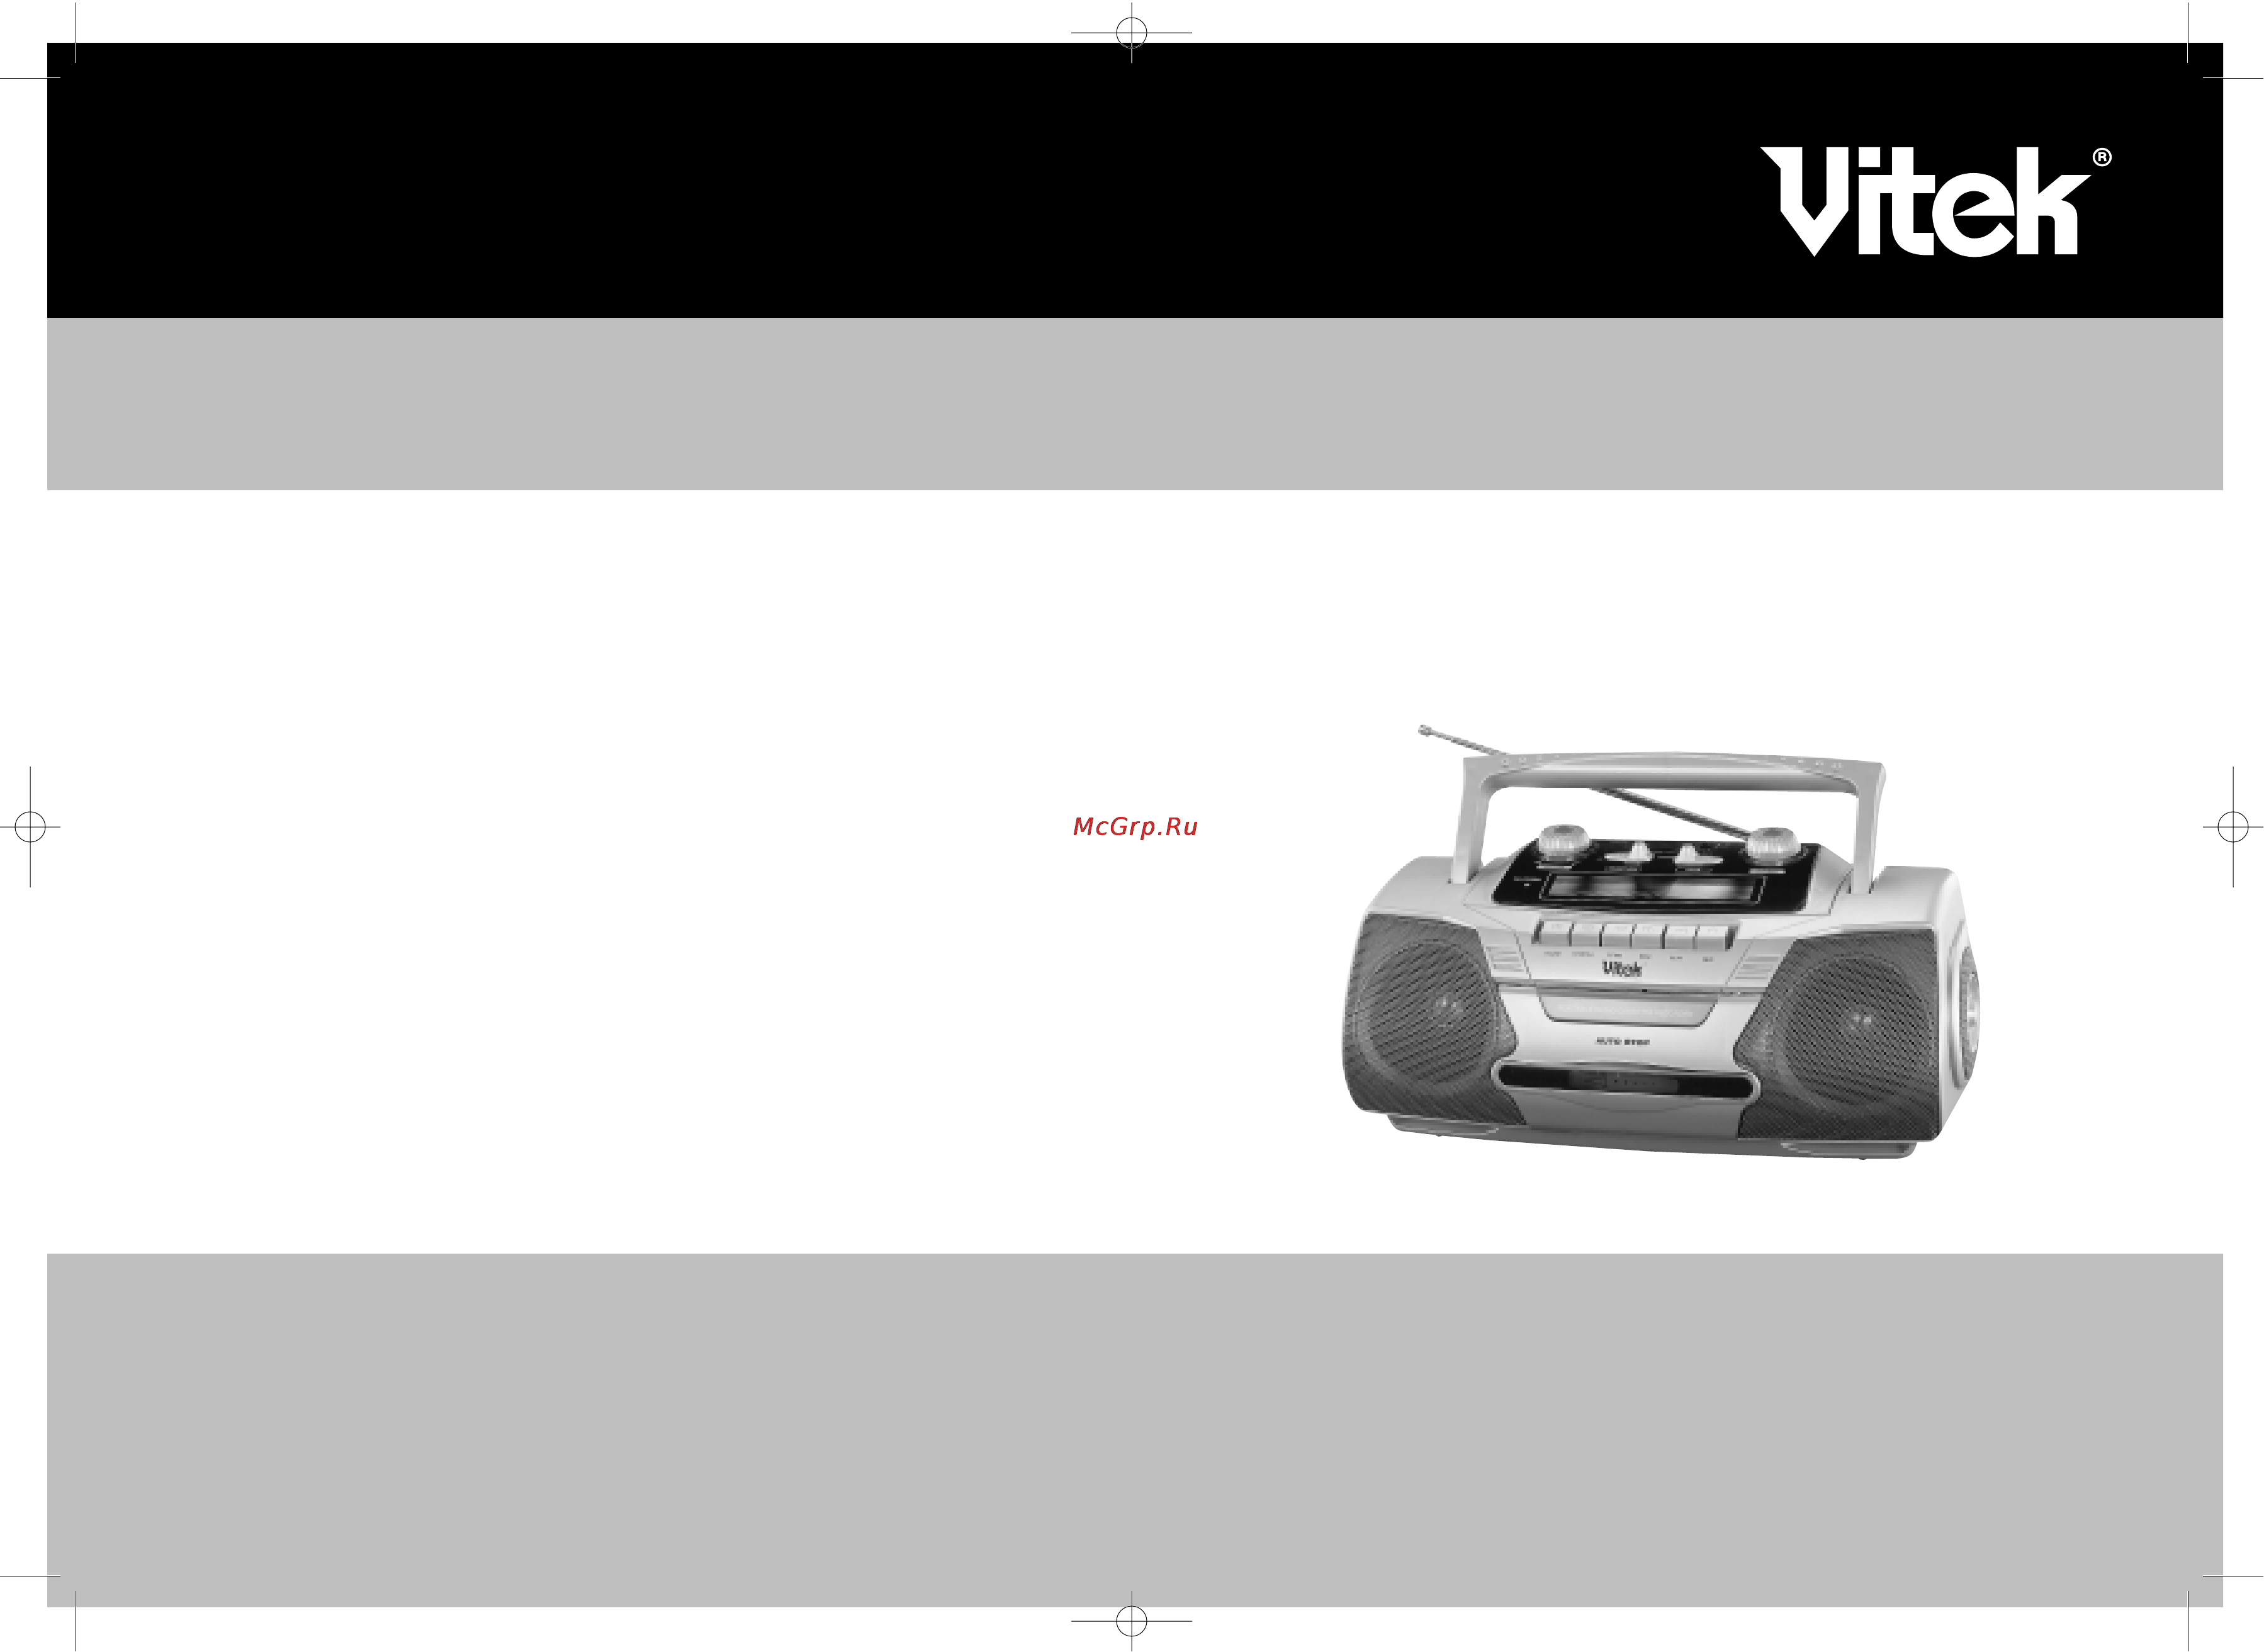
PORTABLE STEREO RADIO CASSETTE RECORDER
ОДНОКАССЕТНАЯ МАГНИТОЛА
МОДЕЛЬ VT%3211
3211.qxd 08.07.03 18:05 Page 2
Содержание
- Модель vt 3211 1
- English 2
- Гарантийный талон 2
- Купон 1 2
- Купон 2 2
- Купон 3 2
- English 3
- Portable stereo radio cassette recorder 3
- Ac operation insert one end of the ac power cord into ac socket of the set and the other end into an ac wall outlet the batteries will be automatically disconnected 4
- Cassette operation 4
- Control operation and function 4
- Dc operation open the battery door install 4 pcs um 1 size batteries please make sure they are insert ed with correct polarity and close the door your unit is now ready for operation 4
- English 4
- Fm stereo indicator when the fm stereo station is received this led indicator will illuminate 4
- Insertion and removal of cassette tape a for insertion of cassette tape depress the stop eject button to open the cassette door insert a good quality music recorded cassette tape open part of cassette facing upwards and firmly close the cassette door b for removal of cassette tape turn off the tape operation by pressing firmly stop eject button and press once again to open the cassette door then slide out the cassette tape 4
- Mic recording a install a cassette tape b place function switch to tape position c depress record button and play button simultaneously recording then starts 4
- Playback a set function switch to tape position b insert recorded tape of your favorite music c press play button firmly down until locked and enjoy your favorite music d adjust volume control to desired level e press fast fordward button firmly in case you want to forward tape f press rewind button firmly in case you want to rewind tape g when tape comes to an end in play mode tape playback will be automatically switched off 4
- Power supply this unit is designed to operate on ac mains supply or 6v dc by using 4 pieces um 1 size or equivalent batteries batteries not included 4
- Qxd 08 7 3 18 05 page 8 4
- Radio operation a set function switch to radio position and set band switch to your desired radio band position b tune in to your desired radio station with the tuning knob c adjust volume control to desired output level d extend telescopic antenna to full extent if you are listening to fm or am broadcasting e turn off the radio by switching function switch to tape position 4
- Корпус протирайте корпус магнитолы слегка влажной тканью не используйте для чистки растворители бензин абразивные средства не допускайте попадания жидкости вовнутрь прибора 4
- Русский 4
- Спецификация питание ac 220 в 50гц dc 9 в um 1 d x 6 частотные диапазоны fm1 64 88 мгц fm2 88 108 mhz ам 540 1600 кгц сопротивление динамиков 4 ом сопротивление наушников 32 ом выходная мощность 2 5 вт x 2 rms 300 вт p m p o частота воспроизведения 125 5 кгц 4
- Срок службы магнитолы не менее 3 х лет 4
- Чистка головок для обеспечения нормальной работы магнитофона регулярно чистите лентопротяжный механизм прижимной резиновый ролик магнитные головки направляющие валики и стойки чистку следует производить тампоном смоченным в спирте или специальной жидкости не используйте для чистки ворсистые ткани любые абразивные материалы и растворители загрязнение механизма зависит от качества магнитной ленты поэтому используйте только кассеты известных производителей 4
- Caution to avoid electric shock this unit must not be exposed to dripping water or water splash ventilation not being impeded 5
- English русский 5
- Headphone jack for private listening insert a 3 mm headphone not included into the headphone jack the speaker output is automatically cut off caution listening at high power for along moment could damage users ears erasure when you record over previously recorded tape the original recording is automat ically erased and replaced by this newly recording material 5
- Precautions and maintenance a avoid placing this unit near sources of high temperature such as fireplace or sunlight for long time as this may result in damages to plastic housing or electrical parts inside the unit b if you are not using the unit for an extended period of time please remove batteries as bat teries may leak and cause damages c be sure to press stop button before inserting or removing cassette tape d as playback head might get oxidized after certain time of use this can be cleaned with cot ton swab or q tip dipped in alcohol e there are no serviceable parts inside the unit therefore do not open back cover of unit in case of any defect or repair of unit please refer to qualified service center 5
- Radio recording a install a cassette tape b place function switch to radio position after selecting the desired band and tune the tuning knob to desired broadcast station then push down record button and play button simultaneously c after recording the desired broadcast depress the stop eject button lightly and then place function switch to tape position in order to listen to the recorded broadcast d if you desire to play recorded broadcast please follow the instructions explained in play back column 5
- Service life of the stereo radio cassette recorder not less than 3 years 5
- Specifications power supply ac 220v 50hz dc 6v um 1 d x 4 radio frequence coverage fm1 64 88 mhz fm1 88 108 mhz am 540 1600 khz terminal impedans speaker 4 ohms headphone 32 ohms frequency response 125 5 khz output power 2 wx2 rms 300 w p m p o 5
- Through the built in condenser microphone d to end recording press the stop eject button or it will automatically stop when the cassette runs to the very end 5
- Кнопка пауза 2 кнопка стоп выброс кассеты 3 кнопка ускоренной перемотки вперед 4 кнопка ускоренной перемотки назад 5 кнопка воспроизведение 6 кнопка запись 7 регулятор настройки радио 8 антенна 9 гнездо для подключения наушников 10 регулятор громкости 6
- Русский 6
- Функциональный переключатель 12 переключатель частот радио 13 отсек для батареек 14 гнездо для подключения сетевого шнура 15 отсек для кассеты 16 индикатор напряжения 17 встроенный микрофон 18 дисплей 19 динамики 20 ручка магнитолы 21 индикатор fm стерео 6
Похожие устройства
- Зубр ЗПТ-255-1600-Л Инструкция по эксплуатации
- Karcher WPC 600 FW-A Инструкция по эксплуатации
- Bosch TCA 6809 Инструкция по эксплуатации
- Shturmann Mini 500 Инструкция по эксплуатации
- Энкор Корвет Эксперт 10-254 27210 Инструкция по эксплуатации
- Karcher WPC 600 FW-AM Инструкция по эксплуатации
- Vitek VT-3210 Инструкция по эксплуатации
- Line6 BOGNER SPIDER VALVE 112 Инструкция по эксплуатации
- Sony MDRZX300W Инструкция по эксплуатации
- JBL GTO-6528S Инструкция по эксплуатации
- Line6 BOGNER SPIDER VALVE 212 Инструкция по эксплуатации
- Karcher WPC 600 BW Инструкция по эксплуатации
- Jet SBR-30N 754031 Инструкция по эксплуатации
- Vitek VT-3209 Инструкция по эксплуатации
- Vitek VT-3207 Инструкция по эксплуатации
- Line6 SPIDER IV 120 Инструкция по эксплуатации
- Karcher WTC 600 MP-A-D Инструкция по эксплуатации
- Jet GHB-1330 50000700T Инструкция по эксплуатации
- Sony MDREX10LPB Инструкция по эксплуатации
- Bosch Антенна Инструкция по эксплуатации
Скачать
Случайные обсуждения