
AMERICAN DJ Crazy Pocket 8 Руководство по эксплуатации онлайн
1/16
User Instructions
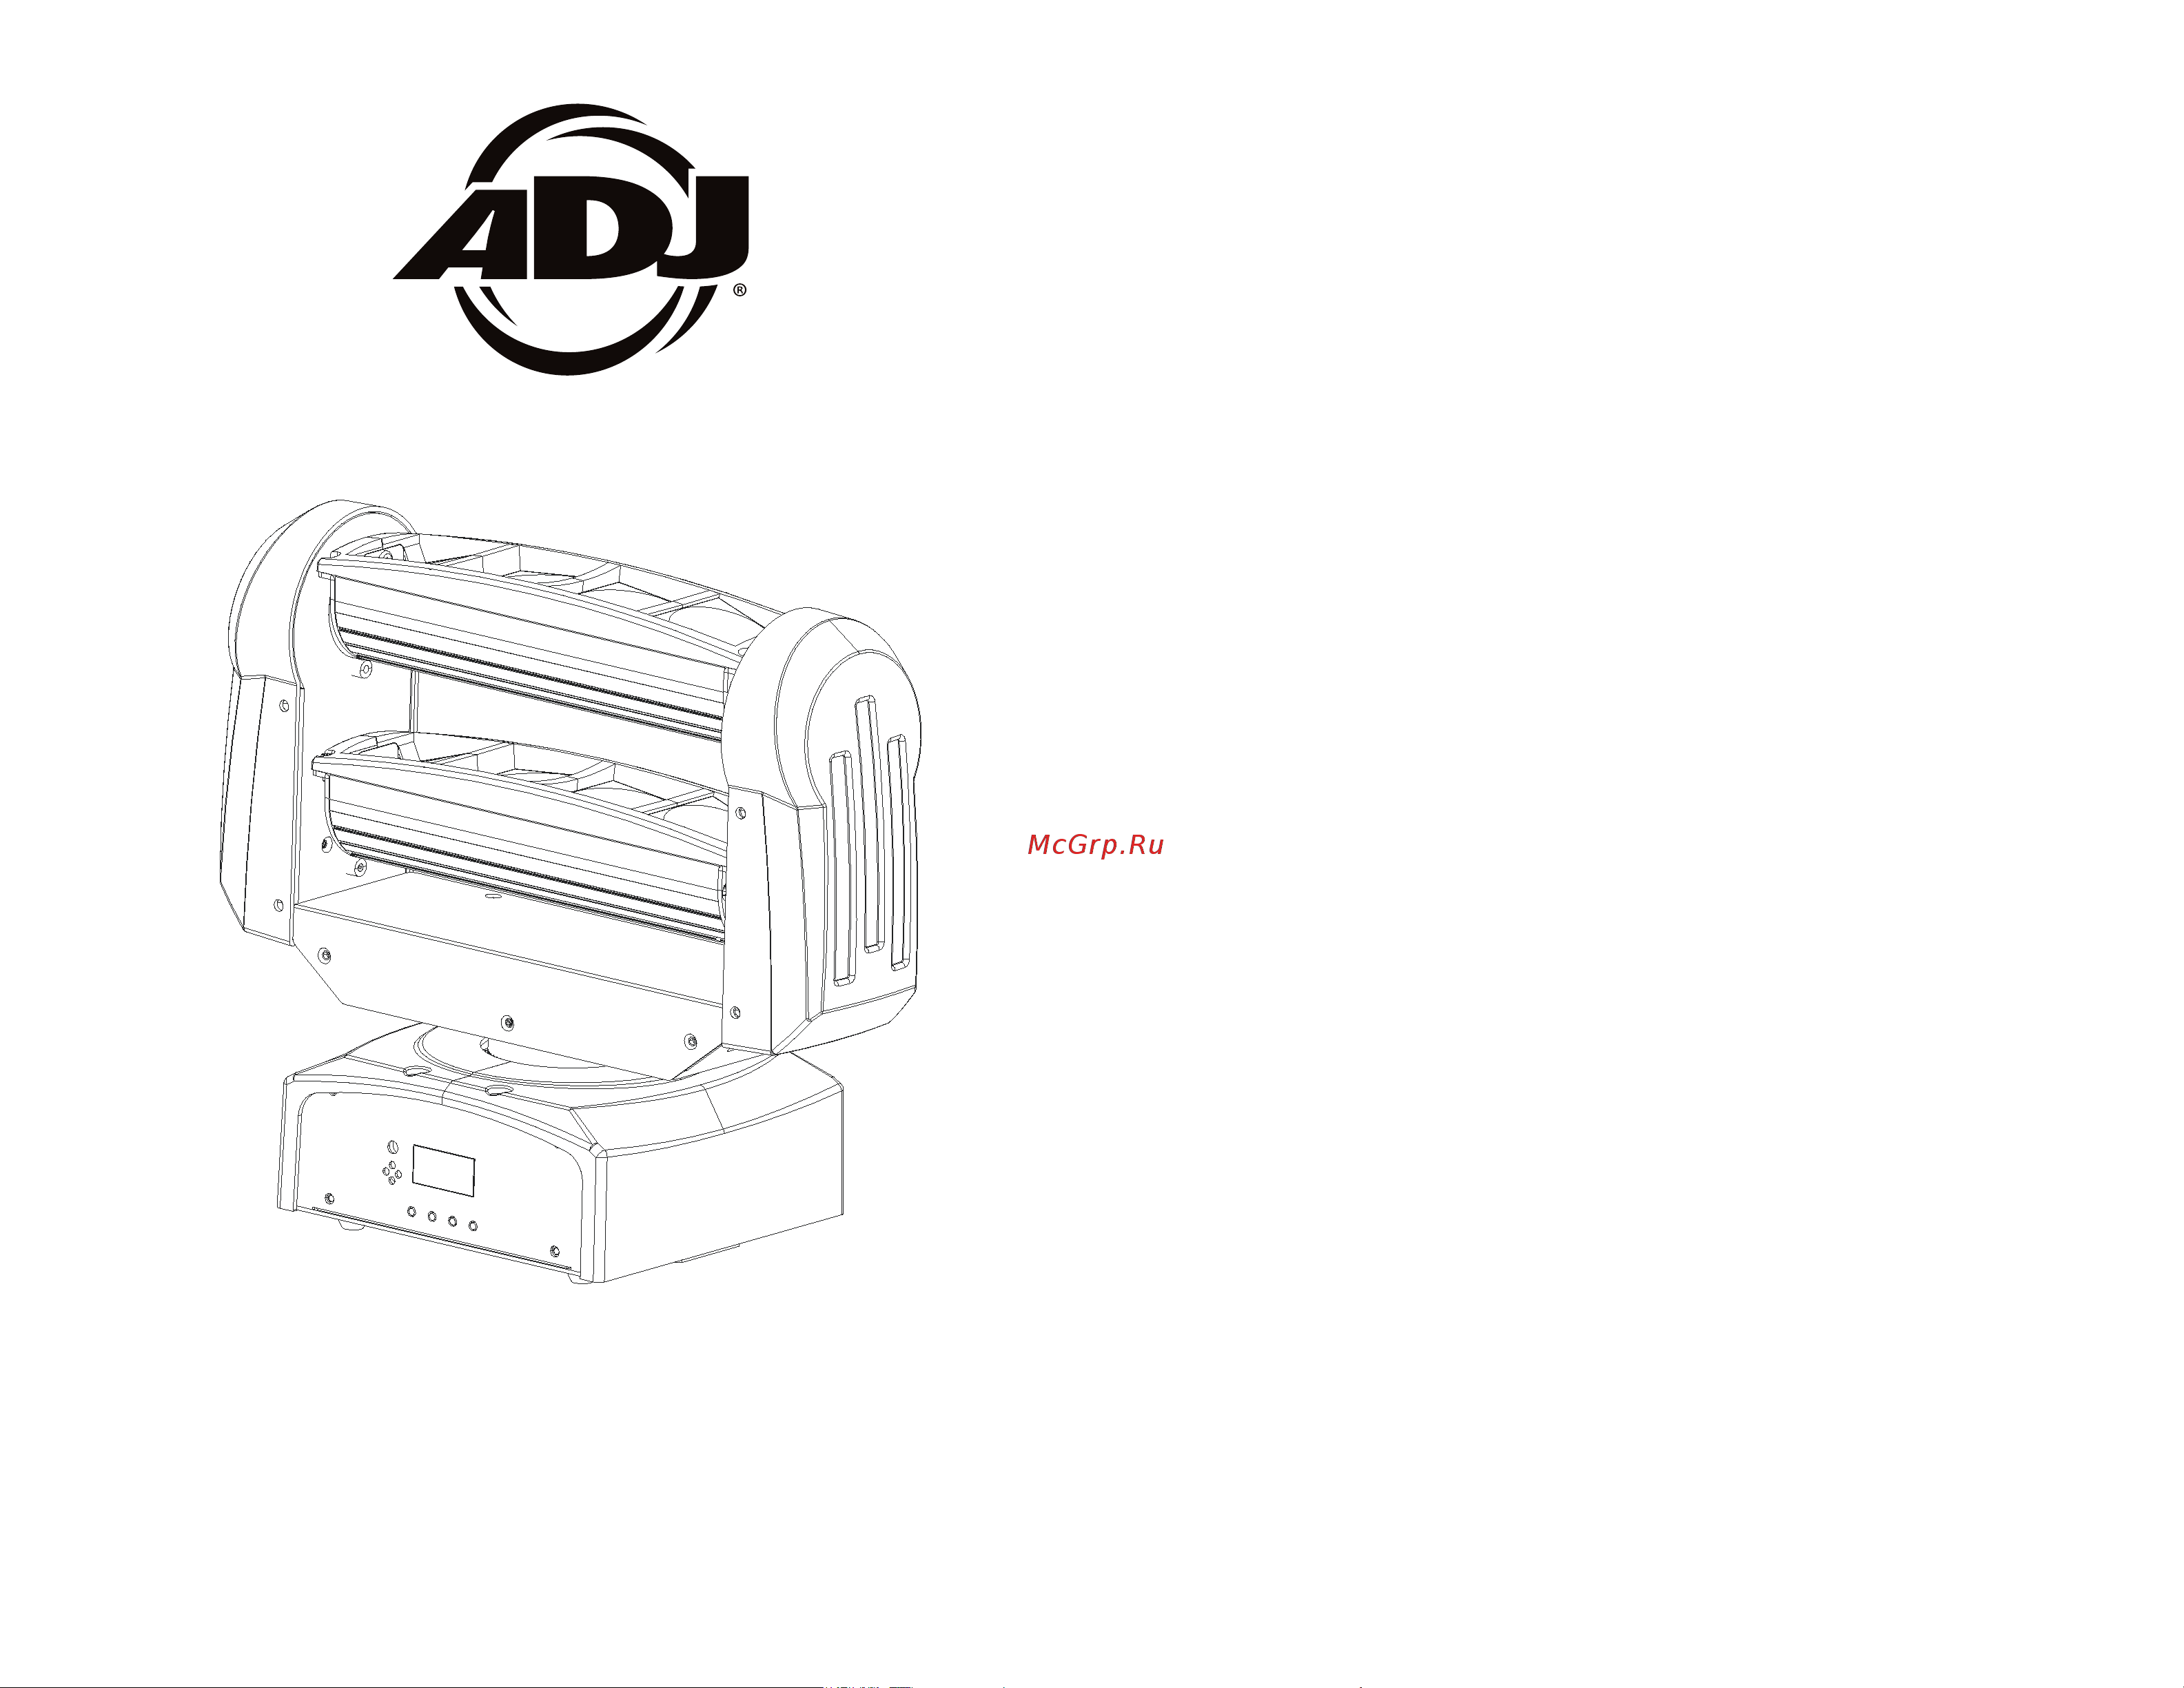
Crazy PoCket 8
©2016 ADJ Products, LLC all rights reserved. Information,
specications, diagrams, images, and instructions herein are
subject to change without notice. ADJ Products, LLC logo and
identifying product names and numbers herein are trademarks
of ADJ Products, LLC. Copyright protection claimed includes all
forms and matters of copyrightable materials and information
now allowed by statutory or judicial law or hereinafter granted.
Product names used in this document may be trademarks or
registered trademarks of their respective companies and are
hereby acknowledged. All non-ADJ Products, LLC brands and
product names are trademarks or registered trademarks of their
respective companies.
ADJ Products, LLC and all aliated companies hereby dis-
claim any and all liabilities for property, equipment, building,
and electrical damages, injuries to any persons, and direct or
indirect economic loss associated with the use or reliance of
any information contained within this document, and/or as a
result of the improper, unsafe, unsucient and negligent as-
sembly, installation, rigging, and operation of this product.
Europe Energy Saving Notice
Energy Saving Matters (EuP 2009/125/EC)
Saving electric energy is a key to help protecting the enviroment.
Please turn o all electrical products when they are not in use. To
avoid power consumption in idle mode, disconnect all electrical
equipment from power when not in use. Thank you!
Содержание
- User instructions p.1
- Crazy pocket 8 p.1
- Warning p.2
- Unpacking p.2
- Introduction p.2
- Customer support p.2
- Caution p.2
- Power supply p.3
- Dmx 512 p.3
- Data compliment signal p.4
- Crazy pocket 8 dmx set up p.4
- Crazy pocket 8 dimensions p.4
- Conductor 5 pin xlr male in 3 pin xlr female out p.4
- Be sure to follow figures two and three when making your own cables do not use the ground lug on the xlr connector do not con nect the cable s shield conductor to the ground lug or allow the shield conductor to come in contact with the xlr s outer casing grounding the shield could cause a short circuit and erratic behavior p.4
- When longer runs of cable are used you may need to use a terminator on the last unit to avoid erratic behavior a terminator is a 110 120 ohm 1 4 watt resistor which is con nected between pins 2 and 3 of a male xlr connector data and data this unit is inserted in the female xlr connector of the last unit in your daisy chain to terminate the line using a cable terminator adj part number z dmx t will decrease the possibilities of erratic behavior p.4
- A male and female xlr connector on either end of the cable also remember that dmx cable must be daisy chained and cannot be split p.4
- Special note line termination p.4
- Some manufactures use 5 pin dmx 512 data cables for data transmission in place of 3 pin 5 pin dmx fixtures may be implemented in a 3 pin dmx line when inserting stan dard 5 pin data cables in to a 3 pin line a cable adaptor must be used these adaptors are readily available at most electric stores the chart below details a proper cable conversion p.4
- Pin xlr to 5 pin xlr conversion p.4
- Pin xlr dmx connectors p.4
- Pin 5 do not use p.4
- Pin 4 do not use p.4
- Notice p.4
- Not used p.4
- Ground shield p.4
- Data true signal p.4
- Crazy pocket 8 system menu p.5
- Crazy pocket 8 rear layout functions p.5
- Show modes 1 4 factory programs show mode can run with or without sound active mode active p.6
- In this mode you can adjust the sound sensitiv ity p.6
- Dmx address setting p.6
- This will let you set unit as a master or slave in a master slave configuration p.6
- This will let select your desired dmx channel mode p.6
- This will let select your desired dimmer curve p.6
- System menu when making adjustments press enter to confirm your setup then press and hold the menu button for at least 3 seconds to exit without making any adjust ments press the menu button the display will lock after 30 seconds press the menu button for 3 seconds to unlock p.6
- Sound active mode p.6
- With this function you can have the led display turn off after 10 seconds p.7
- With this function you can display the running time of the unit p.7
- To activate the tilt inversion press the up or down buttons until yes is displayed press enter to confim to deactivate tilt inversion select no and press enter p.7
- Tilt inversion for bar 2 bottom bar p.7
- Tilt inversion for bar 1 top bar p.7
- This mode can be used as a precaution mode that in case the dmx signal is lost interrupted or power is lost the operating mode chosen in the setup is the running mode the fixture will go into when the dmx signal is lost you can also set this as the operating mode you would like the unit to return to when power is applied p.7
- This function will run a self test program p.7
- This function will reverse the display 180º p.7
- Press the menu button until til 1 is displayed press enter either yes or no will be displayed p.7
- Pan inversion p.7
- Adjustment of the pan home position p.8
- Use this function to display the software version of the unit p.8
- Tilt 2 offse p.8
- Tilt 1 offse p.8
- This function will reset the unit p.8
- The display will show the software version p.8
- Press the menu button until rset is displayed press the enter button and the unit will reset itself p.8
- Pan offse p.8
- Adjustment of the tilt home position for the 2 bottom bar p.8
- Adjustment of the tilt home position for the 1 top bar p.8
- The slave units p.9
- Sound active mode p.9
- Show mode p.9
- Shnd is displayed and press enter 2 p.9
- Operating modes p.9
- Master slave operation p.9
- For the master unit p.9
- Universal dmx control p.9
- Shows 0 7 blackout 8 69 show 1 70 131 show 2 132 193 show 3 194 247 show 4 248 255 show 0 p.10
- Channel value function p.10
- Fixture cleaning p.14
- Crazy pocket 8 warranty p.15
- Crazy pocket 8 notes p.15
- Adj products llc www adj com crazy pocket 8 user manual page 28 adj products llc www adj com crazy pocket 8 user manual page 29 p.15
- This fixture contains a automatic volt age switch which will auto sense the voltage when it is plugged into the power source p.16
- Specifications and improvements in the design of this unit and this manual are subject to change without any prior written notice p.16
- Please note p.16
- Model crazy pocket 8 p.16
- Auto sensing voltage p.16
- Adj products llc 6122 s eastern ave los angeles ca 90040 usa tel 323 582 2650 fax 323 725 6100 web www adj com e mail info americandj com p.16
- A d j supply europe b v junostraat 2 6468 ew kerkrade the netherlands service adjgroup eu www adj eu tel 31 45 546 85 00 fax 31 45 546 85 99 p.16
Похожие устройства
-
 AMERICAN DJ Dotz TPAR SystemРуководство по эксплуатации
 -
 ADJ Hydro Beam X1Руководство по эксплуатации
 -
 Involight LDF100Руководство по эксплуатации
 -
 AMERICAN DJ Focus Spot ONEРуководство по эксплуатации
 -
 Involight LED PAR984WРуководство по эксплуатации
 -
 Antari M-7Руководство по эксплуатации
 -
 STAGG SLI KINGPAR22Руководство по эксплуатации
 -
 ADJ Par Z MoveРуководство по эксплуатации
 -
 Involight LED ARCH2410Руководство по эксплуатации
 -
 ADJ Micro Royal GalaxianРуководство по эксплуатации
 -
 STAGG SLR LITE 1-2 BLРуководство по эксплуатации
 -
 Involight LED PAR993WРуководство по эксплуатации