
Tascam CD-240 Руководство по эксплуатации онлайн
Содержание
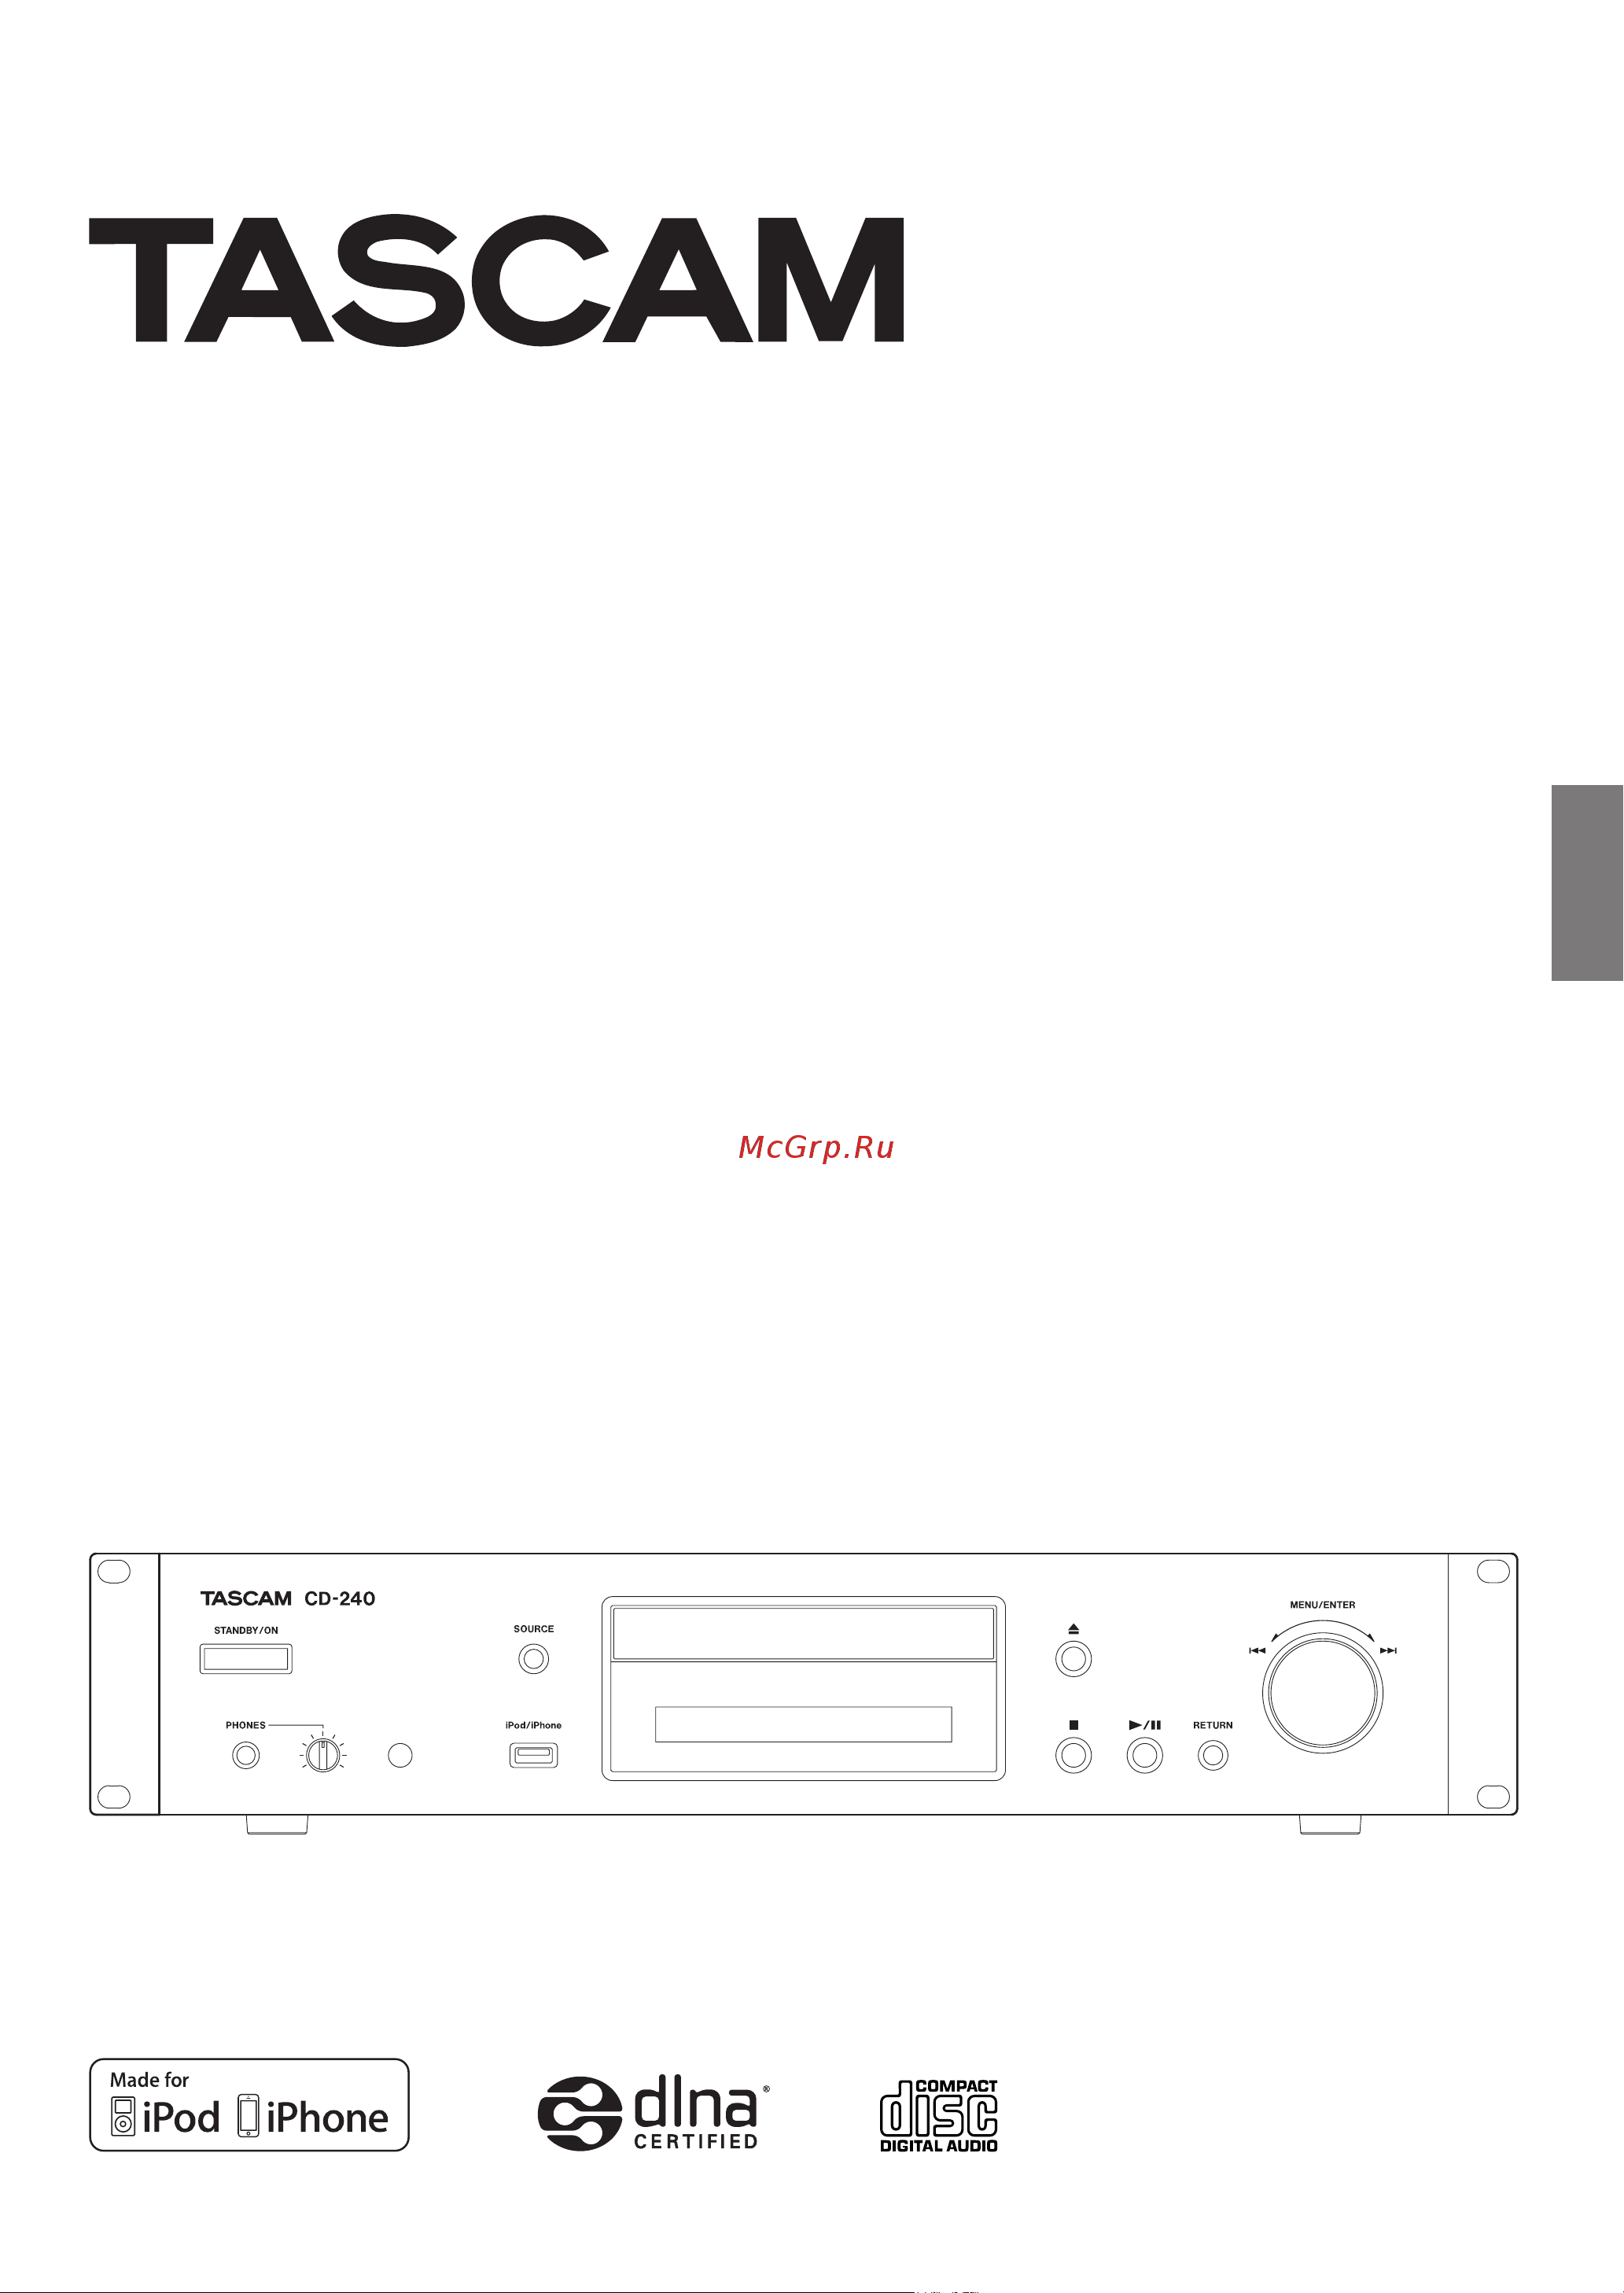
- Owner s manual p.1
- Cd network player p.1
- Cd 240 p.1
- Trademarks and other legal statement p.2
- Notification about copyrights p.2
- Warning to prevent fire or shock hazard do not expose this appliance to rain or moisture p.3
- Model for usa p.3
- Model for canada p.3
- Important safety instructions p.3
- Warning p.4
- V precautions concerning batteries p.4
- Important safety instructions continued p.4
- Declaration of conformity p.4
- Caution p.4
- Use the supplied rack mounting kit to mount the unit in a standard 19 inch rack as shown below remove the feet of the unit before mounting p.5
- Rack mounting the unit p.5
- O leave 1u of space above the unit for ventilation o allow at least 10 cm 4 in at the rear of the unit for ventilation p.5
- Model for usa p.5
- For european customers p.5
- English p.5
- Disposal of electrical and electronic equipment p.5
- Disposal of batteries and or accumulators p.5
- Caution p.5
- Contents p.6
- Before use p.7
- What s in the box p.7
- Using the teac global site p.7
- Product registration p.7
- Precautions for use p.7
- Maintenance p.7
- Using an ipod or iphone p.8
- Ipod iphone software p.8
- How to download the ipod touch iphone app p.8
- How to download the android app p.8
- Downloading the remote app p.8
- Types of discs that can be played by this unit p.9
- Precautions for use p.9
- Notes about discs p.9
- Cd r cd rw discs p.9
- Handling discs p.10
- Disc storage p.10
- Notes about discs continued p.10
- Maintenance p.10
- Precautions when creating mp3 wav discs using a computer p.11
- Mp3 wav formats p.11
- Wma lossless p.12
- Usb and networks p.12
- Ogg vorbis p.12
- Lpcm linear pcm p.12
- Audio files playable by this unit p.12
- Apple lossless p.12
- Notes about usb flash drives p.13
- Note about servers p.13
- Note about network services p.13
- Note about dlna p.13
- Connections p.14
- A b c d e f g h i j k l m p.15
- Names and functions of parts main unit p.15
- Names and functions of parts remote control p.16
- When to replace batteries p.17
- Using the remote control p.17
- Precautions for use p.17
- Installing batteries p.17
- Information shown on the display p.18
- A b c d e f p.18
- Connecting headphones p.19
- Basic operation p.19
- Auto standby function p.19
- Stopping playback p.20
- Starting playback p.20
- Skipping to search for a track p.20
- Pausing playback p.20
- Basic operation continued p.20
- Searching for part of a track p.21
- Playback order of audio files p.21
- Dimmer p.21
- Information shown on the display cd usb net p.22
- During mp3 wav disc playback p.22
- During audio cd playback p.22
- During usb net playback p.23
- Source to cd p.24
- Press the tray open close button to p.24
- Press the tray open close button p.24
- Press the source button to change the p.24
- Place a disc on the tray with the labeled side p.24
- Listening to cds p.24
- Close it p.24
- Press the play pause 7 9 button p.25
- Direct playback using track numbers p.25
- To select files and subfolders inside another folder after selecting that folder press the play 7 button p.26
- Selecting tracks on mp3 wav discs p.26
- Listening to cds continued p.26
- Program playback p.28
- Listening to cds continued p.28
- Skipping to search for a track p.29
- Ending program playback p.29
- Clearing tracks from the program p.29
- Checking the program content p.29
- Adding tracks to the end of the program p.29
- Source to usb f or usb r p.30
- Select a track and press the play pause 7 9 button p.30
- Press the source button to change the p.30
- Press the menu enter dial p.30
- Listening to files on a usb flash drive p.30
- Connect a usb flash drive to the selected p.30
- Usb port p.30
- Turn the menu enter dial to p.30
- Shuffle playback cd usb p.31
- Repeat playback cd usb p.32
- Listening to an ipod iphone p.32
- Using network services p.33
- Use the direction k j l buttons to p.33
- Service menu p.33
- Select the item and press the enter button p.33
- Press the net button to open the network p.33
- My favorites p.34
- Adding a program p.34
- Select the one that you added and press the p.35
- Select my favorites from the network ser p.35
- Press the net button p.35
- Enter button p.35
- Vice menu and press the enter button to show the internet radio stations p.35
- Starting playback p.35
- Use the direction k j l buttons to p.36
- Start the computer or network server p.36
- Service menu p.36
- Select the network server and press the enter button p.36
- Select dlna and press the enter button p.36
- Press the net button to open the network p.36
- Use the direction k j buttons to select p.37
- Unit from the play to list p.37
- Turn this unit on p.37
- Turn the computer on and open windows p.37
- The audio file that you want to play and press the enter button or play 7 button p.37
- Select the file that you want to play in p.37
- Media player p.37
- Click the play to button and select this p.37
- Windows media player and right click it p.37
- Using the play to feature p.37
- Home media p.38
- Setting up windows media player p.39
- Select this unit from the device list then p.39
- Player select more streaming options p.39
- Player select automatically allow devices to play my media p.39
- Make sharing settings and click ok p.39
- From the stream menu of windows media p.39
- Connect your computer to a network p.39
- Connect this unit to the network p.39
- Click ok on the screen that appears p.39
- Click customize p.39
- Windows 8 p.40
- Windows 7 p.40
- Making shared folder settings p.40
- Use the direction l buttons to change p.42
- Use the direction k j buttons to select p.42
- The setting you want to change p.42
- Settings p.42
- Setting values p.42
- Press the menu button p.42
- Press the enter button p.42
- The return button to close the menu screen p.43
- Press the enter button to confirm the p.43
- Mp3 setting p.43
- Id3 ver p.43
- Change p.43
- Bad name p.43
- After you complete making settings press p.43
- Mfe music frequency enhancement p.44
- Asb auto standby p.44
- Settings continued p.44
- Net setting p.44
- Update p.45
- Inputting characters p.45
- Troubleshooting p.46
- Ipod iphone p.46
- General p.46
- Cd player p.46
- Audio files p.46
- Restoring factory default settings p.47
- Internet radio p.47
- Home media p.47
- Specifications p.48
- Input output connectors p.48
- Audio formats p.48
- Audio performance p.49
- General p.49
- Dimensions p.49
- Who may enforce the warranty p.51
- What we will pay for p.51
- What is and is not covered p.51
- Warranty p.51
- To locate an authorized service center in your area p.51
- Limitation of implied warranties p.51
- Length of warranty p.51
- How you can get warranty service p.51
- Exclusion of damages p.51
- Warranty p.52
- Teac corporation p.52
- Cd 240 p.52
Похожие устройства
-
 Tascam CD-200Руководство по эксплуатации
 -
 Tascam MD-CD1Инструкция по эксплуатации
 -
 Tascam MD-350Инструкция по эксплуатации
 -
 Tascam CD-01U PROИнструкция по эксплуатации
 -
 Tascam CD-X1500Инструкция по эксплуатации
 -
 Tascam CD-X1700Инструкция по эксплуатации
 -
 Denon DN-C615Руководство пользователя
 -
 Numark MP103USBРуководство по эксплуатации
 -
 OMNITRONIC CMP-2000Руководство по эксплуатации
 -
 OMNITRONIC CMP-102Руководство по эксплуатации
 -
 Numark NDX400Руководство по эксплуатации
 -
 Onkyo C-7030 SilverИнструкция по эксплуатации