
Pioneer DJM-300 Инструкция по эксплуатации онлайн
Operating Instructions
Mode d'emploi
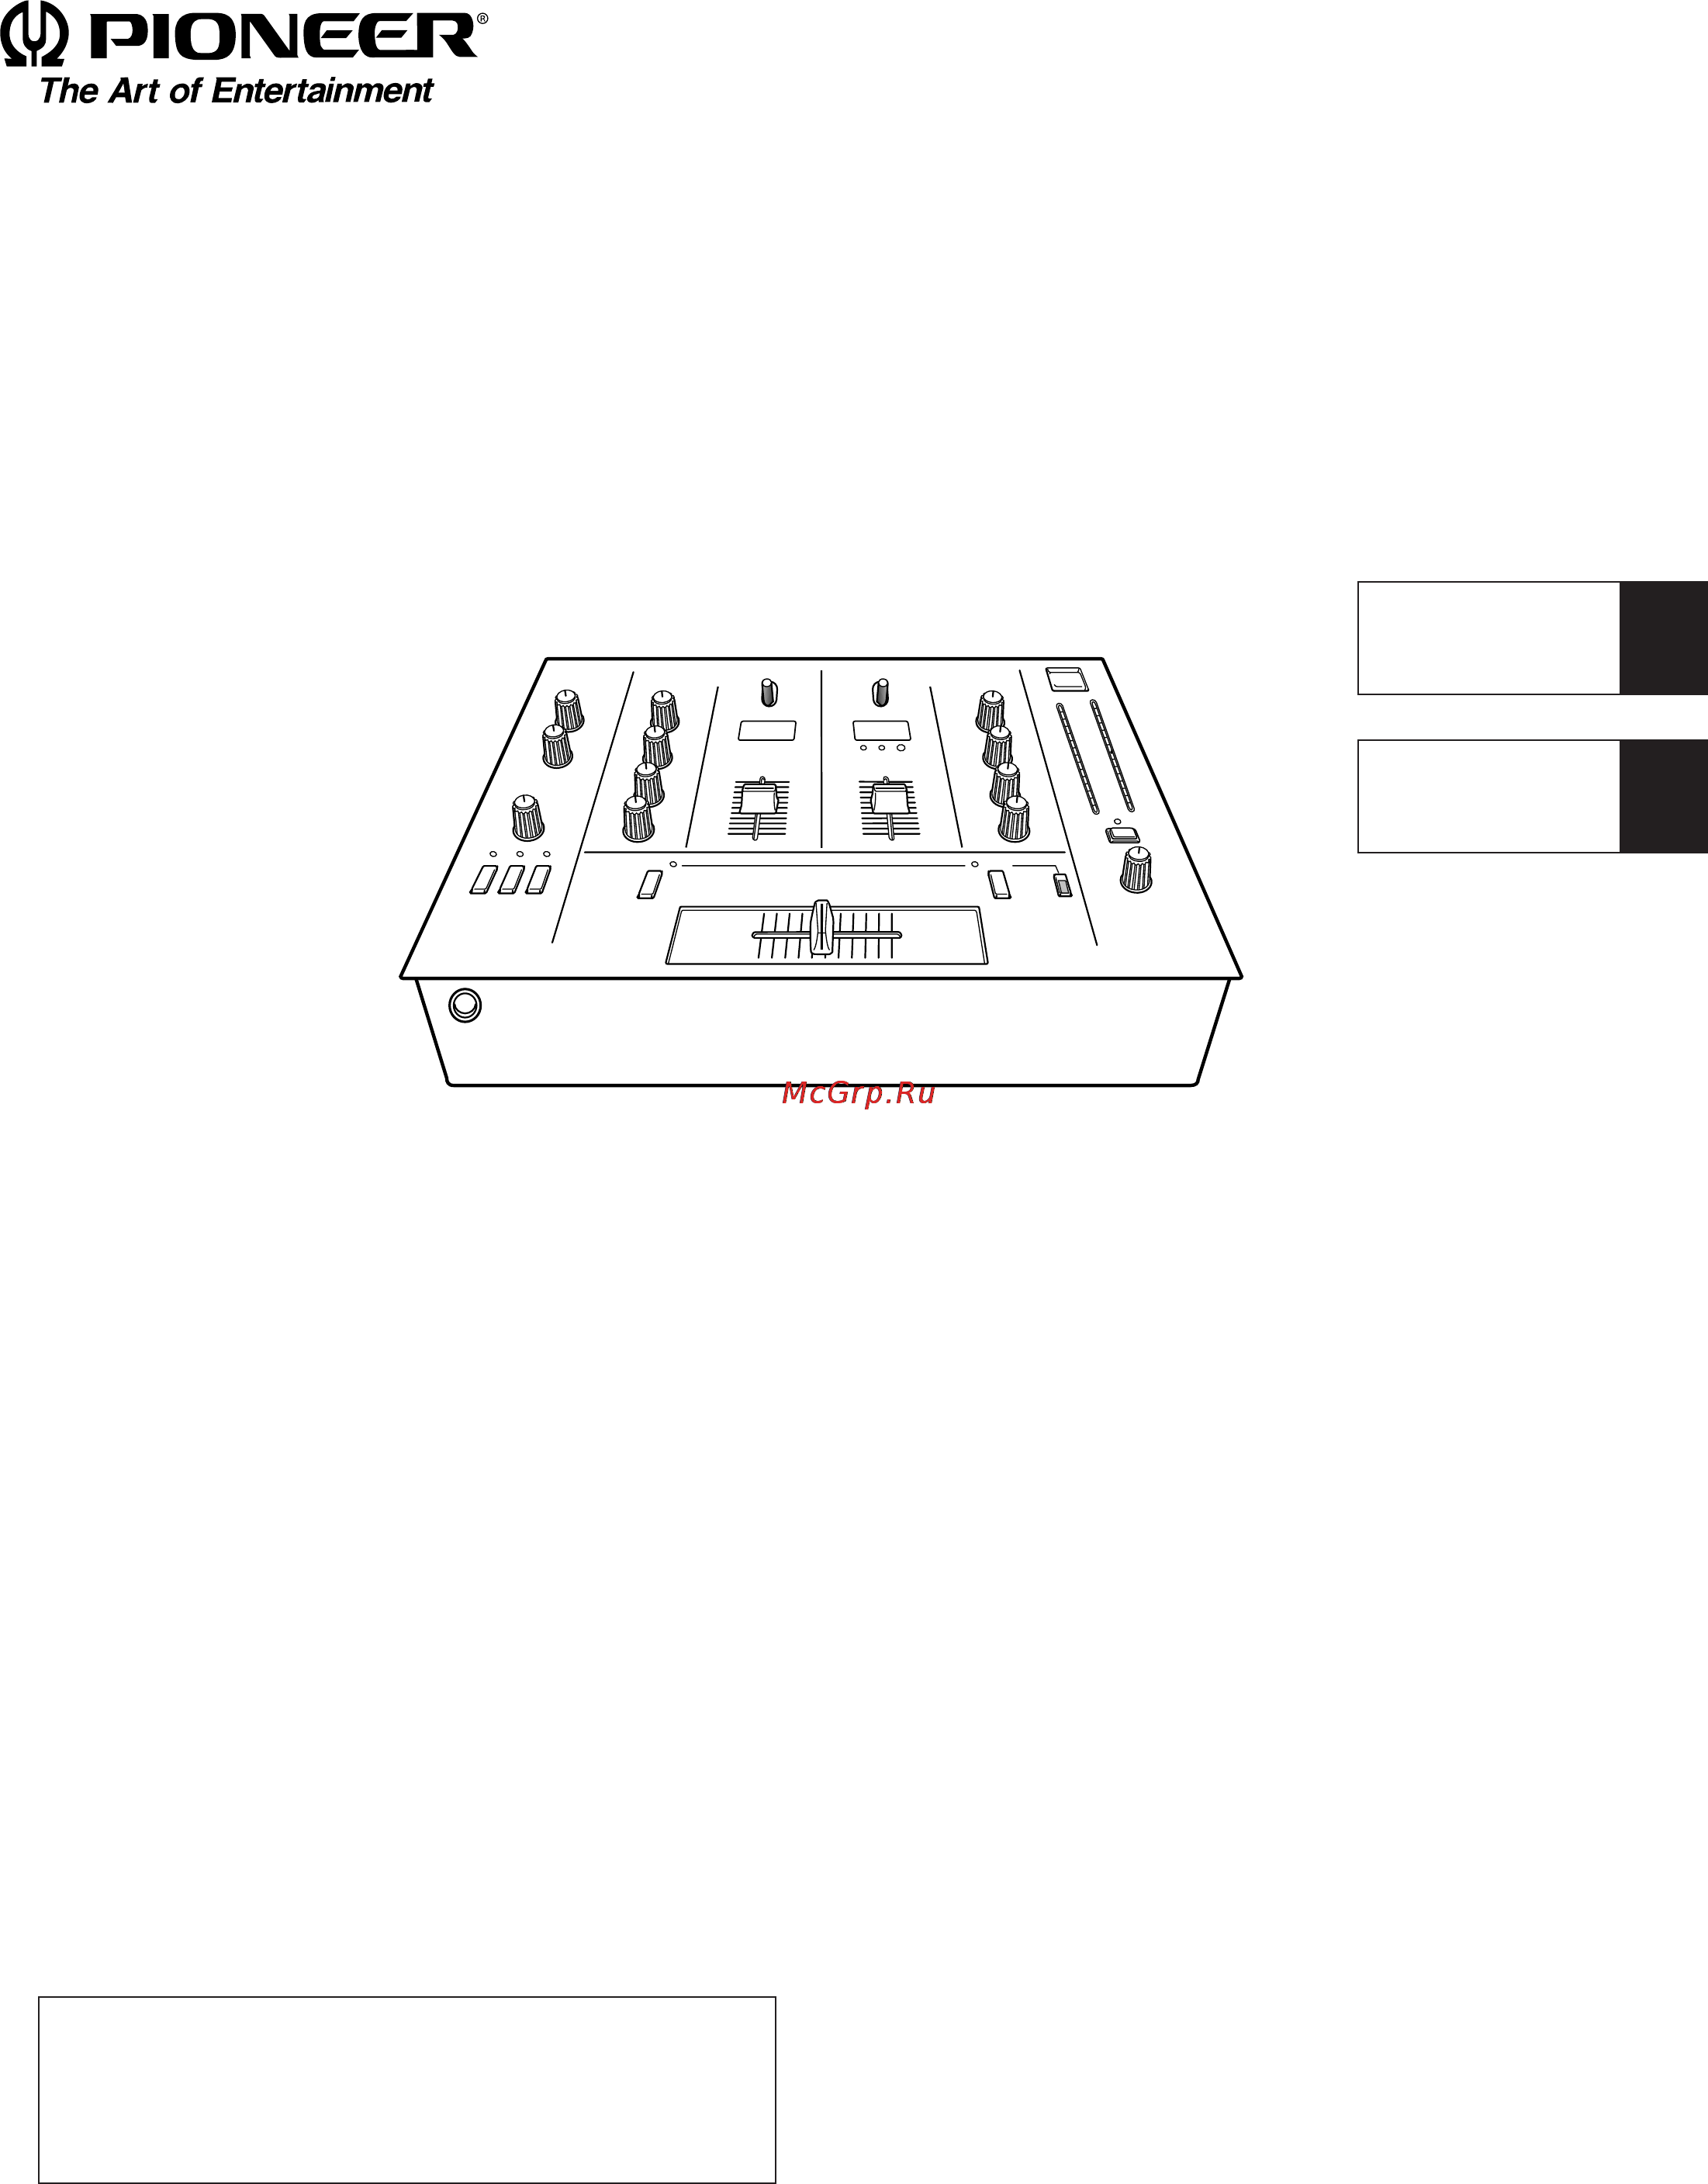
DJ MIXER
TABLE DE MIXAGE
English
Français
Thank you for buying this Pioneer product.
Please read through these operating instructions so you
will know how to operate your model properly.
After you have finished reading the instructions, put them
away in a safe place for future reference.
Nous vous remercions pour cet achat d'un produit PIO-
NEER.
Nous vous demandons de lire soigneusement ce mode
d'emploi; vous serez ainsi à même de faire correctement
fonctionner l'appareil.
Après avoir bien lu le mode d'emploi, le ranger dans un
endroit sûr pour pouvoir s'y référer ultérieurement.
WARNING: TO PREVENT FIRE OR SHOCK HAZARD, DO
NOT EXPOSE THIS APPLIANCE TO RAIN OR MOISTURE.
CAUTION: TO PREVENT ELECTRIC SHOCK DO NOT
USE THIS (POLARIZED) PLUG WITH AN EXTENSION CORD,
RECEPTACLE OR OTHER OUTLET UNLESS THE BLADES
CAN BE FULLY INSERTED TO PREVENT BLADE EXPOSURE.
IMPORTANT NOTICE
The serial number for this equipment is located on the
rear panel. Please write this serial number on your en-
closed warranty card and keep it in a secure area. This is
for your security.
CAUTION: This product satisfies FCC regulations when
shielded cables and connectors are used to connect the unit to
other equipment. To prevent electromagnetic interference with
electric appliances such as radios and televisions, use shielded
cables and connectors for connections.
ATTENTION: AFIN DE PREVENIR TOURS RISQUES DE
CHOC ELECTRIQUE OU DE DEBUT D'ENCENDIE, NE PAS EXPO-
SER CET APPAREIL A L'HUMIDITE OU A LA PLUIE.
ATTENTION: POUR PREVENIR LES CHOCS
ELECTRIQUES NE PAS UTILISER CETTE FICHE POLARISEE
AVEC UN PROLONGATEUR, UNE PRISE DE COURANT OU
UNE AUTRE SORTIE DE COURANT, SAUF SI LES LAMES
PEUVENT ETRE INSEREES A FOND SANS EN LAISSER
AUCUNE PARTIE A DECOUVERT.
REMARQUE IMPORTANTE
Le numéro de série de cet appareil est inscrit sur le
panneau arrière. Veuillez noter ce numéro sur la carte de
garantie qui accompagne le lecteur et conserver celle-ci
en lieu sûr. Cette précaution peut être utile en cas de vol.
DJM-300
DJM-300-S
Содержание
- Dj mixer table de mixage 1
- Djm 300 djm 300 s 1
- English 1
- Français 1
- Operating instructions mode d emploi 1
- Caution 2
- Important 2
- Important safety instructions 2
- For canadian model 3
- Information to user 3
- Pour le modèle canadien 3
- We want you listening for a lifetime 3
- Cautions regarding handling 4
- Cleaning the unit 4
- Condensation 4
- Contents 4
- Emplacement 4
- Entretien des surfaces extérieurs 4
- Location 4
- Precautions concernant la manipulation 4
- Table des matieres 4
- Allocation monitor 5
- Band equalizer kill 5
- Bpm counter 5
- Checking accessories controle des accessoires 5
- Commande d allocation 5
- Compteur bpm 5
- Connexions d entrée et de sortie améliorées 5
- Démarrage par curseur de volume 5
- Egaliseur à 3 bandes et suppression 5
- Enhanced input output terminals 5
- Fader start 5
- Features caracteristiques princi pales 5
- Mesure du niveau de pic sonore 5
- Peak level meter 5
- Connecting audio cords 6
- Connections 6
- Connexion 6
- Connexion des appareils d entrée 1 connection of input equipment 6
- Connexion des câbles audio 6
- Djm 300 6
- Amplificateur stereo 7
- Cassette deck for recording 7
- Connection of outputs 2 connexion des sorties 7
- Connections connexion 7
- Djm 300 7
- Headphone casque d écoute 7
- Lecteur de cassettes pour les enregistrements 7
- Stereo amplifier 7
- Auto bpm counter 8
- Ch 1 ch 2 8
- Ch 2 ch 1 8
- Cross fader 8
- Denomination et fonction des elements 8
- Dj mixer 8
- Fader start 8
- Input selector 8
- Line phono 8
- Low monitor level 8
- Master 8
- Master level 8
- Mic ch 1 ch 2 8
- Mic eq 8
- Mic level 8
- Monitor 8
- Monitor selector 8
- Name and function of parts 8
- Phones 8
- Signal gnd 8
- Affichage bp 9
- Bpm display 9
- Ch1 ch2 input control section 9
- Ch1 ch2 section de commande d entrée 9
- Ground terminal signal gnd 9
- Interrupteur de sélection de la source d entrée du panneau arrière 9
- Name and function of parts denomination et fonction des elements 9
- Prise de terre signal gnd 9
- Rear panel input source selection switch 9
- Bouton de sélection de mode d affichage de l indicateur de niveau et indicateur 10
- Channel fader volume 10
- Cross fader section cross fader volume cross fader 10
- Curseur de volume de canal 10
- Fader start switch fader start and indi cator 10
- Indicateur de niveau 10
- Interrupteur d activation mise en veille fader start et indicateur 10
- Interrupteur d alimentation power 10
- Level meter 10
- Level meter display mode selection button and indicator 10
- Master control section 10
- Name and function of parts denomination et fonction des elements 10
- Power supply switch power 10
- Section de commande principale 10
- Section de mise en veille croisée curseur de volume croisé cross fader 10
- Ajustement du volume de la mélodie principale master level 11
- Bouton de sélection de moniteur ch 1 ch 2 master et indicateurs 11
- Commutateur du curseur de volume croisé ch cross 11
- Cross fader switch ch cross 11
- Headphone monitor section monitor level knob monitor level 11
- Headphone terminal phones 11
- Master volume level adjustment master level 11
- Monitor select switch ch 1 ch 2 master and indicators 11
- Name and function of parts denomination et fonction des elements 11
- Prise pour casque d écoute phones 11
- Section de commande du microphone bouton du niveau du moniteur monitor level 11
- Auto bpm counter auto bpm counter 12
- Compteur auto bpm auto bpm counter 12
- Faire tourner la commande trim et ajuster le niveau d entrée de sorte que l afficheur s allume sans que l indicateur de niveau ne bascule vers l autre côté 12
- Mesure du bpm measuring bpm 12
- Rotate the trim control and adjust the input level so that the display lights up without the input level meter swinging to the other end 12
- Select the bpm display mode using the real mode average mode selection button 12
- Sélectionner le mode d affichage bpm en utilisant le bouton de sélection mode réel mode des moyennes 12
- Fader start play 14
- Par curseur de volume fader start 14
- Using the fader start func tion 14
- Utilisation de la fonction de demarrage 14
- Démarrage par curseur de volume croisé 15
- Démarrage par curseur de volume de canal 15
- Starting the channel fader 15
- Starting the cross fader 15
- Replacement of cross fader volume control 16
- Troubleshooting 16
- Depistage des pannes 17
- Remplacement de la commande du curseur de volume 17
- Accessories 18
- Audio section 18
- Electrical section others 18
- Specifications 18
- Accessoires 19
- Fiche technique 19
- Partie audio 19
- Partie électrique autres 19
- 0 8 7 2 4 1 5 9 20
- Pioneer electronic corporatio 20
Похожие устройства
- Timberk SWH FS2 100 H Инструкция по эксплуатации
- Hertz ECX 165.4 Инструкция по эксплуатации
- JVC GZ-MG20E Инструкция по эксплуатации
- Polaris PWS 1521DGR Инструкция по эксплуатации
- Panasonic ES-LF51 Инструкция по эксплуатации
- Pioneer SVM-1000 Инструкция по эксплуатации
- Stiebel Eltron DHCC 70 E 221955 Инструкция по эксплуатации
- Hertz DSK 165.2 Инструкция по эксплуатации
- Pinnacle ANALOG STICK U100FM Инструкция по эксплуатации
- JVC GZ-MC500E Инструкция по эксплуатации
- Polaris PWS 1515D Инструкция по эксплуатации
- Panasonic ES-LA93 Инструкция по эксплуатации
- Hertz ESK 165.4 Инструкция по эксплуатации
- Electrolux SP 13 ELITEC Инструкция по эксплуатации
- JVC GZ-MC200 Инструкция по эксплуатации
- Pioneer DJM-909 Инструкция по эксплуатации
- Polaris PWS 1201 Инструкция по эксплуатации
- Panasonic ES-LA63 Инструкция по эксплуатации
- Hertz DCX 690.2 Инструкция по эксплуатации
- Timberk WHEX-3 OS Инструкция по эксплуатации