![DWT esp05-200 t — инструкция по использованию и обслуживанию распылительных инструментов [18/80]](/img/pdf.png)
DWT esp05-200 t — инструкция по использованию и обслуживанию распылительных инструментов [18/80]
Превью страниц
Страница 18 /
80
![DWT esp01-250 [18/80] Page 18](/views2/1217942/page18/bg12.png)
for viewing only
English
The manufacturer reserves the possibility to introduce changes.
·
Lift measuring funnel 12 up and let the liquid flow out. preceding one. Do not delay the spray gun in one spot -
Measure the time of liquid flow out (DIN-s) of measuring
this will cause drips.
·
Do not interrupt spraying within the treated surface.
funnel 12 using a stop-watch (from the start of the
·
Do not allow reservoir 5 to empty when working. Tube 18
flowing-out to jet separation). Approximate
should be immersed in the liquid at all times, otherwise
recommended viscosity values for different materials
the spraying process will be stopped, and the surface
are given below:
will be treated unevenly.
·
impregnating agents, varnishes, synthetic resins -
undiluted, 30 DIN-s max.;
·
Power tool maintenance /
synthetic paints, transparent varnishes - 15-35 DIN-s;
·
preventive measures
acrylic paint - 20-35 DIN-s;
·
preservatives, pesticides, oils for wood - undiluted, 35
Before carrying out any works on the power tool it
DIN-s max.;
must be disconnected from the mains.
·
disinfectant and cleaning agents, polishes - 35
DIN-s;
Cleaning of the power tool (see fig. 10-14)
·
car paint - 18-22 DIN-s.
·
After you are done with the measurements,
The power tool must be cleaned after the
thoroughly clean measuring funnel 12 (using an
completion of work.
appropriate solvent).
·
Press button 4 so that the residues of the sprayed
Surface preparation
material drain into reservoir 5.
·
Unscrew reservoir 5 and discharge the sprayed
·
The treated surface must be cleaned, dried, and
material residues. Pour an appropriate solvent into
degreased.
reservoir 5 and connect it to the spray gun. Shake the
·
Glossy surfaces should be roughed (with
spray gun, then switch it on and spray the solvent into
sandpaper), dust removed, and the surface should be
an empty reservoir. Repeat several times until the spray
degreased.
gun is absolutely clean. If you have been working using
·
The surrounding surfaces that need protection from
flexible extension hose 17, then it should be installed at
precipitation of the "mist" of the sprayed material should
this step of the cleaning procedure.
be covered with thick materials (paper, film, etc.) and
·
Wipe the power tool case with a cloth moistened with
lined with adhesive tape, when necessary.
an appropriate solvent. Prevent the solvent from getting
into the power tool.
Work sequence (see fig. 9)
·
Disassemble the spray gun as shown in figures 10-11
and 13.
·
Prepare the sprayed material and surface as
·
Unscrew reservoir 5 and wipe it with a clean cloth.
described above.
·
Remove tube 18 and make sure it is clean. Clean it, if
·
Detach reservoir 5, fill it with the sprayed material,
necessary.
and connect it to the spray gun.
·
For model ESP01-250, disassembly and clean filter 24
·
For model ESP05-200 T, adjust the stream shape.
with the use of a solvent and a soft brush, then assembly
·
and put filter 24 in place.
Switch on the power tool, adjust the volume of the
·
sprayed material as described above. The "mist" of
Using rod 13 clean suction hole 25, drain hole 26 and
nozzle 1 (see fig. 12 and 14).
spray deflection should be homogeneous and fine.
·
·
Using a brush and solvent, clean all removed parts
Do a trial treatment on an unnecessary piece of the
and mount them back strictly following the installation
same material in order to make sure that the
sequence. Please note! Using sharp objects for
adjustments are correct.
cleaning spray gun parts (except for the ports
·
Spray material from a distance of 5-30 cm from the
mentioned above) is strictly prohibited.
surface (see fig. 9.1).
·
To protect internal parts from corrosion, drop a few
·
For model ESP01-250 - use flexible extension
droplets of low viscosity oil into suction hole 25 and
hose 17 when painting horizontal or sloping surfaces.
drain hole 26.
·
For model ESP05-200 T - slightly tilt the spray gun
·
Assembly operations do in reverse sequence.
when painting horizontal or sloping surfaces.
·
Start spraying beyond the bounds of the treated surface.
Air filter replacing (see fig. 15)
·
Move the spray gun moving your arm as shown in
figure 9.1, and not only the wrist (see fig. 9.2). The
[ESP05-200 T]
distance between the spray gun and the treated surface
·
should be constant - this will ensure that the material is
Use a screwdriver to remove the cover 8 (see fig. 15).
·
sprayed evenly.
Replace the air filter 27.
·
·
Smoothly move the spray gun as shown in figure 9.3.
Install the cover 8 (the clamps of the cover 8 must
Each successive strip should partially overlap the
click shut).
18
Содержание
142- For viewing only
- Page 1
- Page 2
- For viewing only
- For viewing only
- Page 3
- Page 4
- Page 5
- Page 6
- Page 7
- Page 8
- Page 9
- For viewing only
- Deutsch
- For viewing only
- Deutsch
- For viewing only
- Deutsch
- For viewing only
- Deutsch
- For viewing only
- Deutsch
- Page 15
- For viewing only
- Page 16
- For viewing only
- Page 17
- For viewing only
- Page 18
- For viewing only
- French
- For viewing only
- French
- For viewing only
- French
- For viewing only
- French
- For viewing only
- Page 23
- For viewing only
- Italian
- For viewing only
- Italian
- For viewing only
- For viewing only
- Italian
- Italian
- For viewing only
- Page 28
- For viewing only
- Spanish
- For viewing only
- Spanish
- For viewing only
- Spanish
- For viewing only
- Spanish
- For viewing only
- Spanish
- For viewing only
- Portuguese
- For viewing only
- Portuguese
- For viewing only
- Portuguese
- For viewing only
- Portuguese
- For viewing only
- Portuguese
- For viewing only
- Turkish
- For viewing only
- Turkish
- For viewing only
- Turkish
- For viewing only
- Turkish
- For viewing only
- Page 43
- For viewing only
- Polish
- For viewing only
- Polish
- For viewing only
- Page 46
- For viewing only
- Page 47
- For viewing only
- Page 48
- For viewing only
- For viewing only
- For viewing only
- For viewing only
- For viewing only
- Slovak
- For viewing only
- Slovak
- For viewing only
- Slovak
- For viewing only
- Slovak
- For viewing only
- For viewing only
- For viewing only
- For viewing only
- For viewing only
- For viewing only
- Russian
- For viewing only
- Russian
- For viewing only
- Russian
- For viewing only
- Russian
- For viewing only
- Russian
- For viewing only
- Ukrainian
- For viewing only
- Ukrainian
- For viewing only
- Ukrainian
- For viewing only
- Ukrainian
- For viewing only
- Ukrainian
- For viewing only
- Page 72
- For viewing only
- Page 73
- For viewing only
- For viewing only
- Page 74
- Page 75
- For viewing only
- Page 76
- For viewing only
- Page 77
- Page 78
- Page 79
- Page 80
- For viewing only
Похожие устройства
-
 DWT esp01-250Инструкция по эксплуатации
 -
 Энкор кэ-700 50337Руководство по эксплуатации
 -
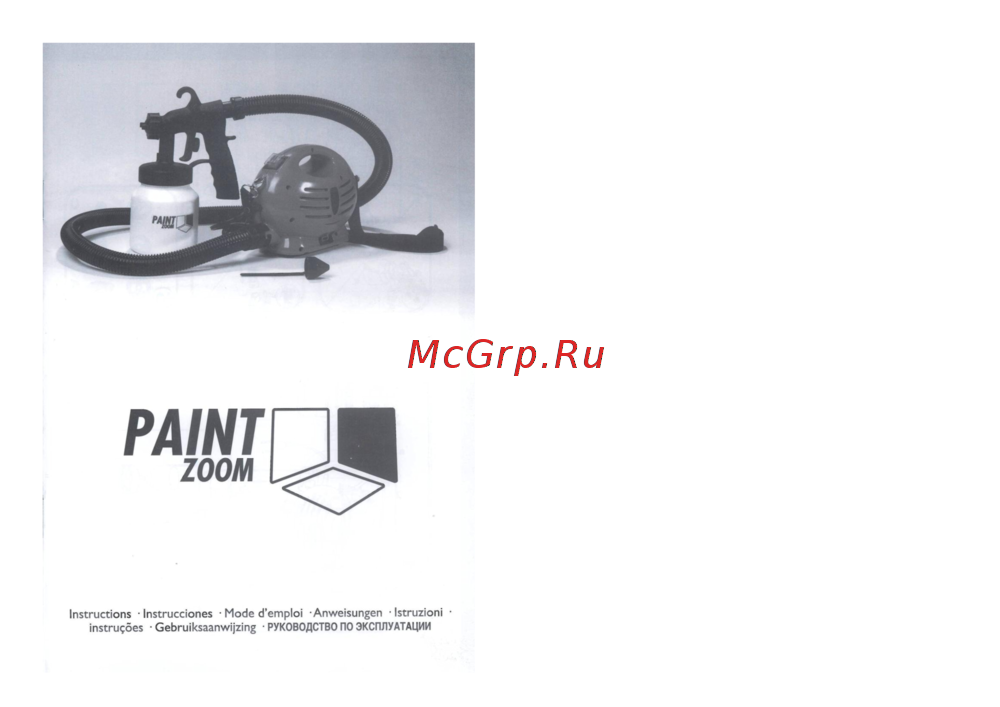 PAINT Zoom Two EF-7355Руководство по эксплуатации
 -
 PAINT BulletРуководство по эксплуатации
 -
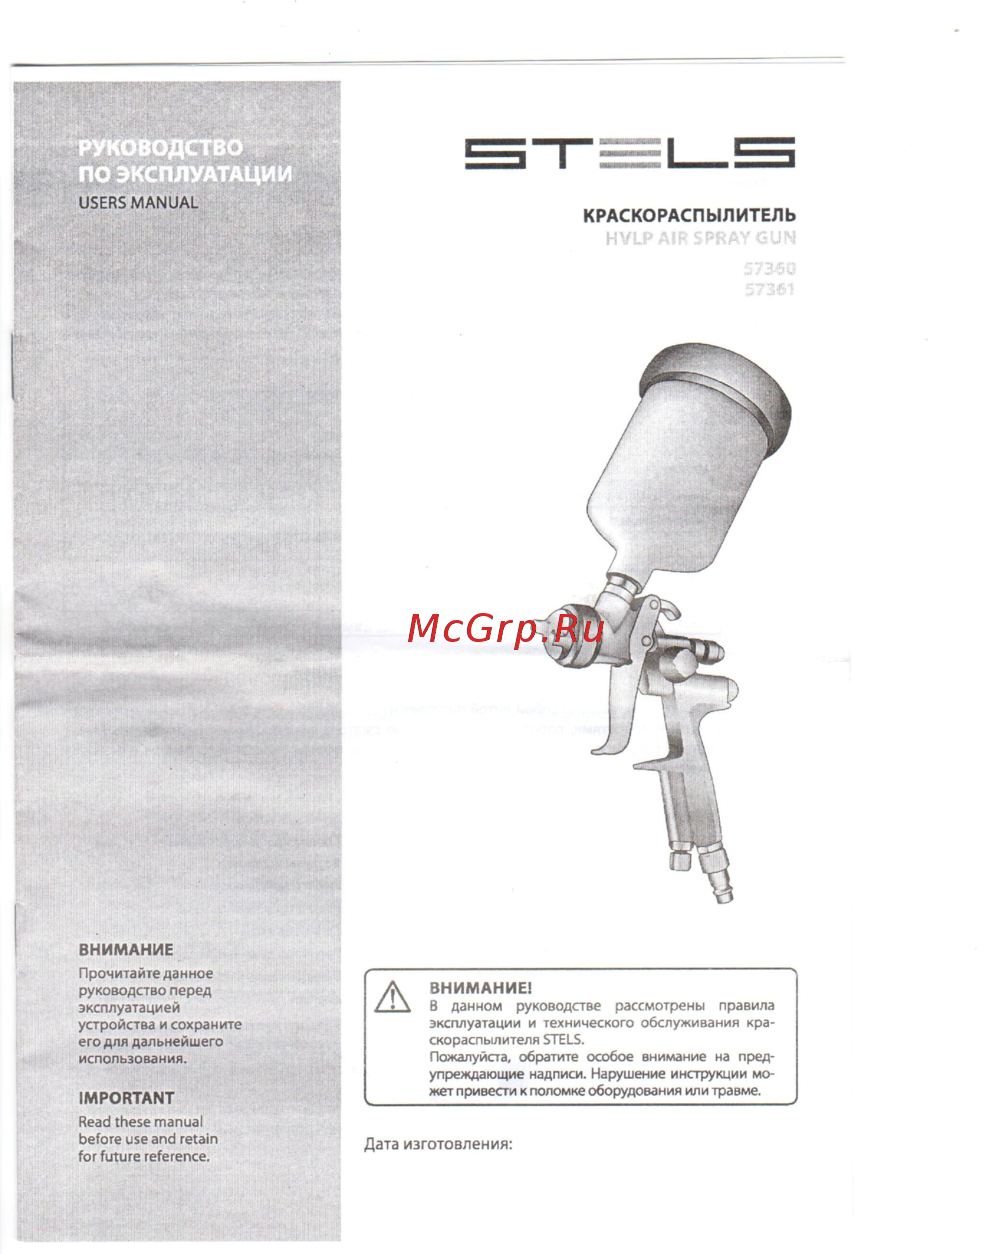 STELS AG 810 HVLPРуководство по эксплуатации
 -
 STELS AG 801 HVLPРуководство по эксплуатации
 -
 Graco FinishPro II 595 PC Pro 17E912Техническая документация
 -
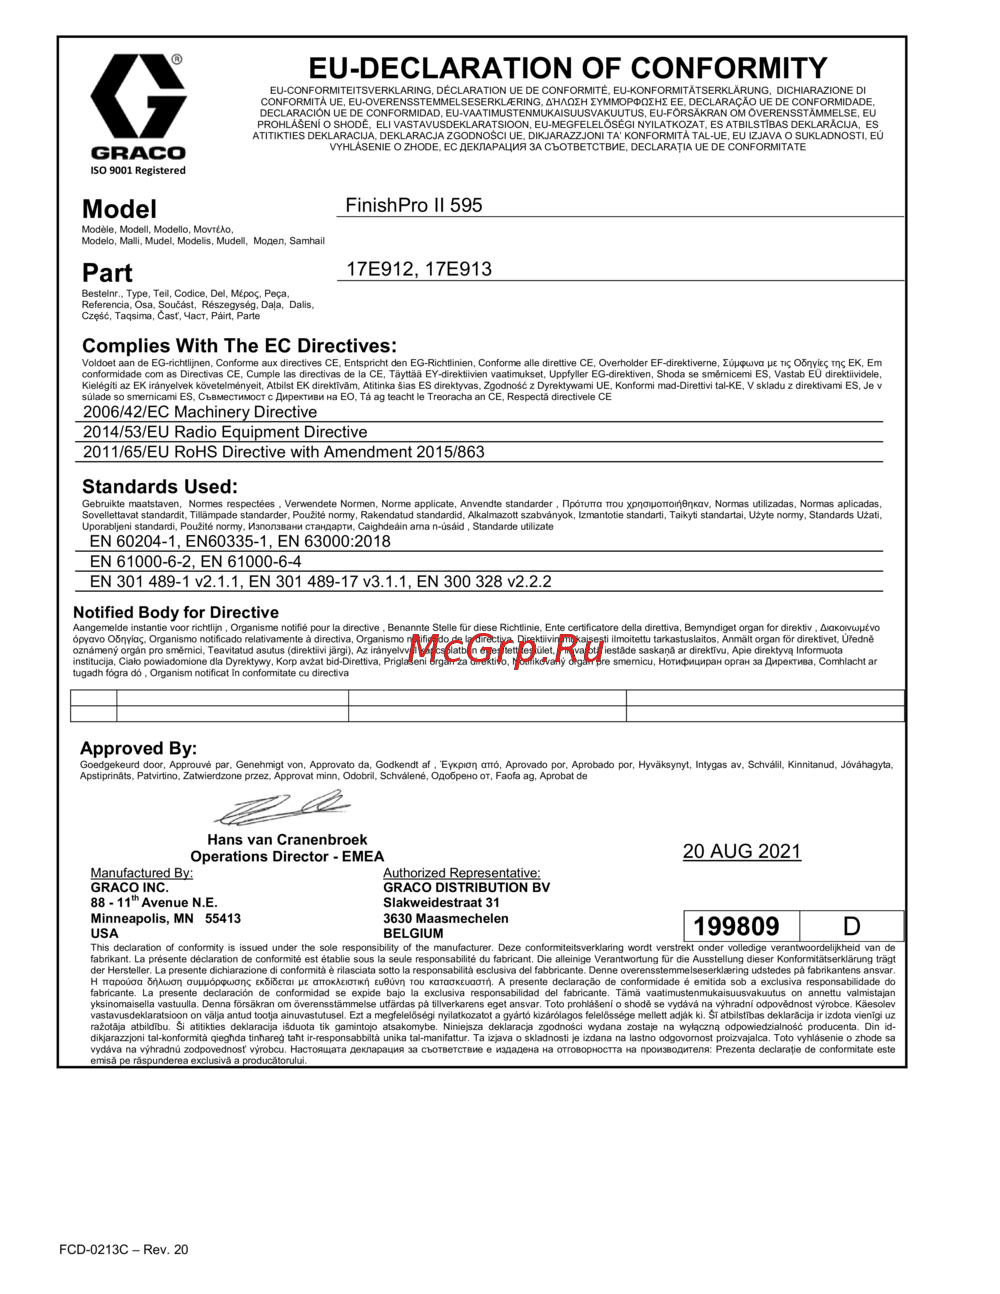 Graco FinishPro II 595 PC Pro 17E912Сертификат
 -
 Graco FinishPro II 595 PC Pro 17E912Брошюра
 -
 Graco FinishPro II 595 PC Pro 17E912Инструкция по эксплуатации
 -
Graco FinishPro II 595 PC Pro 17C421Техническая документация
-
Graco FinishPro II 595 PC Pro 17C421Сертификат
Узнайте, как правильно использовать и обслуживать распылительные инструменты для достижения наилучших результатов. Следуйте рекомендациям по подготовке и очистке.