
Daikin EHSHB08P30D27 Руководство по эксплуатации онлайн
Installation and operating manual
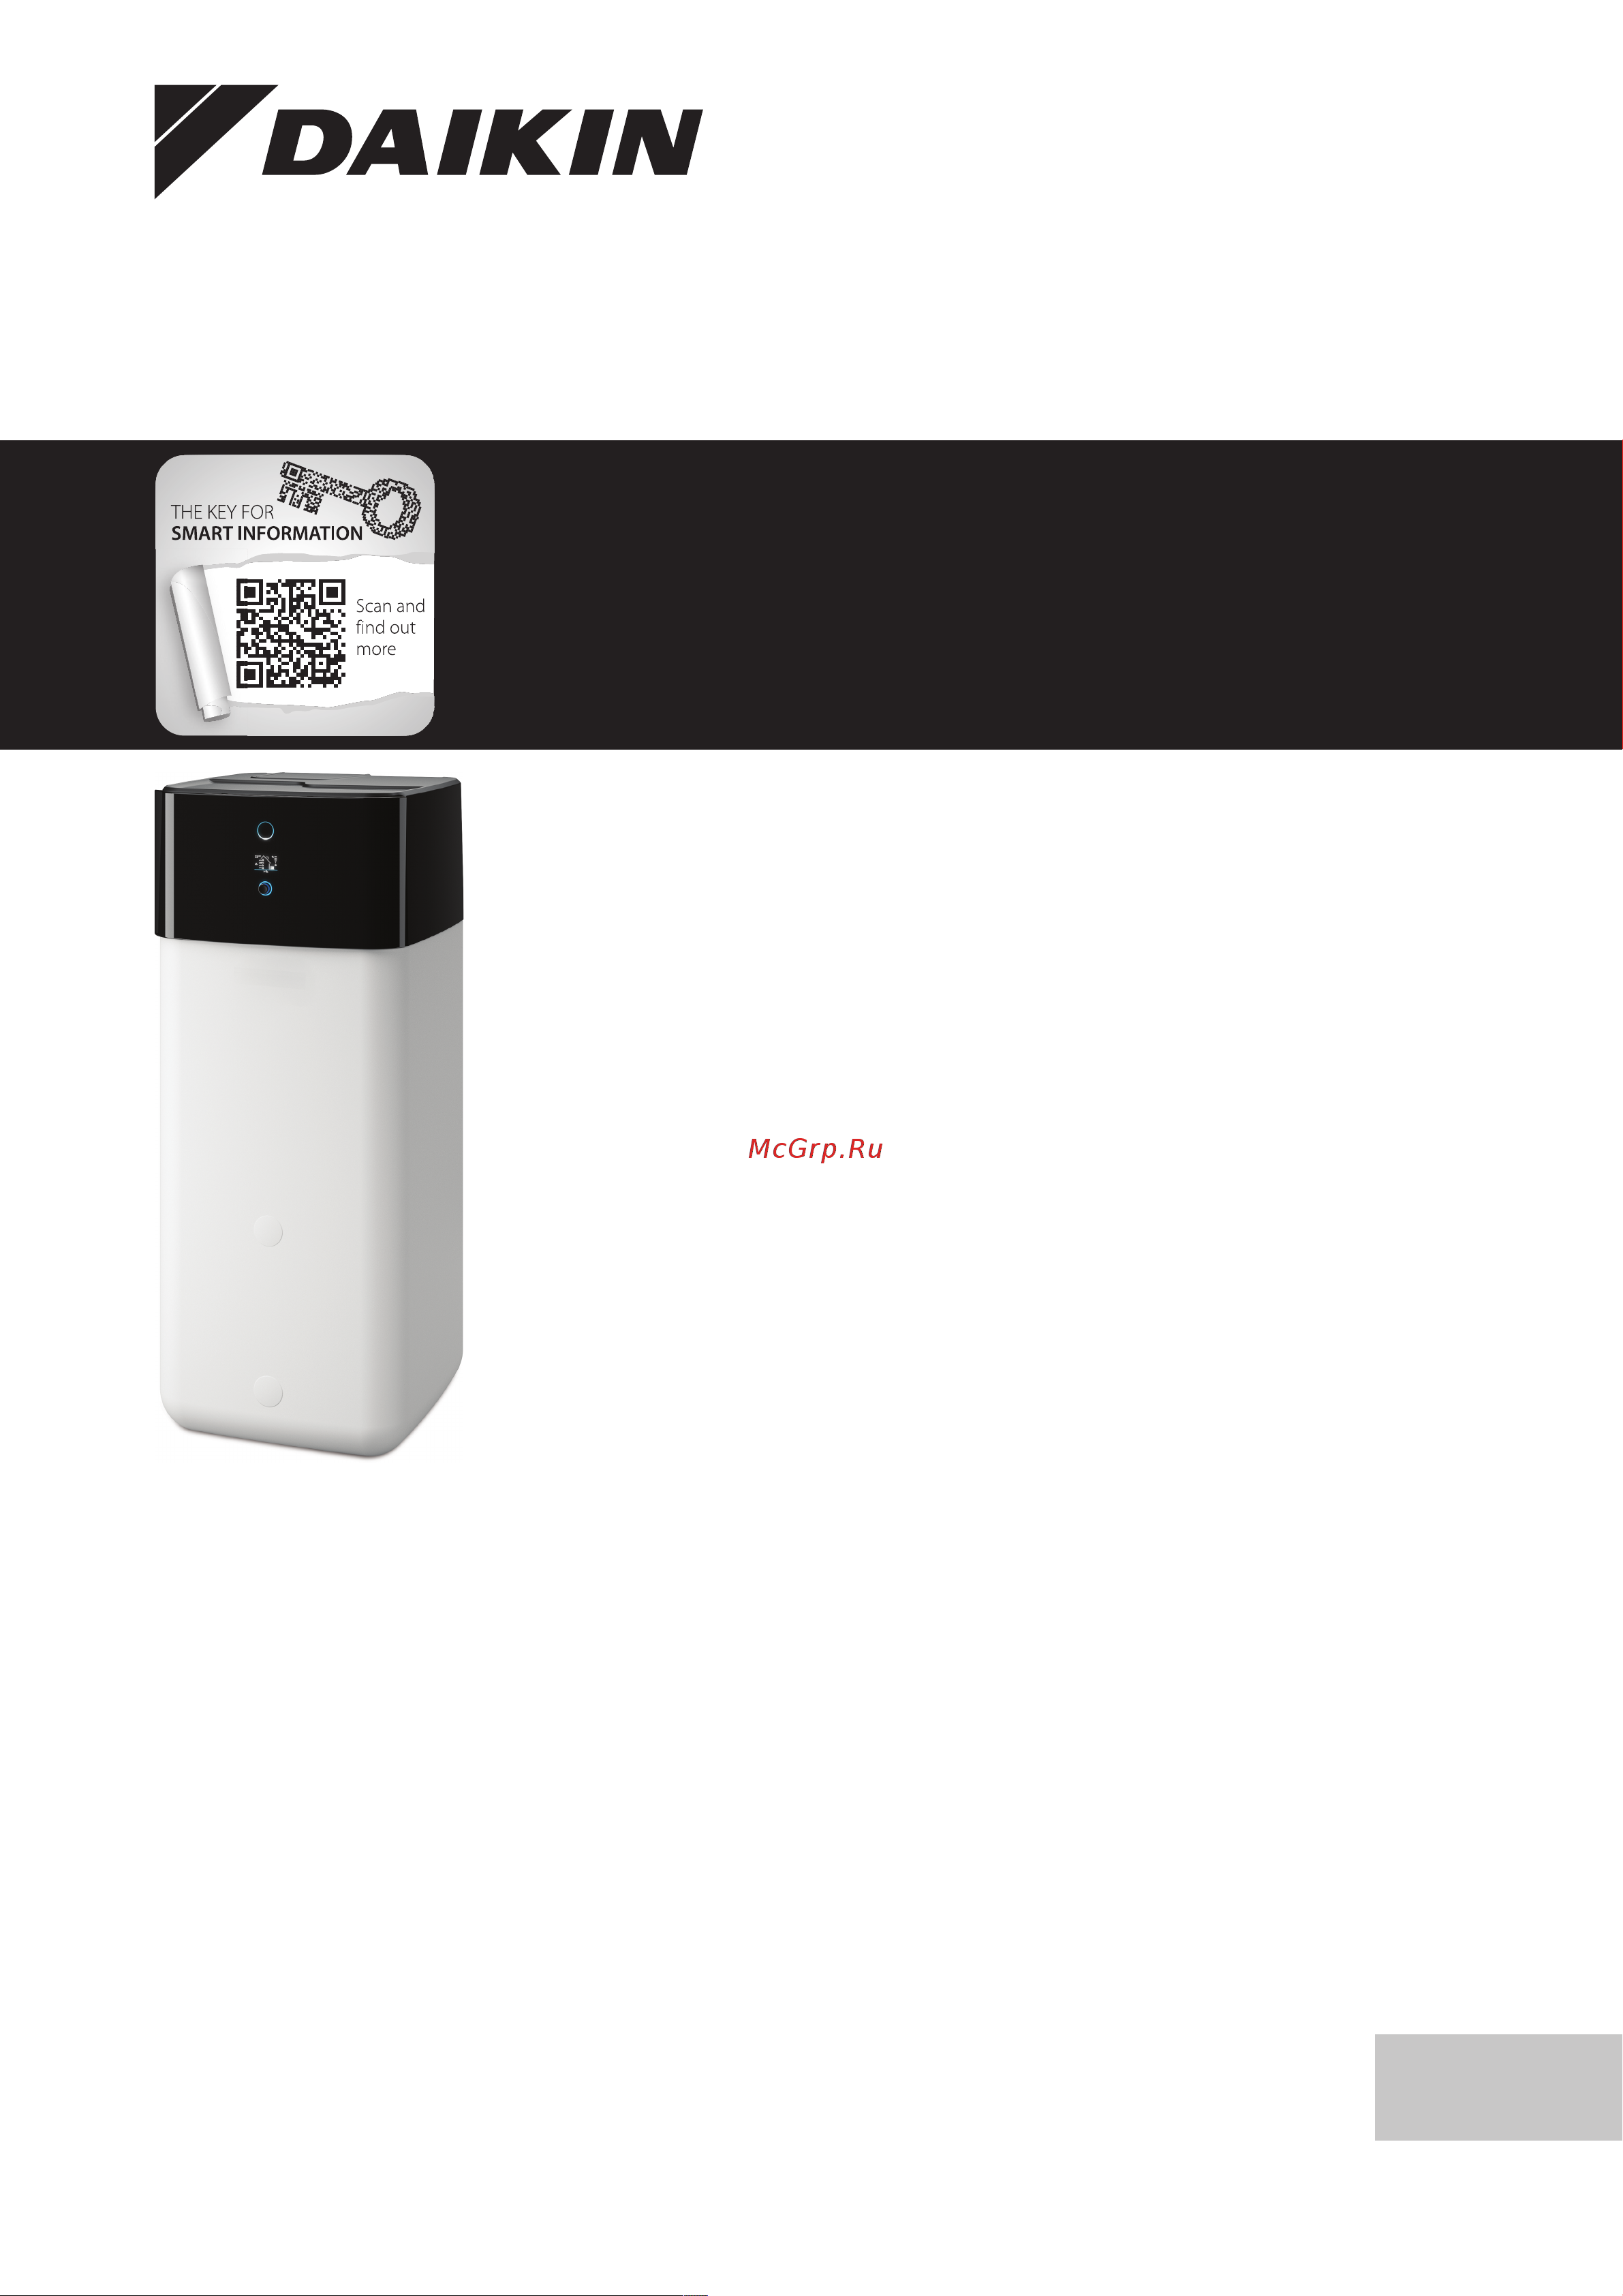
Daikin Altherma 3 R ECH₂O
English
Installation and operating manual
Daikin Altherma 3 R ECH₂O
EHSX(B)04P30D2
EHSX(B)04P50D
EHSH(B)04P30D2
EHSX(B)08P30D2
EHSX(B)08P50D
EHSH(B)08P30D2
EHSH(B)08P50D
Содержание
- Daikin altherma 3 r ech ₂ o 1
- Installation and operating manual 1
- Check list for start up 30 2
- Configuration 29 2
- General safety precautions 3 2
- Installation and operating manual 2
- List of contents 2
- Product description 7 2
- Set up and installation 10 2
- Technical data 33 2
- General safety precautions 3
- Observing the instructions 3
- Particular safety instructions 3
- Before starting any work on the indoor unit and secure against being switched on inadvertently 4
- Devices that have not been set up and installed correctly can impair the function of the device and or cause serious or fatal injury to the user 4
- General 4
- General safety precautions 4
- Meaning of warnings and symbols 4
- Safety instructions for installation and operation 4
- Switch off the external main switch 4
- Up servicing connection and initial commissioning must only be carried out by persons who are authorised and who have successfully completed qualifying technical or vocational training and who have taken part in advanced training sessions recognised by the relevant responsible authorities for the specific activity these include in particular certified heating engineers qualified electricians and hvac specialists who because of their professional training and expert knowledge have experience in the professional installation and maintenance of heating cooling and air conditioning systems as well as hot water storage tanks 4
- Warning 4
- Work on the indoor unit such as set 4
- C and in the extreme case can catch fire 5
- C e g electrical heater oil heater chimney and combustible materials 5
- Caution 5
- Do not leave any tools or other 5
- Does not provide corrosive domestic water suitable water treatment may be required 5
- Environment is not permissible 5
- Exposed to continuous direct sunlight as the uv radiation and the effects of the weather will damage the plastic 5
- General safety precautions 5
- Installation room 5
- Intended use 5
- Load carrying capacity of the ground of 1050 kg 5
- Make sure that the supply company 5
- Not be exposed to weather effects such as rain and snow under any circumstances 5
- Objects below the hood of the device after finishing installation or maintenance work 5
- Only install the indoor unit at a 5
- Only install the indoor unit if sufficient 5
- Outdoor set up is not permissible 5
- Plus safety margin is ensured the ground must be flat horizontal and level 5
- Protected from frost 5
- Set up in an explosion risk 5
- The electronic control system must 5
- The indoor unit must be installed 5
- The storage tank may not be 5
- Warning 5
- Caution 6
- Electrical installation 6
- General safety precautions 6
- Heating system and sanitary connection 6
- If a drainback solar heating 6
- In rooms with ambient temperatures of more than 40 c 6
- Maintenance troubleshooting and decommissioning 6
- Operation 6
- Requirements for heating and storage water 6
- System is connected install the indoor unit far enough under the solar panels to allow complete emptying of the solar heating system follow the instructions in the drainback solar heating system manual an insufficient height difference may lead to destruction of the drainback solar heating system 6
- The indoor unit must not be operated 6
- Design and components 7
- Product description 7
- Warranty conditions 7
- 2 2 design and components top of the device 8
- 3 design 2 3 design and components internal 8
- Internal structure 04p30d 08p30d 8
- Product description 8
- Structure 4p30d 8p30d biv 8
- Upper side of the device 8
- 4 design 2 4 design and components internal 9
- Internal structure 04p50d 08p50d 9
- Product description 9
- Structure 4p50d 8p50d biv 9
- 2 5 function of 3 way changeover valve 10
- Connection and initial commissioning for example must only be carried out by persons who are authorised who have successfully completed qualifying technical or vocational training for the respective activity and who have taken part in advanced training sessions recognised by the relevant responsible authority these include in particular certified heating engineers qualified electricians and hvac specialists who because of their professional training and expert knowledge have experience in the professional installation and maintenance of heating cooling and air conditioning systems and heat pumps 10
- Cooling systems heating pumps climate control systems and heating devices that have been set up and installed incorrectly can both endanger human life and health and be impaired in their function 10
- Function of the 3 way changeover valves 10
- Incorrect set up and installation would render the manufacturer s guarantee for the unit void if you have questions please contact our technical customer service 10
- Set up and installation 10
- Warning 10
- Work on the indoor unit such as set up repair 10
- 3 1 dimensions 04p30d 08p30d 11
- 3 2 dimensions 04p50d 08p50d 11
- Dimensions 04p30d 08p30d 11
- Dimensions 04p50d 08p50d 11
- Dimensions and connection dimensions 11
- Set up and installation 11
- Installing the device 12
- Installing the heat pump 12
- Selecting the installation site 12
- Set up and installation 12
- Transport and delivery 12
- Preparing the device for installation 13
- Remove the front screen 13
- Remove the protective cover 13
- Set up and installation 13
- Moving the switch box to the service position 14
- Open the switch box 14
- Removing the bottom thermal insulation 14
- Set up and installation 14
- Aligning the connections of the heating inflow and return flow 15
- Opening the air purge valve 15
- Set up and installation 15
- Making the hood opening 16
- Set up and installation 16
- Installation of electric backup heater ekbuxx 17
- Installation of the external heat generator connection set ekbuhswb 17
- Installing optional accessories 17
- Installing the rotary switch of the controller 17
- Securing the hood 17
- Set up and installation 17
- Installation of the db connection kit 18
- Installation of the p connection kit 18
- Set up and installation 18
- Water connection 18
- Connecting hydraulic lines 19
- Minimum water volume 19
- Set up and installation 19
- Connecting the drain 20
- Electrical connection 20
- Set up and installation 20
- 3 31 overall connection diagram for the electrical connection during the device installation for the legend and pin assignment of the pcb 21
- Overall connection diagram 21
- See 6 electrical connection diagram 4 36 21
- Set up and installation 21
- Connecting the heat pump outdoor unit 22
- General information on the electrical connection 22
- Mains connection 22
- Position of the pcbs and terminal strips 22
- Set up and installation 22
- Connecting the outdoor temperature sensor optional 23
- Eba external requirement request 23
- External switching contact 23
- Set up and installation 23
- Connecting an external heat generator 24
- Connecting the room thermostat 24
- Set up and installation 24
- Connecting the hp convector 25
- Connection of optional rocon system components 25
- Set up and installation 25
- Connecting switching contacts aux outputs 26
- Low rate mains connection ht nt 26
- Set up and installation 26
- Connecting an intelligent controller smart grid sg 27
- Connection for refrigerant 27
- Laying refrigerant piping 27
- Pressure test and filling the refrigerant circuit 27
- Set up and installation 27
- Checking the water quality and adjusting the manometer 28
- Filling hot water heat exchangers 28
- Filling the heating system 28
- Filling the storage tank 28
- Filling the system 28
- Set up and installation 28
- Configuration 29
- Bleeding the hydraulic system 30
- Check list for start up 30
- Commissioning at low ambient temperatures 30
- Requirements 30
- Check list for start up 31
- Checking the minimum flow 31
- Commissioning checklist 31
- Start screed drying only if required 31
- Check list for start up 32
- Handover to the operating company 32
- 20 10 0 10 20 30 40 50 60 70 80 90 100 110 120 33
- 6 1 temperature sensor 33
- 6 1 type plate 33
- 6 2 characteristic of temperature sensor 33
- 6 3 characteristic of temperature sensor 33
- Characteristic lines 33
- Information on the type plate 33
- Measured temperature in c 33
- Ntc 65 1 39 25 16 9 10 2 7 76 4 6 3 97 2 12 1 38 1 69 33
- Ntc 98 6 56 5 33 1 20 4 12 1 8 0 5 2 3 6 2 3 1 8 1 8 0 3 0 9 0 2 0 6 33
- Part of the current technical data is available on the regional daikin website publicly accessible the complete technical data is available via the daikin business portal authentication required 33
- Sensor characteristic lines 33
- Sensor resistance in kohm according to standard or manufacturer s indications 33
- Technical data 33
- Characteristic curves for pumps 34
- Minimum floor area and ventilation openings 34
- Technical data 34
- Tightening torques 34
- Technical data 35
- 6 6 electrical connection diagram 36
- Electrical connection diagram 36
- Technical data 36
- Technical data 37
- 6 7 components in the heat pump circuit 38
- Piping diagram for refrigerant circuit 38
- Technical data 38
Похожие устройства
- Daikin EHSHB04P30DA Схема
- Daikin EHSHB04P30DA Инструкция по эксплуатации
- Daikin EHSHB04P30DA Руководство по эксплуатации
- Daikin EHSHB04P30DA Руководство по применению для пользователя
- Daikin EHSHB04P30DA Инструкция по монтажу
- Daikin EHSHB04P30DA Руководство по монтажу
- Daikin EHSHB08P30DA Схема
- Daikin EHSHB08P30DA Инструкция по эксплуатации
- Daikin EHSHB08P30DA Руководство по эксплуатации
- Daikin EHSHB08P30DA Руководство по применению для пользователя
- Daikin EHSHB08P30DA Инструкция по монтажу
- Daikin EHSHB08P30DA Руководство по монтажу
- Daikin EHSHB08P50DA Схема
- Daikin EHSHB08P50DA Инструкция по эксплуатации
- Daikin EHSHB08P50DA Руководство по эксплуатации
- Daikin EHSHB08P50DA Руководство по применению для пользователя
- Daikin EHSHB08P50DA Инструкция по монтажу
- Daikin EHSHB08P50DA Руководство по монтажу
- Daikin EHSHB08P50DA7 Схема
- Daikin EHSHB08P50DA7 Инструкция по эксплуатации