![Aerofit IT9308 [14/25] 页面 14](/img/pdf.png)
Aerofit IT9308 [14/25] 页面 14
Превью страниц
Страница 14 /
25
![Aerofit IT9308 [14/25] 页面 14](/views2/1134981/page14/bge.png)
─ 14 ─
AssemblyAssembly
STEP 4
1. Insert the Leg Arm (#6) and the Leg Arm (#5) to the Φ25*364 Pivot
Axle (#19) and the Φ25*449 Pivot Axle (#18), then attach the Pivot Actuator
Plate (#14) to the Leg Arm (#6) and the Leg Arm (#5) using:
two Φ11*Φ20*2 Flat Washers (#71) two M10 Nylon lock Nuts (#94)
2. Attach the Pivot Axle Support Tube (#7) to the Φ25*364 Pivot Axle (#19) and
the Φ25*449 Pivot Axle (#18) using:
two M10*25 HHB (#84) two Φ11*Φ20*2 Flat Washers (#71)
3. Attach the Connect Tube (#4) to the Pivot Axle Support Tube (#7) and the
Rear Frame (#3) using:
two M10*75 HHB (#80) two M10*80 HHB (#81)
eitht Φ11*Φ20*2 Flat Washers (#71) four M10 Nylon lock Nuts (#94)
4. Attach the Handle (#8) to the Connect Tube (#4) using:
two M10*75 FHCS (#75) two M10*80 HHB (#81)
six Φ11*Φ20*2 Flat Washers (#71) four M10 Nylon lock Nuts (#94)
Note: Wrench Tighten Βolts and Nylon Lock nuts.
5. Attach four □50 Plugs (#61) to the Bottom Cross Brace (#2) and the Pivot Axle
Support Tube (#7).
Left Right
Left Right
Содержание
Похожие устройства
-
 Aerofit CTH1100Руководство пользователя
 -
 Aerofit CAB1000Руководство пользователя
 -
 Aerofit CSP900Руководство пользователя
 -
 Aerofit CPD800Руководство пользователя
 -
 Aerofit CAC700Руководство пользователя
 -
 Aerofit CLP600Руководство пользователя
 -
 Aerofit CLE500Руководство пользователя
 -
 Aerofit CBC400Руководство пользователя
 -
 Aerofit CBP300Руководство пользователя
 -
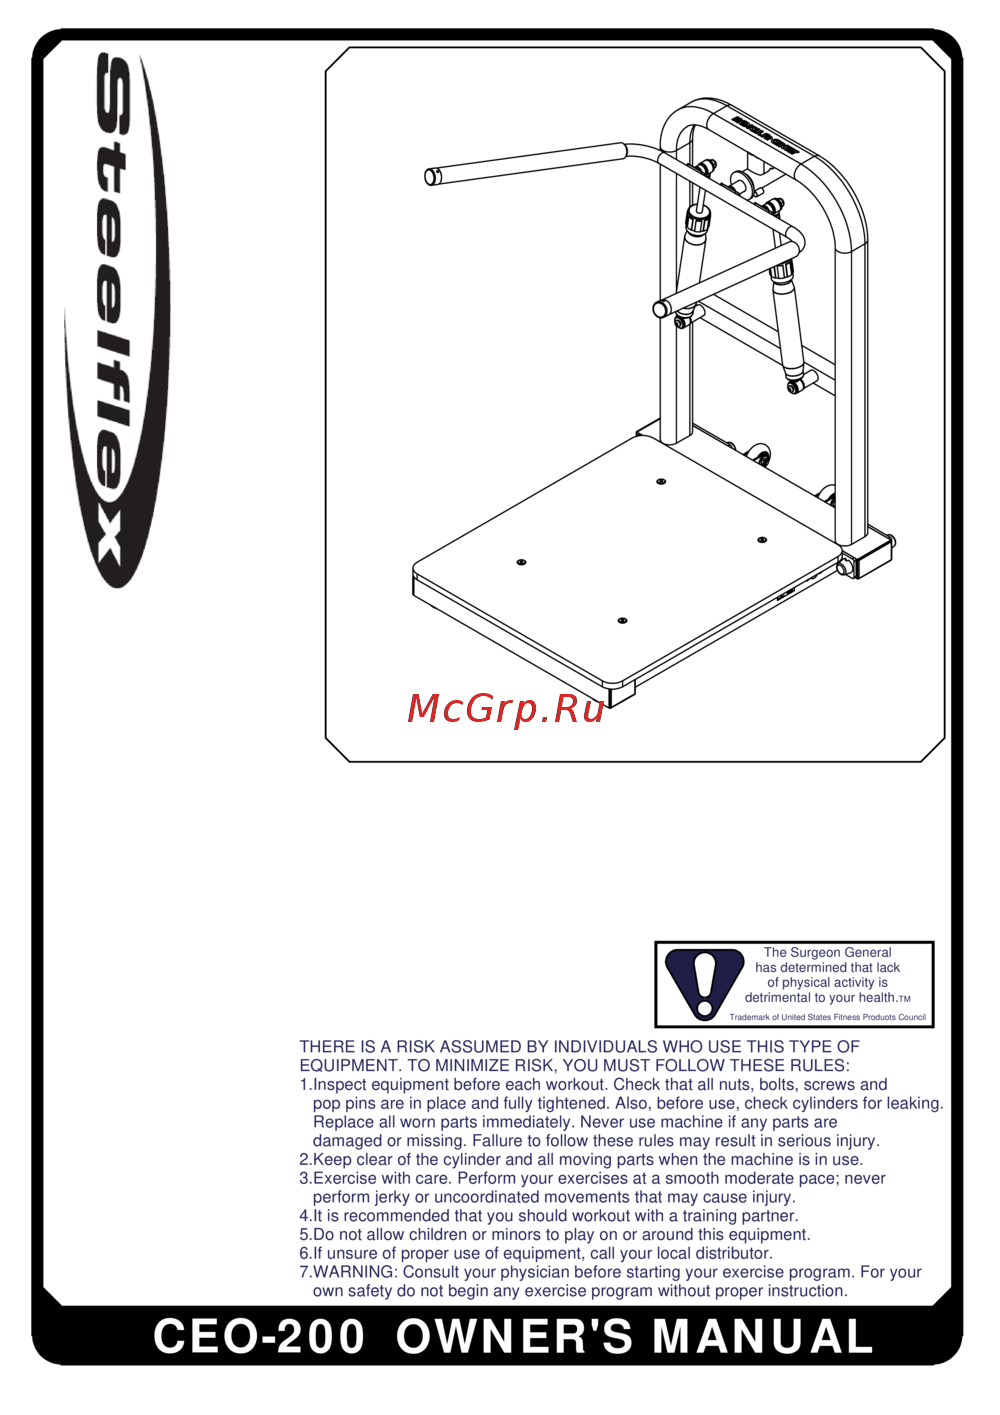 Aerofit CEO200Руководство пользователя
 -
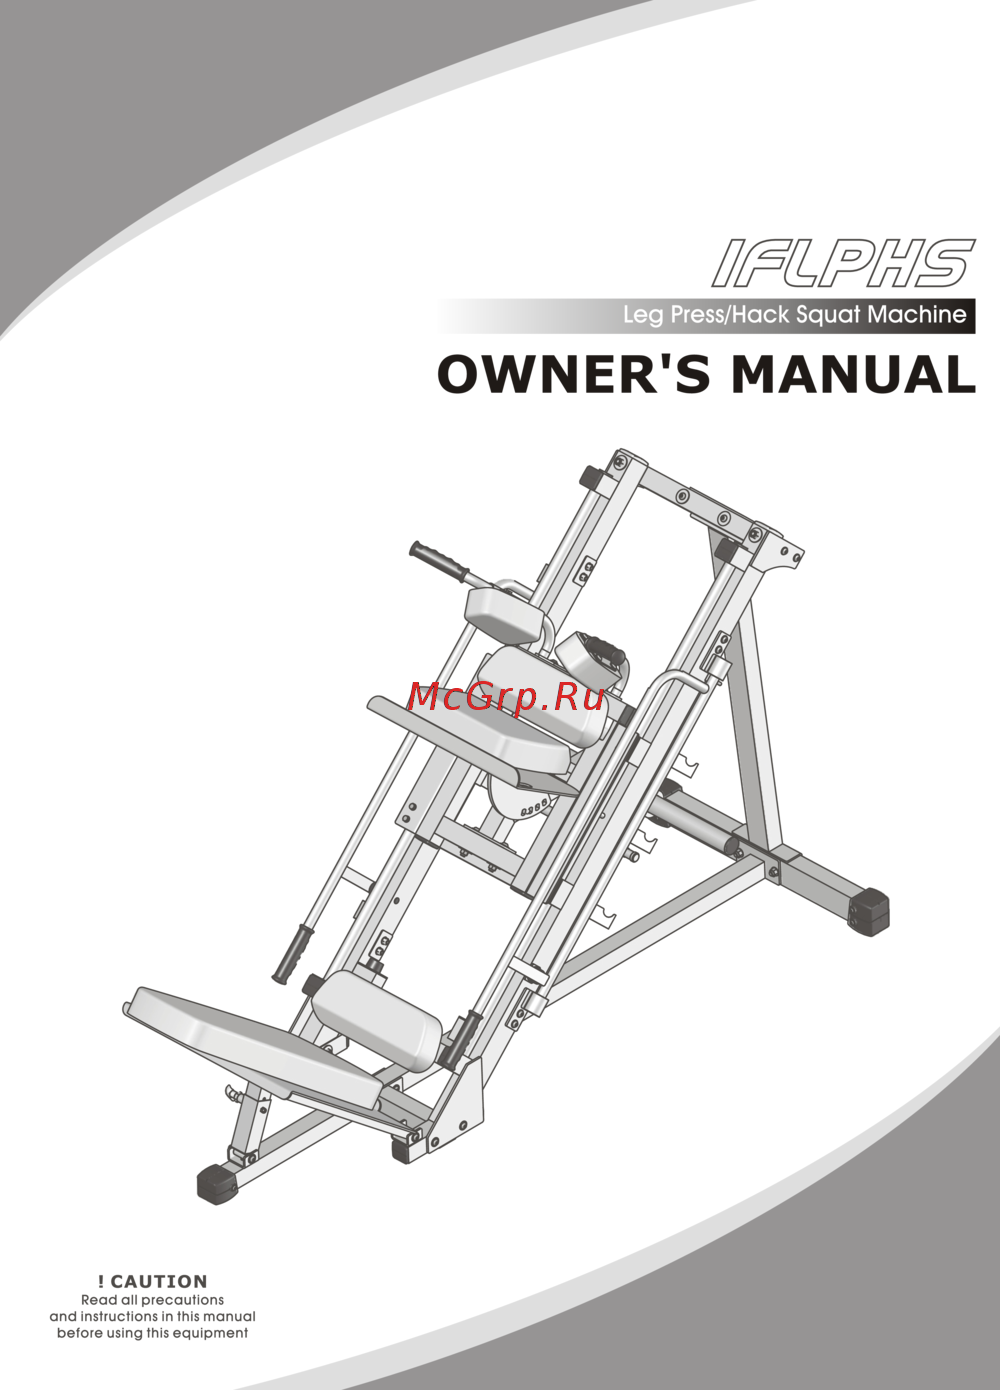 Aerofit IFLPHSРуководство пользователя
 -
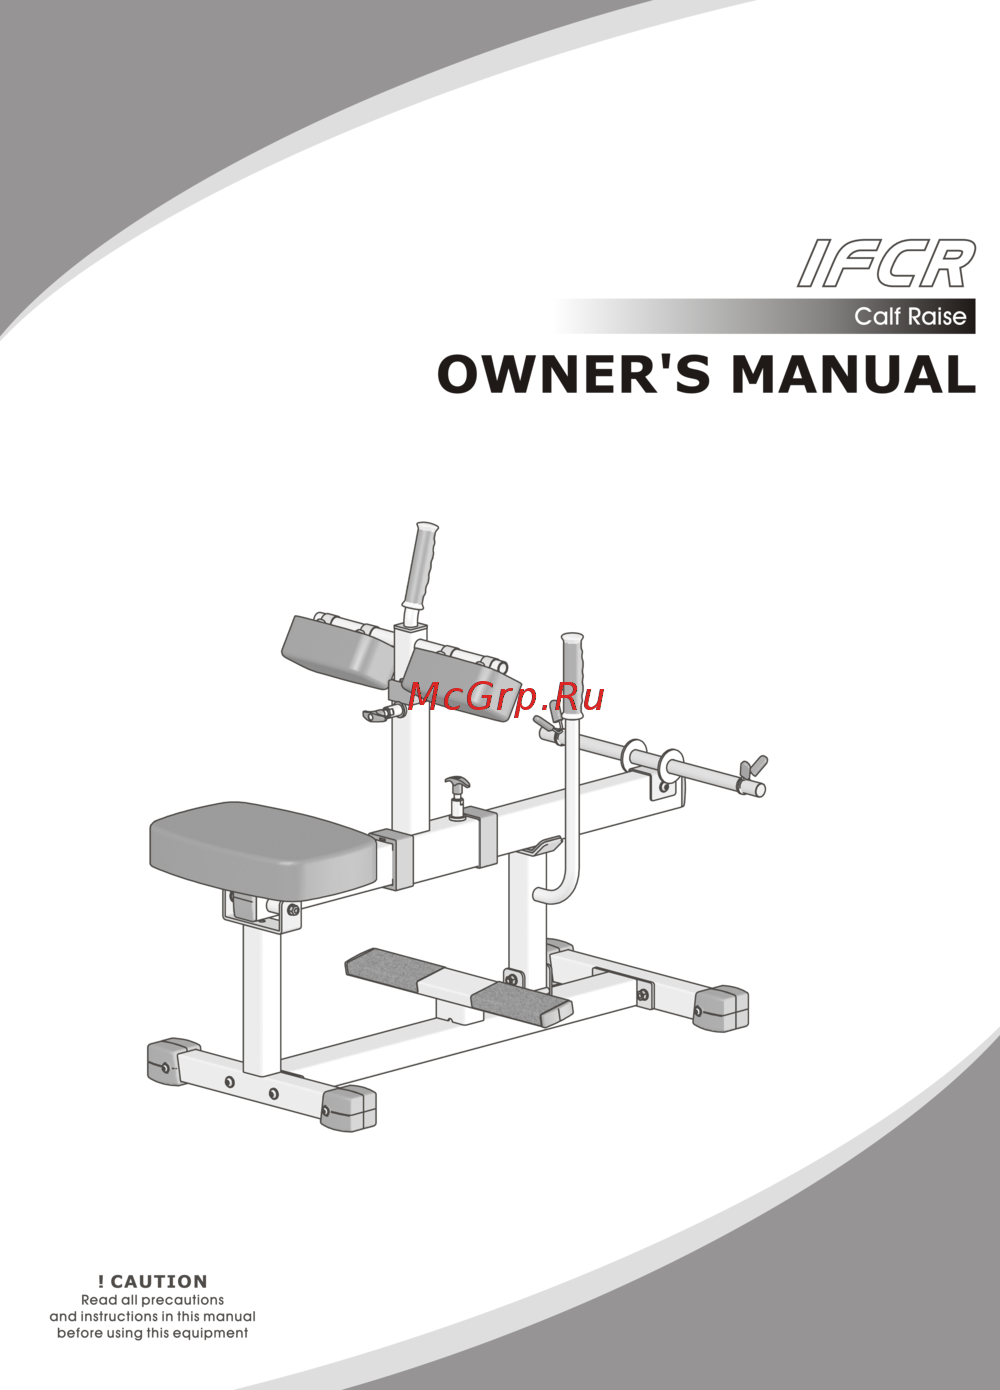 Aerofit IFCRРуководство пользователя