
Nec Mobile Single Trolley PDMHM-L Руководство по эксплуатации онлайн
INSTALLATION INSTRUCTIONS
Instrucciones de instalación
Installationsanleitung
Instruções de Instalação
Istruzioni di installazione
Installatie-instructies
Instructions d´installation
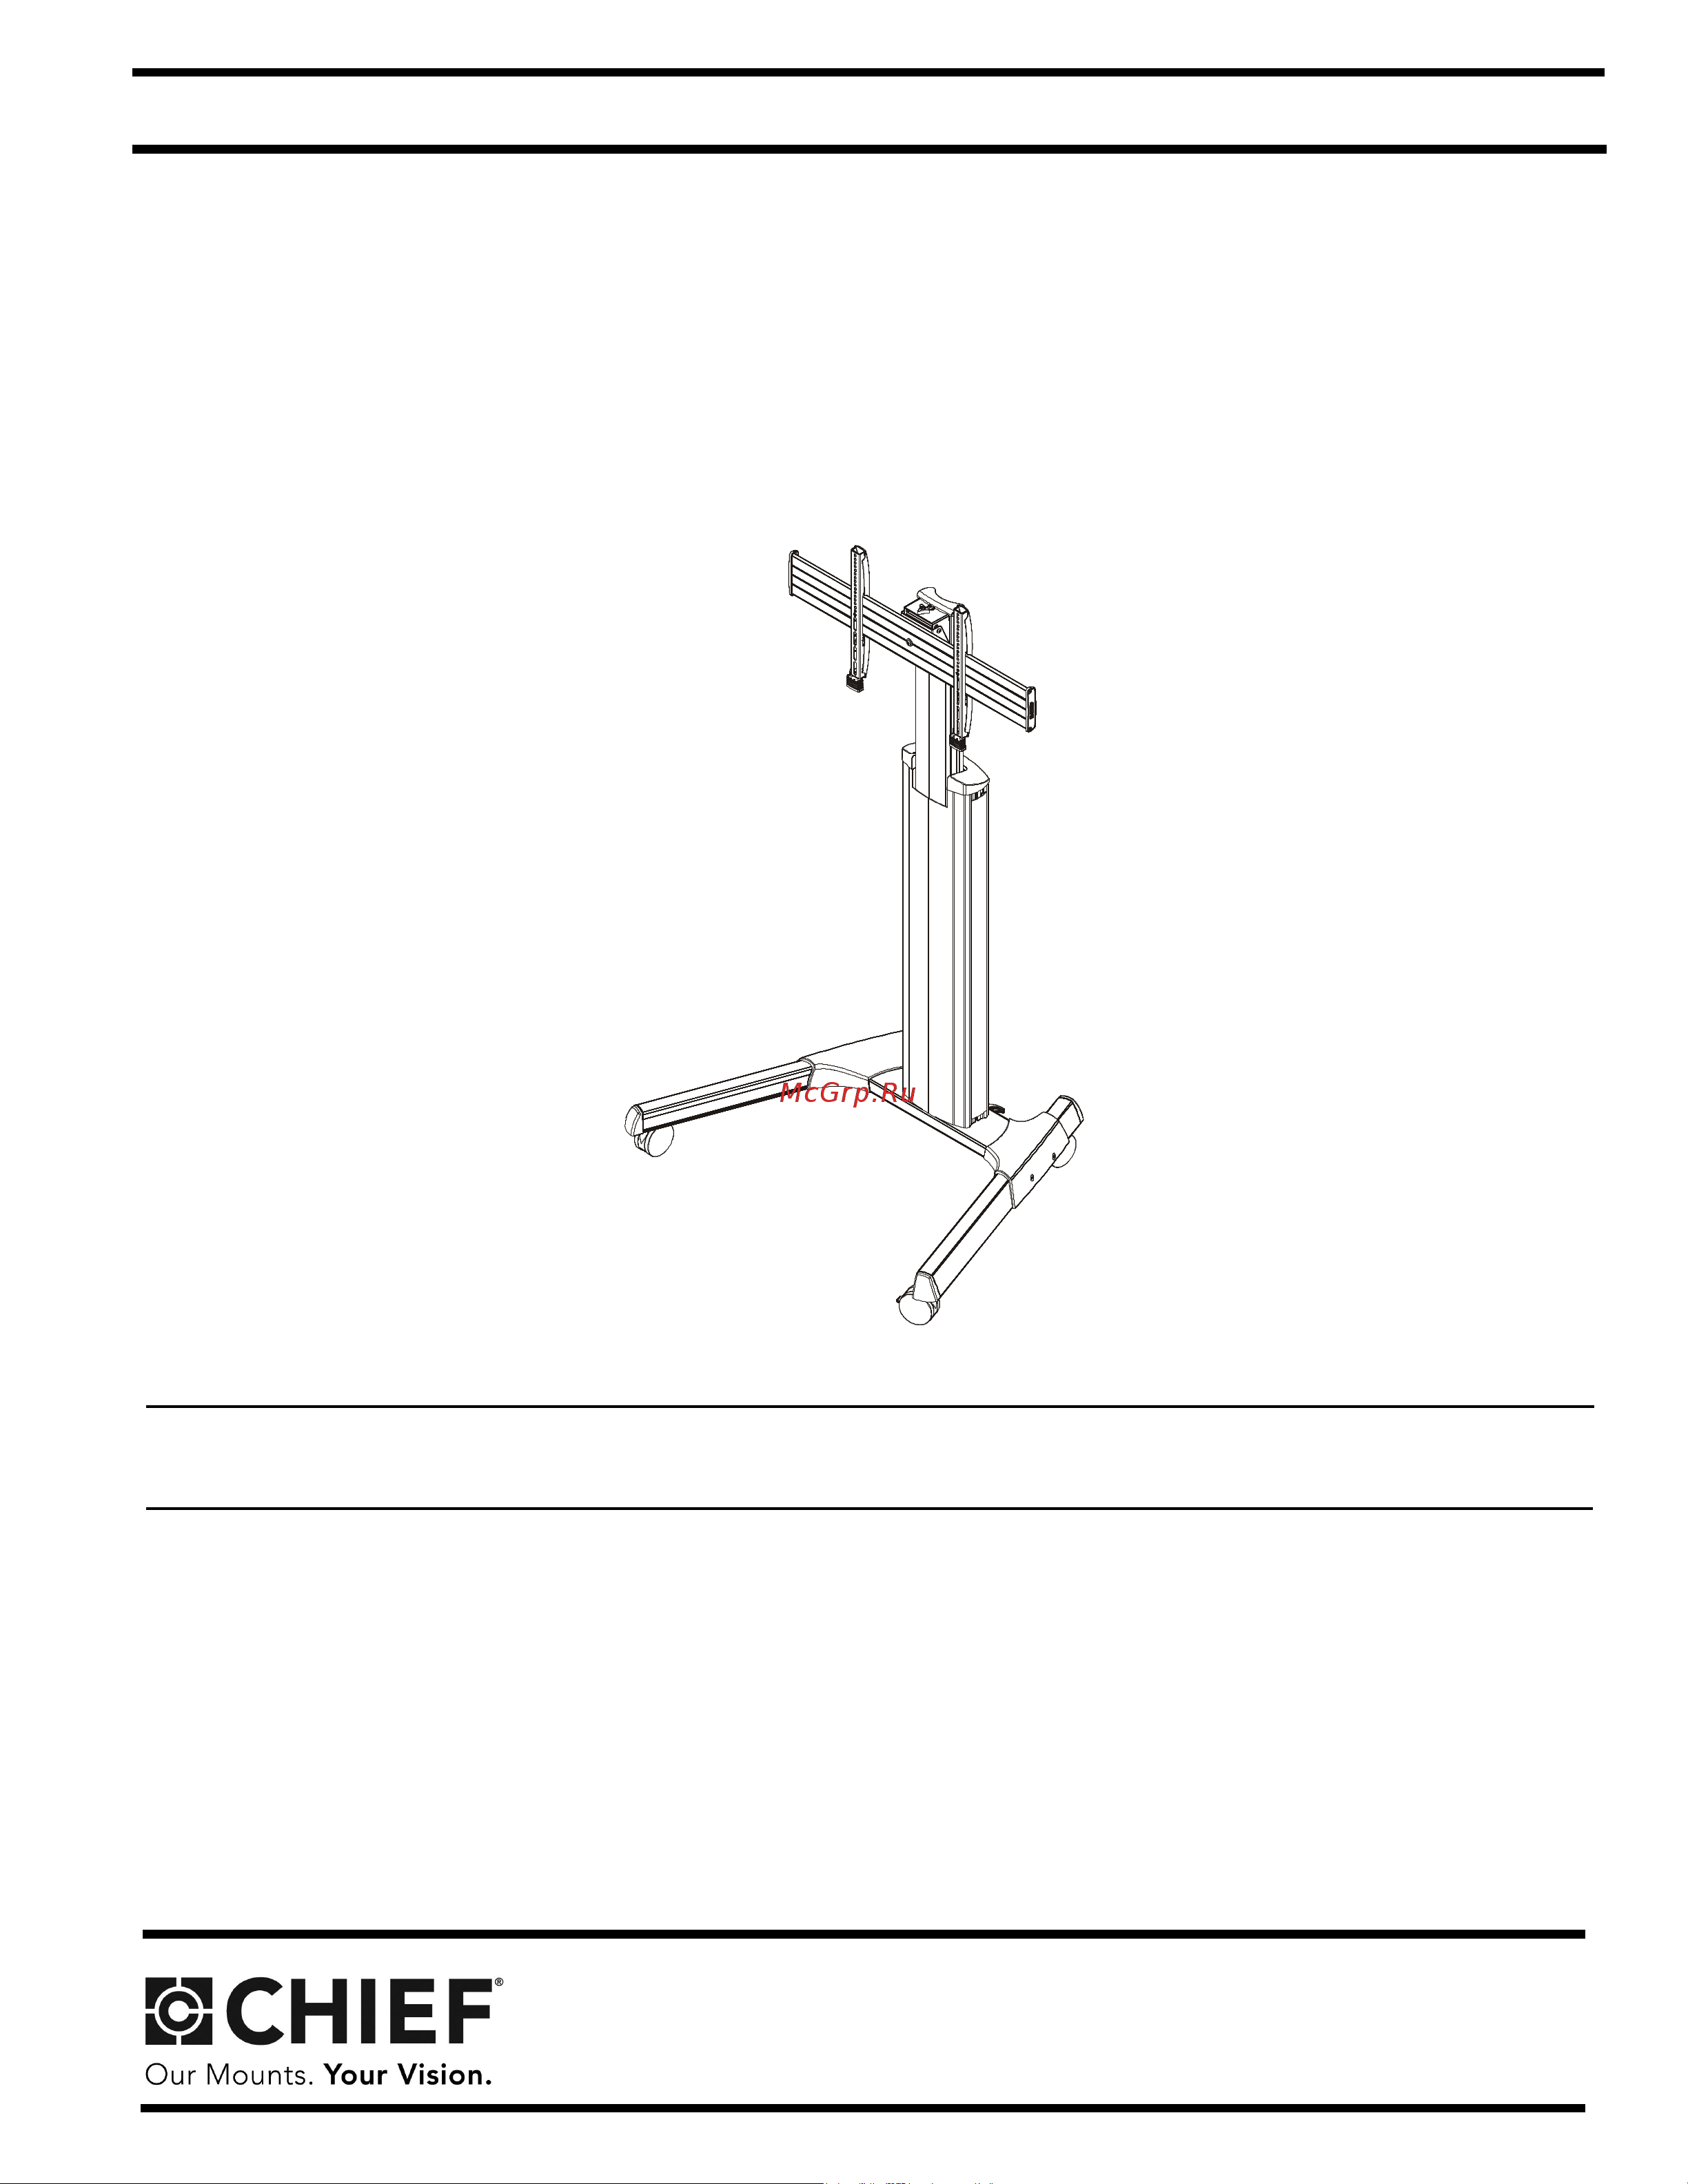
Height Adjustable Video Cart
Spanish Product Description
German Product Description
Portuguese Product Description
Italian Product Description
Dutch Product Description
French Product Description
LPAU
Содержание
- Height adjustable video cart 1
- I n s t a l l a t i o n i n s t r u c t i o n s 1
- Spanish product description german product description portuguese product description italian product description dutch product description french product description 1
- Caution 2
- Disclaimer 2
- Important safety instructions 2
- Lpau installation instructions 2
- Save these instructions 2
- Warning 2
- Dimensions 3
- Installation instructions lpau 3
- Legend 4
- Lpau installation instructions 4
- Installation instructions lpau 5
- Tools required for installation 5
- Assembly and installation 6
- Cart assembly 6
- Caution 6
- Figure 1 6
- Figure 2 6
- Figure 3 6
- Figure 4 6
- Lpau installation instructions 6
- Rear view 6
- Caution 7
- Center of uprights b are as close to the center of the back of display as possible after being installed center of bracket is indicated by the diamond shaped hole 7
- Display installation 7
- Figure 5 7
- If mounting holes are not recessed and both uprights b can lay flat against display then no spacers are required if mounting holes are recessed or if protrusions prevent uprights b from laying flat then spacers tl or tm must be used 7
- Installation instructions lpau 7
- Proper screw length requires base of screw head to protrude above flat washer a distance equal to or greater than the screw diameter if screw length is inadequate select longer screw select shortest screw which will protrude the required distance 7
- Tl or tm 7
- Using your hand insert shortest length screw of selected diameter ta td tg or ti through universal washer tn uprights b selected spacer tl or tm into display mounting hole do not thread screw into hole at this time 7
- Warning 7
- Figure 6 8
- Figure 7 8
- Figure 8 8
- Figure 9 8
- Important in order to ensure an even mount install uprights to be centered over column assembly do not install both uprights to the same side of column assembly see figure 7 8
- Lpau installation instructions 8
- Warning 8
- Cable management 9
- Figure 10 9
- Figure 11 9
- Figure 12 9
- Figure 13 9
- Installation instructions lpau 9
- Adjustments 10
- Cable hooks 10
- Figure 14 10
- Figure 15 10
- Figure 16 10
- Height adjustment 10
- Lpau installation instructions 10
- Rear view 10
- Under bracket 10
- Warning 10
- Figure 17 11
- Installation instructions lpau 11
- Pitch adjustment 11
- Roll adjustment 11
- Lpau installation instructions 12
Похожие устройства
- Nec NEC Indoor Totem Руководство по эксплуатации
- Samsung 2343NW Руководство по эксплуатации
- Samsung 720XT Руководство по эксплуатации
- Toshiba Satellite C70-A-M3W Руководство по эксплуатации
- Sven Comfort 4200 Инструкция по эксплуатации
- Defender Warhead GM-1110 Руководство по эксплуатации
- Defender Warhead GM-1100 Руководство по эксплуатации
- Gigabyte U2142 Руководство по эксплуатации
- Defender Warhead GK-1100 Руководство по эксплуатации
- A4Tech KX-5MU Руководство по эксплуатации
- Gigabyte T1125N Руководство по эксплуатации
- Gigabyte T1125P Руководство по эксплуатации
- Lenovo B4311 Инструкция по эксплуатации
- Lenovo B4315 Инструкция по эксплуатации
- Lenovo B4310 Инструкция по эксплуатации
- Lenovo B4318 Инструкция по эксплуатации
- Lenovo B4317 Инструкция по эксплуатации
- Lenovo B4319 Инструкция по эксплуатации
- Lenovo B4316 Инструкция по эксплуатации
- Acer TravelMate 6594e Инструкция по эксплуатации