
Nec U300X Инструкция по эксплуатации онлайн
Projector
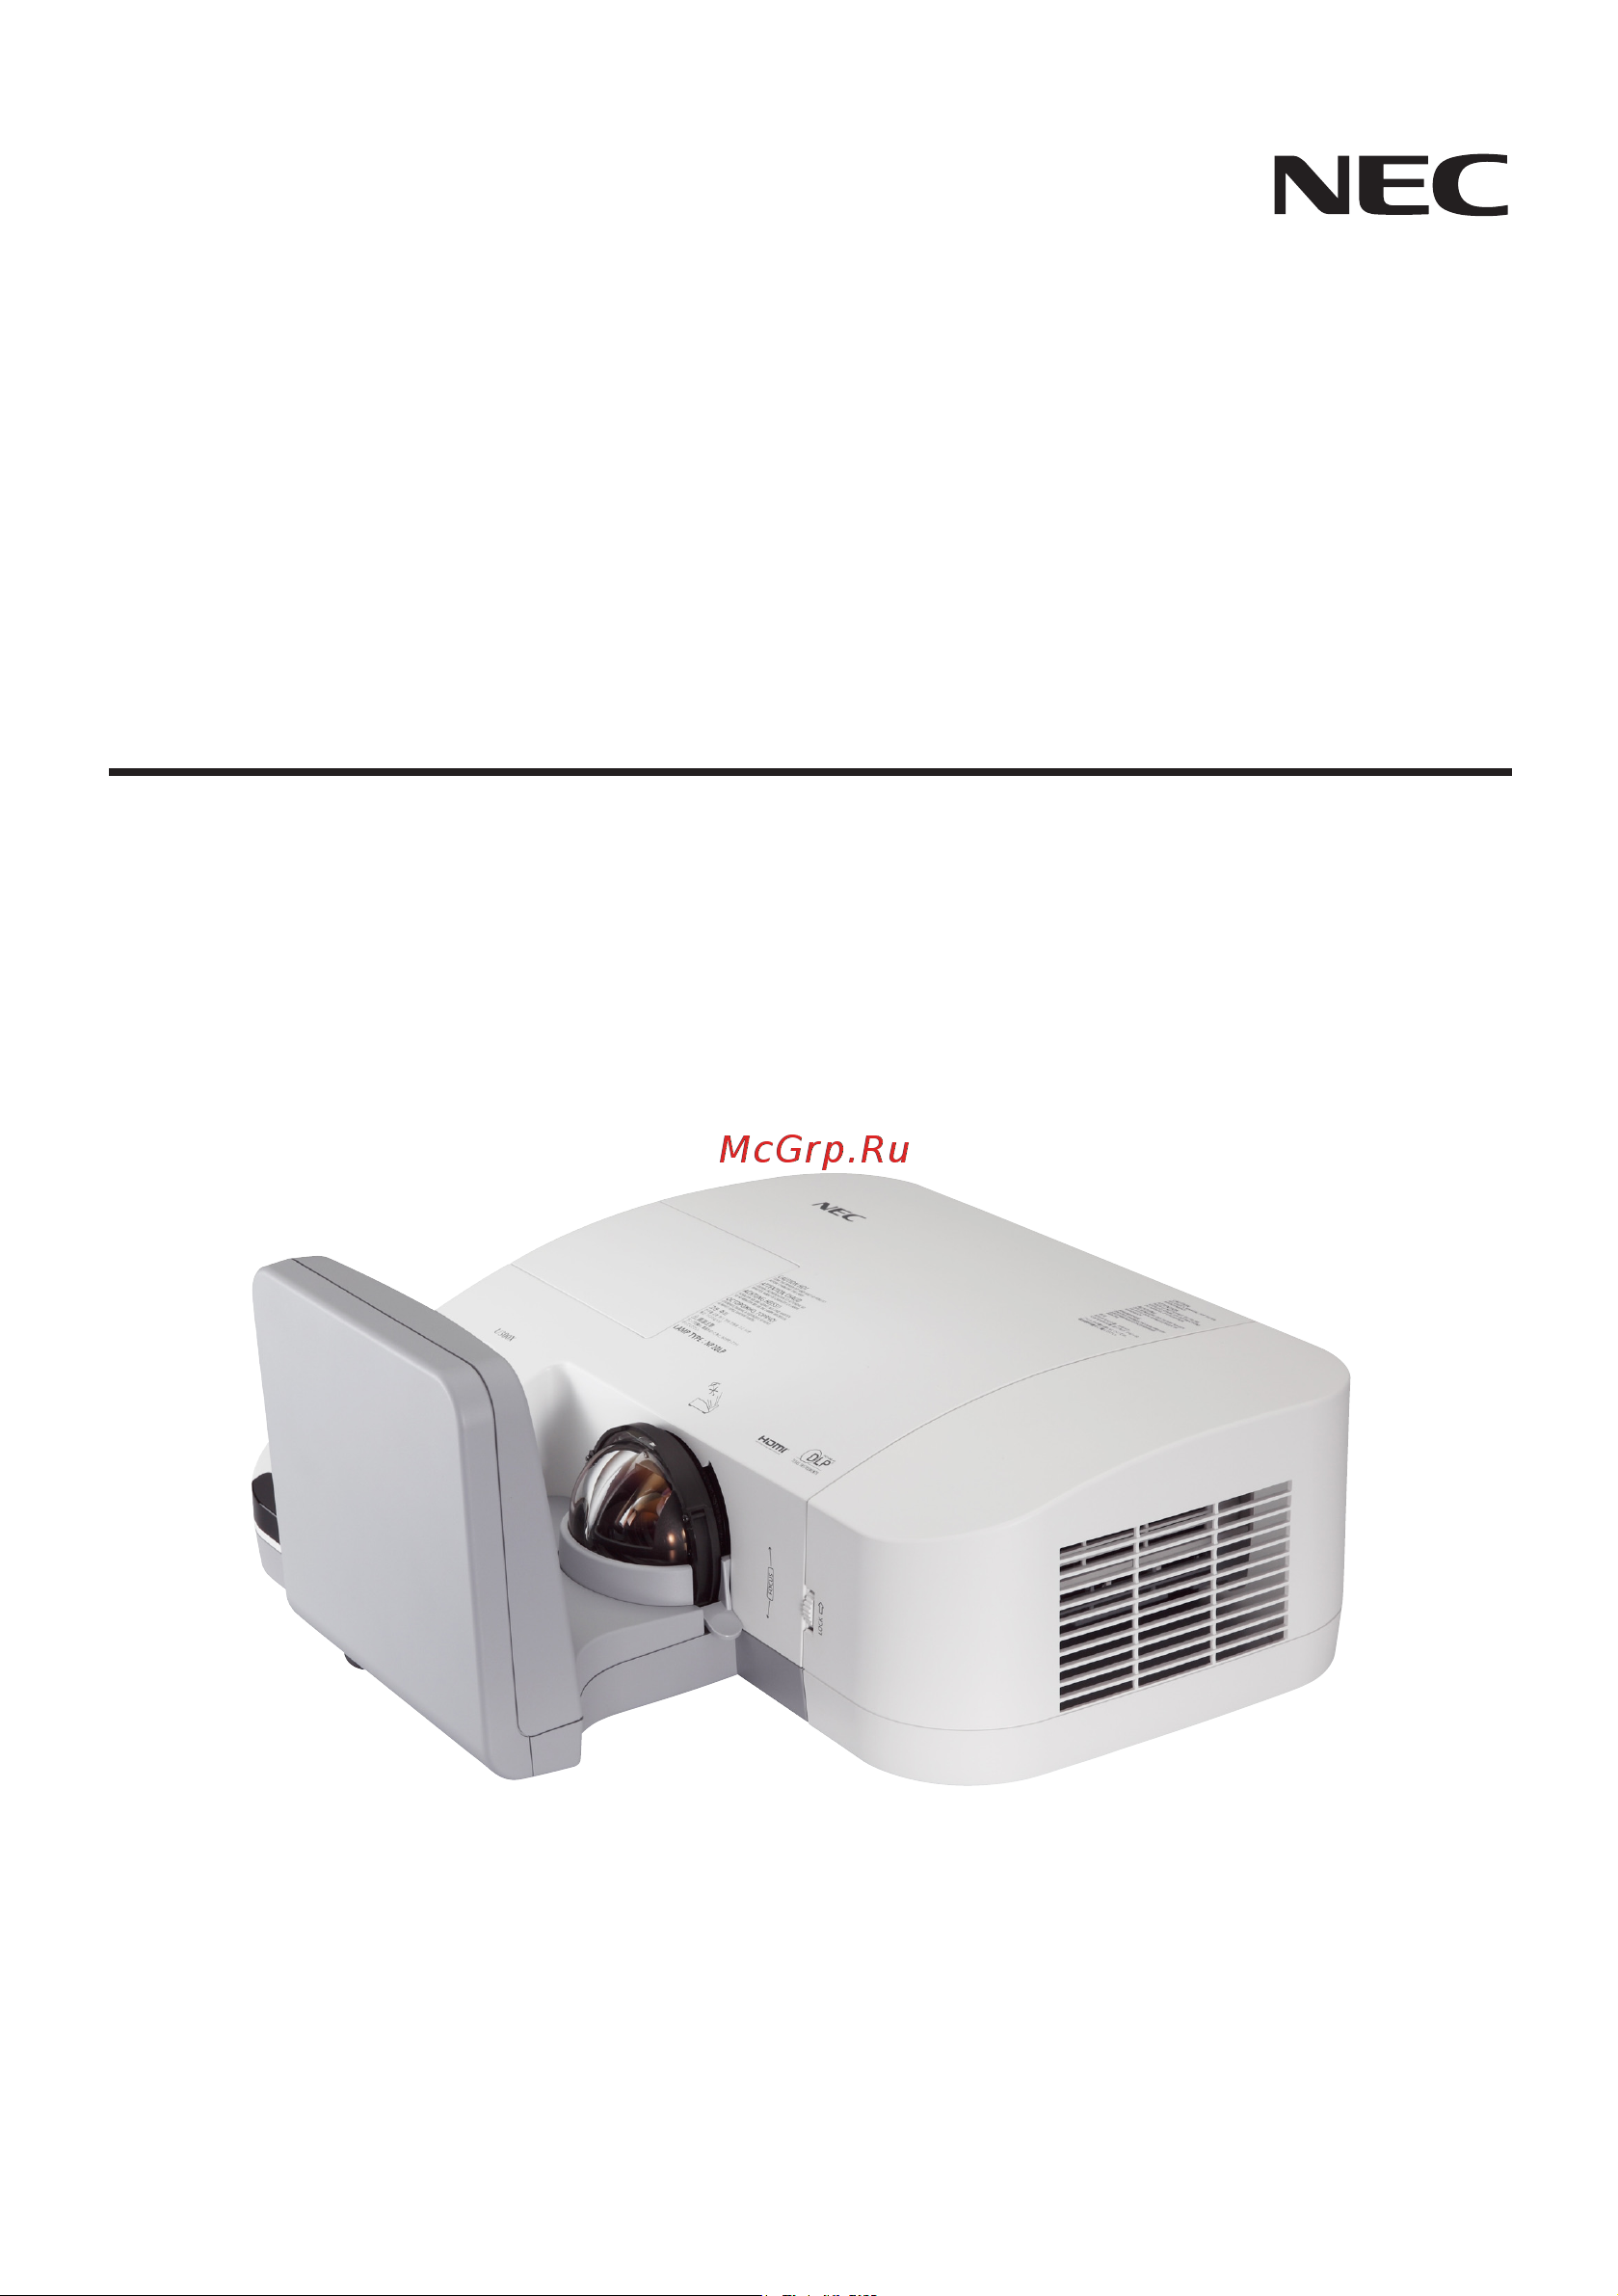
U300X/U250X
U310W/U260W
User’s Manual
The U250X and U260W are not distributed in North America.
Model No.
NP-U300X/NP-U250X
NP-U310W/NP-U260W
Содержание
- Projector 1
- U300x u250x u310w u260w 1
- User s manual 1
- Disposing of your used product 3
- Doc compliance notice for canada only 3
- I english 3
- Important information 3
- Machine noise information regulation 3 gpsgv 3
- Precautions 3
- Safety cautions 3
- Ii english 4
- Important information 4
- Important safeguards 4
- Installation 4
- Place the projector in a horizontal position 4
- Rf interference for usa only 4
- Warning 4
- Fire and shock precautions 5
- Iii english 5
- Important information 5
- A lamp characteristic 6
- Caution 6
- Health precautions to users viewing 3d images 6
- Important information 6
- Iv english 6
- Lamp replacement 6
- Note for us residents 6
- Remote control precautions 6
- About copyright of original projected pictures 7
- About high altitude mode 7
- Important information 7
- V english 7
- Adjusting the projected image 8 8
- Appendices 5 8
- Ceiling mount installation 8 cabinet dimensions 9 pin assignments of d sub computer input connector 0 pc control codes and cable connection 1 troubleshooting check list 2 tco certification 4 8
- Connecting the projector 3 8
- English 8
- Installation 3 8
- Introduction 8
- On screen display 1 8
- Powering on off the projector 5 8
- Precautions 8
- Product features package overview product overview 8
- Table of contents 8
- Table of contents usage notice 8
- Troubleshooting 5 cleaning the filter 0 replacing the lamp 1 cleaning procedure for the aspherical mirror and lens 3 specifications 4 compatibility modes 6 8
- User controls 1 8
- English 9
- Follow all warnings precautions and maintenance as recom mended in this user s guide to maximize the life of your unit 9
- High gain type screens are not optimal for use with this projector the lower the screen gain i e screen gain on the order of 1 the better the appearance of the projected image 9
- Precautions 9
- This device is not intended for use in the direct field of view at visual display workplaces to avoid incommoding reflec tions at visual display workplaces this device must not be placed in the direct field of view 9
- Turkish rohs information relevant for turkish market eee yonetmeliğine uygundur 9
- Usage notice 9
- Do not 10
- English 10
- Usage notice 10
- Introduction 11
- Product features 11
- Projector outstanding features include 11
- This product is an xga wxga single chip 0 5 0 5 dl 11
- Introduction 12
- Package overview 12
- This projector comes with all the items shown below check to make sure your unit is complete contact your dealer immedi ately if anything is missing 12
- Introduction 13
- Product overview 13
- Projector 13
- Connection ports 14
- Introduction 14
- Control panel 15
- Introduction 15
- Introduction 16
- Removing and attaching the cable cover 16
- Introduction 17
- Remote control 17
- Introduction 18
- Introduction 19
- Batteries until it snaps into place do not mix different types of batteries or new and old batteries 20
- Battery installation 20
- English 20
- Ensure that you have the batteries polarity aligned correctly 20
- Install new batteries aaa 20
- Introduction 20
- Press firmly and slide the battery cover off 20
- Remote control precautions handle the remote control carefully if the remote control gets wet wipe it dry immediately avoid excessive heat and humidity do not place the battery upside down 20
- Slip the cover back over the 20
- English 21
- Introduction 21
- Using the computer cable vga to operate the projector virtual remote tool 21
- Using the downloadable software 21
- Using the utility software virtual remote tool that you can download from our web site http www nec display com dl en index html virtual remote screen or toolbar can be displayed on your computer screen this will help you perform operations such as projector s power on or off and signal selection via the computer cable vga se rial cable or lan connection 21
- Virtual remote screen toolbar 21
- Click next 22
- Double click the vrt exe icon 22
- Download the updated vrt exe file from our web site http www nec display com dl en index html 22
- End user license agreement screen will be displayed 22
- English 22
- Introduction 22
- Read end user license agreement carefully 22
- Step 1 install virtual remote tool on the computer supported os 22
- The installer will start and the wizard screen will appear 22
- Virtual remote tool will run on the following operating systems windows 7 home basic 1 windows 7 home premium 1 windows 7 professional 1 windows 7 enterprise 1 windows 7 ultimate 1 windows vista home basic 1 windows vista home premium 1 windows vista business 1 windows vista enterprise 1 windows vista ultimate 1 windows xp home edition 2 windows xp professional 2 22
- After the installation is completed the shortcut icon for virtual remote tool 23
- Click next 23
- Connector of the projector directly with the monitor output connector of the computer 23
- English 23
- Follow the instructions on the installer screens to complete the installation 23
- If you agree click i accept the terms in the license agreement and then 23
- Introduction 23
- Step 2 connect the projector to the computer 23
- Use the supplied computer cable vga to connect the computer 1 in 23
- English 24
- Introduction 24
- English 25
- Exiting virtual remote tool 25
- Introduction 25
- Viewing the help file of virtual remote tool 25
- English 26
- Introduction 26
- Controlling the projector over a lan pc control utility pro 4 27
- English 27
- Introduction 27
- Page 22 27
- Screen of pc control utility pro 4 27
- Using the utility software pc control utility pro 4 that you can download from our web site http www nec display com dl en index html the projector can be controlled from a computer over a lan control functions power on off signal selection picture freeze picture mute audio mute adjusting error message notification event sched ule 27
- Click next 28
- Display com dl en index html 28
- Double click the vrt exe icon 28
- Download the updated vrt exe file from our web site http www nec 28
- End user license agreement screen will be displayed 28
- English 28
- Introduction 28
- Operating systems 28
- Step 1 install pc control utility pro 4 on the computer supported os pc control utility pro 4 will run on the following 28
- The installer will start and the wizard screen will appear 28
- Windows 7 home basic 1 windows 7 home premium 1 windows 7 professional 1 windows 7 enterprise 1 windows 7 ultimate 1 windows vista home basic 1 windows vista home premium 1 windows vista business 1 windows vista enterprise 1 windows vista ultimate 1 windows xp home edition 2 windows xp professional 2 28
- Click next 29
- Connect the projector to the lan by following the instructions in connecting the projector on page 23 and how to use web browser to control your projector in pages 46 47 29
- English 29
- Follow the instructions on the installer screens to complete the installation 29
- If you agree click i accept the terms in the license agreement and then 29
- Introduction 29
- Pc control utility pro 4 29
- Read end user license agreement carefully 29
- Step 2 connect the projector to a lan 29
- Step 3 start pc control utility pro 4 29
- Connect to computer notebook network 30
- Connecting the projector 30
- English 30
- Installation 30
- Connect to video sources 31
- English 31
- Hdmi cable use high speed hdm 31
- Installation 31
- Installation 32
- Powering on off the projector 32
- Powering on the projector 32
- Installation 33
- Powering off the projector 33
- Installation 34
- Warning indicator 34
- Adjusting the height of projector image 35
- Adjusting the projected image 35
- Installation 35
- The projector is equipped with adjustable feet to raise and lower the image to fill the screen 35
- Adjusting projection image size 36
- Adjusting the projector focus 36
- Installation 36
- Center and bottom of screen top of screen for ceiling mount 37
- Center and screen center 37
- English 37
- Installation 37
- This graph is for user s reference only 37
- Throw angle 37
- Throw distance and screen size 37
- U300x u250x 37
- U310w u260w 37
- Vertical distance between lens 37
- How to operate 38
- On screen display 38
- The projector has a multilingual on screen display that allows you to make image adjustments and change a variety of set tings the projector will automatically detect the source 38
- User controls 38
- English 39
- Menu tree 39
- Screen 39
- Setting 39
- User controls 39
- English 40
- Main menu sub menu settings 40
- Options 40
- Setting 40
- Setting advanced 40
- User controls 40
- Brightness 41
- Contrast 41
- English 41
- Picture mode 41
- User controls 41
- Wall color 41
- Advanced 42
- English 42
- Saturation 42
- Sharpness 42
- User controls 42
- Brilliantcolor 43
- Color temp 43
- English 43
- Image advanced 43
- User controls 43
- Color space 44
- English 44
- User controls 44
- Screen 45
- User controls 45
- D settings 46
- English 46
- Press the or button to adjust image distortion vertically if 46
- Refer to next page 46
- The image looks trapezoidal this option can help make the image rectangular 46
- User controls 46
- V keystone 46
- D invert 47
- D over under 47
- English 47
- Screen 3d settings 47
- User controls 47
- English 48
- Language 48
- Orientation 48
- Setting 48
- User controls 48
- Advanced 49
- English 49
- Menu location 49
- Signal 49
- User controls 49
- Volume 49
- English 50
- H position 50
- Setting signal rgb 50
- User controls 50
- V position 50
- Closed caption 51
- Network 51
- Pc control mode 51
- Security 51
- Setting advanced 51
- User controls 51
- Video level 51
- English 52
- Gateway 52
- Ip address 52
- Network status 52
- Setting advanced network 52
- Subnet mask 52
- User controls 52
- English 53
- How to use web browser to control your projector 53
- User controls 53
- English 54
- User controls 54
- Change password 55
- English 55
- Security 55
- Security timer 55
- Setting advanced security 55
- User controls 55
- English 56
- User controls 56
- Options 57
- User controls 57
- Advanced 58
- English 58
- User controls 58
- Clear filter usage hours 59
- Clear lamp hours 59
- Eco mode 59
- English 59
- Filter usage hours 59
- Lamp hours used eco 59
- Lamp hours used normal 59
- Lamp life reminder 59
- Options lamp filter settings 59
- User controls 59
- Information 60
- Options information 60
- User controls 60
- Auto power off min 61
- Control panel lock 61
- Direct power on 61
- English 61
- Off timer min 61
- Options advanced 61
- Standby mode 61
- User controls 61
- Appendices 62
- If you experience trouble with the projector refer to the fol lowing information if the problem persists please contact your local dealer or service center 62
- Troubleshooting 62
- Appendices 63
- English 63
- Problem image is unstable or flickering 63
- Problem the screen of the notebook or powerbook com puter is not displaying a presentation 63
- Appendices 64
- English 64
- Problem image has vertical flickering bar 64
- Problem image is out of focus 64
- Problem image is reversed 64
- Problem lamp burns out or makes a popping sound 64
- Problem the image is stretched when displaying 16 9 dvd 64
- Appendices 65
- English 65
- Problem led lighting message 65
- Appendices 66
- Appendices 67
- Cleaning the filter 67
- Appendices 68
- English 68
- Optional lamp np19lp u250x u260w np20lp u300x u310w 68
- Replacing the lamp 68
- The projector will detect the lamp life at 2500 hours u250x u260w 2500 hours u300x u310w in normal mode when the power led indicator flashes red and the message below displays on screen the projector has detected that the lamp is approaching its end of life refer to page 27 it will show you a warning message 68
- When you see this message change the lamp as soon as pos sible make sure the projector has been cooled down for at least 60 minutes before changing the lamp 68
- Appendices 69
- English 69
- Lamp replacing procedure 69
- Appendices 70
- Camera shops wipe the mirror or lens gently using the cleaning cloth 70
- Cleaning procedure for the aspherical mirror and lens 70
- English 70
- If the aspherical mirror or lens of projection lens is dusty or blemished please clean the mirror or lens as following proce dure 70
- Turn off the projector and cool projector down for a while 2 unplug the power cord from outlet 3 blow the dust by blower for cameras which you could buy from 70
- Appendices 71
- Electrical 71
- English 71
- Optical 71
- Specifications 71
- Appendices 72
- Electrical 72
- English 72
- Mechanical 72
- Analog rgb 73
- Appendices 73
- Compatibility modes 73
- Appendices 74
- Component 74
- Composite video s video 74
- English 74
- Appendices 75
- Ceiling mount installation 75
- English 75
- Ensure the screws used to attached a mount to the projec tor met the following specifications 75
- If you buy a ceiling mount from another company please 75
- Ing mount package for installation 75
- Maximum screw length 8mm 75
- Minimum screw length 6mm 75
- Screw type m4 75
- To prevent damaging your projector please use the ceil 75
- Unit mm 75
- Appendices 76
- Cabinet dimensions 76
- English 76
- Unit mm 76
- Appendices 77
- English 77
- Mini d sub 15 pin connector 77
- Pin assignments of d sub computer input connector 77
- Signal level video signal 0 vp p analog sync signal ttl level 77
- 4 5 2 1 78
- Appendices 78
- Cable connection 78
- English 78
- Pc control codes 78
- Pc control codes and cable connection 78
- Pc control connector d sub 9p 78
- Frequency of occurrence always sometimes how often _______________________ other __________________ 79
- Troubleshooting check list 79
- Tco certification 81
Похожие устройства
- Nec M420X Инструкция по эксплуатации
- Nec PA600X Инструкция по эксплуатации
- Nec V260 Инструкция по эксплуатации
- Nec M300XS Инструкция по эксплуатации
- Nec P420X Инструкция по эксплуатации
- Nec M350XS Инструкция по эксплуатации
- Nec U310W Инструкция по эксплуатации
- Nec M350X Инструкция по эксплуатации
- Nec M260WS Инструкция по эксплуатации
- Nec P350W Инструкция по эксплуатации
- Nec V300W Инструкция по эксплуатации
- Nec M300W Инструкция по эксплуатации
- Nec M260W Инструкция по эксплуатации
- Nec M300X Инструкция по эксплуатации
- Nec V300X Инструкция по эксплуатации
- Nec NP64 Инструкция по эксплуатации
- Nec NP43 Инструкция по эксплуатации
- Nec V260W Инструкция по эксплуатации
- Nec NP41 Инструкция по эксплуатации
- Nec NP901W Инструкция по эксплуатации
Скачать
Случайные обсуждения