
Nec M420X Инструкция по эксплуатации онлайн
Portable Projector
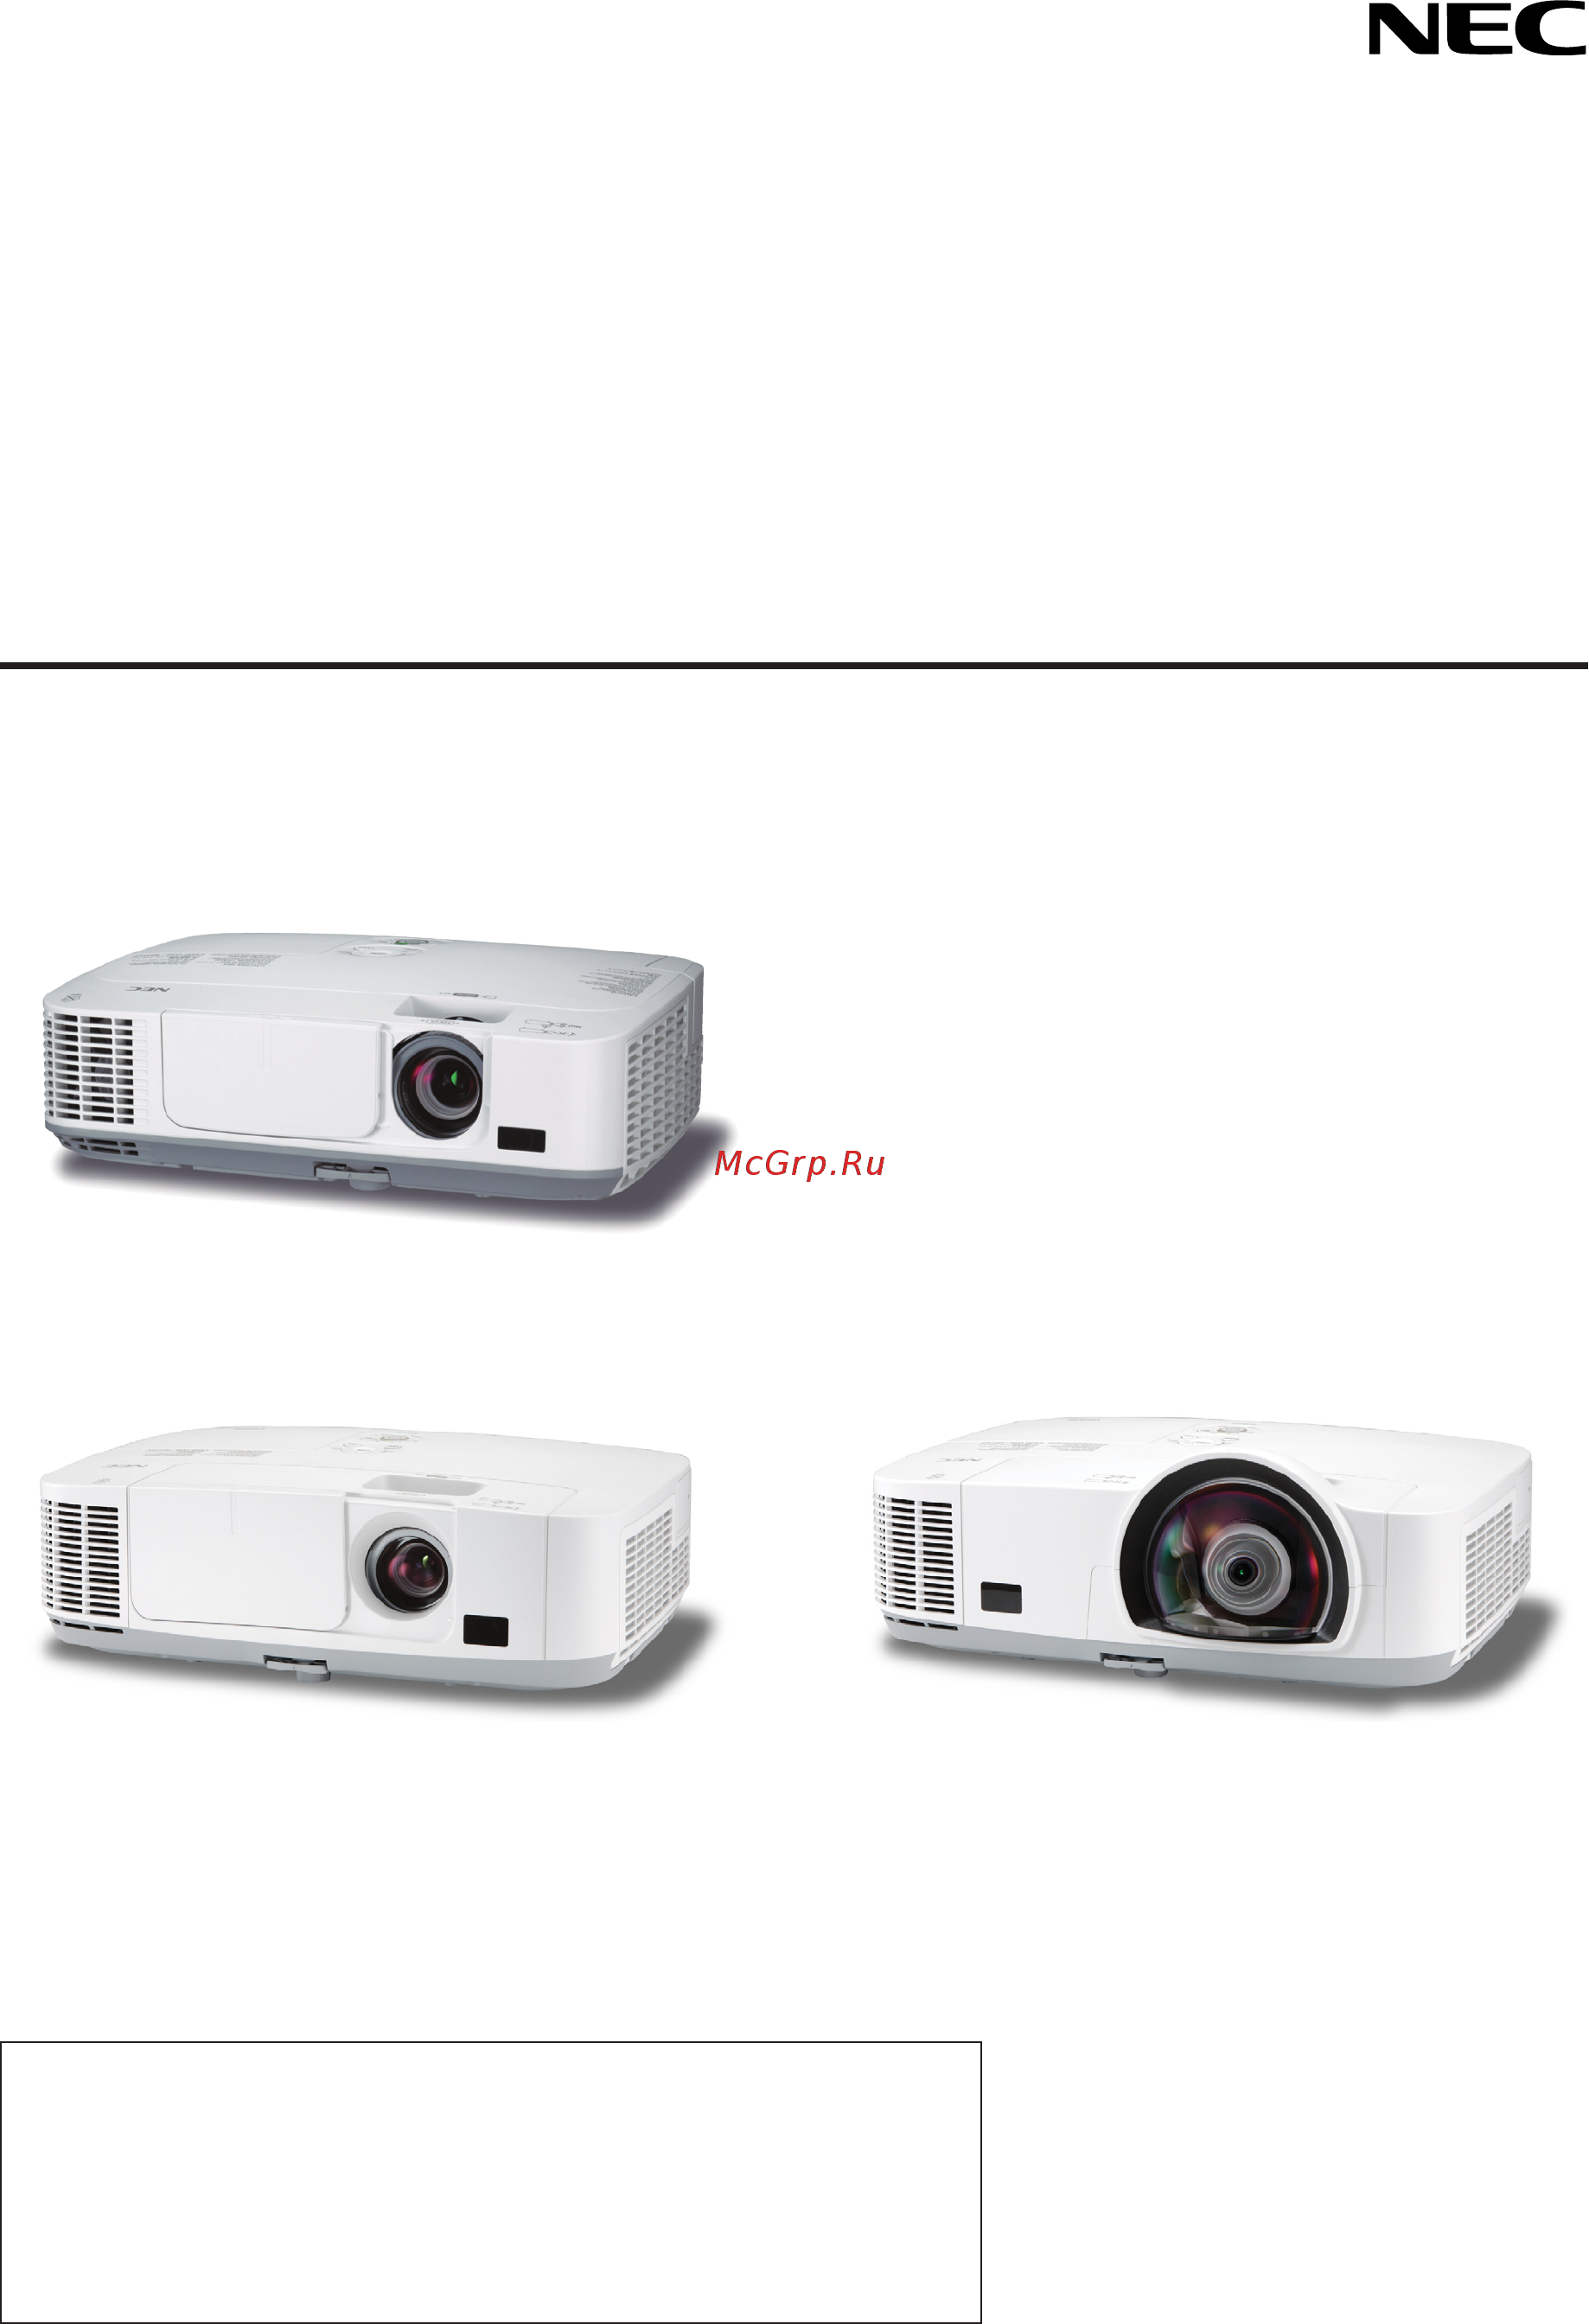
M350X/M300X/M260X/M230X/M420X/
M420XV/M300W/M260W/M350XS/
M300XS/M260XS/M300WS/M260WS
User’s Manual
The M350X, M230X, M420X, M420XV, M350XS, M260XS, and
M260WS are not distributed in North America.
Model No.
NP-M350X, NP-M300X, NP-M260X, NP-M230X, NP-M420X, NP-
M420XV, NP-M300W, NP-M260W, NP-M350XS, NP-M300XS, NP-
M260XS, NP-M300WS, NP-M260WS
[M350X/M300X/M260X/M230X/M300W/M260W]
[M350XS/M300XS/M260XS/M300WS/M260WS][M420X/M420XV]
Содержание
- Front cover 1
- M350x m300x m260x m230x m420x m420xv m300w m260w m350xs m300xs m260xs m300ws m260ws 1
- Portable projector 1
- User s manual 1
- Disposing of your used product 3
- Doc compliance notice for canada only 3
- Important information 3
- Machine noise information regulation 3 gpsgv 3
- Precautions 3
- Safety cautions 3
- Important information 4
- Important safeguards 4
- Installation 4
- Rf interference for usa only 4
- Warning to california residents 4
- Fire and shock precautions 5
- Important information 5
- Place the projector in a horizontal position 5
- Important information 6
- Remote control precautions 6
- A lamp characteristic 7
- About copyright of original projected pictures 7
- About high altitude mode 7
- Important information 7
- Lamp replacement 7
- Turkish rohs information relevant for turkish market 7
- Convenient feature 8
- Important informatio 8
- Introductio 8
- Projecting an image basic operation 8
- Table of contents 8
- Using on screen men 9
- Using the viewe 9
- Appendi 10
- Installation and connection 10
- Maintenanc 10
- 1 what s in the box 11
- Introduction 11
- Makesureyourboxcontainseverythinglisted ifanypiecesaremissing contactyourdealer pleasesavetheoriginalboxandpackingmaterialsifyoueverneedtoshipyourprojector 11
- What s in the box 11
- 2 introduction to the projector 12
- Congratulations on your purchase of the projector 12
- Features you ll enjoy 12
- Introduction 12
- Introduction to the projector 12
- About this user s manual 13
- Introduction 13
- 1 effectivepixelsaremorethan99 9 2 thisisthelightoutputvalue lumens whenthepresetmodeissettohigh bright ifanyothermodeis 14
- 3 compliancewithiso21118 2005 14
- Comparative table of main features 14
- Forfurtherdetailsonthespecifications seepages 130 to 135 14
- Introduction 14
- Model name 14
- Selectedasthepresetmode thelightoutputvaluemaydropslightly 14
- Themainfeaturesvarydependingonthemodelasfollows 14
- Tip the model name is located on the cabinet 14
- 3 part names of the projector 15
- Front top 15
- Introduction 15
- M350x m300x m260x m230x m300w m260w 15
- M350xs m300xs m260xs m300ws m260ws 15
- M420x m420xv 15
- Part names of the projector 15
- Introduction 16
- M350x m300x m260x m230x m300w m260w 16
- M420x m420xv 16
- Security system 16
- Thissecurityslotsupportsthemicrosaver 16
- About2hours itwillturnoffautomatically 17
- Causedamagetothelenscoverslidingmechanism 17
- Donotpullthelenscoverwithexcessiveforceorapplystrongpressureineithertheupordowndirection doingsocan 17
- Duringnormalprojectoroperation openingitwillrestoretheimageandsound 17
- Introduction 17
- M350x m300x m260x m230x m300w m260w m420x m420xv 17
- M350xs m300xs m260xs m300ws m260ws 17
- Note thelenscoverworksinconjunctionwiththeavmutefunction closingthelenscoverwillturnofftheimageandsound 17
- Opening and closing the lens cover 17
- Security system 17
- Slidethelenscovertothelefttouncoverthelens 17
- Thissecurityslotsupportsthemicrosaver 17
- Tocoverthelens slidethelenscovertotheright 17
- Withthelenscoverclosedtheimageandsoundisturnedoff howeverthelampisstilllit iftheprojectorstaysthiswayfor 17
- Introduction 18
- Top features 18
- 2 3 5 6 13 12 19
- 7 11 14 9 10 19
- Introduction 19
- Terminal panel features 19
- 20 25 27 20
- 4 part names of the remote control 20
- Introduction 20
- Part names of the remote control 20
- Battery installation 21
- Introduction 21
- Operating range for wireless remote control 21
- Remote control precautions 21
- 5 operating environment for software included on cd rom 22
- Downloadservice 22
- Introduction 22
- Operating environment for software included on cd rom 22
- Introduction 23
- Operating environment 23
- 1 flow of projecting an image 24
- Flow of projecting an image 24
- Projecting an image basic operation 24
- Step 1 24
- Step 2 24
- Step 3 24
- Step 4 24
- Step 5 24
- Step 6 24
- Step 7 24
- Step 8 24
- 2 connecting your computer connecting the power cord 25
- Caution 25
- Connecting your computer connecting the power cord 25
- Projecting an image basic operation 25
- 3 turning on the projector 26
- Projecting an image basic operation 26
- Turning on the projector 26
- Note on startup screen menu language select screen 27
- Projecting an image basic operation 27
- 4 selecting a source 28
- Detectingthesignalautomatically 28
- Projecting an image basic operation 28
- Selecting a source 28
- Selecting the computer or video source 28
- Selectingdefaultsource 28
- Usingtheremotecontrol 28
- 5 adjusting the picture size and position 29
- Adjusting the picture size and position 29
- Projecting an image basic operation 29
- Adjust the tilt foot 30
- Adjustingtheleftandrighttiltofanimagerearfoot 30
- Projecting an image basic operation 30
- Adjustingwiththezoombuttonontheremotecontrol 31
- Projecting an image basic operation 31
- Adjusting from the menu 32
- Projecting an image basic operation 32
- Projecting an image basic operation 33
- 6 correcting keystone distortion manually 34
- Adjusting with buttons on the cabinet 34
- Correcting keystone distortion manually 34
- Projecting an image basic operation 34
- Adjusting with the remote control 35
- Projecting an image basic operation 35
- 7 optimizing computer signal automatically 36
- 8 turning up or down volume not available on m420xv 36
- Adjusting the image using auto adjust 36
- Optimizing computer signal automatically 36
- Projecting an image basic operation 36
- Turning up or down volume not available on m420xv 36
- 9 turning off the projector 37
- Caution 37
- Projecting an image basic operation 37
- Toturnofftheprojector 37
- Turning off the projector 37
- 10 after use 38
- After use 38
- Caution 38
- Projecting an image basic operation 38
- 1 turning off the image and sound 39
- 2 freezing a picture 39
- 3 enlarging a picture 39
- Convenient features 39
- Enlarging a picture 39
- Freezing a picture 39
- Turning off the image and sound 39
- 4 changing eco mode checking energy saving effect 40
- Changing eco mode checking energy saving effect 40
- Convenient features 40
- Using eco mode eco mode 40
- Checking energy saving effect carbon meter 41
- Convenient features 41
- 5 preventing the unauthorized use of the projector security 42
- Convenient features 42
- Preventing the unauthorized use of the projector security 42
- Convenient features 43
- Convenient features 44
- 6 using the computer cable vga to operate the projector virtual remote tool 45
- Convenient features 45
- Using the computer cable vga to operate the pro jector virtual remote tool 45
- Convenient features 46
- Step 1 install virtual remote tool on the computer 46
- Convenient features 47
- Convenient features 48
- Step 2 connect the projector to the computer 48
- Uninstallingvirtualremotetool 48
- Convenient features 49
- Start from the start menu 49
- Step 3 start virtual remote tool startusingtheshortcuticon 49
- Convenient features 50
- Exitingvirtualremotetool 50
- Viewingthehelpfileofvirtualremotetool 50
- 7 operating your computer s mouse functions from the projector s remote control via the usb cable remote mouse function 51
- Convenient features 51
- Operating your computer s mouse functions from the projector s remote control via the usb cable remote mouse function 51
- Operatingyourcomputer smousefromtheremotecontrol 51
- 8 projecting your computer s screen image from the projector via the usb cable usb display 52
- Convenient features 52
- Projecting your computer s screen image from the projector via the usb cable usb display 52
- Convenient features 53
- 9 controlling the projector by using an http browser 54
- Controlling the projector by using an http browser 54
- Convenient features 54
- Overview 54
- Preparation before use 54
- Convenient features 55
- Handling of the address for operation via a browser 55
- Projector adjustment 55
- Convenient features 56
- Convenient features 57
- Network settings 57
- Settings 57
- Convenient features 58
- Alertmail 59
- Convenient features 59
- Information 59
- Networkservice 59
- 10 controlling the projector over a lan pc control utility pro 4 60
- Controlling the projector over a lan pc control utility pro 4 60
- Convenient features 60
- Step 1 install pc control utility pro 4 on the computer 60
- Convenient features 61
- Convenient features 62
- Step 2 connect the projector to a lan 62
- Step 3 start pc control utility pro 4 62
- Viewingthehelpofpccontrolutilitypro4 62
- 11 projecting your computer s screen image from the projector over a lan image express utility lite 63
- Convenient features 63
- Geometriccorrectiontool gct 63
- Imagetransmission 63
- Projecting your computer s screen image from the projector over a lan image express utility lite 63
- Step 1 install image express utility lite on the computer 63
- What you can do with image express utility lite usbdisplay 63
- Convenient features 64
- Step 2 connect the projector to a lan 64
- Step 3 start image express utility lite 64
- Convenient features 65
- Viewingthehelpofimageexpressutilitylite 65
- 12 projecting an image from an angle geometric correction tool in image express utility lite 66
- Convenient features 66
- Projecting an image from an angle gct 66
- Projecting an image from an angle geometric correction tool in image express utility lite 66
- What you can do with gct 66
- Convenient features 67
- 1 what you can do with the viewer 68
- Using the viewer 68
- ❶ what you can do with the viewer 68
- Using the viewer 69
- 2 projecting images stored in a usb memory device 70
- Starting the viewer 70
- Using the viewer 70
- ❷ projecting images stored in a usb memory device 70
- Using the viewer 71
- Exiting the viewer 72
- Removing the usb memory from the pro jector 72
- Using the viewer 72
- Parts of each screen 73
- Using the viewer 73
- Thumbnailtoolbar 74
- Using the toolbar 74
- Using the viewer 74
- Slideshowtoolbar 75
- Slidetoolbar 75
- Using the viewer 75
- 3 converting powerpoint files to slides viewer ppt converter 3 76
- Converting powerpoint files to slides viewer ppt converter 3 76
- Install viewer ppt converter 3 on the computer 76
- Using the viewer 76
- Using the viewer 77
- Converting powerpoint files and saving them to a usb memory 78
- Using the viewer 78
- 1 using the menus 79
- Using on screen menu 79
- Using the menus 79
- 2 menu elements 80
- Eco mode symbol indicates eco mode is set 80
- High altitude symbol indicates the fan mode is set to high altitude mode 80
- Highlight indicates the selected menu or item 80
- Key lock symbol indicates the control panel lock is enabled 80
- Menu elements 80
- Menuwindowsordialogboxestypicallyhavethefollowingelements 80
- Off timer remaining time indicates the remaining countdown time when the off timer is preset 80
- Radio button use this round button to select an option in a dialog box 80
- Slide bar indicates settings or the direction of adjustment 80
- Solid triangle indicates further choices are available a highlighted triangle indicates the item is active 80
- Source indicates the currently selected source 80
- Tab indicates a group of features in a dialog box selecting on any tab brings its page to the front 80
- Thermometer symbol indicates the eco mode is forcibly set to on mode because the internal temperature is too 80
- Using on screen menu 80
- Wireless symbol indicate the wireless lan connection is enabled 80
- 3 list of menu items 81
- List of menu items 81
- Somemenuitemsarenotavailabledependingontheinputsource 81
- Using on screen menu 81
- Theitemwithanasterisk isnotavailableonm420xv 82
- Using on screen menu 82
- 4 menu descriptions functions source 83
- Computer 1 and 2 83
- Menu descriptions functions source 83
- Network 83
- S video 83
- Usb display 83
- Using on screen menu 83
- Viewer 83
- 5 menu descriptions functions adjust 84
- Detail settings 84
- Menu descriptions functions adjust 84
- Picture 84
- Preset 84
- Using on screen menu 84
- Adjustingbrightnessandcontrastdynamiccontrast 85
- Adjustingcolortemperaturecolortemperature 85
- Adjustingwhitebalancewhitebalance 85
- General storingyourcustomizedsettingsreference 85
- Selectinggammacorrectionmodegammacorrection 85
- Selectingscreensizefordicomsimscreensize 85
- Selectingstillimagemodeormoviemodeimagemode 85
- Using on screen menu 85
- Adjuststhebrightnesslevelorthebackrasterintensity 86
- Adjuststheintensityoftheimageaccordingtotheincomingsignal 86
- Brightness 86
- Contrast 86
- Controlsthedetailoftheimage 86
- Increasesordecreasesthecolorsaturationlevel 86
- Sharpness 86
- Thesettingsandadjustmentsforpicturewillbereturnedtothefactorysettingswiththeexceptionofthefollowing presetnumbersandreferencewithinthepresetscreen thesettingsandadjustmentsunderdetailsettingswithinthepresetscreenthatarenotcurrentlyselected willnotbereset 86
- Using on screen menu 86
- Variesthecolorlevelfrom greento blue theredlevelisusedasreference 86
- Yes adjustable no notadjustable 86
- Adjustingclockandphaseclock phase 87
- Image options 87
- Using on screen menu 87
- Adjustinghorizontal verticalpositionhorizontal vertical 88
- Selectingoverscanpercentageoverscan 88
- Using on screen menu 88
- Selectingaspectratioaspectratio 89
- Using on screen menu 89
- Adjustingtheverticalpositionofimageposition notavailableonm300w m260w m300ws m260ws 90
- M300w m260w m300ws m260ws computersignal 90
- M350x m300x m260x m230x m420x m420xv m350xs m300xs m260xs computersignal 90
- Onlywhen16 9 15 9 or16 10isselectedforaspectratio 90
- Ratioforavidesource 90
- Sampleimagewhentheappropriateaspectratioisautomaticallydetermined 90
- Theletterboxsignalhasaspectratioswiththevistasize 1 5 1 orcinemascopesize 2 5 1 formoviefilm theterm squeeze referstothecompressedimageofwhichaspectratioisconvertedfrom16 9to4 3 90
- Tip imagepositioncanbeadjustedverticallyusingpositionwhenthe16 9 15 9 or16 10aspectratiosareselected theterm letterbox referstoamorelandscape orientedimagewhencomparedtoa4 3image whichisthestandardaspect 90
- Using on screen menu 90
- Videosignal 90
- When16 9 15 9 or16 10isselectedinaspectratio theimageisdisplayedwithblackbordersonthetop and bottom youcanadjusttheverticalpositionfromthetoptothebottomoftheblackarea 90
- 6 menu descriptions functions setup 91
- Correctingverticalkeystonedistortionmanuallykeystone 91
- Enablingautokeystoneautokeystone 91
- General 91
- Menu descriptions functions setup 91
- Savingverticalkeystonecorrectionkeystonesave 91
- Using on screen menu 91
- Usingdigitalzoomdigitalzoom m350xs m300xs m260xs m300ws m260ws 91
- Settingecomodeecomode 92
- Using on screen menu 92
- Usingthewallcolorcorrectionwallcolor 92
- Selectingmenucolorcolorselect 93
- Selectingmenulanguagelanguage 93
- Settingclosedcaptionclosedcaption 93
- Turningon offsourcedisplaysourcedisplay 93
- Using on screen menu 93
- Usingofftimerofftimer 93
- Selectingacolororlogoforbackgroundbackground 94
- Selectingintervaltimeforfiltermessagefiltermessage 94
- Selectingmenudisplaytimedisplaytime 94
- Turningon offcontrolididdisplay 94
- Turningon offecomessageecomessage 94
- Using on screen menu 94
- Disablingthecabinetbuttonscontrolpanellock 95
- Enablingsecuritysecurity 95
- Installation 95
- Selectingprojectororientationorientation 95
- Using on screen menu 95
- Selectingcommunicationspeedcommunicationspeed 96
- Settingidtotheprojectorcontrolid 96
- Using on screen menu 96
- Options 1 97
- Selectingfanmodefanmode 97
- Settingautoadjustautoadjust 97
- Using on screen menu 97
- Usingtestpatterntestpattern 97
- Enablingkeysoundanderrorsoundbeep notavailableonm420xv 98
- Enablingordisablingwxgamodewxgamode 98
- Enablingthedeinterlacedeinterlace 98
- Selectingsignalformatsignalselect 98
- Settinghdmihdmisettings 98
- Using on screen menu 98
- Enablingautopoweronautopoweron ac 99
- Options 2 99
- Selectingpower savinginstandbymode 99
- Using on screen menu 99
- Enablingpowermanagementautopoweroff 100
- Selectingdefaultsourcedefaultsourceselect 100
- Turningontheprojectorbyapplyingcomputersignalautopoweron comp1 100
- Using on screen menu 100
- Important 101
- Setting up the projector for a wired lan connection wired lan 101
- Using on screen menu 101
- Important 102
- Setting up the projector for a wireless lan connection with the optional usb wireless lan unit equipped wireless lan 102
- Using on screen menu 102
- Hintsonhowtosetuplanconnection 103
- Using on screen menu 103
- 7 menu descriptions functions info 104
- Menu descriptions functions info 104
- Usage time 104
- Using on screen menu 104
- Source 105
- Using on screen menu 105
- Wired lan 105
- Wireless lan 105
- Others 106
- Using on screen menu 106
- Version 106
- 8 menu descriptions functions reset 107
- Clearinglamphourmeterclearlamphours 107
- Clearingthefilterusagehoursclearfilterhours 107
- Menu descriptions functions reset 107
- Returning to factory default reset 107
- Using on screen menu 107
- 1 setting up the screen and the projector 108
- Installation and connections 108
- Selecting a location 108
- Setting up the screen and the projector 108
- Unit m inch 108
- Installation and connections 109
- M300w m260w thefurtheryourprojectorisfromthescreenorwall thelargertheimage theminimumsizetheimagecanbeis approximately25 0 4m measureddiagonallywhentheprojectorisroughly37inches 0 m fromthewallor screen thelargesttheimagecanbeis300 7 m whentheprojectorisabout459inches 11 m fromthewall or screen 109
- M420x m420xv thefurtheryourprojectorisfromthescreenorwall thelargertheimage theminimumsizetheimagecanbeis approximately25 0 4m measureddiagonallywhentheprojectorisroughly34inches 0 m fromthewallor screen thelargesttheimagecanbeis300 7 m whentheprojectorisabout434inches 11 m fromthewall or screen 109
- Tip thedistancesareindicatedbyintermediatevaluesbetweenteleandwide useasaruleofthumb formoredetailsonthrowdistance seepage 101 109
- Tip thedistancesareindicatedbyintermediatevaluesbetweenteleandwide useasaruleofthumb formoredetailsonthrowdistance seepage 102 109
- Installation and connections 110
- M300ws m260ws thefurtheryourprojectorisfromthescreenorwall thelargertheimage theminimumsizetheimagecanbeis approximately56 1 m measureddiagonallywhentheprojectoris22inches 0 7m fromthewallorscreen the largesttheimagecanbeis104 2 m whentheprojectorisabout43inches 1 m fromthewallorscreen 110
- M350xs m300xs m260xs thefurtheryourprojectorisfromthescreenorwall thelargertheimage theminimumsizetheimagecanbeisap proximately60 1 2m measureddiagonallywhentheprojectoris23inches 0 7m fromthewallorscreen the largesttheimagecanbeis110 2 m whentheprojectorisabout43inches 1 m fromthewallorscreen 110
- Tip digitalzoomcanresultinablurryimageduetotheelectroniczoom formoredetailsonthrowdistance seepage 102 110
- B verticaldistancebetweenlenscenterand 111
- C throwdistance d verticaldistancebetweenlenscenterand 111
- Distance chart 111
- Installation and connections 111
- M350x m300x m260x m230x 111
- M420x m420xv 111
- Note thevaluesinthetablesaredesignvaluesand mayvary 111
- Screen center 111
- Screenbottom topofscreenforceilingap plication α throwangle 111
- Thefollowingshowstheproperrelativepositionsoftheprojectorandscreen refertothetabletodeterminethe positionofinstallation 111
- Throw distance and screen size 111
- Installation and connections 112
- M300w m260w 112
- M300ws m260ws 112
- M350xs m300xs m260xs 112
- Installation and connections 113
- Reflectingtheimage 113
- Warning 113
- 2 making connections 114
- Connecting your computer 114
- Enabling the computer s external display 114
- Installation and connections 114
- Making connections 114
- Installation and connections 115
- Connecting an external monitor 116
- Installation and connections 116
- M420xv 116
- Note daisychainconnectionisnotpossible whenaudioequipmentisconnected theprojectorspeakerisdisabled them420xvdoesnotcomewiththeaudiooutconnector stereominijack 116
- Youcanconnectaseparate externalmonitortoyourprojectortosimultaneouslyviewonamonitorthecomputer analogimageyou reprojecting 116
- Connecting your dvd player or other av equipment 117
- Installation and connections 117
- Connecting component input 118
- Installation and connections 118
- Connecting hdmi input 119
- Installation and connections 119
- Connecting to a wired lan 120
- Example of lan connection 120
- Installation and connections 120
- Attachingtheusbwirelesslanunit 121
- Connecting to a wireless lan optional np02lm series 121
- Flowofsettingwirelesslan 121
- Important 121
- Installation and connections 121
- Installation and connections 122
- Installation and connections 123
- Attaching the optional cable cover np01cv 124
- Attachingthecablecover 124
- Installation and connections 124
- Removingthecablecover 124
- 1 cleaning the filters 125
- Caution 125
- Cleaning the filters 125
- Maintenance 125
- Maintenance 126
- Maintenance 127
- Maintenance 128
- 2 cleaning the lens 129
- 3 cleaning the cabinet 129
- Cleaning the cabinet 129
- Cleaning the lens 129
- Maintenance 129
- 4 replacing the lamp and the filters 130
- Caution 130
- Flow of replacing the lamp and the filters 130
- Maintenance 130
- Replacing the lamp and the filters 130
- Step 1 130
- Step 2 130
- Step 3 130
- Maintenance 131
- To replace the lamp 131
- Maintenance 132
- Maintenance 133
- Toreplacethefilters 133
- Maintenance 134
- Maintenance 135
- Maintenance 136
- Toclearthelampusagehoursandthefilterusagehours 136
- 1 troubleshooting 137
- Appendix 137
- Indicator messages 137
- Over temperatureprotection 137
- Troubleshooting 137
- Appendix 138
- Common problems solutions 138
- Formoreinformationcontactyourdealer 138
- Power status lampindicator onpage 127 138
- Appendix 139
- If there is no picture or the picture is not displayed correctly 139
- 2 specifications 140
- Appendix 140
- Modelnumber m350x m300x m260x m230x m300w m260w 140
- Specifications 140
- Thissectionprovidestechnicalinformationaboutprojector sperformance 140
- Appendix 141
- Appendix 142
- Modelnumber m420x m420xv 142
- Appendix 143
- Appendix 144
- Modelnumber m350xs m300xs m260xs m300ws m260ws 144
- Appendix 145
- Foradditionalinformationvisit us http www necdisplay com europe http www nec display solutions com global http www nec display com global index html forinformationonouroptionalaccessories visitourwebsiteorseeourbrochure 145
- Thespecificationsaresubjecttochangewithoutnotice 145
- 3 cabinet dimensions 146
- Appendix 146
- Cabinet dimensions 146
- M350x m300x m260x m230x m300w m260w 146
- Unit mm inch 146
- Appendix 147
- Holes for ceiling mount 147
- Lens center 147
- M420x m420xv 147
- Unit mm inch 147
- Appendix 148
- Holes for ceiling mount 148
- Lens center 148
- M350xs m300xs m260xs m300ws m260ws 148
- Unit mm inch 148
- 4 pin assignments of d sub computer input connector 149
- Appendix 149
- Mini d sub 15 pin connector 149
- Pin assignments of d sub computer input connector 149
- 5 compatible input signal list 150
- Analogrgb 150
- Appendix 150
- Compatible input signal list 150
- Component 150
- Compositevideo s video 150
- M350xs m300xs m260xs 1024 768 m300w m260w m300ws m260ws 1280 800 willbedisplayedwithadvanced accublend 150
- Note animagewithhigherorlowerresolutionthantheprojector snativeresolution m350x m300x m260x m230x m420x m420xv 150
- Rateorresolutiononyourpc refertodisplaypropertieshelpsectionofyourpcforprocedures 150
- Syncongreenandcompositesyncsignalsarenotsupported signalsotherthanthosespecifiedinthetableabovemaynotbedisplayedcorrectly ifthisshouldhappen changetherefresh 150
- 6 pc control codes and cable connection 151
- Appendix 151
- Baud rate 38400 bps 151
- Cable connection 151
- Communicationprotocol 151
- Communications procedure full duplex 151
- Data length 8 bits 151
- Note contactyourlocaldealerforafulllistofthepccontrolcodesifneeded 151
- Note dependingontheequipment alowerbaudratemayberecommendedforlongcableruns 151
- Note the soundmuteoff and soundmuteon functionsarenotavailableonm420xv 151
- Note1 pins1 4 6and9arenoused 151
- Note2 jumper requesttosend and cleartosend togetheronbothendsofthecabletosimplifycableconnection 151
- Note3 forlongcablerunsitisrecommendedtosetcommunicationspeedwithinprojectormenusto9600bps 151
- Parity no parity 151
- Pc control codes 151
- Pc control codes and cable connection 151
- Pc control connector d sub 9p 151
- Stop bit one bit 151
- X on off none 151
- 7 troubleshooting check list 152
- Appendix 152
- Beforecontactingyourdealerorservicepersonnel checkthefollowinglisttobesurerepairsareneededalsoby referringtothe troubleshooting sectioninyouruser smanual thischecklistbelowwillhelpussolveyourproblem moreefficiently printthispageandthenextpageforyourcheck 152
- Frequency of occurrence always sometimes how often _____________________ other __________________ 152
- Troubleshooting check list 152
- Video and audio 152
- Appendix 153
- 8 travelcare guide 154
- 9 tco certification 154
- Appendix 154
- Tco certification 154
- Travelcare a service for international travelers 154
- Travelcare guide 154
Похожие устройства
- Nec PA600X Инструкция по эксплуатации
- Nec V260 Инструкция по эксплуатации
- Nec M300XS Инструкция по эксплуатации
- Nec P420X Инструкция по эксплуатации
- Nec M350XS Инструкция по эксплуатации
- Nec U310W Инструкция по эксплуатации
- Nec M350X Инструкция по эксплуатации
- Nec M260WS Инструкция по эксплуатации
- Nec P350W Инструкция по эксплуатации
- Nec V300W Инструкция по эксплуатации
- Nec M300W Инструкция по эксплуатации
- Nec M260W Инструкция по эксплуатации
- Nec M300X Инструкция по эксплуатации
- Nec V300X Инструкция по эксплуатации
- Nec NP64 Инструкция по эксплуатации
- Nec NP43 Инструкция по эксплуатации
- Nec V260W Инструкция по эксплуатации
- Nec NP41 Инструкция по эксплуатации
- Nec NP901W Инструкция по эксплуатации
- Nec NP4000 Инструкция по эксплуатации
Скачать
Случайные обсуждения