![Tp-Link TL-R4299G — руководство пользователя по маршрутизатору с поддержкой Dual-WAN [73/86]](/icons/site-icon-64.png)
Tp-Link TL-R4299G — руководство пользователя по маршрутизатору с поддержкой Dual-WAN [73/86]
Превью страниц
Страница 73 /
86
![Tp-Link TL-R4299G [73/86] Backup and restore](/views2/1042656/page73/bg49.png)
TL-R4299G Dual-WAN SMB Broadband Router User Guide
67
Figure 4-69
Click the Restore button to reset all configuration settings to their default values.
)
Note:
1) The default User Name is admin.
2) The default Password is admin.
3) The default IP Address is 192.168.1.1.
4) The default Subnet Mask is 255.255.255.0.
All settings you have saved will be lost when the default settings are restored.
4.13.4 Backup and Restore
Choose menu “System Tools→ Backup and Restore Config”, you can save the current
configuration of the Router as a backup file and restore the configuration via a backup file (shown
in Figure 4-70).
Figure 4-70
To back up the Router’s current settings:
Step 1: Click the Backup button (shown in Figure 4-70), click Save button in the
next screen
(shown in Figure 4-71) to proceed.
Содержание
105- Tl r4299g dual wan smb broadband router
- Copyright trademarks
- Fcc statement
- Ce mark warning
- Package contents
- Conventions
- Chapter 3 quick installation guide 5
- Status 11
- Chapter 2 hardware installation 2
- Security 40
- Chapter 1 introduction 1
- Quick setup 13
- Panel layout 2
- Overview of the router 1
- Network 13
- Login 8
- Installation environment requirements 3
- Forwarding 34
- Features 1
- Dhcp 31
- Conventions 2
- Contents
- Connecting the router 4
- Configure pc 5
- Chapter 4 configuring the router 11
- System requirements 3
- System tools 64
- Switch setting 60
- Static routing 50
- Session limit 52
- Qos 53
- Ip mac binding 55
- Dynamic dns 58
- Appendix c glossary 80
- Appendix b faq 76
- Appendix a specifications 75
- Overview of the router
- Features
- Chapter 1 introduction
- Conventions
- Chapter 2 hardware installation
- The front panel
- Panel layout
- The rear panel
- System requirements
- Installation environment requirements
- Connecting the router
- Configure pc
- Chapter 3 quick installation guide
- Status
- Chapter 4 configuring the router
- Quick setup
- Network
- Network service detection
- Mac clone
- Flow balance
- Balance policy
- Wan port parameter
- Dhcp settings
- Dhcp clients list
- Address reservation
- Virtual servers
- Forwarding
- Port triggering
- Security
- Firewall
- Ip filtering
- Domain filtering
- Mac filtering
- Screen
- Static routing
- Session limit
- Session list
- Qos settings
- Qos rules list
- Ip mac binding
- Binding setting
- Arp list
- Dyndns ddns
- Dynamic dns
- Peanuthull ddns
- Comexe ddns
- Switch setting
- Port statistics
- Port mirror
- Port rate control
- Port parameter
- Port status
- Port vlan
- System tools
- Time settings
- Firmware
- Factory defaults
- Backup and restore
- Reboot
- Password
- System log
- Remote management
- Statistics
- Wan speed detect
- Nat source port settings
- Ip nat table
- Appendix a specifications
- Appendix b faq
- Appendix c glossary
Похожие устройства
-
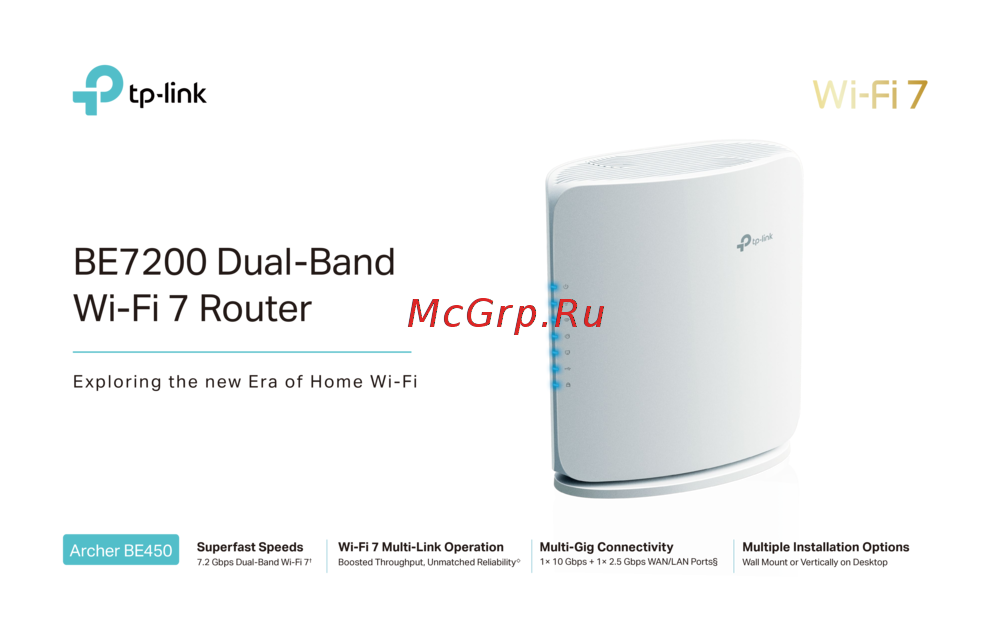 Tp-Link Archer BE450Краткая инструкция
 -
Tp-Link BE7200Краткое руководство пользователя
-
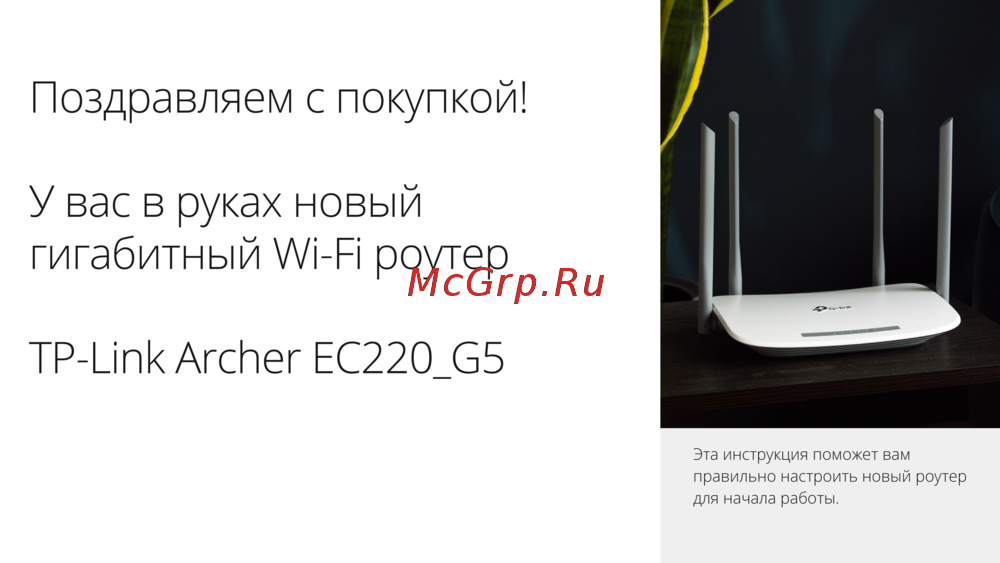 Tp-Link Archer EC220 G5Руководство по настройке
 -
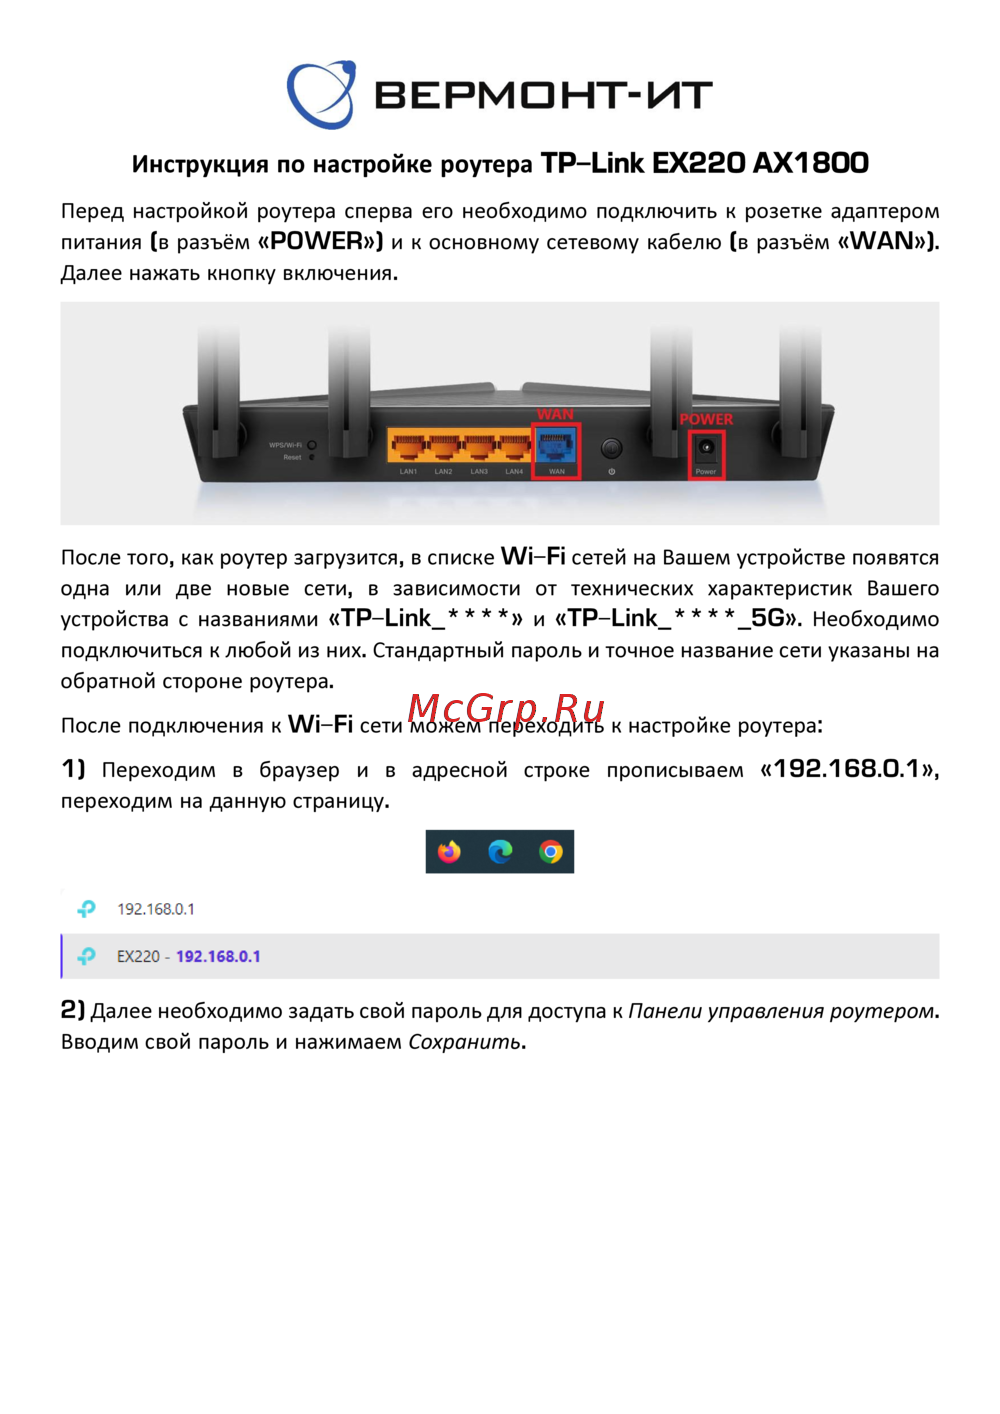 Tp-Link EX220 AX1800Руководство пользователя
 -
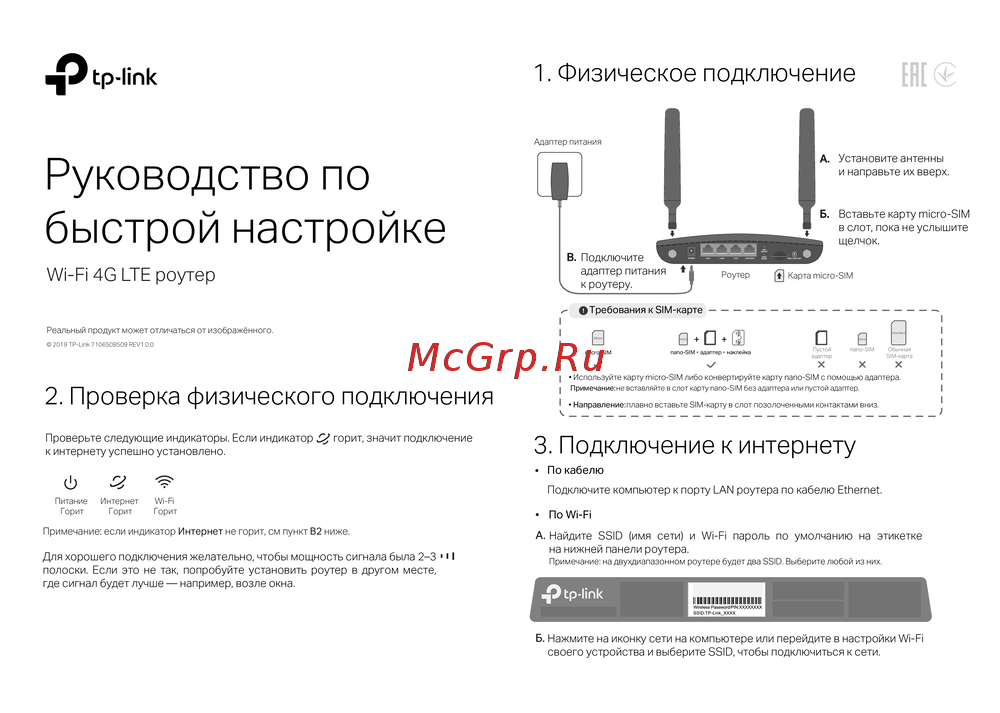 Tp-Link Wi-Fi 4G LTE роутерКраткая инструкция по использованию
 -
 Tp-Link TL-WR3002XИнструкция по применению
 -
 Tp-Link AC750Руководство по работе с устройством
 -
 Tp-Link TL-MR6400 черныйРуководство по эксплуатации
 -
 Tp-Link TL-MR100 N300Руководство по эксплуатации
 -
 Tp-Link TL-MR105 N300Руководство по эксплуатации
 -
 Tp-Link Archer MR500 AC1200Руководство по эксплуатации
 -
 Tp-Link TL-WR840N N300Руководство по эксплуатации
Узнайте, как сбросить настройки маршрутизатора и создать резервные копии конфигурации. Подробные инструкции по восстановлению и настройке устройства.
