
Coolfort 2006-CF-01 Инструкция по эксплуатации онлайн
Содержание
- Cf 2006 1
- Instruc ț iune de exploatare пайдалануу боюнча нускама 1
- Www coolfort ru 1
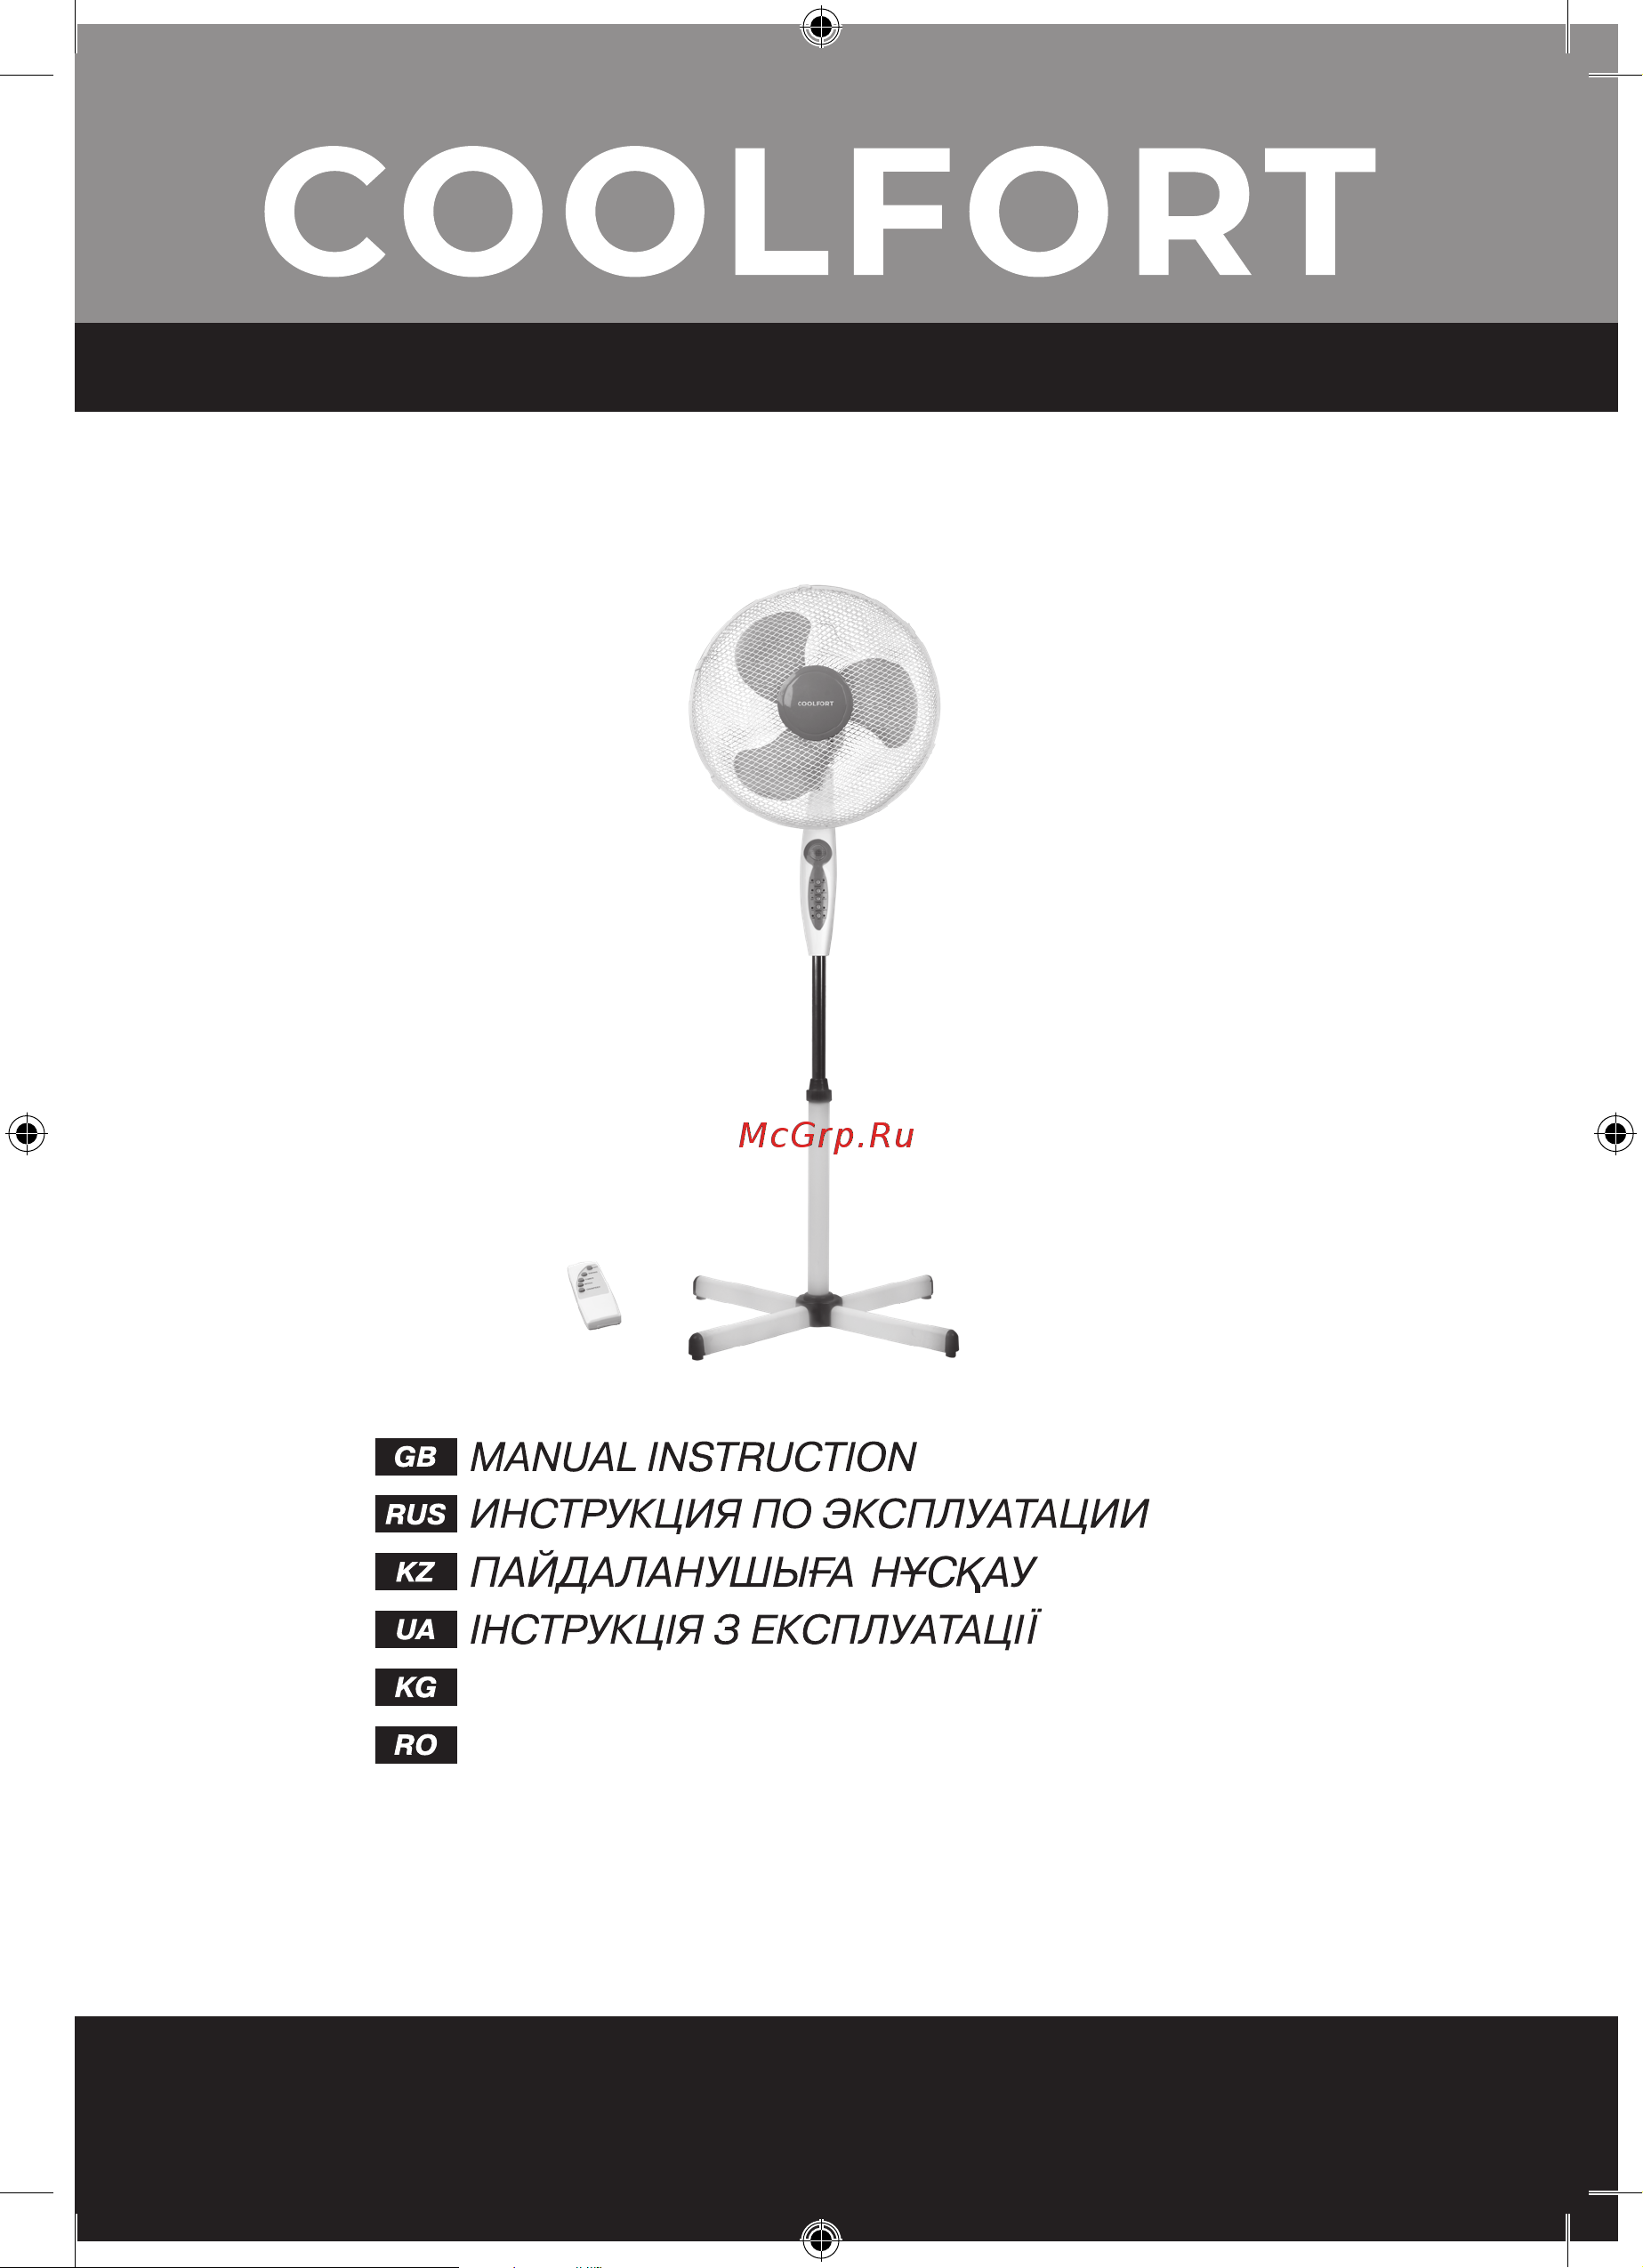
- Вентилятор fan 1
- Check the unit for damages do not use it in case of any 4
- English 4
- Fan assembly unpack the fan and remove any advertising stickers that can prevent its operation 4
- Fix the rear grid 6 on the motor unit 7 with the nut 5 by screwing it clockwise until bumping 4
- Insert the lower part of the bar 12 into the floor support 13 and fix it with the clamp 14 by threading it clockwise make sure that the support 13 is fixed firmly 4
- Install the blades 4 on the motor axis and fix them with the clamp 3 rotating it counterclockwise holding the blades 4 with a free hand 4
- Install the front grid 1 on the rear grid 6 and close the clamps 4
- Install the motor unit 7 on the telescopic bar 10 until bumping and fix it by the clamp 9 do not apply excessive effort when screwing the clamp of the motor unit 9 4
- Install the rear grid 6 on the motor unit 7 the carrying handle on the rear grid 6 should be turned upwards 4
- Open the clamps on the rear grid 6 4
- Plug the unit in the speed indicators 21 and the natural airflow mode indicator normal 23 will light up 4
- Set the crossed support 13 on a flat dry surface 4
- The fan is ready for operation 4
- The unit is not intended to be used by people with physical sensory or mental disabilities including children or by per sons lacking experience or knowledge if they are not under supervision of a person who is responsible for their safety or if they are not instructed by this person on the usage of the unit 4
- Unscrew and remove the rear grid 6 fastening nut 5 4
- Unscrew the clamp 11 and extend the bar 10 to the desired height and fix it by tightening the clamp 11 with a slight effort as you turn it clockwise 4
- Usage before using the unit for the first time make sure that the mains voltage corresponds to the unit operating voltage 4
- English 5
- Ing natural wind imitation mode the air flow speed is chaotically changing from soft breeze to strong gusts of wind 5
- Natural natural wind the indicator 24 is glow 5
- You can set the operation time of the fan sleep timer with the button 17 timer one of four indicators 22 will be glowing 5
- Опасности должны производить изготовитель сервисная служ ба или подобный квалифицированный персонал 6
- При повреждении шнура питания его замену во избежание 6
- Русский 6
- Timer до тех пор пока один из 7
- Для выключения таймера повторно нажимайте кнопку 17 7
- Индикаторов 22 не погаснет 7
- Русский 7
- Қазақша 8
- Дайындаушы аспапты жақсарту мақсатында алдын ала хабар ламай аспаптың дизайнын конструкциясы және оның жұмыс қағидатына әсер етпейтін техникалық сипаттарын өзгерту құқығын өзіне қалдырады соған байланысты нұсқаулық пен бұйымның арасында кейбір айырмашылықтар болуы мүмкін егер пайдаланушы осындай сәйкессіздіктерді анықтаса 9
- Нұсқаулықтың жаңартылған нұсқасын алу үшін сәйкессіздік ту ралы info coolfort ru электрондық поштасына хабарлауыңызды сұраймыз 9
- Қазақша 9
- Забороняється використовувати вентилятор поза приміщен 10
- Нями 10
- Україньский 10
- Україньский 11
- Кыргыз 12
- Айлана чөйрөөнү коргоо максатында шайман менен азыктанды руучу элементтердин эгерде топтомго кирсе кызмат мөөнөтү бүткөндөн кийин турмуш тиричилик калдыктары менен бирге таштабаңыз шайман менен азыктандыруучу элементти андан ары утилизациялоо үчүн адистештирлиген пункттарга бериңиз 13
- Арткы панжарадагы 6 бекитмелерин ачып алдынкы 13
- Кыргыз 13
- Панжараны 1 чечип лопасттардын бекитмесин 3 саат жебесинин багыты боюнча бурап чечип лопасттарды 4 чечип арткы панжаранын бекитме гайкасын 5 бурап чечип арткы панжараны 6 чечиңиз 13
- Deconectaţi ventilatorul de la reţeaua electrică înainte de curăţa re sau dacă nu utilizaţi dispozitivul sau înainte de a l muta la un loc nou 14
- Introduceți partea inferioară a tijei 12 în suportul de podea 13 și fixați o cu fixatorul 14 prin înșurubare în sensul acelor de ceasornic asigurați vă că suportul de podea 13 este bine fixat 14
- Nu utilizaţi ventilatorul dacă sunt deteriorate paletele cablul de alimentare sau fişa cablului de alimentare dacă ventilatorul funcţionează cu întreruperi după căderea lui sau orice altă dete riorare 14
- Română 14
- Acest produs respectă cerințele directivei ue 2014 30 ue privind compatibilitatea electromagnetică și directiva ue 2014 35 ue privind produsele de joasă tensiune 15
- Conectați cablul de alimentare indicatoarele de viteză 21 și indicatorul de flux de aer natural normal 23 se vor aprinde 15
- Pentru a utiliza telecomanda 20 deschideți capacul compartimen tului pentru baterii și introduceți 2 baterii de tip aaa nu sunt inclu se în setul de livrare în compartimentul pentru baterii respectând strict polaritatea închideți capacul compartimentului pentru baterii dacă dispozitivul nu este folosit o perioadă îndelungată scoateți bateria din compartimentul de baterii al telecomenzii 20 15
- Română 15
Похожие устройства
- Coolfort 2003-CF-01 Инструкция по эксплуатации
- Vitek 7997-VT-01 Инструкция по эксплуатации
- Vitek 8558-VT-01 Инструкция по эксплуатации
- Vitek 2347-VT-01 Инструкция по эксплуатации
- Vitek 2348-VT-01 Инструкция по эксплуатации
- Vitek 1445-VT-01 Инструкция по эксплуатации
- Vitek 2430-VT-01 Инструкция по эксплуатации
- Vitek 8142-VT-01 Инструкция по эксплуатации
- Vitek 1806-VT-03 Инструкция по эксплуатации
- Vitek 1807-VT-04 Инструкция по эксплуатации
- Vitek 2439-VT-01 Инструкция по эксплуатации
- Vitek 1267-VT-01 Инструкция по эксплуатации
- Vitek 1305-VT-04 Инструкция по эксплуатации
- Vitek 7050-VT-01 Инструкция по эксплуатации
- Vitek 2522-VT-01 Инструкция по эксплуатации
- Weissgauff Gracia Black Инструкция по эксплуатации
- Codyson CD-4800 (9476) Инструкция по эксплуатации
- Codyson CD-4820 (9479) Инструкция по эксплуатации
- Codyson CD-7810A (9472) Инструкция по эксплуатации
- BBK BT03 Black Инструкция по эксплуатации