
VTS Ventus VVS400 Инструкция по эксплуатации онлайн
Содержание
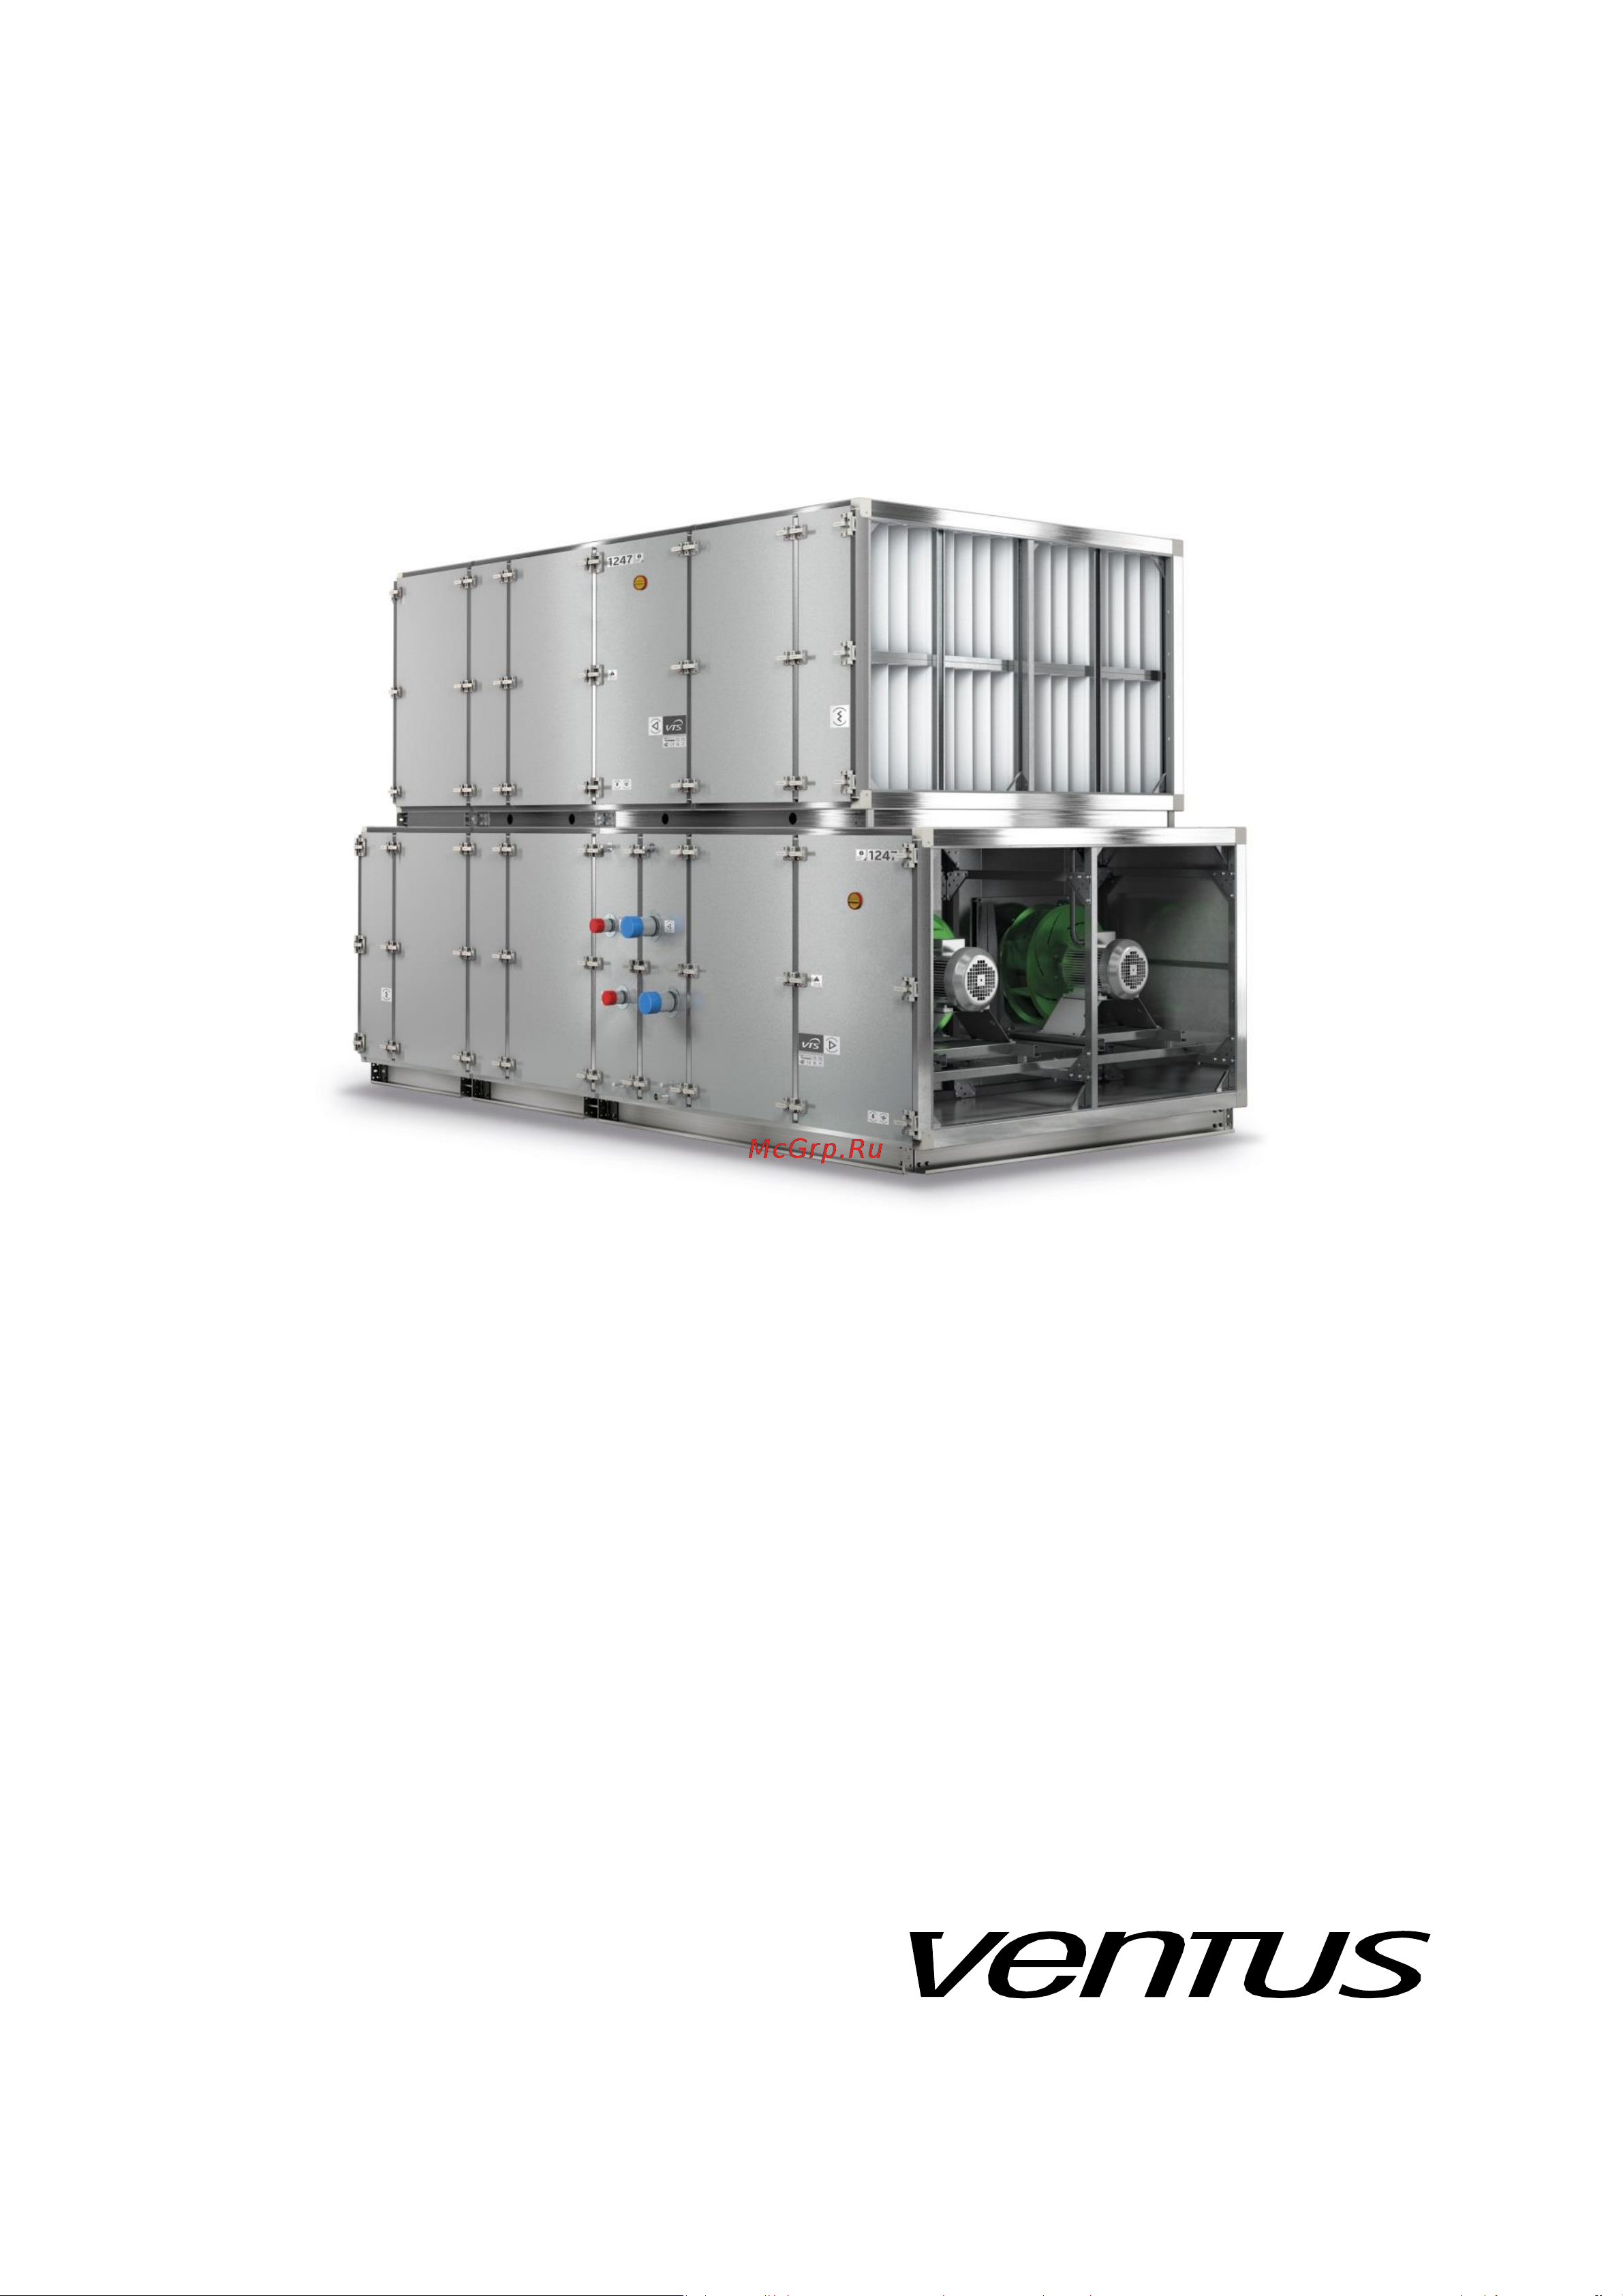
- Ventus air handling units 3
- Ventus air handling units 4
- Application and design 5
- Introduction 5
- Ventus air handling units 5
- Ventus air handling units 6
- Ventus air handling units 7
- Air flow direction 8
- Fig 4 versions of the vvs 21 650 ahu 8
- Ventus air handling units 8
- Transport and storage 9
- Ventus air handling units 9
- Ventus air handling units 10
- Ahus supplied in packages for assembly on site 11
- Ahus supplied in sections 11
- Ambient conditions for ahus installation 11
- Foundation assembly connection of unit 11
- Related systems 11
- Ventus air handling units 11
- Conditions of ahu assembly carried out by authorized vts service 12
- Ventus air handling units 12
- Ventus air handling units 13
- Fig examples of ahu foundation 14
- Foundation 14
- Ventus air handling units 14
- Ventus air handling units 15
- Fig c base frame of vvs 230 650 ahus 16
- Rys d base frame of vvs 21 650 sectional ahus 16
- Ventus air handling units 16
- Vvs21 180 vvs21 180 16
- Vvs230 650 16
- Ventus air handling units 18
- Connecting the ventilation ducts 19
- Place of foundation 19
- Ventus air handling units 19
- Connection of heaters and coolers 20
- Ventus air handling units 21
- Ventus air handling units 22
- Connection of evaporative humidifier 23
- Ventus air handling units 23
- Types of the supply and drainage connection are specified in the table 6 24
- Ventus air handling units 24
- Circulating humidifier relies on the circulating pump which sits in water tank and feeds water to the humidifying pad excessive water falls to the tank and is used again to feed the pad due to evaporation water level decreases and activates the floating valve which controls the water supply 25
- Direct drain humidifier is simplified compact construction for limited space in the ahu supply water feeds the humidifying pad from the top and the excessive water falls to the draining pan and goes directly out of the ahu 25
- Ventus air handling units 25
- Vts reserves the right to implement changes without prior notice 25
- Water supply is controlled by means of solenoid valve installed in the control cabinet included in the delivery 25
- Draining out condensate 26
- Ventus air handling units 26
- Electric connection 27
- Ventus air handling units 27
- Evaporative humidifier 28
- Rotary exchanger 28
- Ventus air handling units 28
- Electric heater 29
- Ventus air handling units 29
- Fan s motor 4 1 fan s motor 30
- Ventus air handling units 30
- Ventus air handling units 31
- Air dampers 32
- Automatic control 32
- Preparation for start up 32
- Ventus air handling units 32
- Electrical system 33
- Filters 33
- Ventus air handling units 33
- Water and glycol heaters 33
- Cross flow and counter flow heat exchangers 34
- Electric heaters 34
- Evaporative humidifier 34
- Ventus air handling units 34
- Water and glycol coolers freon coolers and heaters 34
- Fan unit 35
- Rotary exchanger 35
- Ventus air handling units 35
- Measurement of air quantity and ahu output adjustment 36
- Start up and adjustment 36
- Ventus air handling units 36
- Heat output adjustment of water heater 37
- Ventus air handling units 37
- Adjustment of cooler performance 38
- Adjustment of electric heater 38
- Ventus air handling units 38
- Adjustment of humidifier 39
- Operation and maintenance 39
- Ventus air handling units 39
- Dampers 40
- Filters 40
- Ventus air handling units 40
- Blow through the heater with compressed air connected to the vent 41
- Heat exchangers 41
- Move the inspection panel towards the safety valves unscrew the drain and the vent plug from collectors connect the outflow hose to the drain to let the water go out of the drained exchanger outside the 41
- Operating water heaters should be equipped with anti frost system optionally in winter period replace heating medium of the heater with antifreeze medium e g glycol solution in case of cutting off inflow of heating medium or operational standstill of the ahu and if air temperature may drop below 5ºc the heater should be emptied in order to do so please close the valves at the heating agent s inflow and outflow cut the heater off from the heating 41
- System 41
- Ventus air handling units 41
- Water and glycol heater 41
- Cross flow and counter flow heat exchanger 42
- Electric heater 42
- Freon cooler and heater 42
- Humidifier 42
- Ventus air handling units 42
- Water or glycol cooler 42
- Number of columns screws and bolts necessary to disassembly depend on the size of unit 43
- The cages of the counter flow heat exchanger cannot be lifted by a crane with the cages of the counter flow heat exchanger cannot be lifted by a crane with 43
- Using top profiles of the construction it should be supported from the bottom 43
- Ventus air handling units 43
- Fan unit 45
- Rotary exchanger 45
- Suppression section 45
- Ventus air handling units 45
- Ventus air handling units 46
- Assemble the casings onto the frame paying attention to 47
- Bearings and rubber rings on cross bars 47
- Casings 47
- Disconnect the cross bars 3 from side panels and 47
- Ease protection screws 1 and remove protection rings 2 47
- Fans bearings depending on a type size and shaft power fans assembled in the ahus are equipped with various types of bearings fans without a casing equipped with peaf kbt 1 belt drive table 16 a are delivered with already greased ball bearings in cast iron casings amount of grease used for lubrication as well as the lubrication interval depends on a bearing type and its rotary speed replacement of bearings assembled in cast iron single casings in fans type peaf kbt 1 47
- Fix the cross bars on the side panels paying attention 47
- In fans type tae tdf table 16 b balls bearing are installed in the rubber amortizing ring tae fans or in the cast iron casing tdf fans replacement of bearings mounted on cross bars in tae type fans 1 ease the securing screws 1 and remove the securing 47
- Out of bearings with a centre punch and hammer remove pins 3 from a cast iron bearing casing and remove screws 4 fastening the casing remove the casing with the bearings out of the shaft using appropriate tools hold the shaft in an appropriate position in order not to damage the inlet funnel or rotor s wheel 47
- Preserving coaxiality of the rotor and inlet cone tighten up screw fastening the casing install protection rings onto the bearings clamping them according to the fan s rotations direction and secure them with fixing screws turn the wheel several times in order to check if it rotates correctly 47
- Replace the bearings and install new ones in the cast iron 47
- Rings 2 from bearings with the use of a centre punch and a hammer slide the securing rings from the shaft with the use of appropriate tools hold up the shaft in the correct position in order not to damage the inlet cone or the rotor wheel 47
- Slide them off the shaft together with the bearing remove old bearings and rubber rings and fit new 47
- To the coaxiality of the rotor and the entrance cone tighten the screws fastening the cross bars to the side panels fix the securing rings on the bearings by tightening them in accordance with the direction of fan rotation and secure them with retaining screws next spin the wheel to verify if it rotates properly 47
- Ventus air handling units 47
- After inspection and maintenance check the fan s rotations if the fan s rotations direction is not correct the air will flow in a correct direction but the fan s output will significantly decrease the fan s rotations direction may change due to some electric changes in the electric system and that s why it should be controlled 48
- Before starting any kind of works related to the motor or its subassemblies particularly before removing covers protecting against unintended contact with spinning elements or electric shock the device should be disconnected from power supply what is more all additional and secondary circuits should be disconnected as well 48
- Coaxiality of the rotor and the entrance cone tighten the screws fastening the casings from the side of the cone drive the sleeve previously slid on the shaft with the use of the copper hammer fix a blocking washer with a nut and deflect the washers blocking pawl with the use of a screwdriver next spin the wheel to verify if it rotates properly 48
- Deflect the securing washer 1 with the use of a 48
- Fix the casings on the frame paying attention to the 48
- Hammer and remove screws 4 fastening the casing slide the casing together with the bearing off the shaft with the use of appropriate tools hold up the shaft in the correct position in order not to damage the inlet cone or the rotor 48
- Knock out the inside sleeve 3 with the use of a copper 48
- Motors 48
- Replace bearings by fitting new ones in cast iron casing 48
- Replacement of bearings mounted on cross bars in tdf type fans replacement of bearings mounted on cross bars in tdf type fans 48
- Screwdriver and unscrew the nut 2 48
- Thorough and regular maintenance and motor s condition check is necessary in order to detect faults before serious damages occur 48
- Ventus air handling units 48
- Vts reserves the right to implement changes without prior notice 48
- You should pay attention to the fact that the inside diameter of the bearing is cone shaped and the bearing should be installed with the bigger diameter from the side of the fan s rotor 48
- Ventus air handling units 49
- Belt transmission 50
- Bigger value than the one shown in the table 50
- Distance between the axes more or less in halfway between the axes fig 4 50
- During operation activities of the fan unit you have to check tension of wedge shaped belts and their parallel alignment factory set belts tension should be checked after first 50 working hours and then carry out regular adjustment every 4 months too loose belt can fall off the pulley or slide on it and in turn may wear out quickly but on the other hand too tight belt may result in bearing overheating and damage as well as motor s overload 50
- Fig 4 deflection of a wedge shaped belt 50
- For ec motors are used bearings type 6202 zz c3e 50
- In case of incorrect belts tension stretch them by moving the motor with a stretching screw located in the motor panel fig 6 and compare tension values with the values shown in the table 18 50
- Increase the belt tension if the power has got a smaller value or decrease if the power has got 50
- Recommended belt tension is equal to 0 x pmax 50
- Tension check should be carried out in the following way 1 measure a distance between wheels axes a size fig 4 2 measure power p needed in order to bend the belt by s 16 mm for each running meter of a 50
- Ventus air handling units 50
- Vts reserves the right to implement changes without prior notice 50
- Also check if the wedge shaped belt is not broken cracked dried or damaged in any other way damaged wedge shaped belt must be replaced in case of multi belt drive even if just one belt is worn out you have to replace all the belts making sure that they have the same length and fit the grooves of the pulley if you do not replace all the belts the new ones will transfer bigger overloads since they are a bit shorter than the old ones during belts replacement ease the stretching screws of the motor panel fig 6 so that the belts can be removed and replaced with new one manually without applying force in no circumstances you are allowed to install the belts by force with a screwdriver or with any other tool during belt replacement check if the pulleys contact surfaces are not worn out new belts should be stretched so as the required deflection force p fig 24 was as close to the p value shown in the table 18 as possible once the new belts are assembled verify the pulleys alignment checking wi 51
- Axle base of pulleys a mm 51
- Fig 5 deflection of wedge shaped belt depending on axle base of the pulleys 51
- In order to eliminate redundant calculations a diagram with belts deflection values s have been provided with various axle base of pulleys 51
- Power required to deflect a belt by s 16mm at wheel spacing a 1000mm 51
- V belt deflection s mm 51
- Ventus air handling units 51
- Vts reserves the right to implement changes without prior notice 51
- Fig 7 pulleys adjustment 53
- Ventus air handling units 53
- Safety instructions 54
- Test measurements 54
- Ventus air handling units 54
- Information 55
- Implementing directive 2009 125 ec 56
- Technical information to the regulation eu no 327 2011 56
- Ventus air handling units 56
- Ventus air handling units 57
- Ventus air handling units 58
- Ventus air handling units 59
- Ventus air handling units 60
- Ie2 63 4 4 ie2 63 5 5 4 61
- Model 50 7 5 4 61
- Technical information to the regulation eu no 327 2011 implementing directive 2009 125 ec 61
- Ventus air handling units 61
- Vts reserves the right to implement changes without prior notice 61
- Ventus air handling units 62
- Ventus air handling units 63
- Ventus air handling units 64
- Ventus air handling units 65
Похожие устройства
- VTS Ventus VVS400 Брошюра
- VTS Ventus VVS400 Инструкция по инсталляции ПО
- VTS Ventus VVS400 Инструкция по инсталляции
- VTS Ventus VVS400 Сертификат
- VTS Ventus VVS500 Инструкция по эксплуатации
- VTS Ventus VVS500 Инструкция по инсталляции ПО
- VTS Ventus VVS500 Брошюра
- VTS Ventus VVS500 Инструкция по инсталляции
- VTS Ventus VVS500 Сертификат
- VTS Ventus VVS650 Инструкция по эксплуатации
- VTS Ventus VVS650 Брошюра
- VTS Ventus VVS650 Инструкция по инсталляции ПО
- VTS Ventus VVS650 Инструкция по инсталляции
- VTS American VENTUS AVS 008 Инструкция по эксплуатации
- VTS American VENTUS AVS 008 Инструкция по инсталляции ПО
- VTS American VENTUS AVS 008 Брошюра
- VTS American VENTUS AVS 008 Инструкция по инсталляции
- VTS American VENTUS AVS 008 Сертификат
- VTS American VENTUS AVS 012 Инструкция по эксплуатации
- VTS American VENTUS AVS 012 Инструкция по инсталляции ПО