![Aerofit IE9521 [14/23] 页面 14](/img/pdf.png)
Aerofit IE9521 [14/23] 页面 14
Превью страниц
Страница 14 /
23
![Aerofit IE9521 [14/23] 页面 14](/views2/1134971/page14/bge.png)
─ 14 ─
Assembly
STEP 5
1. Attach one Front Shroud (#111) to the Weight Stack Frame (#1).
2. Attach one Rear Shroud (#110) to the Weight Stack Frame (#1).
3. Attach the Top Front Shroud (#145) and the Console PCB (#141) to the Weight
Stack Frame (#1) using:
● five M5*12 Screws (#133)
4. Attach the Top Cover (#147) to the Weight Stack Frame (#1) using:
● four M5*12 Screws (#133)
5. Attach the Left Plug (#148) and Right Plug (#149) to the Weight Stack Frame(#1).
6. Attach the Baffle Plate (#115) to the Main Bracket (#10) using:
● two M8*15HHB (#116) ● two Φ9*Φ16*1.6 Flat Washer (#84)
7. Attach two Button (#49) to the Main Bracket (#10).
Note: Wrench Tighten Bolts and Nylon Lock nuts.
Here is the assembly instruction for Console PCB !
Содержание
Похожие устройства
-
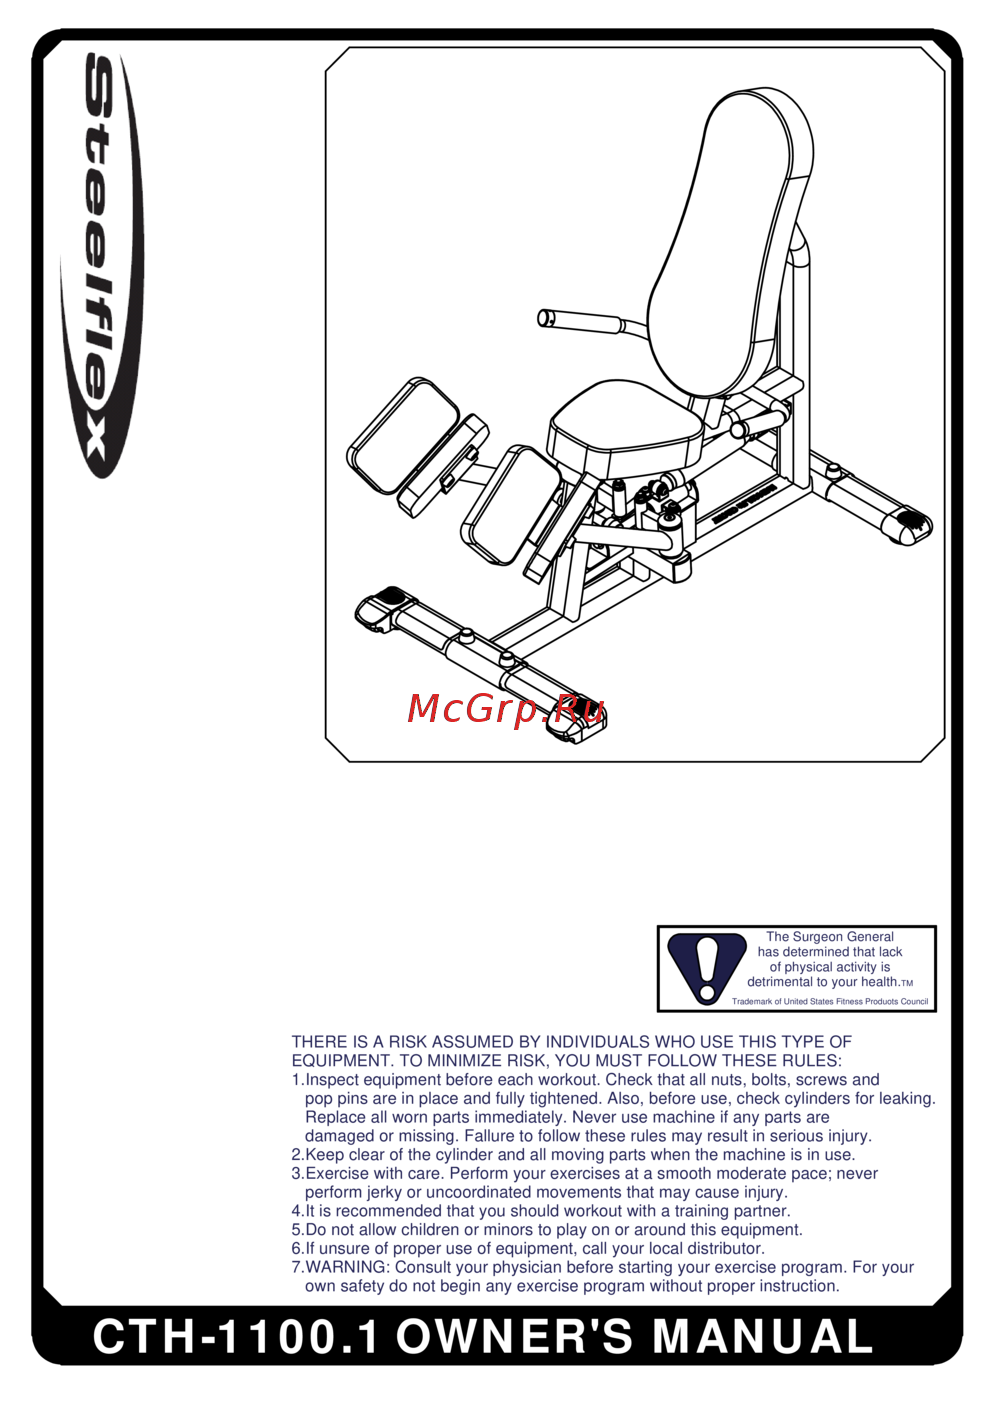 Aerofit CTH1100Руководство пользователя
 -
 Aerofit CAB1000Руководство пользователя
 -
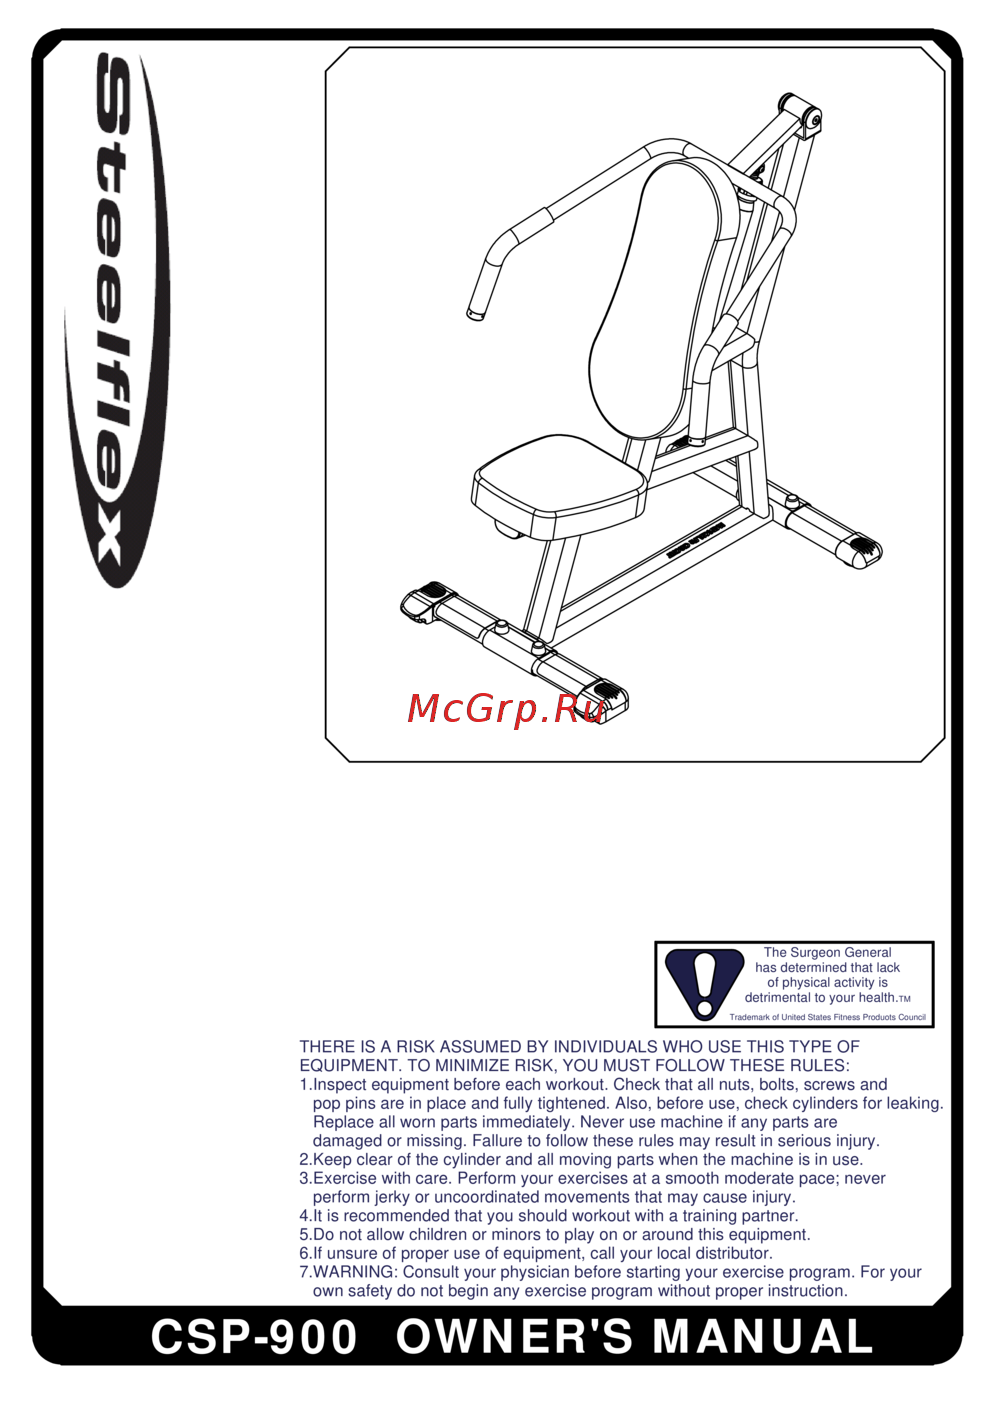 Aerofit CSP900Руководство пользователя
 -
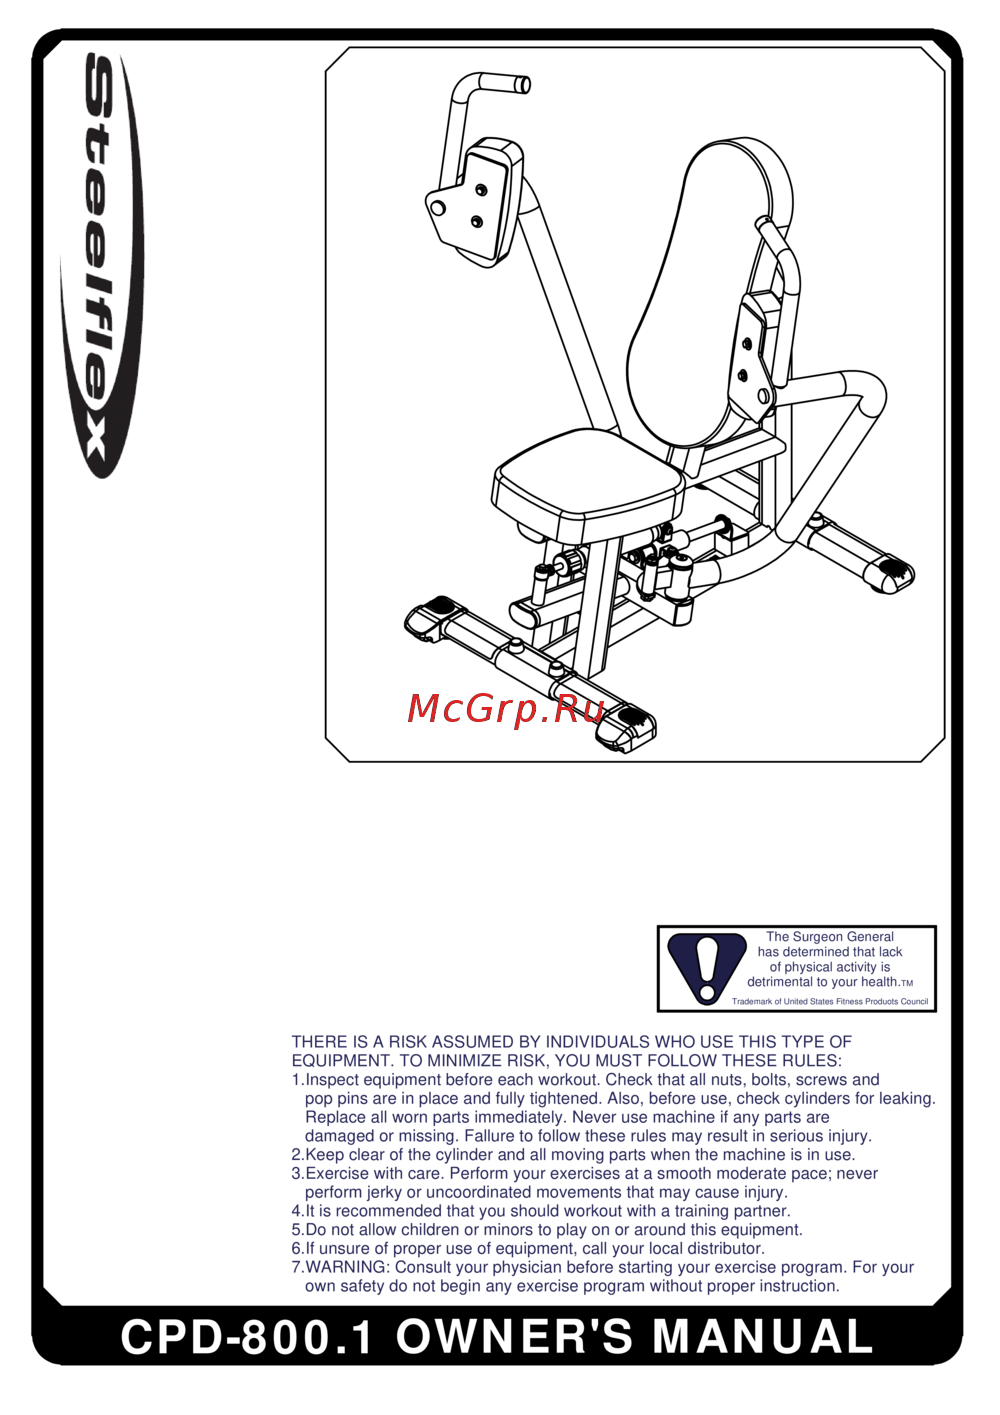 Aerofit CPD800Руководство пользователя
 -
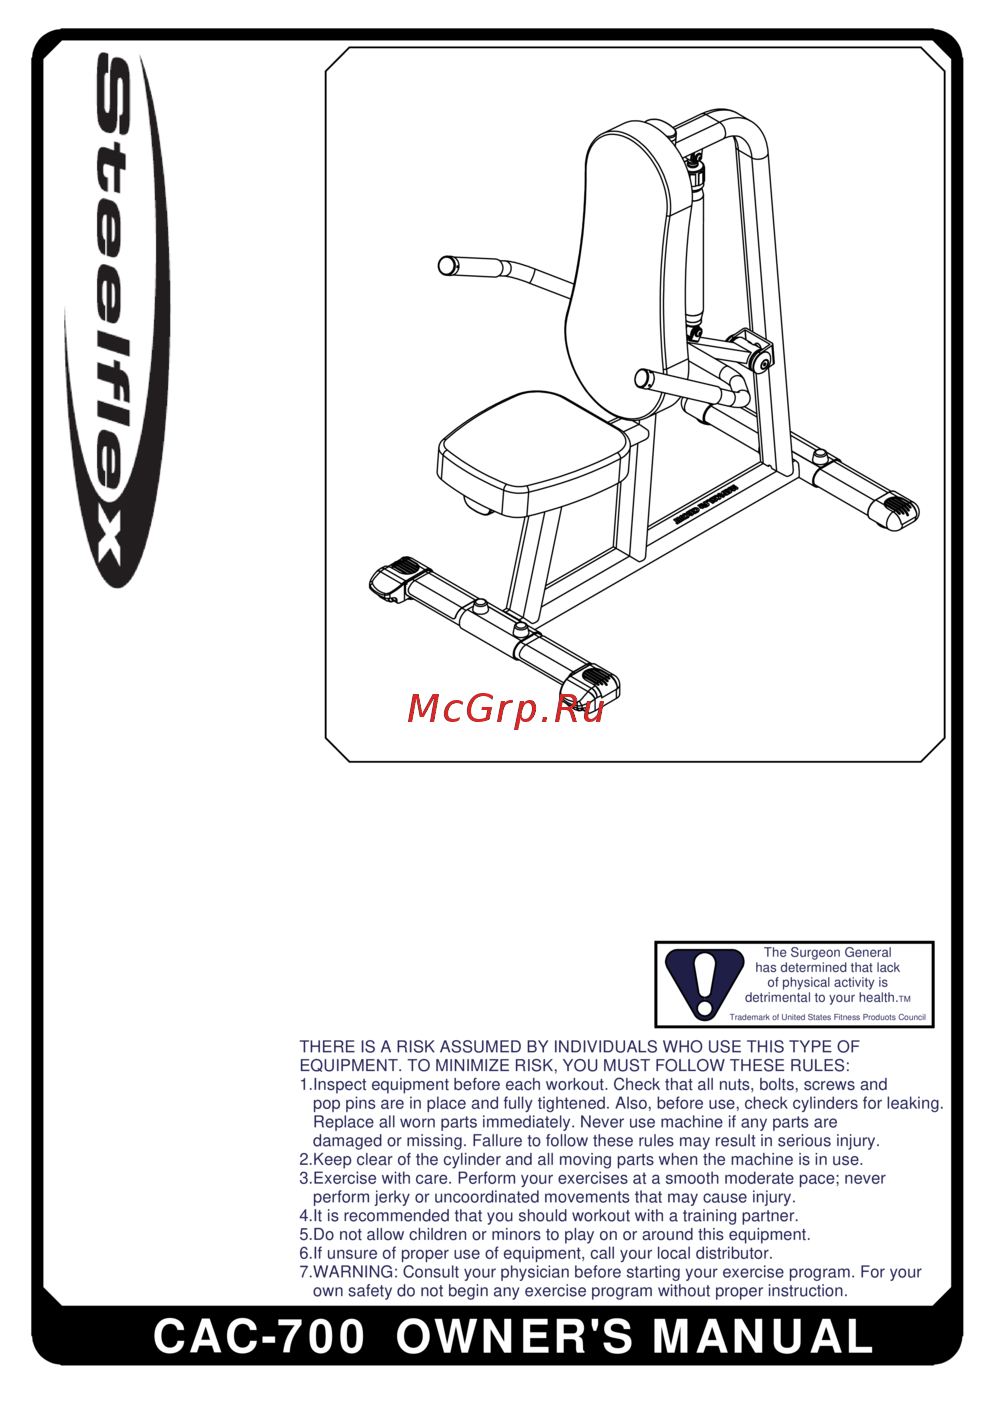 Aerofit CAC700Руководство пользователя
 -
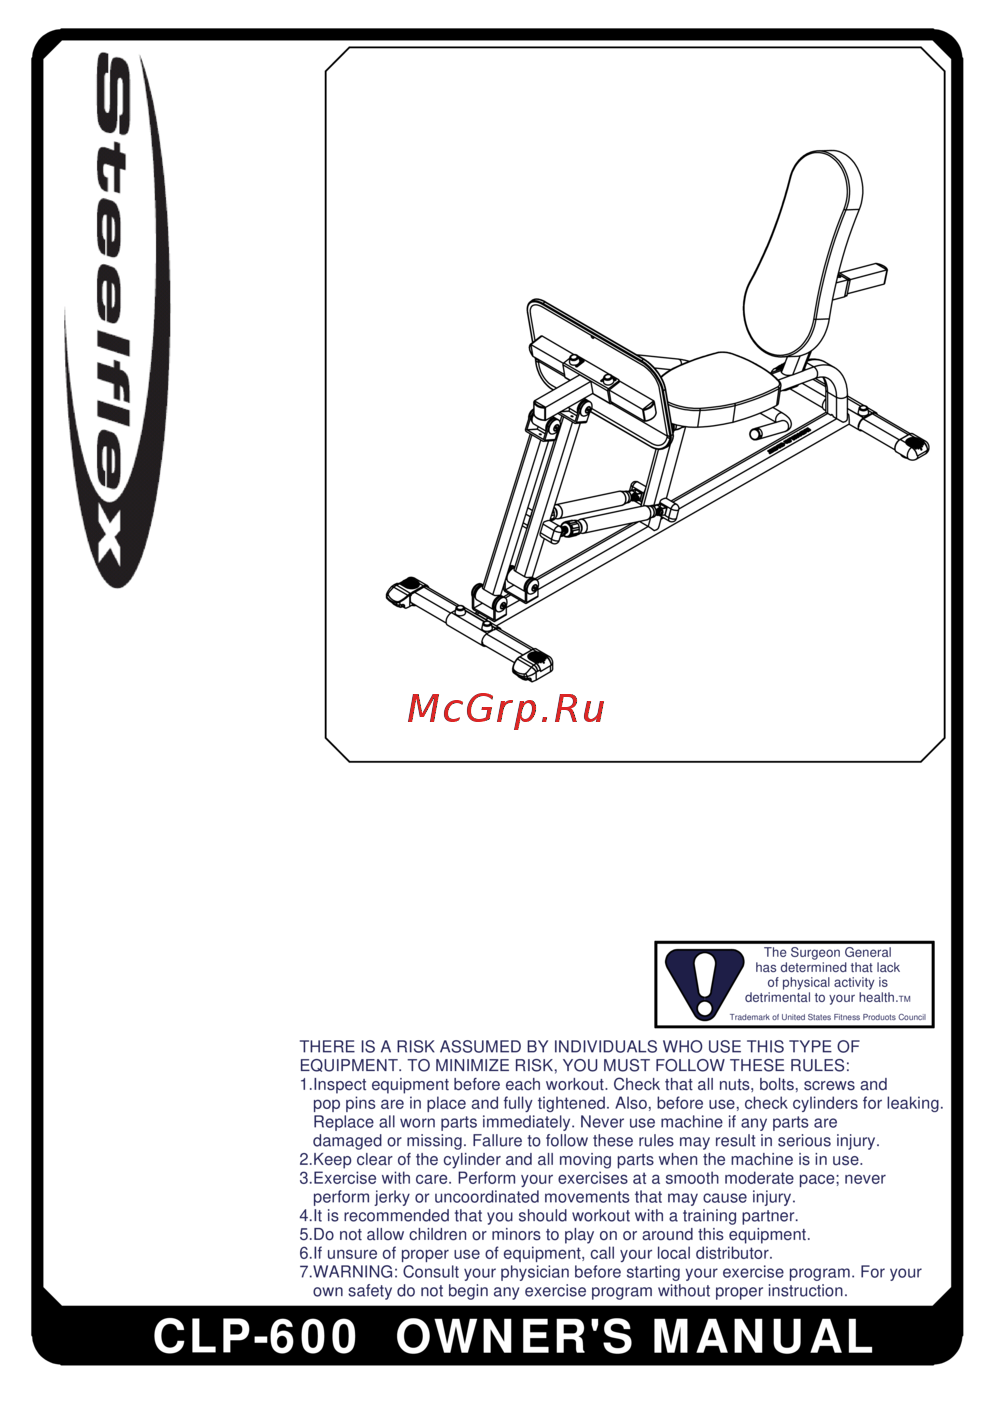 Aerofit CLP600Руководство пользователя
 -
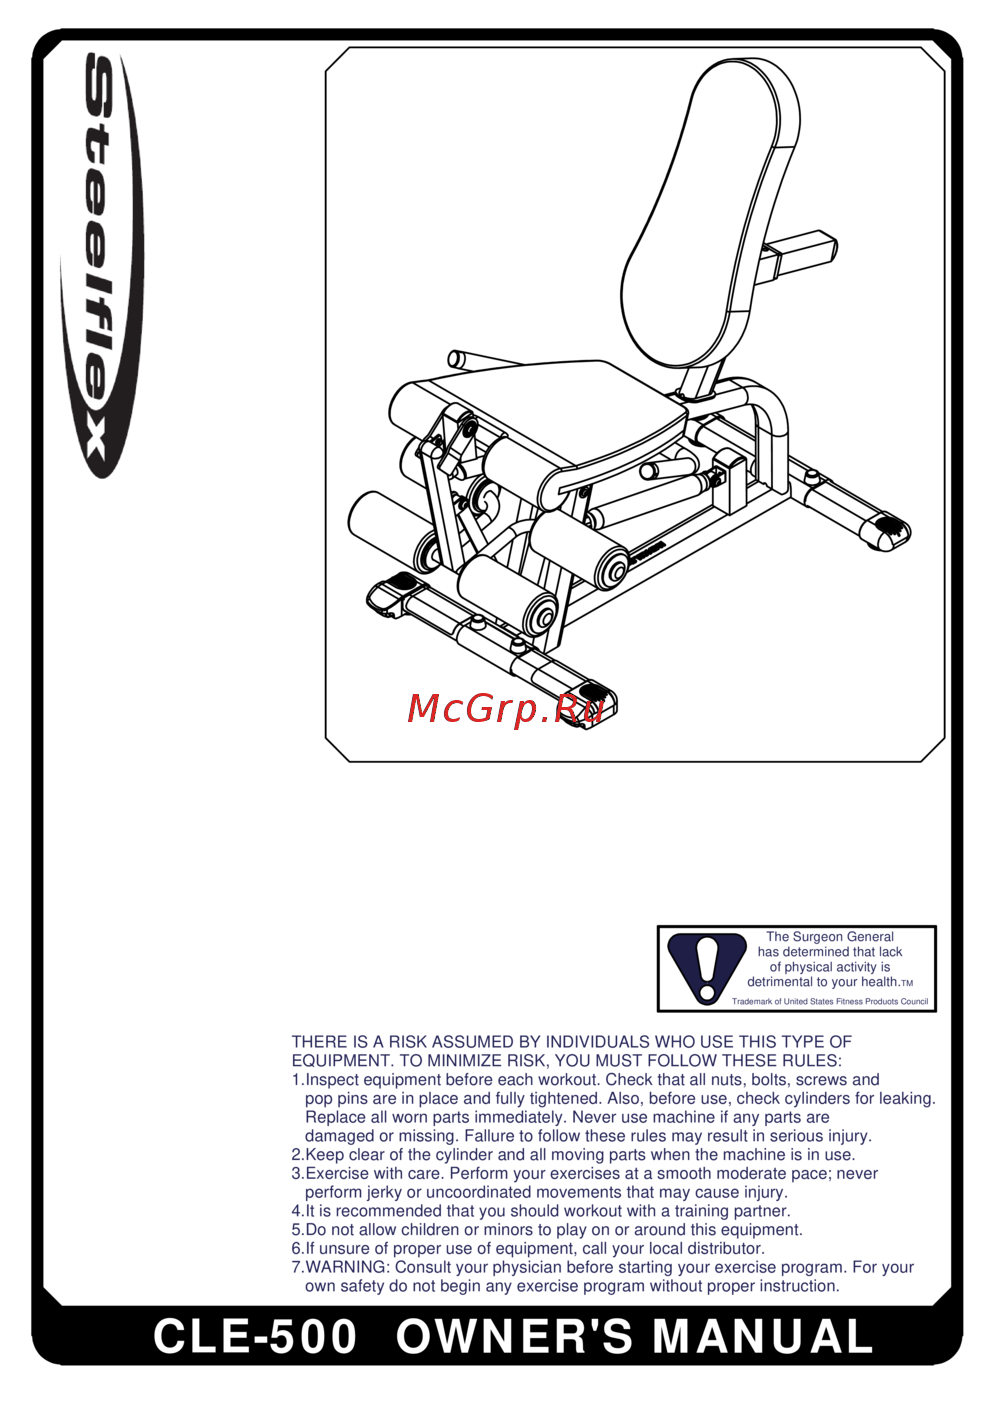 Aerofit CLE500Руководство пользователя
 -
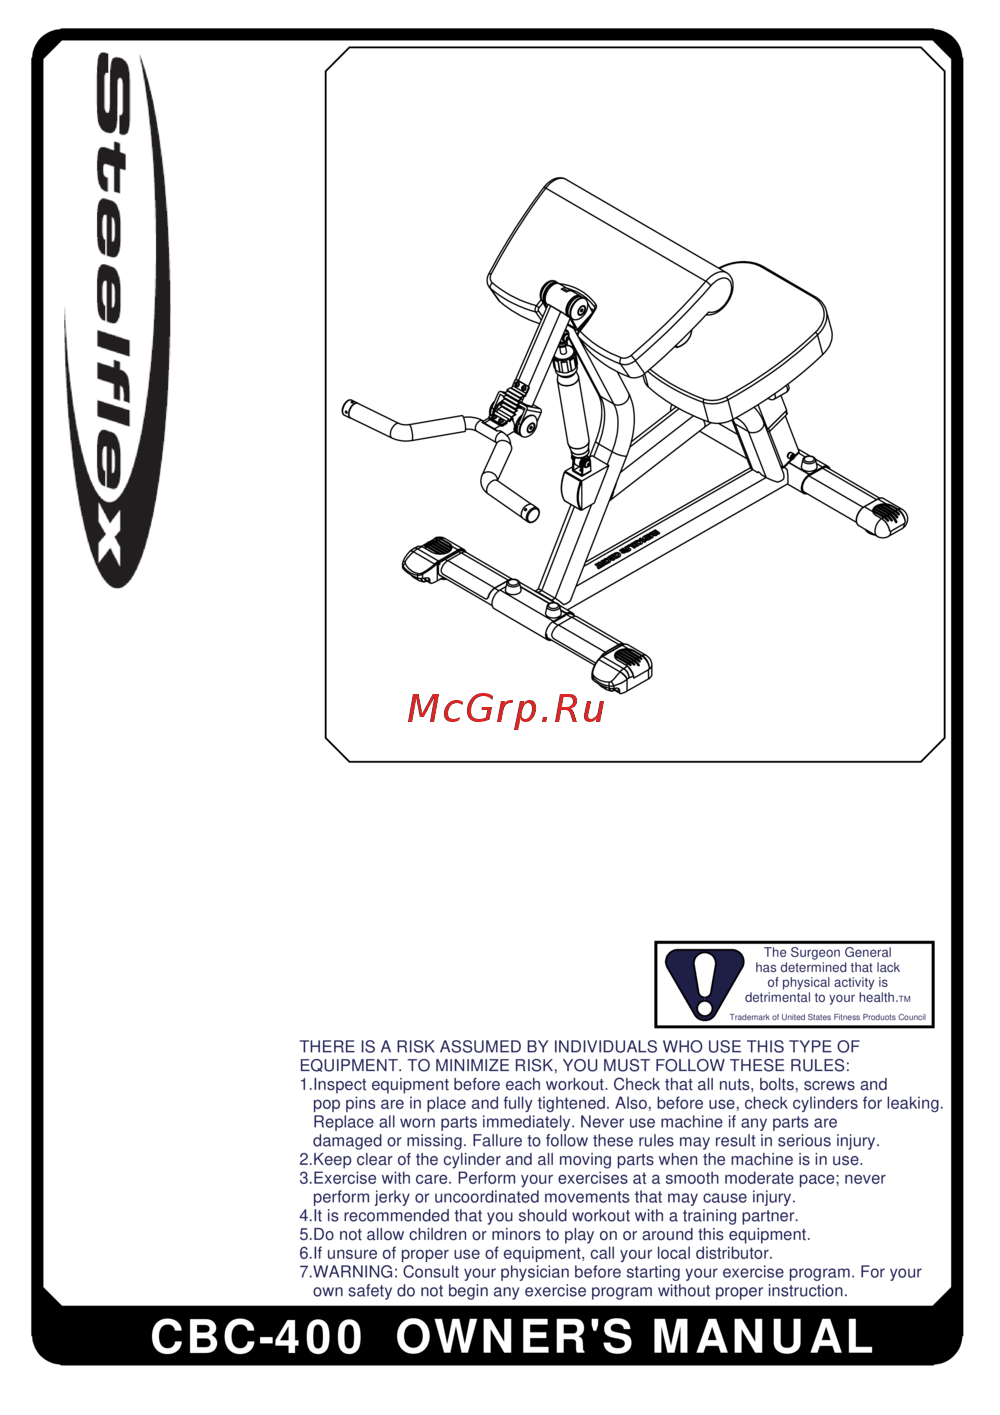 Aerofit CBC400Руководство пользователя
 -
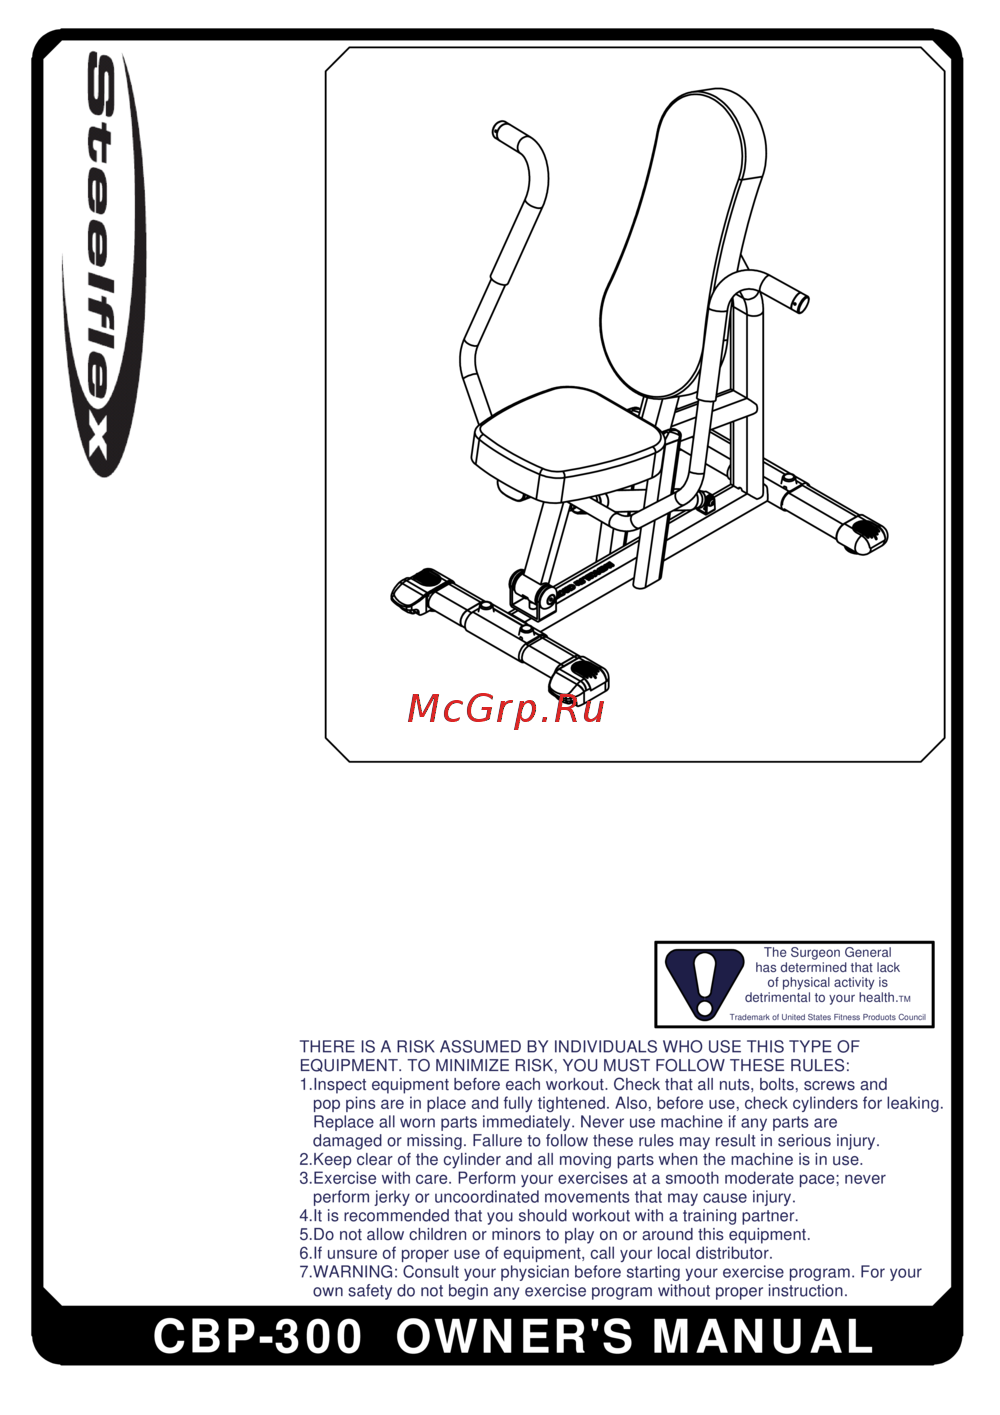 Aerofit CBP300Руководство пользователя
 -
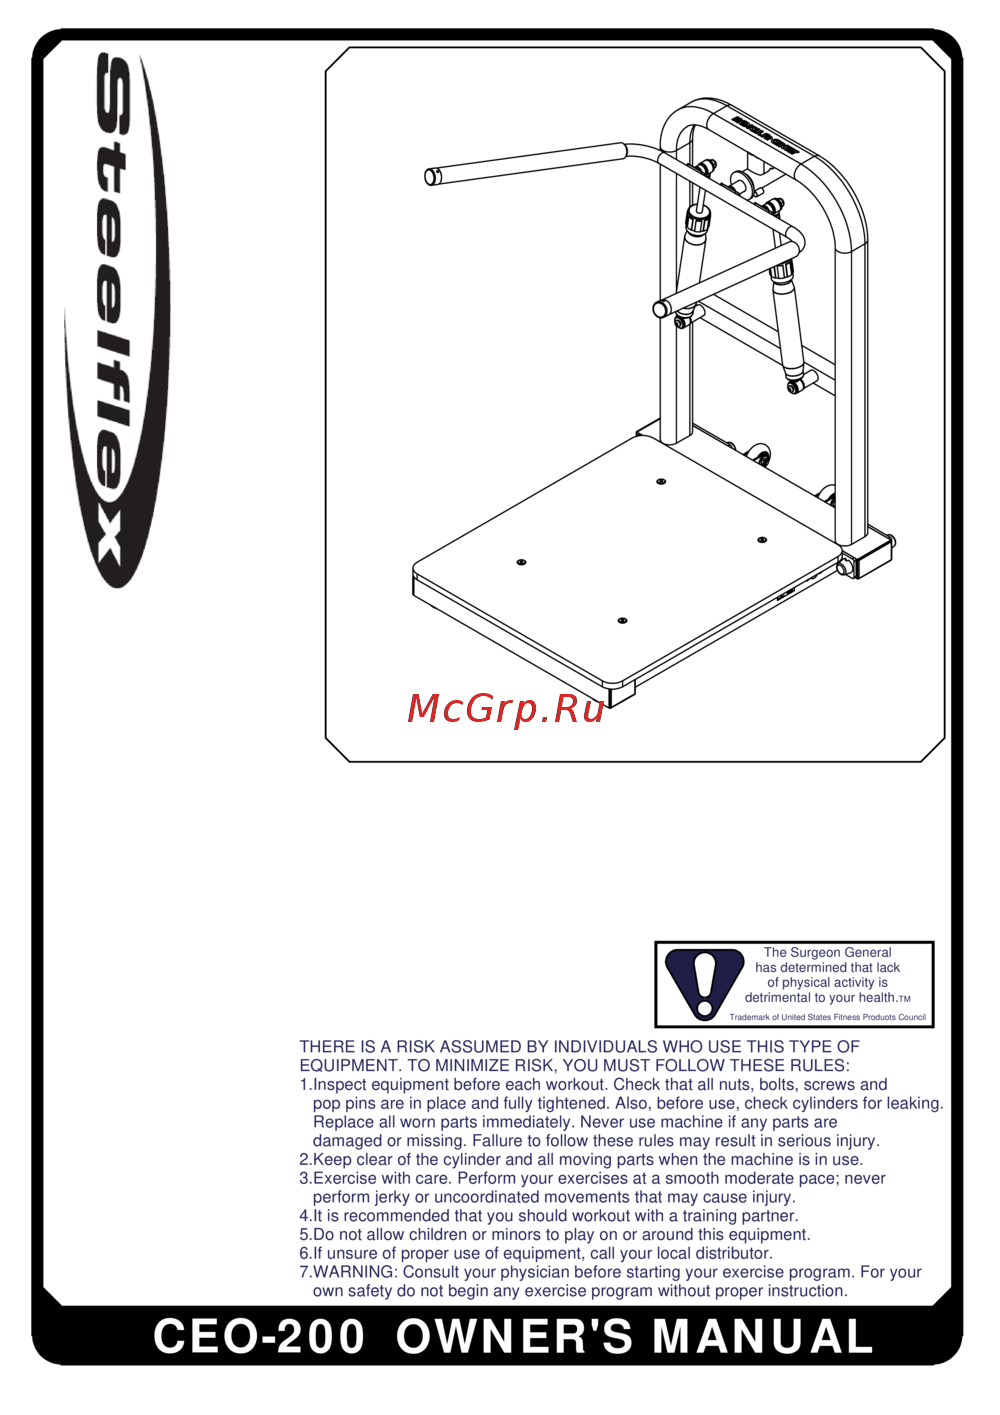 Aerofit CEO200Руководство пользователя
 -
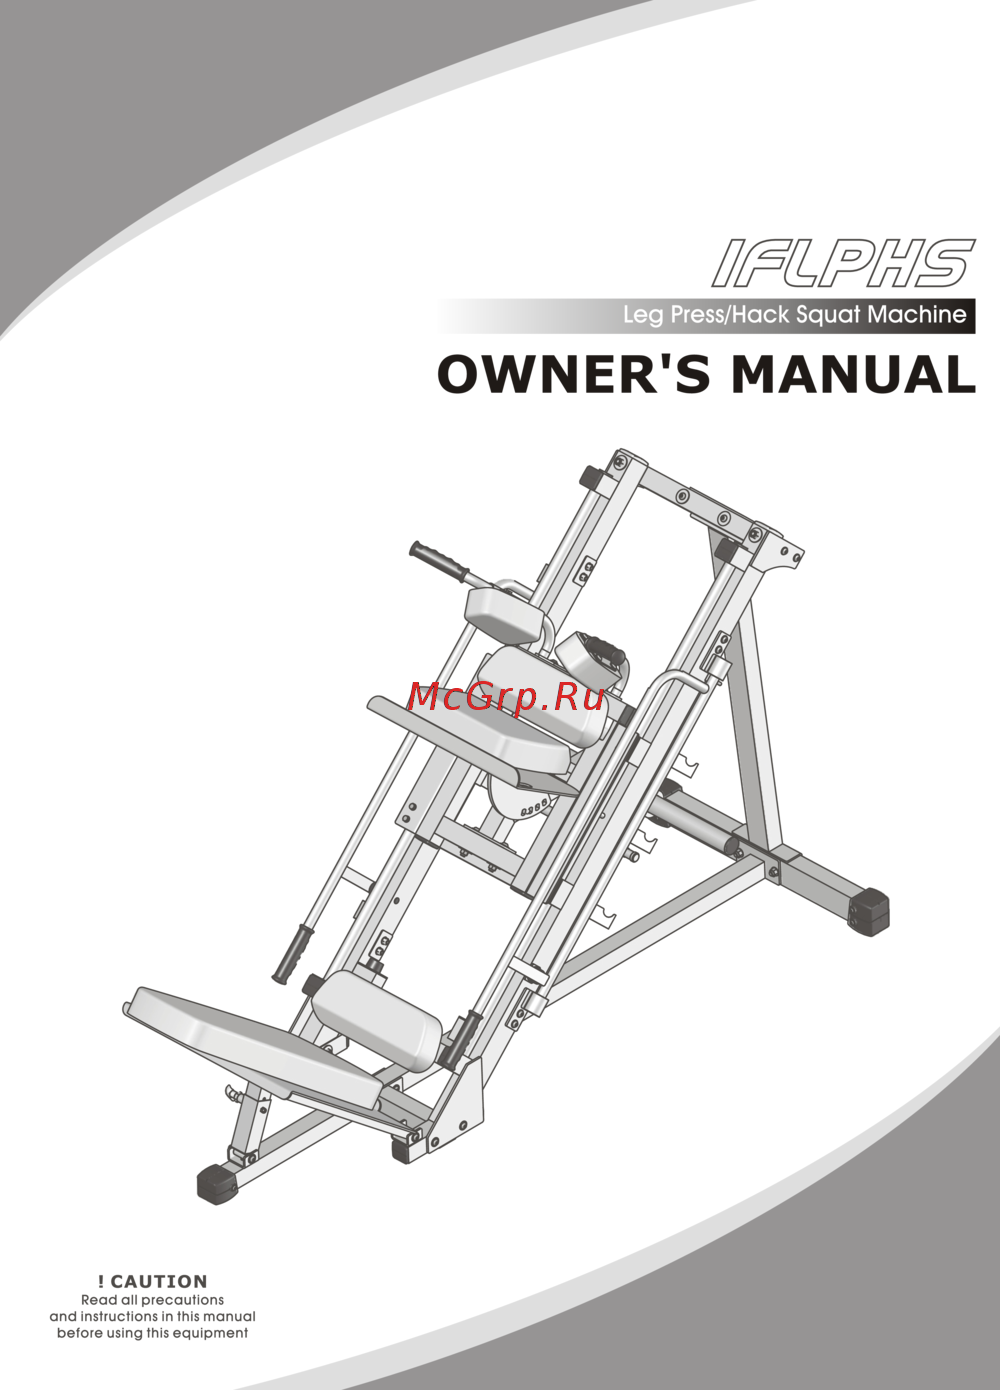 Aerofit IFLPHSРуководство пользователя
 -
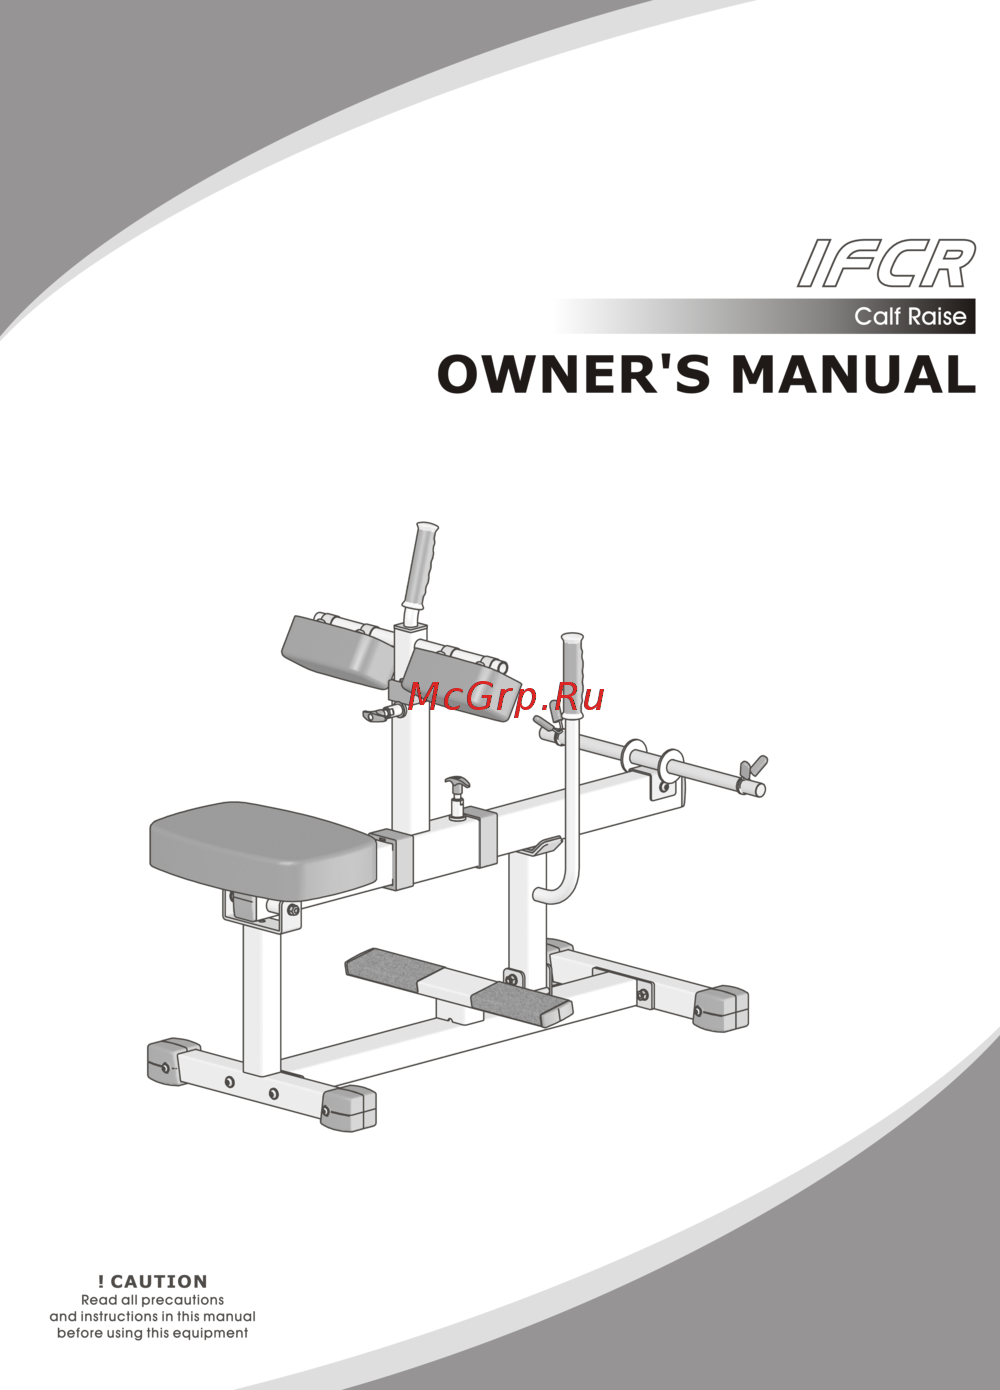 Aerofit IFCRРуководство пользователя