Tp-Link TL-R402M — руководство пользователя для маршрутизатора Cable/DSL [44/61]
Превью страниц
Страница 44 /
61
![Tp-Link TL-R402M [44/61] Static routing](/views2/1042359/page44/bg2c.png)
TL-R402M Cable/DSL Router User Guide
37
¾ Remote Management IP Address - This is the current address you will use when
accessing your router from the Internet. The default IP address is 0.0.0.0. It means this
function is disabled. To enable this function, change the default IP address to another IP
address as desired
To access the router, you will type your router's WAN IP address into your browser's address (in
IE) or Location (in Navigator) box, followed by a colon and the custom port number. For example,
if your Router's WAN address is 202.96.12.8 and you use port number 8080, enter in your
browser: http://202.96.12.8:8080. You will be asked for the router's password. After successfully
entering the password, you will be able to access the router's web-based utility.
)
Note:
Be sure to change the router's default password to a very secure password.
4.7.6 Ping from WAN
Figure 4-28 Ping from WAN
¾ Ignore Ping Packet from WAN Port - Enable or Disable ignore ping packet from WAN port.
If enabled, the ping packet from the Internet cannot access the router
4.8 Static Routing
A static route is a pre-determined path that network information must travel to reach a specific
host or network. To add or delete a route, work in the area under the Static Routing page (shown
in Figure 4-29).
Содержание
60- Cable dsl router
- Tl r402m
- Http www tp link com
- Copyright trademarks
- Safety notices
- Fcc statement
- Ce mark warning
- Package contents
- Conventions
- Contents
- Chapter 4 configuring the router 1
- Chapter 3 quick installation guide
- Chapter 2 connecting the router
- Chapter 1 introduction
- Appendix d glossary 4
- Appendix c specifications 2
- Appendix b configuring the pcs 8
- Appendix a faq 4
- Overview of the router
- Features
- Chapter 1 introduction
- The front panel
- Panel layout
- The rear panel
- System requirements
- Installation environment requirements
- Connecting the router
- Chapter 2 connecting the router
- Tcp ip configuration
- Chapter 3 quick installation guide
- Quick installation guide
- Status
- Chapter 4 configuring the router
- Quick setup
- Network
- Mac clone
- Dhcp settings
- Dhcp clients list
- Address reservation
- Virtual servers
- Forwarding
- Port triggering
- Security
- Firewall
- Ip address filtering
- Domain filtering
- Mac filtering
- Filterin
- Remote management
- Static routing
- Ping from wan
- System tools
- Firmware
- Factory defaults
- Reboot
- Password
- Appendix a faq
- Appendix b configuring the pcs
- Appendix c specifications
- Appendix d glossary
Похожие устройства
-
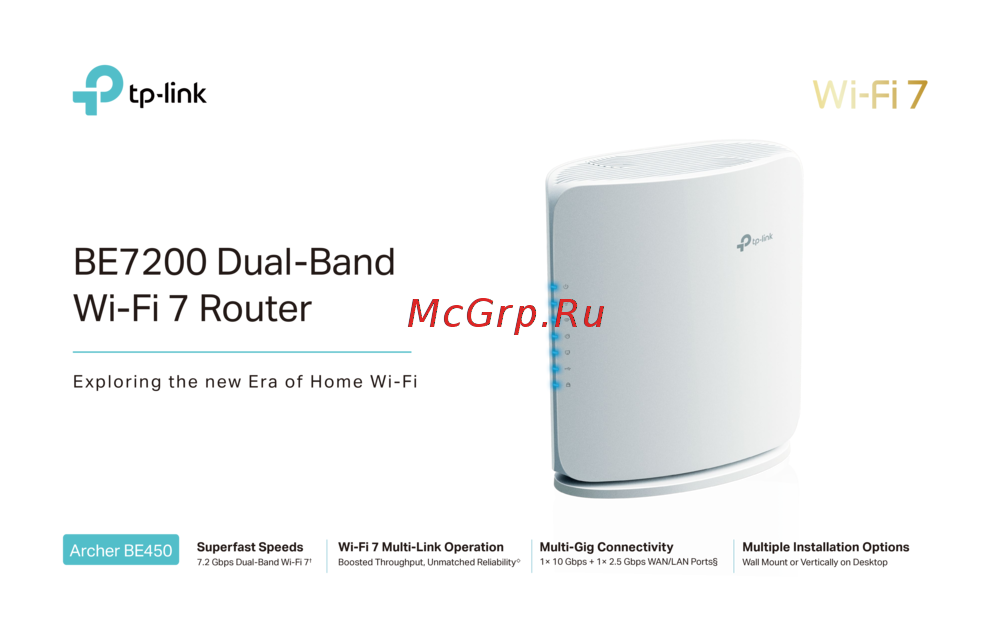 Tp-Link Archer BE450Краткая инструкция
 -
Tp-Link BE7200Краткое руководство пользователя
-
 Tp-Link Archer EC220 G5Руководство по настройке
 -
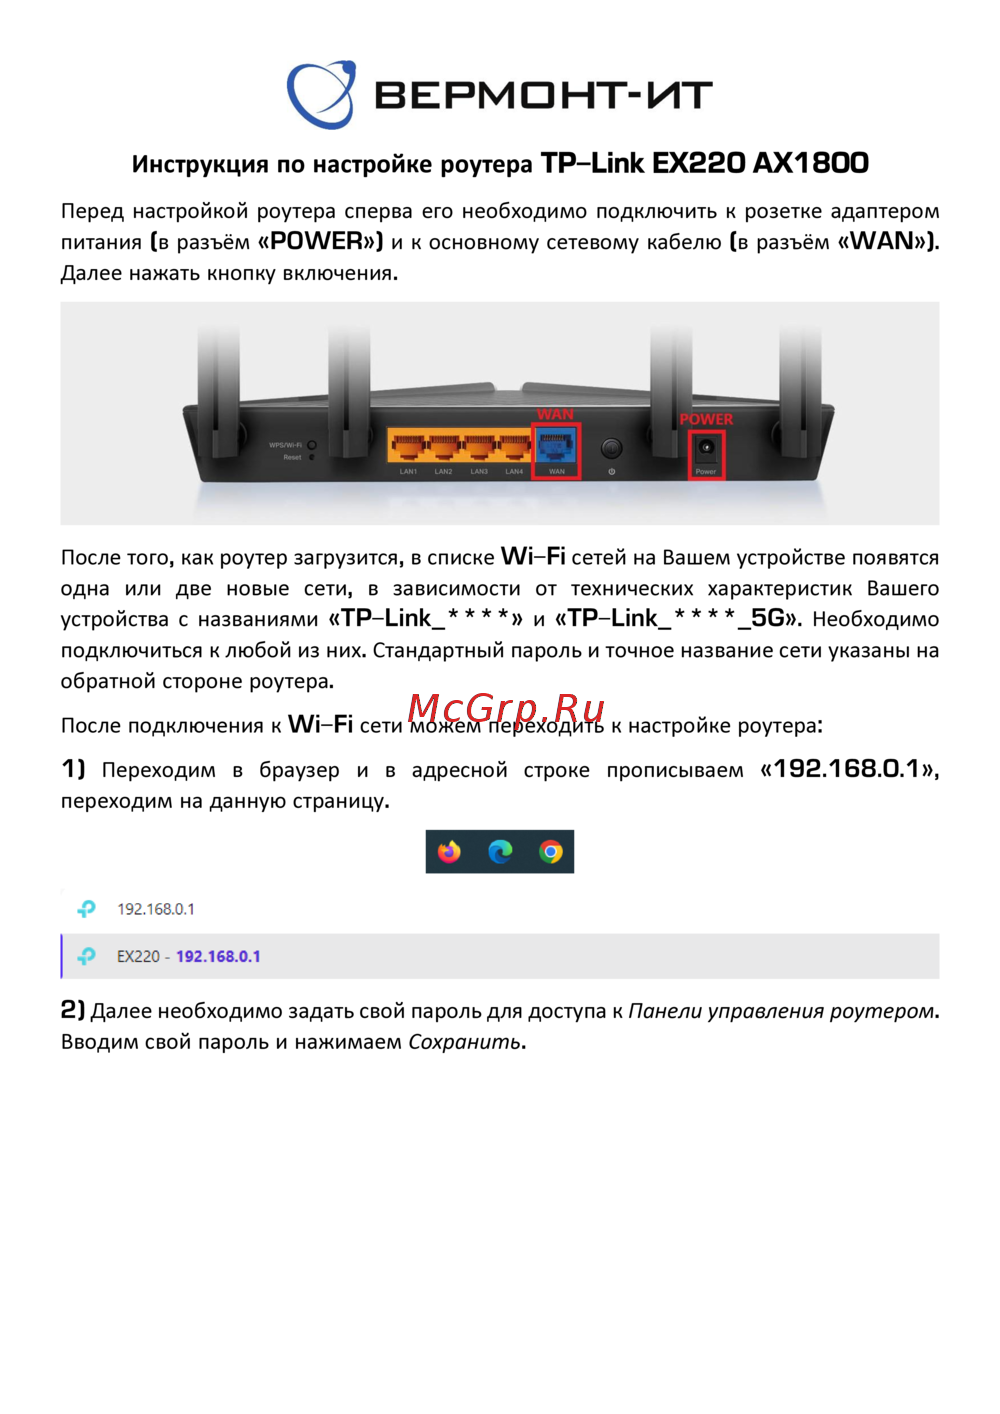 Tp-Link EX220 AX1800Руководство пользователя
 -
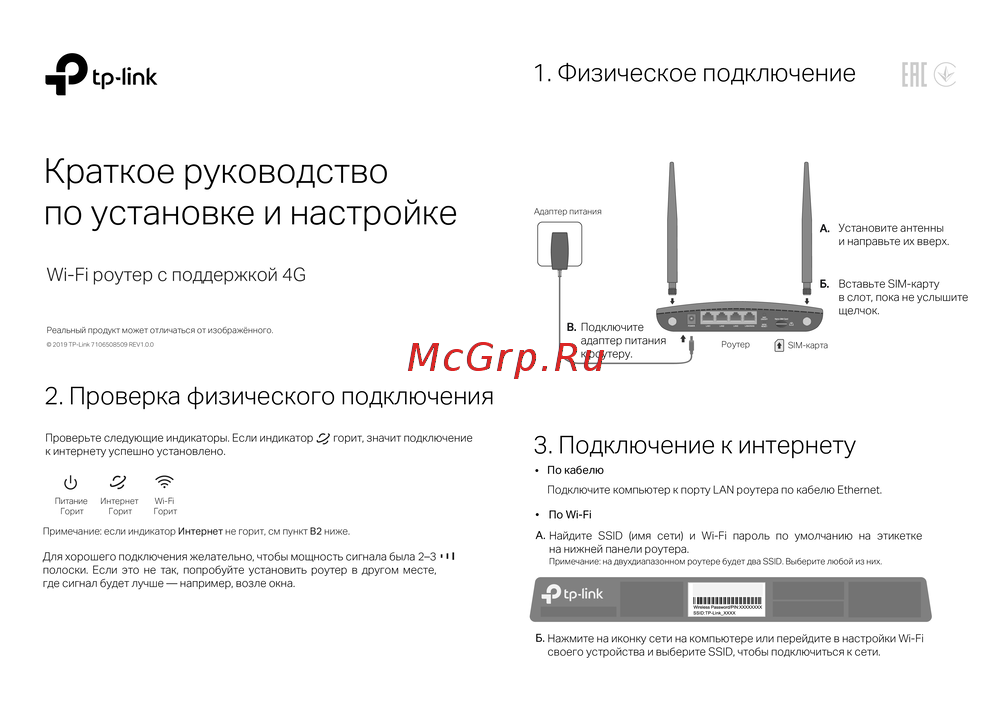
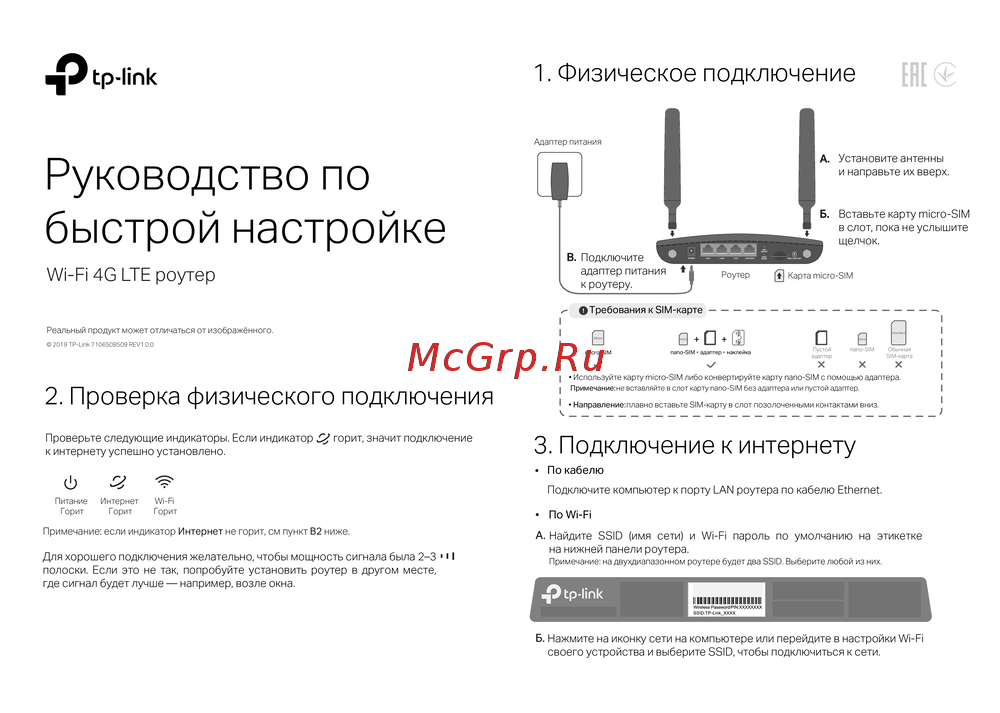 Tp-Link Wi-Fi 4G LTE роутерКраткая инструкция по использованию
 -
 Tp-Link TL-WR3002XИнструкция по применению
 -
 Tp-Link AC750Руководство по работе с устройством
 -
 Tp-Link TL-MR6400 черныйРуководство по эксплуатации
 -
 Tp-Link TL-MR100 N300Руководство по эксплуатации
 -
 Tp-Link TL-MR105 N300Руководство по эксплуатации
 -
 Tp-Link Archer MR500 AC1200Руководство по эксплуатации
 -
 Tp-Link TL-WR840N N300Руководство по эксплуатации
Узнайте, как управлять своим маршрутизатором через интернет, изменять IP-адрес и настраивать статическую маршрутизацию для оптимизации сети.