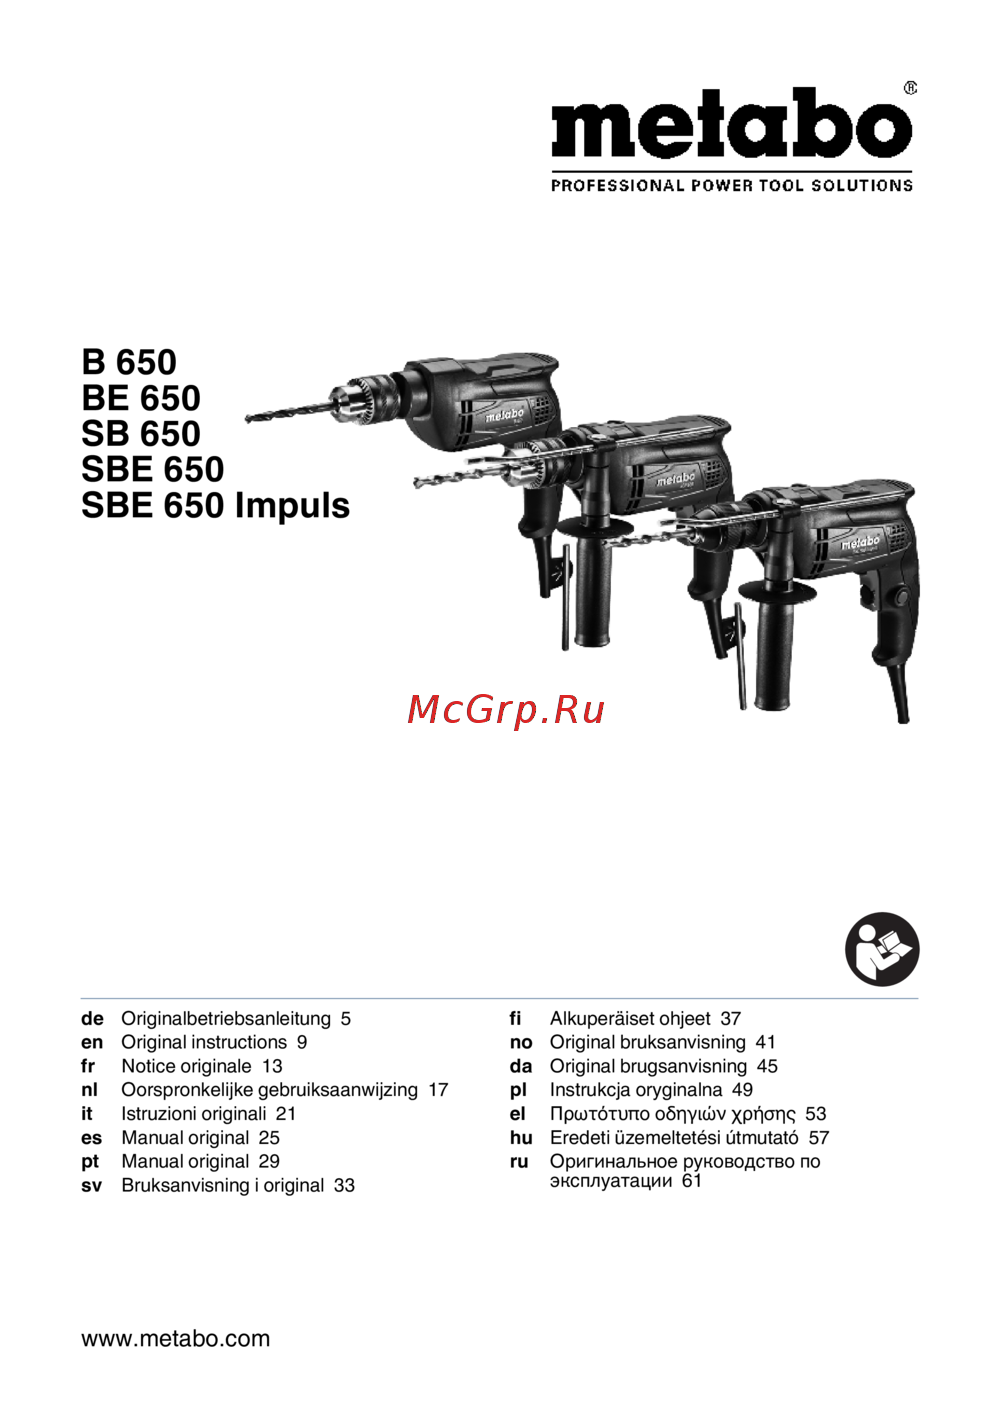
Bort BSM-900N — управление скоростью и направлением вращения сверла [12/36]
Превью страниц
Страница 12 /
36
![Bort BSM-900N [12/36] Attachable handle](/views2/1920177/page12/bgc.png)
12
large drilling diameters.
Gear 2:
High rotation speed range, intended for working with
small drilling diameters.
Setting the rotation speed
By pressing the Rotation speed setting-ring, you can set
the rotation speed during idle operation.
The optimal rotation speed is dependent upon the work
piece, the operation mode, and the inserted drill.
- Light pressure on the Rotation speed setting-ring: low
rotation speed (intended for: small/short screws, soft
working materials);
- Greater pressure on the Rotation speed setting-ring:
higher rotation speed (designated for: large/long screws,
hard working materials).
Selecting the rotation direction
• Do not set the switch left/right rotation during drilling.
• The rotation direction is always according to the switch
position.
• Switch position R: right-rotation/forward/clockwise.
To drill and to screw in screws, push the switch right/left
rotation to the right until the stopper.
• Switch position L: left-rotation/backward/coun-
ter-clockwise. To loosen or pull out screws and nuts,
push the switch right/left rotation to the left until the
stopper.
Changeover switch (Drilling/ Impact Drilling)
Set the changeover switch only when the impact drill is
at a standstill.
• Drilling operation mode: Set the changeover switch on
the DRILL position work on wood, metal, or plastic ma-
terials;
• Impact drilling operation mode: Set the changeover
switch on the Hammer position to work on concrete,
stone, or brick.
Attachable handle
Never use the impact drill without the attachable handle.
The attachable handle provides additional support and
allows you to work exhaustion-free. The attachable han-
dle is intended for both right-and left-handed persons.
• Loosen the rotating button (a2) of the attachable han-
dle by turning it counter-clockwise.
• Guide the drill chuck of the impact drill through the
attachable handle.
• Then turn the attachable handle to the position which
is best for you.
• Turn the rotating button (a2) clockwise until the at-
tachable handle sits tightly and can no longer be moved.
Depth gauge
With the depth gauge, you can drill several holes with
the same drilling depth.
• Loosen the rotating button (a2) of the attachable han-
dle.
• Guide the depth gauge through the opening on the
attachable handle.
• To set the desired drilling depth.
• Pull the depth gauge out far enough so that the dis-
tance between the point of the drill and the point of the
depth gauge is the desired drilling depth.
• Turn the rotating button (a2) clockwise until the at-
tachable handle sits tightly and can no longer be moved.
MAINTENANCE AND CLEANING
Make sure that the machine is not live when carry-
ing out maintenance work on the motor.
• Regularly clean the machine housing with a soft cloth,
preferably after each use. Keep the ventilation slots free
from dust and dirt.If the dirt does not come o use a soft
cloth moistened with soapy water. Never use solvents
such as petrol, alcohol, ammonia water, etc. These sol-
vents may damage the plastic parts.
• The machine requires no additional lubrication.
• Should a fault occur, e.g. after wear of a part, please
contact your local BORT GLOBAL LIMITED dealer.
DISPOSAL
Discarded electric appliances are recyclable and
should not be discarded in the domestic waste!
Please actively support us in conserving resourc-
es and protecting the environment by returning
this appliance to the collection centres (if availa-
ble).
Made in China.
Содержание
139- Bsm 900n
- Arbeitsplatzsicherheit
- Anwendungsdauer
- Allgemeine sicherheitshinweise für elektrowerkzeuge
- Transportierung
- Technische daten bild 1
- Schlagbohrer
- Lieferumfang
- Lagerbedingungen
- Herstellungsdatum
- Grundaufbau bild 2
- Elektrische sicherheit
- Deutsch de
- Bestimmungsgemäßer gebrauch
- Aufbewahrungsdauer
- Verwendung und behandlung des elektrowerkzeuges
- Sicherheitshinweise für bohrmaschi nen
- Sicherheit von personen
- Service
- Ein ausschaltung abb 5
- Wartung und reinigung
- Verwendung des werkzeugs änderung der drehrichtung abb 4
- Umschalten zwischen betriebsarten abb 7
- Installierung des zusätzlichen griffs abb 4
- Ersatzwerkzeuge installieren abb 4
- Einstellung der drehzahl abb 5
- Entsorgung
- Shelf life
- Production date
- Product life
- Product elements fig 2
- Percussion drill
- Intended use
- General power tool safety warnings
- English gb
- Electrical safety
- Work area safety
- Transportation
- The complete set includes
- Technical specifications fig 1
- Storage conditions
- Turning on off
- Service
- Safety warnings for drills
- Power tool use and care
- Personal safety
- Operation
- Gear selection switch
- Maintenance and cleaning
- Disposal
- Changeover switch drilling impact drilling
- Attachable handle
- Setting the rotation speed
- Selecting the rotation direction
- Sécurité électrique
- Sécurité de la zone de travail
- Specifications techniques fig 1
- Marteau perforateur
- Manutention
- Introduction
- Français fr
- Durée de fonctionnement
- Dispositif fig 2
- Dessin détaillé a poignée amovible fig
- Date de production
- Conditions de stockage
- Composition
- Avertissements de sécurité généraux pour l outil
- Temps de stockage
- Utilisation et entretien de l outil
- Sécurité des personnes
- Maintenance et entretien
- Avertissements de sécurité pour la perceuse
- Utilisation de l outil changement du sens de rotation fig
- Réglage de la vitesse de rotation fig
- Nettoyage et entretien
- Marche arrêt fig
- Installation des outils interchangeables fig
- Installation de la poignée supplémentaire fig
- Commutation entre les modes de fonctionne ment fig
- Élimination des déchets
- Дрель ударная
- Дата изготовления
- Безопасность рабочего места
- Электробезопасность
- Устройство рис 2
- Условия хранения
- Транспортировка
- Технические характеристики рис 1
- Срок хранения
- Срок службы изделия
- Русский ru
- Общие указания по технике безопасности для электроинструментов
- Назначение
- Комплектация
- Сервис
- Применение электроинструмента и обращение с ним
- Безопасность людей
- Использование инструмента переключение направления вращения рис 4
- Включение выключение рис 5
- Установка сменного инструмента рис 4
- Установка дополнительной рукоятки рис 4
- Указания по технике безопасности для электродрелей
- Регулировка скорости вращения рис 5
- Утилизация
- Техническое обслуживание и уход
- Переключение режимов работы рис 7
- Появление дыма и запаха горелой изоляции
- Повышенное искрение щеток на коллекторе
- Повышенная вибрация шум
- Двигатель перегревается
- Двигатель не развивает полную скорость и не работает на полную мощность
- Двигатель не включается
- Возможные неисправности и методы их устранения
- Exploded view
- Spare parts list
- Список авторизованных сервисных центров в россии находится на сайте
- Bort global com
- Электроинструмента
- Условия гарантии
- Рекомендации по профилактическому обслуживанию
- Гарантия не распространяется
- Действует на территории республики беларусь
- Гарантийный талон
- Room 1501 15 f spa centre 53 55
- Lockhart road wan chai hong kong
- Guarantee certificate
- Garantieschein
- De garantie
- Certificat
- Bsm 900n
- Bort global limited
- Талон
- Гарантийный
- Купон 3
- Купон 2
- Купон 1
- Bsm 900n
- Bort global com
Похожие устройства
-
 Bort BSM-1100x2Инструкция
 -
 Hitachi DV 16VSSРуководство по эксплуатации
 -
Hitachi DV 16SSРуководство по эксплуатации
-
Hitachi DV 13VSSИнструкция по применению
-
Hitachi DV 13SSРуководство по настройке
-
 Milwaukee PD2-18Руководство по работе с устройством
 -
 Metabo SBE 650Эксплуатационная инструкция
 -
Metabo SB 650Руководство по настройке
-
 Metabo SB 18Руководство по настройке
 -
 Metabo SB 18 LiРуководство по эксплуатации
 -
 Metabo SBE 650Руководство по использованию
 -
Metabo SB 650Руководство по эксплуатации
Узнайте, как правильно настраивать скорость и направление вращения сверла для различных материалов. Полезные советы по использованию и обслуживанию инструмента.