![ADJ DiversaRAY Руководство по эксплуатации онлайн [7/12] 759005](/img/pdf.png)
ADJ DiversaRAY Руководство по эксплуатации онлайн [7/12] 759005
Превью страниц
Страница 7 /
12
![ADJ DiversaRAY Руководство по эксплуатации онлайн [7/12] 759005](/views2/1990720/page7/bg7.png)
©American DJ® - www.americandj.com - Diversa Ray Instruction Manual Page 14©American DJ® - www.americandj.com - Diversa Ray Instruction Manual Page 13
“OFF” to deactivate sound active mode.
3. Press ENTER to conrm.
SOSE - Sound sensitivity control.
1. Press the MENU button until “SOSE” is displayed, press ENTER.
2. The display will show a number between 0-100. Press the UP or
DOWN buttons to adjust the sound sensitivity. 0 being the least sen-
sitive and 100 the most sensitive.
3. Press the ENTER button to conrm. To exit without making any
adjustments press the MENU button.
BLND - Blackout or Stand by mode.
1. Tap the MENU button until “BLND” is displayed, press
ENTER. Either Yes or No will be displayed.
2. To activate Blackout tap the UP or DOWN buttons until “Yes”
is displayed, press ENTER to conm. The xture will now be in
Blackout mode. To deactivate Blackout mode, select “No” and
press Enter.
LED - With this function you can have the LED display
turn off after 10 seconds.
1. Tap the MENU button until “LED” is displayed, press ENTER.
2. The display will show either “ON” or “OFF”. Press the UP or
DOWN buttons to select “ON” to keep the LED display on at
all times, or “OFF” to switch to have the LED display switch o
after 10 seconds. To make the display reappear, press and hold
the MENU button for at least 5 secs.
3. Press ENTER to conrm.
DISP - This function will reverse the display 180º.
1. Tap the MENU button until “DISP” is displayed, press ENTER.
2. Press ENTER to “ip” the display. Press ENTER to “ip” it
again. Press ENTER to conrm.
TEST - This function will allow you to test the pan & tilt
functions.
1. Press the MENU button until “TEST” is displayed, press ENTER.
2. Either “PAN”, “TILT” or “P T” will be displayed. Use the UP or DOWN
buttons to scroll to the function you would like to test and press
ENTER. The function will now run a self test. Press the MENU button
to exit.
FHRS - With this function you can display the running time
of the xture.
1. Tap the MENU button until “FHRS” is displayed, press
ENTER.
2. The display shows the running time of the unit. Press MENU
to exit.
VER - With this function you can display the version soft-
ware of the unit.
1. Tap the MENU button until “VER” is displayed, press ENTER.
2. The display will now display the version of software. Press
MENU to exit.
RSET - Use this function to reset the unit.
1. Tap the MENU button until “RSET” is displayed, press ENTER.
2. The xture will now reset,
Diversa Ray System Menu Diversa Ray System Menu
Содержание
80- Warning
- User instructions
- Unpacking
- To purchase parts online visit http parts americandj com
- Introduction
- Customer support
- Caution
- Danger
- Stop and read all laser safety data
- Operation instructions and laser safety
- Power supply
- Dmx 512
- Pin 5 do not use
- Pin 4 do not use
- Notice
- Not used
- Ground shield
- Diversa ray set up
- Data true signal
- Data compliment signal
- Conductor 5 pin xlr male in 3 pin xlr female out
- Cable must be daisy chained and cannot be split
- Be sure to follow figures two and three when making your own cables do not use the ground lug on the xlr connector do not con nect the cable s shield conductor to the ground lug or allow the shield conductor to come in contact with the xlr s outer casing grounding the shield could cause a short circuit and erratic behavior
- When longer runs of cable are used you may need to use a terminator on the last unit to avoid erratic behavior a terminator is a 110 120 ohm 1 4 watt resistor which is con nected between pins 2 and 3 of a male xlr connector data and data this unit is inserted in the female xlr connector of the last unit in your daisy chain to terminate the line using a cable terminator adj part number z dmx t will decrease the possibilities of erratic behavior
- Special note line termination
- Some manufactures use 5 pin dmx 512 data cables for data transmission in place of 3 pin 5 pin dmx fixtures may be implemented in a 3 pin dmx line when inserting stan dard 5 pin data cables in to a 3 pin line a cable adaptor must be used these adaptors are readily available at most electric stores the chart below details a proper cable conversion
- Pin xlr to 5 pin xlr conversion
- Pin xlr dmx connectors
- Shnd sh 0 sh 2
- To enter the pan tilt submenu press the enter button for at least 5 seconds this submenu allows you to adjust the motor so that the laser centered and is projected perfectly
- The slave units will now follow the master unit
- Sl 1 or sl 2 and
- Press the enter button for at least 5 seconds
- Press enter please see page 12 for more info press enter please see page 12 for more info
- Operating modes the diversa ray can operate in three dif ferent modes in each mode you can run the fixture as a stand alone fixture or in a master slave confiugration this next sec tion will detail the differences in the operating modes
- On the slave units
- Master slave operation
- In this submenu you can fine adjust the tilt
- In this submenu you can fine adjust the pan
- Use the up and down buttons to make your adjustments and then press enter to confirm press the menu button to exit without making changes
- Universal dmx control
- Sound active mode
- Show mode
- Red laser 0 7 blackout 8 255 on 2 green laser 0 7 off 8 15 on 16 131 laser dash effect 132 247 dot on line effect 248 255 on 3 patterns 0 11 pattern 1 12 23 pattern 2 24 34 pattern 3 35 46 pattern 4 47 58 pattern 5 59 69 pattern 6 70 81 pattern 7 82 93 pattern 8 94 104 pattern 9 105 116 pattern 10 117 127 pattern 11 128 139 pattern 12 140 151 pattern 13 152 162 pattern 14 163 174 pattern 15 175 186 pattern 16 187 197 pattern 17 198 209 pattern 18 210 221 pattern 19 222 232 pattern 20 233 244 pattern 21 245 255 pattern 22
- Channel value function
- Diversa ray warranty
- Diversa ray trouble shooting
- Diversa ray fuse replacement
- Diversa ray cleaning
- Cleaning frequency depends on the environment in which the fixture operates i e smoke fog residue dust dew in heavy use we recom mend cleaning on a monthly basis periodic cleaning will ensure lon gevity and crisp beam output
- Clean the external optics with glass cleaner and a soft cloth every 20 days
- Be sure the fuse holder is completely and properly seated unit does not respond to sound
- Www americandj com diversa ray instruction manual page 22
- Be sure the external fuse has not blown the fuse is located on the rear panel of the unit
- Www americandj com diversa ray instruction manual page 21
- American d
- Trouble shooting listed below are a few common problems that you may encounter with solutions
- Always be sure to dry all parts completely before plugging the unit back in
- Not activate the unit not activate the unit
- No light output from the unit
- Low frequencies bass should cause the unit to react to sound tapping on the microphone quiet or high pitched sounds may
- Locate and remove the unit s power cord once the cord has been removed located the fuse holder located inside the power socket insert a flat head screw driver into the power socket and gently pry out the fuse holder remove the bad fuse and replace with a new one the fuse holder has a built in socket for a spare fuse be sure not to confuse the spare fuse with active fuse
- Fixture cleaning
- Due to fog residue smoke and dust cleaning the internal and external lenses should be carried out periodically to optimize light output 1 use normal glass cleaner and a soft cloth to wipe down the out side casing
- Model diversa ray
- Junostraat 2
- Ew kerkrade
- Auto sensing voltage
- American dj world headquarters
- American dj supply
- American dj europe
- Web www americandj com e mail info americandj com
- This fixture contains a automatic volt age switch which will auto sense the voltage when it is plugged into the power source
- Tel 323 582 2650 fax 323 582 2610
- Tel 31 45 546 85 00 fax 31 45 546 85 99
- Specifications and improvements in the design of this unit and this manual are subject to change without any prior written notice
- Service adjgroup eu www americandj eu
- S eastern ave los angeles ca 90040 usa
- Please note
- Netherlands
Похожие устройства
-
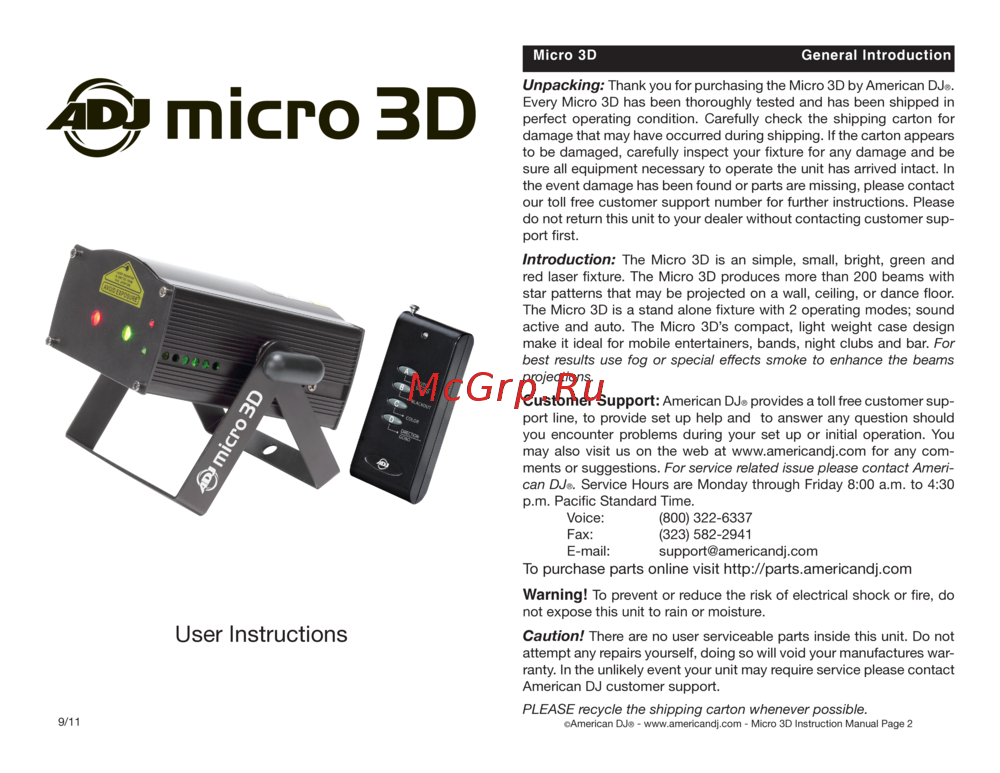 ADJ Micro 3DРуководство по эксплуатации
 -
 Involight DD6Руководство по использованию
 -
 Involight HZ610Руководство по использованию
 -
 Involight FM900DMXИнструкция пользователя
 -
 ILDA Pangolin Quick-ShowРуководства пользователя
 -
 AMERICAN DJ Dotz TPAR SystemРуководство по эксплуатации
 -
 ADJ Hydro Beam X1Руководство по эксплуатации
 -
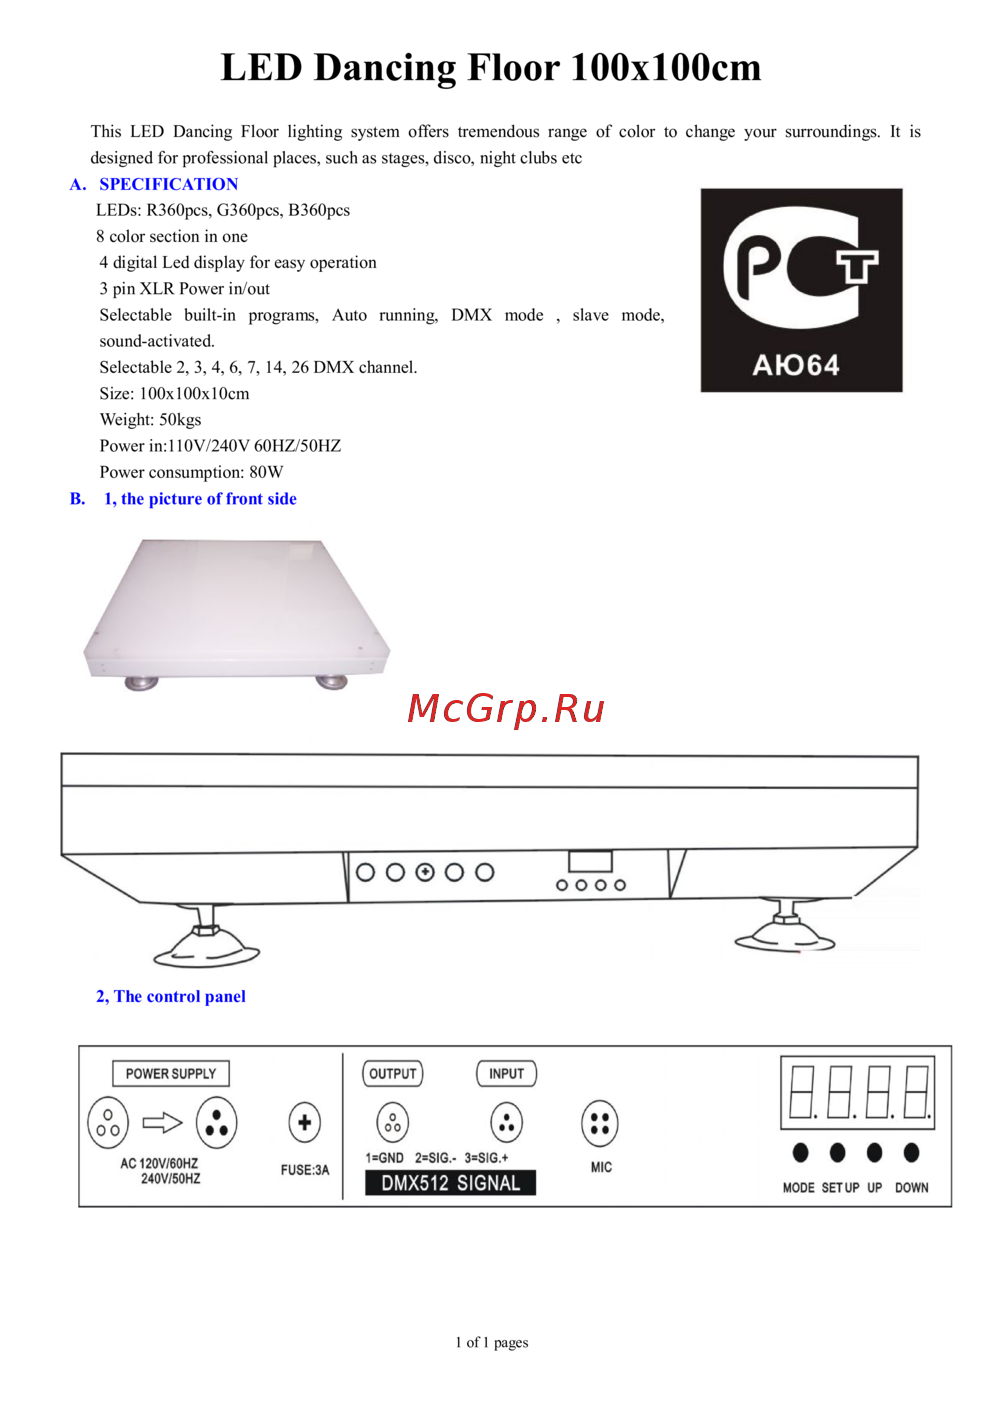 Involight LDF100Руководство по эксплуатации
 -
 AMERICAN DJ Focus Spot ONEРуководство по эксплуатации
 -
 Involight LED PAR984WРуководство по эксплуатации
 -
 Antari M-7Руководство по эксплуатации
 -
 STAGG SLI KINGPAR22Руководство по эксплуатации