
Alto S16 Инструкция по эксплуатации онлайн
Содержание
- Channel mixing console 1
- User s manual 1
- A registered electrician 2
- Always use proper ready made insulated mains 2
- And when unused for long periods of time to reduce 2
- Before turning the product on make sure that it is 2
- Caution 2
- Connected to ground this is to prevent the risk of 2
- Cord is removed 2
- Could result in fire 2
- Covers should be removed by qualified service 2
- Describes precautions that should be observed to 2
- Do not block areas of ventilation failure to do so 2
- Do not remove any covers 2
- Do not use this product when in close proximity to 2
- Electric shock 2
- Ensure that the mains source voltage ac outlet 2
- External connection 2
- Ground terminal 2
- Important safety instructions 2
- In shock death or fire if in doubt seek advice from 2
- Instructions 2
- Keep product away from naked flames 2
- Manual do not short circuit the fuse holder before 2
- May present to reduce the risk of electric shock do 2
- Never cut internal or external ground wires likewise 2
- Never remove ground wiring from the protective 2
- No user serviceable parts inside 2
- Not remove any covers unless the ac mains power 2
- Off and disconnected from the ac outlet 2
- Personnel only 2
- Possibly the user 2
- Power supply 2
- Prevent damage to the product 2
- Prevent the possibility of death or injury to the user 2
- Protect the power cord and plug from any physical 2
- Replacing the fuse make sure that the product is 2
- Safety related symbols 2
- The risk of electric shock or fire 2
- To avoid the risk of electric shock and damage do 2
- To do so could result in damage to the product and 2
- To prevent fire and damage to the product use only 2
- Warning 2
- Future products for you we guarantee to you our commitment for quality continual research and development and 3
- Preface 3
- The line represents unparalleled analogue and digital products made by musicians for musicians with our lto 3
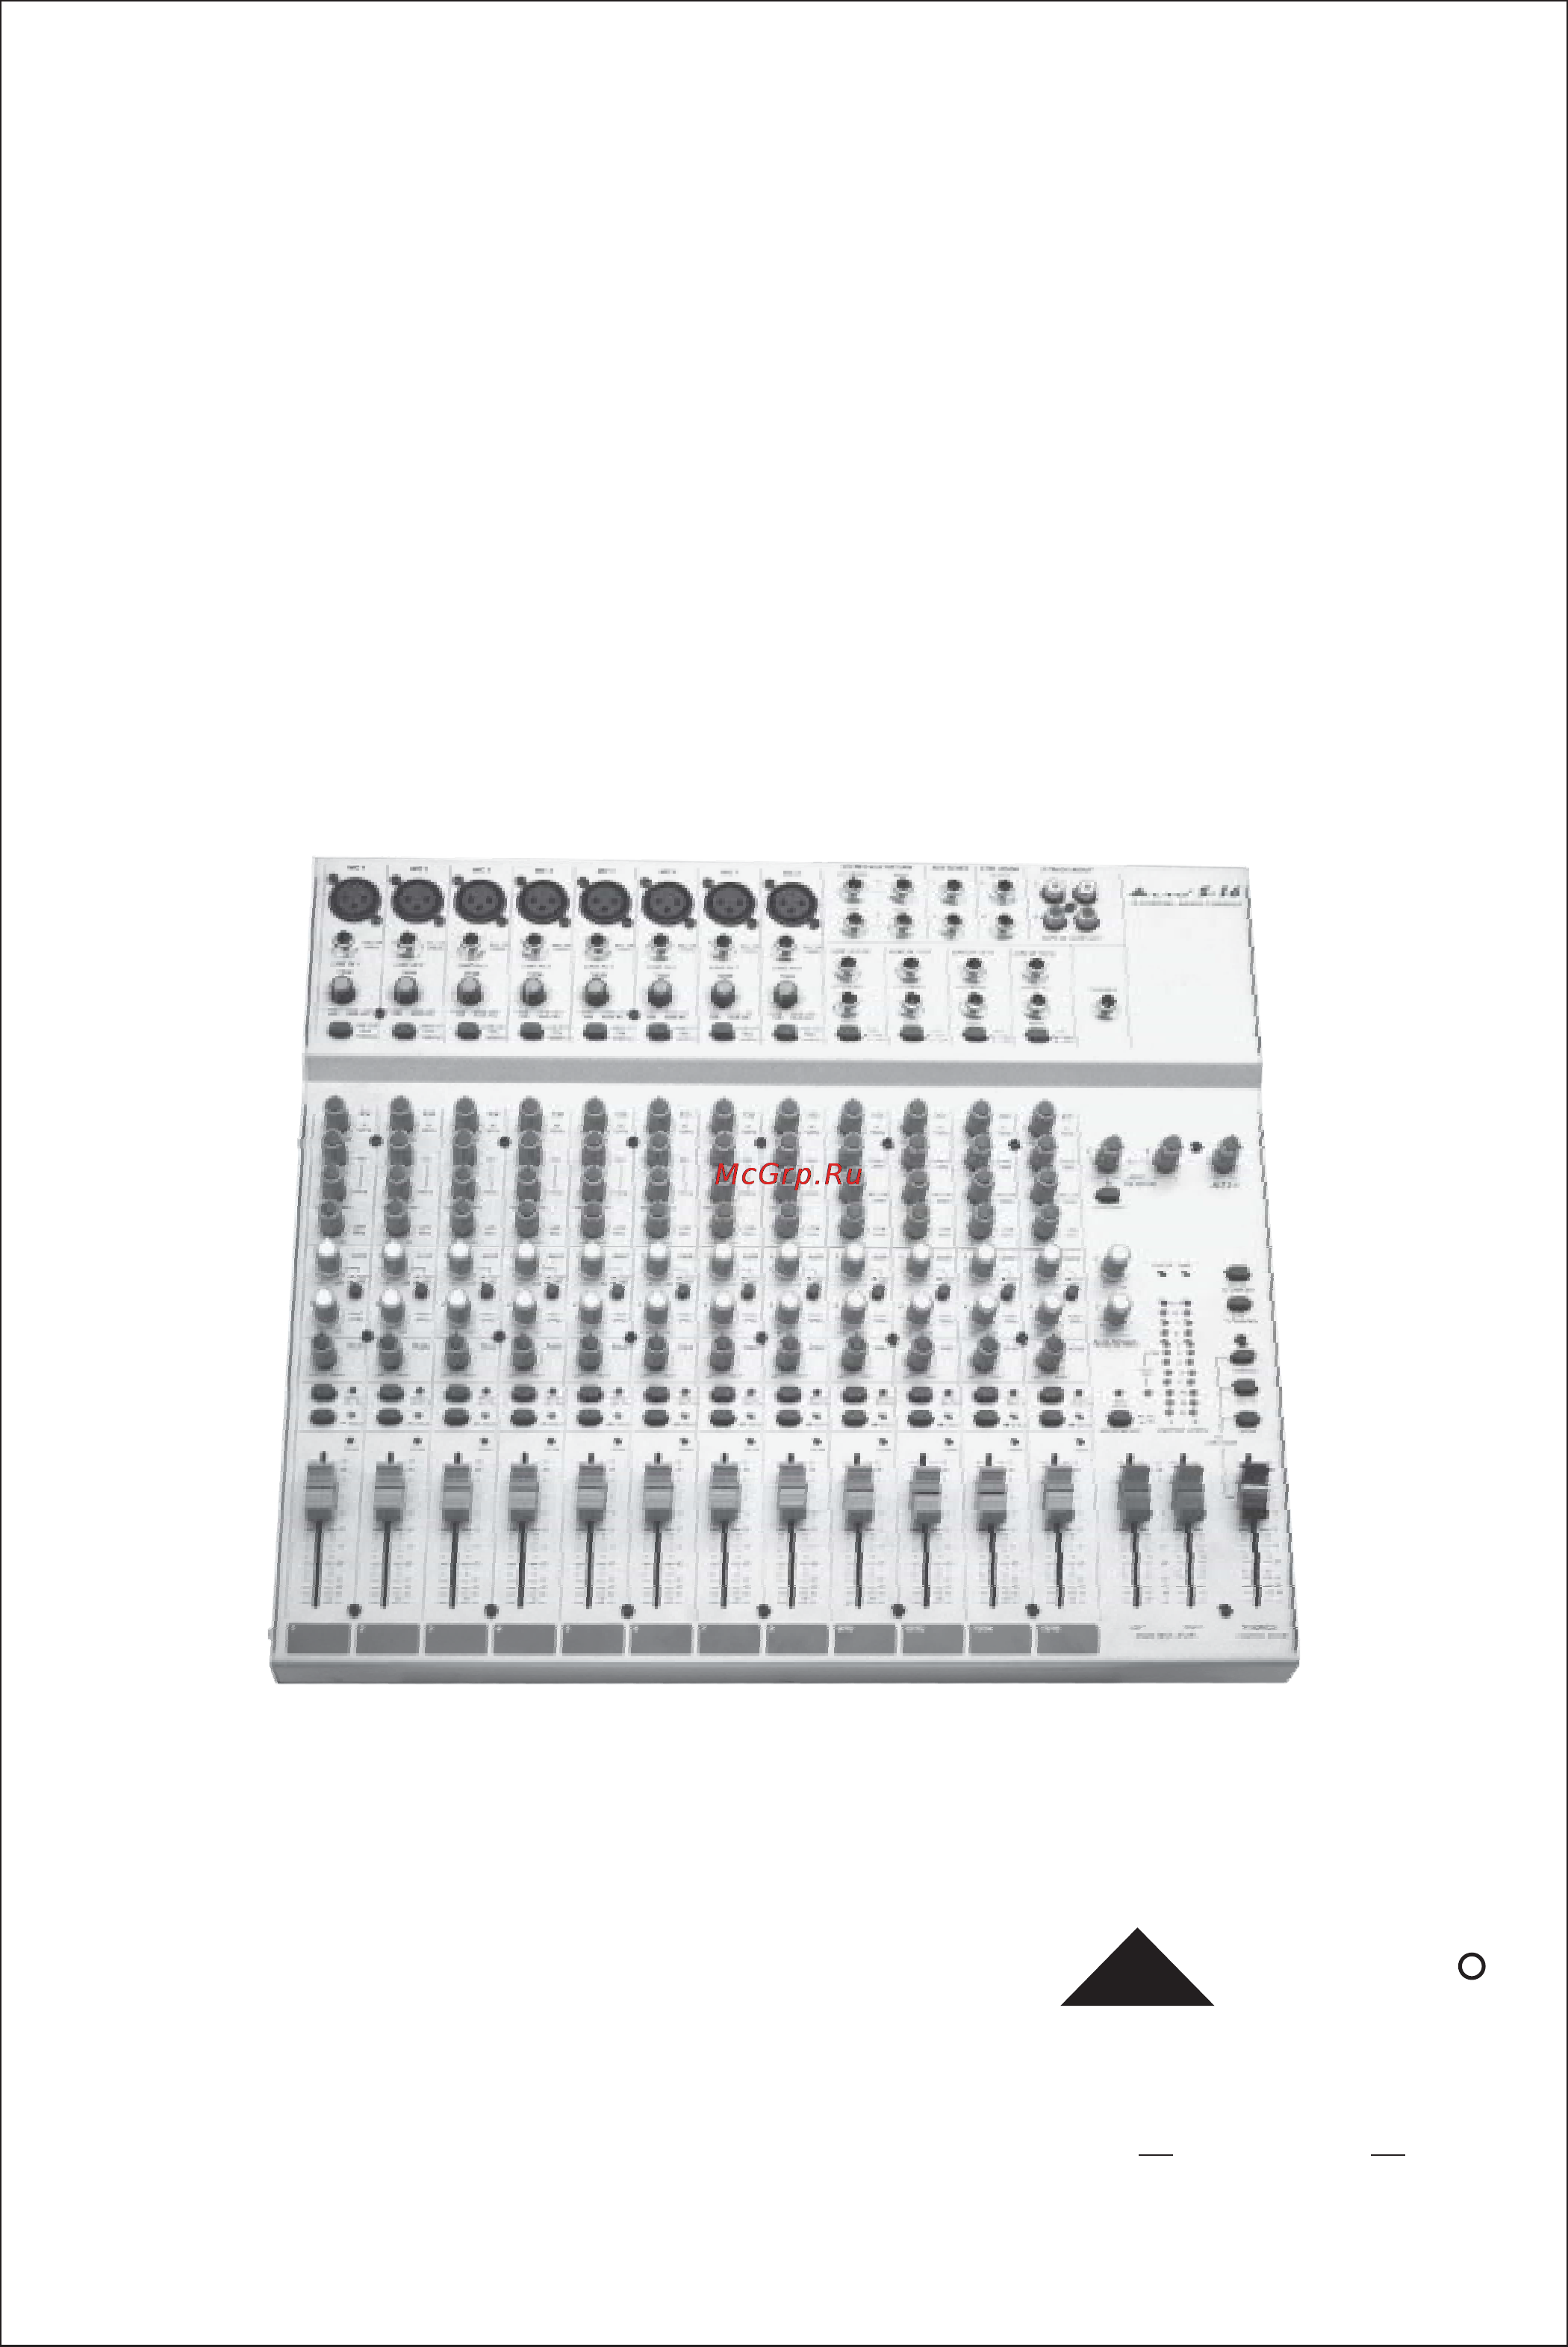
- The s 16 is an extremely flexible ultra low noise 16 channel console configured with 8 mono and 8 stereo lto 3
- Input level setting 4
- Low cut filter 4
- Main section 1 4
- Mute alt 3 4 0 4
- Rear panel 4 4
- Solo 0 4
- Table of contents 4
- The mono mic line channel 4
- Already in terms of thousands of units worldwide despite its compact dimensions great performances and sound 5
- And each of mono channels is provided with a 3 bands mid sweep equaliser each of stereo channels is provided with 5
- Introduction 5
- Quality are insured thanks to the specification of the components used and the building quality 5
- You will get the best out of your s 16 5
- Features 6
- Specific features 6
- The s 16 16 channel mixing console is designed for the professional application and presents with the following 6
- Be sure that the main power switch is turned off before connecting the mixer to the ac socket also you should 7
- Getting started 7
- Control elements 8
- 4db 10db u v 10
- Center frequency the adjustable range is from 100hz to 8khz 10
- Ch 16 engaging the switch is used to suit 10
- Cut flat at the center detent and the freq knob sets the 10
- Equalizer 10
- For 10dbv sound source if you are unsure 10
- For controlling voice it can accurately polish your performance 10
- Harmonics of the human voice the gain range goes from 15db 10
- Hi mid 10
- If you connect only the left jack the input will 10
- It can affect most fundamental frequencies of all musical 10
- Leave the switch up 10
- Left mono 10
- Line in 11 12 line in 9 10 10
- Line in 13 14 10
- Line in 15 16 10
- Of boost or cut 10
- Operate in mono mode 10
- Organised in stereo pair and they are provided 10
- Phones 10
- Quency noises or to boost the sound of cymbals or the high 10
- Right right 10
- Stereo inputs 10
- The 1 4 trs socket will send out the signal mix to a pair of headphones 10
- The on the stereo channels ch 9 line inputs 10
- These are channel 9 through 16 they are 10
- This control gives you up to 15db boost or cut at 3khz it is useful 10
- This is the midrange control it provides 15db of boost or 10
- This is the treble control you can use it to get rid of high fre 10
- To 15db with a center frequency of 12 khz 10
- Via adjusting this knob 10
- With 1 4 trs phone sockets 10
- With 3 band mid sweep eq hi band mid band and low band 10
- With 4 band fixed frequency equalization hi band hi mid band 10
- Also be configure as pre fader through any internal modification for more detail please see chapter 6 11
- Aux 1 can be configured as pre post fader via the pre post switch 11
- Each channel is equipped with the solo led display when the solo was engaged the led on corresponding channel will illuminate 11
- Fader down for pre fader the signal is sent out before reaching the main fader aux 2 is configured as post fader however aux 2 can 11
- For the stereo channels you can adjust the stereo image of the 11
- Fully counterclockwise and the signal will be present only on the left 11
- Gain range goes from 15db to 15db and the center frequency 11
- Guitar your system will sound much bigger than what it is the 11
- Illuminate 11
- Is 80 hz 11
- It is useful to set instruments s input level and eq and you can also solo any channel that you want to the solo an 11
- Pressing this switch allows you to monitor the signals through headphone or control room then the solo your 11
- Signal will replace other signals and be also sent to the control room phones and meters usually use the 11
- Solo in live work to preview channels before they are let into the mix 11
- Speaker and vice versa of course a wide number of intermediate 11
- Switch never affects any mix other than the control room mix 11
- The panorama control for the mono channels and balance 11
- These two controls will send the audio signal out to auxiliary busses 11
- This control gives you up to 15db boost or cut at 500hz 11
- This is the bass control boost male voice or kickdrum and bass 11
- This switch is used to route the channel signal to alt 3 4 output 11
- Up for post fader the audio signal will be affected by the main channel 11
- Your signal will be positioned in the middle of stage turn the control 11
- 2 track in out 12
- 22 23 24 12
- Alternatively you can use them as an extra auxiliary 12
- As effects and sound processors 12
- Aux send 1 2 12
- Control room output 12
- Els when you insert a jack in the insert socket the 12
- Form the taper recorder either to a pair of studio monitor using the control room assignment on the front panel or 12
- Insert 12
- Insert points are provided for the mono mic chann 12
- Inside your s 16 the audio signal is monitored in several different stages and then sent to the peak led when this led blinks it warns you that you are reaching signal saturation and possible distortion the peak led will blink with a level that is 6db before actual clipping 12
- Main mix 12
- Main section 12
- Output 12
- Signal from the aux bus to external devices such 12
- Sound of an effect unit or sound processor to the 12
- Stereo aux return 12
- These 1 4 trs sockets will route the main mix into a tape recorder 12
- These two unbalanced trs jacks should be connected to the input of your control room amplifier 12
- This 1 4 phone socket is used to send out the 12
- This fader will adjust the overall level of this channel and set the amount of signal sent to the main output 12
- Use the tape input if you wish to listen to your mix from a taper recorder or dat you can assign the signal coming 12
- Use these stereo 1 4 phone socket to return the 12
- You can also send the signal directly to the main mix 12
- Alt 3 4 13
- Assigned permanently to the main mix it operates in 13
- Aux return 13
- Aux send 13
- Aux1 then the signal will be controlled in level by aux 13
- Control room 13
- Control you can get a further 15db gain available from these aux send outputs 13
- From aux return 2 between main mix and aux 13
- Is connected to aux return 2 the signal will be 13
- Led meter 13
- Main mix level 13
- No input gain 13
- Of the overall output signal 13
- Output level 13
- Phones 13
- Please note that the solo function can never affect the mix at main recording output and also can t be affected 13
- Return aux 13
- Send levels the adjustable range is from to 15db 13
- Solo mode 13
- Stereo line inputs aux return 1 is configured to be 13
- Switched to aux send 1 via depressing the efx to 13
- The both switches are used to determine the master aux 13
- The efx to aux1 button is used to swtich the signal 13
- These faders set the amount of signal sent either to the main out socket or to the tape output 13
- This button provides two modes up for pfl pre fader listen mode down for afl after fader listen mode engage the button the output signal of soloed channel will follow the trim eq fader and pan bal control and the solo active led illuminates 13
- This stereo 12 segments led meter will indicate the level 13
- When the button is in pfl mode the output signal of soloed channel is unaffected by the pan bal and fader 13
- When the effect unit connected to mixer ha 13
- Engaging this switch allows you to combine the 2 track output with the main mix in other words feeds the 2 track in signals into main l r output 14
- And 1 4 jack socket and it is controlled by the 15
- Are capable of delivering 22dbu into the load 15
- Caution 15
- Cord please check the voltage available in your country and 15
- How the voltage for your s 16 is configured before attempting to 15
- Level to the alt output is adjusted by alt 3 4 15
- Microphone inputs never connect microphones when the phantom 15
- Power is on already 15
- Power phantom 15
- Rotary knob on the front panel 15
- The audio signal to an amplifier the output level 15
- These 1 4 sockets are unbalanced outputs they 15
- This switch will apply 48 volt phantom power only to the 8 xlr 15
- Uk aust 240v 50hz fuse t250mal 15
- Usa canada 100 120v 60hz fuse t500mal 15
- Use it to connect your s 16 to the main ac with the supplied ac 15
- When depress the switch the output level from main mix output will be reduced 30db 15
- At this point increase the input gain so that the peak led will blink occasionally in this way you will maintain good 16
- Installation connection 16
- Now repeat the same sequence for all input channels the main led meter could move up into the red section 16
- Signal or no sound at all so you should follow this procedure for every single channel 16
- 4 mono ts jack plug 17
- 4 stereo trs jack plug 17
- B wiring configuration 17
- Pin xlr line socket 17
- Pin xlr male plug 17
- You can connect unbalanced equipment to balanced inputs and outputs simply follow these schematics 17
- All your aux sends configured as pre fader 19
- As we have told you previously in this manual the aux send 2 control both on mono and on stereo channels is factory 19
- Before 19
- For the experts who want to know more 19
- Modification on mono and stereo channels 19
- Wired as post fader if you have some skill in electronic components soldering you can modify this setting and have 19
- Afl l afl r 20
- Afl l afl r solo pfl 20
- Alt 3 4 out 20
- Alt 3 l alt 4 r alt 3 l alt 4 r 20
- Aux 1 aux 2 20
- Aux send 20
- Control room output 20
- Efx send 20
- Left bus ri ght bus 20
- Main out 20
- Mono input channels 1 8 20
- Phones output 20
- Solo pfl efx send 20
- St ereo aux ret urn 1 20
- St ereo aux ret urn 2 20
- St ereo input channels 9 16 20
- System block diagrams 20
- Technical specifications 21
- Of 1 year from the purchase date if you have completed the warranty registration card in time 22
- Please fill out all the information carefully and genuinely miswriting or absence of this card will void your warranty 22
- Retail dealer and it can not be transferred 22
- The warranty service is only available to the original consumer who purchased this product directly from the 22
- Warrants that this product will be free from any defects in materials and or workmanship for a period 22
- Warranty 22
Похожие устройства
- Skil 2006 AA Инструкция по эксплуатации
- Panasonic SC-VK550 Инструкция по эксплуатации
- Karcher HDS 798 C Eco Инструкция по эксплуатации
- Acer S221HQLBD BK/BK Инструкция по эксплуатации
- LG 26LV2500 Инструкция по эксплуатации
- Panasonic CQ-C8401W Инструкция по эксплуатации
- Alto APM120 Инструкция по эксплуатации
- Panasonic SC-VK540 Инструкция по эксплуатации
- Hitachi DS14DSAL-TC Инструкция по эксплуатации
- Acer S242HLABID Инструкция по эксплуатации
- Karcher HDS 650 4M BASIC*EU-I Инструкция по эксплуатации
- Panasonic CQ-C7303N Инструкция по эксплуатации
- LG 19LV2500 Инструкция по эксплуатации
- Alto APM160 Инструкция по эксплуатации
- Panasonic SC-VK50 Инструкция по эксплуатации
- Зубр ЗДА-10.8-ЛИ-КН Инструкция по эксплуатации
- Karcher HDS 695-4 M Eco Инструкция по эксплуатации
- Acer Iconia Tab A500 XE.H6LEN.012 Инструкция по эксплуатации
- Panasonic CQ-C7703N Инструкция по эксплуатации
- LG 47LX9500 + 2 пары очков Инструкция по эксплуатации