
Konica Minolta EP5425 Инструкция по эксплуатации онлайн
Содержание
- Ep5425 1
- Minolta 1
- Introduction 3
- A great variety of functions that are convenient to use 4
- Automatic features enabling simple operation 4
- Convenient memory function 4
- Easy to read message display 4
- Features of the copier 4
- Unique zoom function 4
- 2 in 1 dual copying 5
- Auto stapling 5
- Automatic document feeding 5
- Automatic drawer switching 5
- Automatic overlay copying 5
- Automatic two sided copying 5
- Automatic two sided document feeding 5
- Features of the copier 5
- Grouping 5
- Interruption 5
- Options to enhance system s capability equipping the copier with other options makes the document copying job even more effective and creative 5
- Page by page copying 5
- Sorting 5
- Using this manual 6
- A width 8
- B length 8
- Conventions and graphic symbols for designating the type of originals and copy paper 8
- Be sure to read chapters 1 through 3 before attempting to use your copier 10
- Chapter 1 safety notes 10
- Chapter 2 before making copies 7 10
- Chapter 3 making basic copies ____________________33 10
- Chapter 4 using the advanced functions 83 10
- Table of contents 10
- Chapter 6 should such a message be shown 109 11
- Chapter 7 dail y maintenance 1j9 11
- Chapter 8 troubleshooting 739 11
- Chapters using the auxiliary functions 97 11
- Table of contents 11
- Chapter 9 specifications 12
- Table of contents 12
- Chapter 1 15
- Safety notes 15
- This chapter explains about the operating environments and conditions and precautions for use 15
- 1 installation site 16
- 2 space requirements 16
- Installing the copier 16
- 3 operating environment 17
- 4 power source 17
- 5 grounding 17
- 6 moving 17
- 1 using the copier properly 18
- Precautions for use 18
- 2 handling the consumables 19
- Before making copies 21
- Chapter 2 21
- This chapter gives you a brief description of the system and preliminary information about the different parts of the system 21
- Copier equipped with options 22
- Guide to components 24
- 2 options 28
- Duplexing document feeder automatic document feeder 28
- Large capacity cassette 30
- Bin sorter 20 bin sorter 31
- Intelligent commander 33
- Control panel 34
- Data controller 35
- 1 basic panel 36
- Chapter 2 36
- Control panel keys and indicators 36
- Control panel keys and indicators 37
- 2 system panel 38
- Chapter 2 38
- Control panel keys and indicators 38
- 3 auxiliary panel 39
- Chapter 2 39
- Control panel keys and indicators 39
- 1 types of screens 40
- Message display 40
- 2 description of messages 42
- Message display 42
- Shows the status of the copier o p 44 42
- The following paragraphs explain about the messages shown on the basic screen for messages shown on the setting screen see the pages describing each mode forthose on the maintenance trouble screen see chapters 6 42
- 1 turning on and off 44
- Turning on and off the copier 44
- 2 initial copy mode and panel resetting 45
- Zo q q o 45
- 3 energy saving mode 46
- Chapter 3 47
- Making basic copies 47
- This chapter shows you how to make basic copies 47
- Basic copying overview 48
- Loading the originals 48
- Magnification ratio 48
- Selecting the copy 48
- Selecting the paper 48
- Setting the 48
- О p 36 48
- О p 44 48
- О p 48 48
- 1 loading the original 50
- Basic copying procedure 50
- Page by page copying from a book original 51
- Originals not recommended for use 52
- Originals suitable for use 52
- Using document feeder afr 3 af 2 52
- Lengths 53
- Loading the originals 53
- Using originals with mixed 53
- Making two sided copies from one sided originals 54
- Precautions on original loading direction 54
- Making one sided copies from two sided originals by 55
- Using afr 3 55
- For copies stapled automatically or manually 56
- Original direction 56
- Stapling position 57
- 2 selecting the copy mode 58
- 3 setting the magnification ratio 62
- Basic copying procedure 64
- Chapters 64
- Depress either the reduction enlargement or full size key to select the desired magnification ratio 64
- Depression of the full size q key selects full size x 00 64
- Each depression of the enlargement key selects a new enlargement ratio 64
- Each depression of the reduction key selects a new reduction ratio in the 64
- Following cycle 64
- In the following cycle 64
- Selecting the fixed magnification ratio 64
- Setting the magnification ratio 64
- Storing zoom ratio in memory i 65
- Storing zoom ratio in memory ii 66
- Calling up a zoom ratio from memory 68
- Storing zoom ratio in 1 time zoom memory i 69
- Storing zoom ratio in 1 time zoom memory ii 70
- Correcting the zoom ratio 72
- Basic copying procedure 73
- Inch areas 73
- Magnification ratio table original size to paper size 73
- Metric areas 73
- 4 selecting the paper size 74
- Selecting the exposure mode 77
- 6 selecting the type of original 78
- Selecting the type of original 79
- 7 selecting the type of copy 80
- Selecting the type of copy 81
- Basic copying procedure 82
- Chapter 3 82
- Typical combinations of original copy types 82
- Basic copying procedure 83
- Chapter 3 83
- 8 selecting the type of exit processing sorter mode 84
- Auto dual function 86
- Basic copying procedure 90
- Chapter 3 90
- Examples 90
- Impossible 90
- Non sort 90
- Possible 90
- Sorter mode manual stapling 90
- Typical forms of sorting grouping stapling 90
- 9 setting the number of copies 92
- 10 starting the copy cycle 93
- 1 using the program memory 94
- 2 using the manual feed table 95
- 3 interrupting one copying job with another 96
- Chapter 4 97
- This chapter guides you through the steps to use the various image editing functions offered by the copier 97
- Using the advanced functions 97
- Making 1 or 2 sided copies with file margin from 98
- Or 2 sided originals without file margin 1 sided margin mode 98
- Features 1 99
- From 1 or 2 sided originals with file margin 2 sided margin mode 99
- Making 1 or 2 sided copies with file margin 99
- Original loading direction 99
- The file margin width can be selected from among 5 mm 10 mm 15 mm and 20 mm 99
- Setting the file margin mode using originals without file 100
- Using originals with file margin 101
- Punch hole erase mode 103
- Setting the frame erase mode 104
- Setting the punch hole erase mode 105
- 1 cover mode 106
- Features 2 106
- Setting the cover mode 107
- Setting the 1 way sizing mode 109
- This chapter introduces you to the universal document size detection mode manual staple mode blank paper feeding mode drum dry mode auxiliary toner replenishing mode total copy count check mode and user choice mode 111
- Using the auxiliary functions 111
- Universal document size detection mode 112
- Manual staple mode 113
- Blank paper fedding mode paper through 114
- Using the blank paper feeding mode paper through key 115
- Wr i 1rl 115
- Using the drum dry function 116
- Mode increasing the image density 117
- Using the auxiliary toner replenishing 117
- The total number of copies made 118
- Using the total check function checking 118
- Using the tota check function 119
- Chapter 5 120
- Program the copier making priority and other settings according to your own needs by giving priority to the paper size and magnification ratio which are most frequently used time and effort to make extra settings will be eliminated when the copier is turned on or when the auto reset function is activated 120
- The user choice mode allows you to 120
- Using the user choice mode 120
- Using the user choice mode 121
- Making the choice mode setting 122
- Chapter 6 123
- Should such a message be shown 123
- A control panel key or keys have been operated wrongly all conditions are not met to start a copy cycle the copier requires the operator s intervention during a copy cycle 124
- Action 124
- Chapter 6 124
- Description of messages 124
- The following table explains some of the most important messages given on the message display should any of the messages be shown take necessary action according to the instructions given under remedial 124
- When the copier encounters any of the following conditions the warning or copy inhibited screen appears on the message display 124
- Descriptions of messages 125
- Descriptions of messages 126
- Descriptions of messages 127
- For jam removal and closure failure correction see 2 jam removal procedure on pp 114 125 and 3 correcting a closure failure on pp 126 127 that follow 127
- 1 jam location markers 128
- Jam removal procedures 128
- 2 paper path 129
- 3 jam removal procedure copier 130
- 4 jam removal procedure duplex unit ad 2 132
- Precautions for removal of jams in the copier and duplex unit 134
- 5 jam removal procedure large capacity cassette c 204 135
- 6 jam removal procedure sorter s 103 s 203 136
- 7 jam removal procedure staple sorter st 202 138
- 8 jam removal procedure document feeder afr 3 af 2 139
- Chapter 6 140
- Correcting a closure failure 140
- If any of the doors and covers are not closed properly or if any of the options are not installed correctly a copy inhibited screen appears on 140
- The message display and the start key turns to orange at this time initiation of a new copy cycle is inhibited in this case check the following 140
- Correcting a closure failure 141
- If the check closure message persists even after these procedures call your tech rep 141
- Malfunction remedial procedure 142
- Chapter 7 143
- Dail y maintenance 143
- This chapter describes the types of consumables available and gives instructions on how to replenish these consumables and how to maintain the copier 143
- Daily maintenance 144
- 1 types of consumables 145
- Consumables 145
- 2 adding and replacing consumables 146
- Adding paper 146
- Replacing the toner bottle 148
- Replacing the staple cartridge 150
- Chapter 8 153
- This chapter gives you instructions on how to troubleshoot copier malfunctions 153
- Troubleshooting 153
- Should this kind of copy be produced 154
- The copy is blurry 156
- The copy has dark specks or 157
- The edge of the copy is dirty 158
- Slanting 159
- The image on the copy is 159
- Should this kind of symptom develop 160
- Chapter 9 161
- Specifications 161
- This chapter gives complete specifications of the copier system and options 161
- Copier 162
- 1 duplexing document feeder afr 3 164
- 2 automatic document feeder af 2 164
- Options 164
- 3 duplex unit ad 2 165
- 4 large capacity cassette c 204 165
- 5 10 bin sorter s 103 166
- 6 20 bin sorter s 203 166
- 8 intelligent commander mc 2 168
- 9 data controller d 102 169
Похожие устройства
- Konica Minolta EP6000 Инструкция по эксплуатации
- Benq FP581 Инструкция по эксплуатации
- Konica Minolta EP8010 Инструкция по эксплуатации
- Konica Minolta EP8015 Инструкция по эксплуатации
- Polyvision PVDR-0263 Инструкция по эксплуатации
- Konica Minolta EP8600 Инструкция по эксплуатации
- Subini VR-X9000 Инструкция по эксплуатации
- Konica Minolta EP8601 Инструкция по эксплуатации
- Subini DVR-W100 Инструкция по эксплуатации
- Subini DVR-R300 Инструкция по эксплуатации
- Konica Minolta EP8602 Инструкция по эксплуатации
- Konica Minolta EP8605 Инструкция по эксплуатации
- Subini DVR-R280 Инструкция по эксплуатации
- Konica Minolta EP9765 Инструкция по эксплуатации
- Subini DVR-P9 Инструкция по эксплуатации
- Konica Minolta FAX 1610 Инструкция по эксплуатации
- Subini DVR-P7S1 Инструкция по эксплуатации
- Konica Minolta Fax 1510 Инструкция по эксплуатации
- Subini DVR-HD300 Инструкция по эксплуатации
- Konica Minolta SC-215 Инструкция по эксплуатации
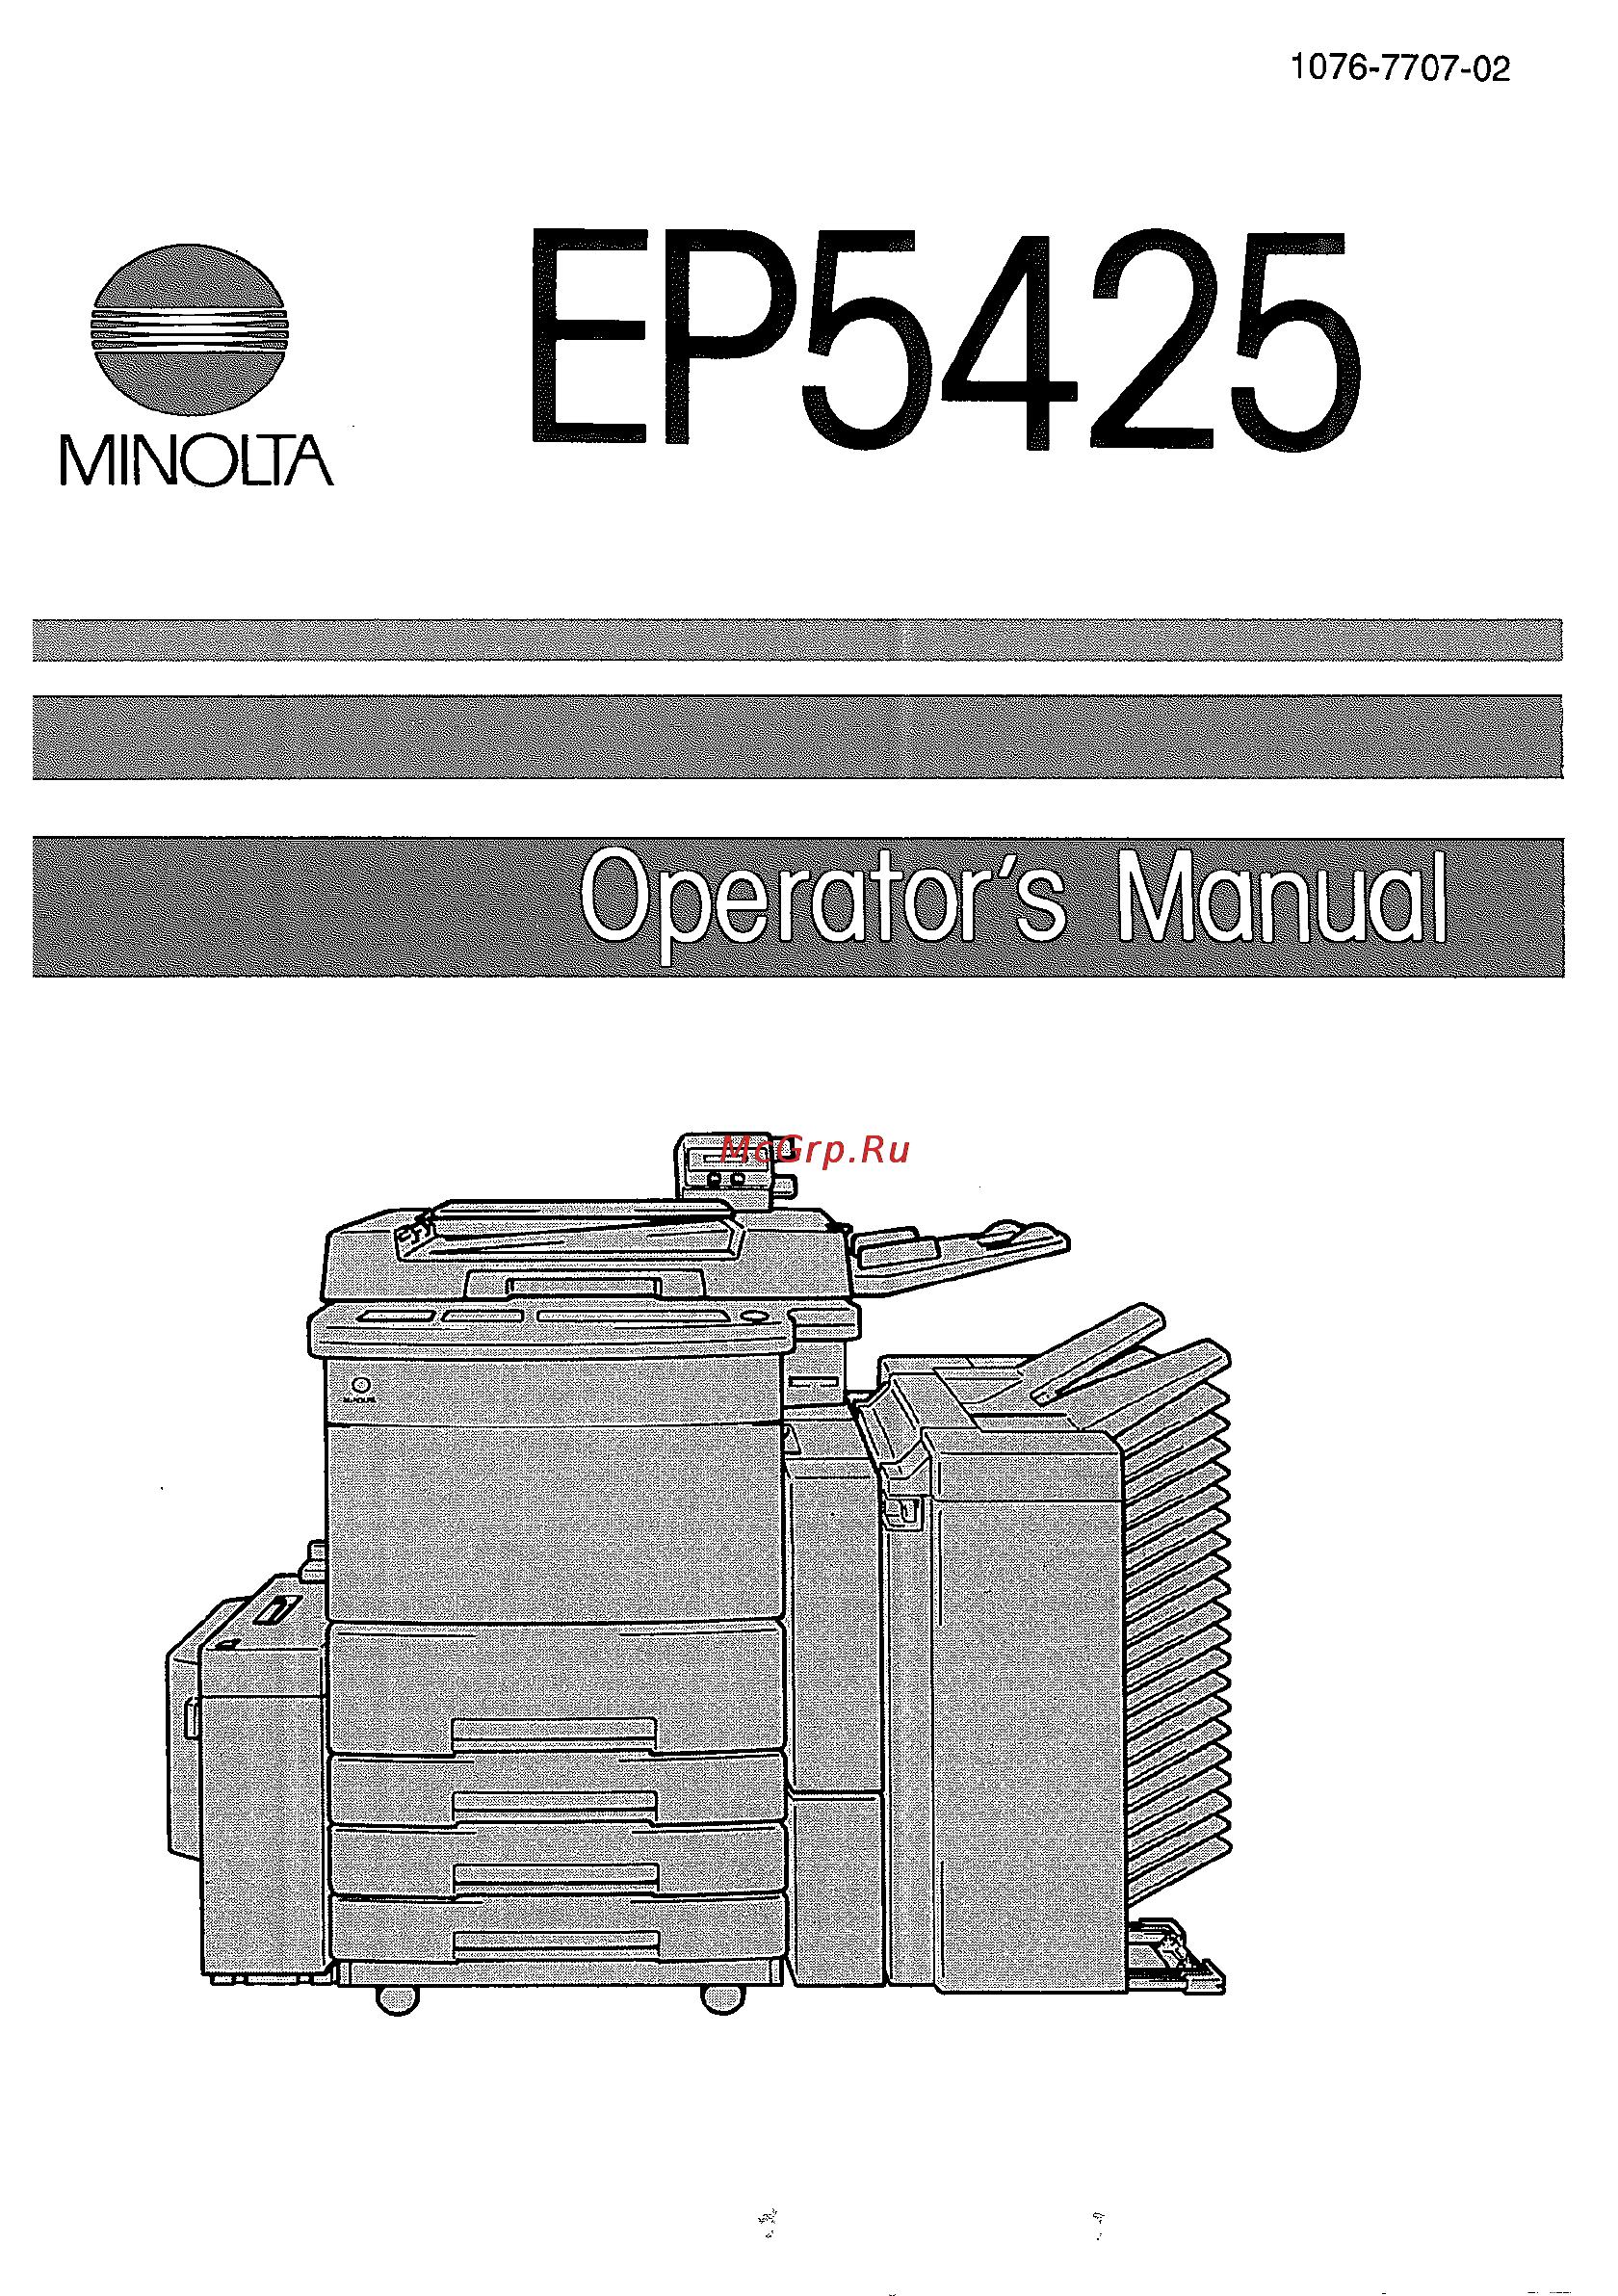
1076 7707 02 MINOLTA EP5425