![Aerofit IE9514 — инструкция по сборке: шаги для установки оборудования [11/25]](/img/pdf.png)
Aerofit IE9514 — инструкция по сборке: шаги для установки оборудования [11/25]
Превью страниц
Страница 11 /
25
![Aerofit IE9514 [11/25] 页面 11](/views2/1134964/page11/bgb.png)
─ 11 ─
Assembly
STEP 2
1. Attach one Adjustable Foot Plate (#29) to the Upright Frame (#2).
2. Attach the Upright Frame (#2) and Upper Cross Link Weldment (#3) to the Weight
Stack Frame (#1), the Seat Frame (#5) using:
● four M10*80 HHB (#59)
● three M10*75 HHB (#64)
● fourteen Φ11*Φ20*2 Flat Washers (#71)
● seven M10 Nylon Lock Nuts (#75)
3. Attach one Flange (#30) to the Upright Frame (#2) using:
● two M12*35 HHB (#66)
● four Φ13*Φ24*1.5 Flat Washers (#70)
● two M12 Nylon Lock Nuts (#74)
4. Attach another Flange (#30) to the Main Bracket (#15) using:
● two M12*35 HHB (#66)
● four Φ13*Φ24*1.5 Flat Washers (#70)
● two M12 Nylon Lock Nuts (#74)
5. Attach one Main Shaft (#33) to the Cam Frame (#6).
6. Attach the Main Shaft (#33) to the Upright Frame (#2) and one Flange (#30) using:
● one Φ50*Φ10.5*8 Aluminous Cap (#37)
● one M10*30 FHCS (#67)
● two M8*8 Socket Set Screws (#85)
7. Attach the Main Bracket (#15) to the Weight Stack Frame (#1) and the Main Shaft
(#33) using:
● one Φ50*Φ10.5*8 Aluminous Cap (#37)
● one M10*30 FHCS (#67)
● two M8*8 Socket Set Screws (#85)
● three Φ13*Φ24*1.5 Flat Washers (#70)
● three M12*65 HHB (#126)
8. Attach the Counter Poise Block (#35) to the Cam Frame (#6) using:
● two M10*25 HHB (#65)
● two Φ11*Φ20*2 Flat Washer (#71)
Note: Wrench Tighten bolts and Nylon Lock nuts.
Содержание
Похожие устройства
-
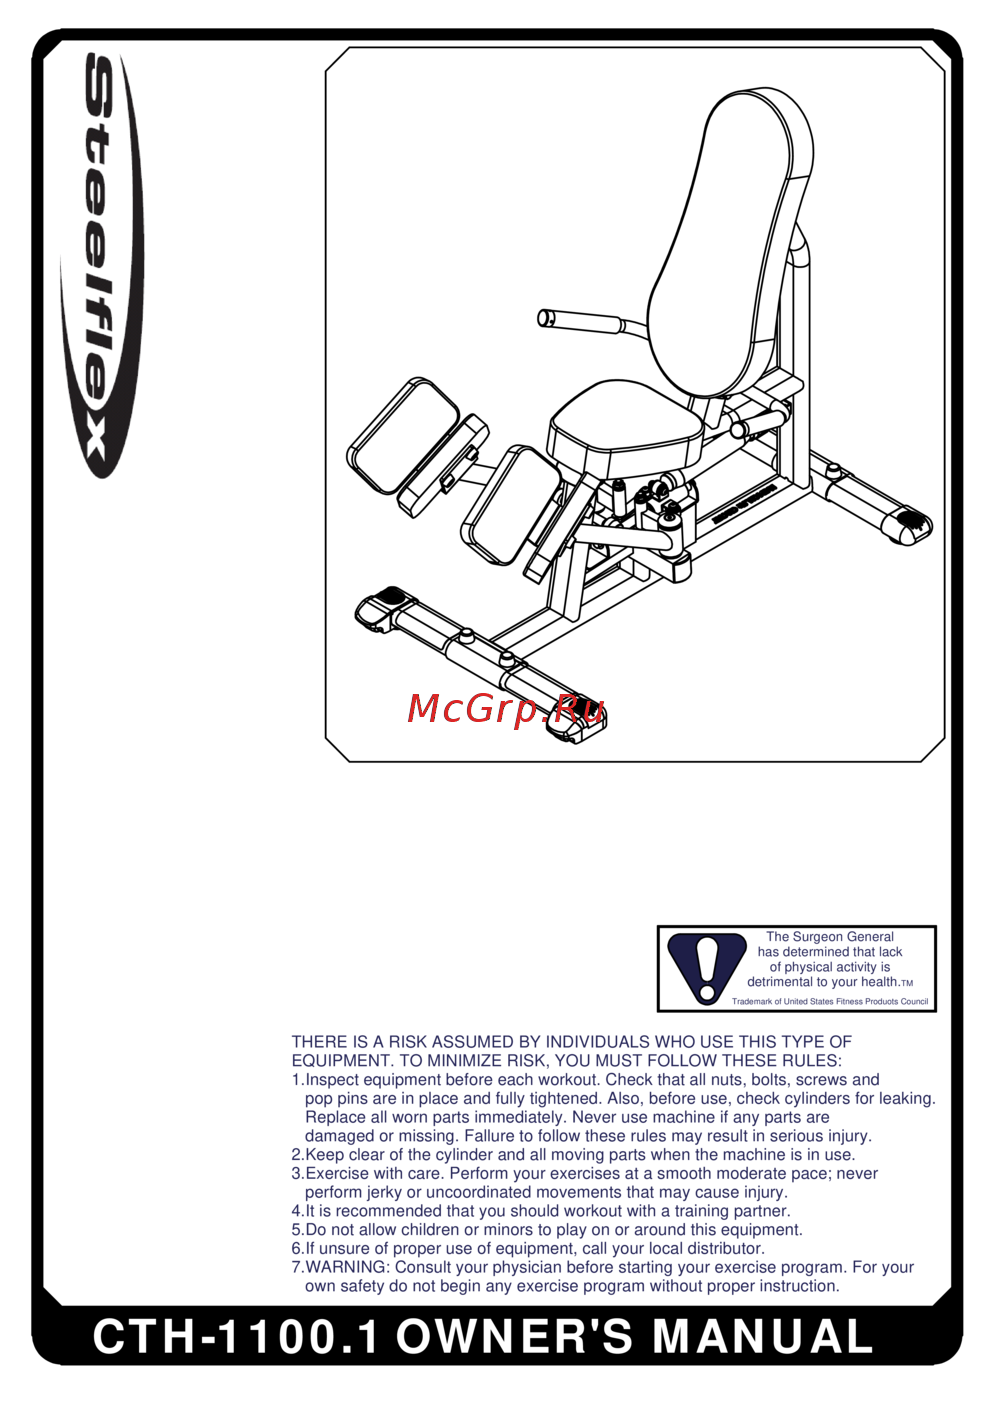 Aerofit CTH1100Руководство пользователя
 -
 Aerofit CAB1000Руководство пользователя
 -
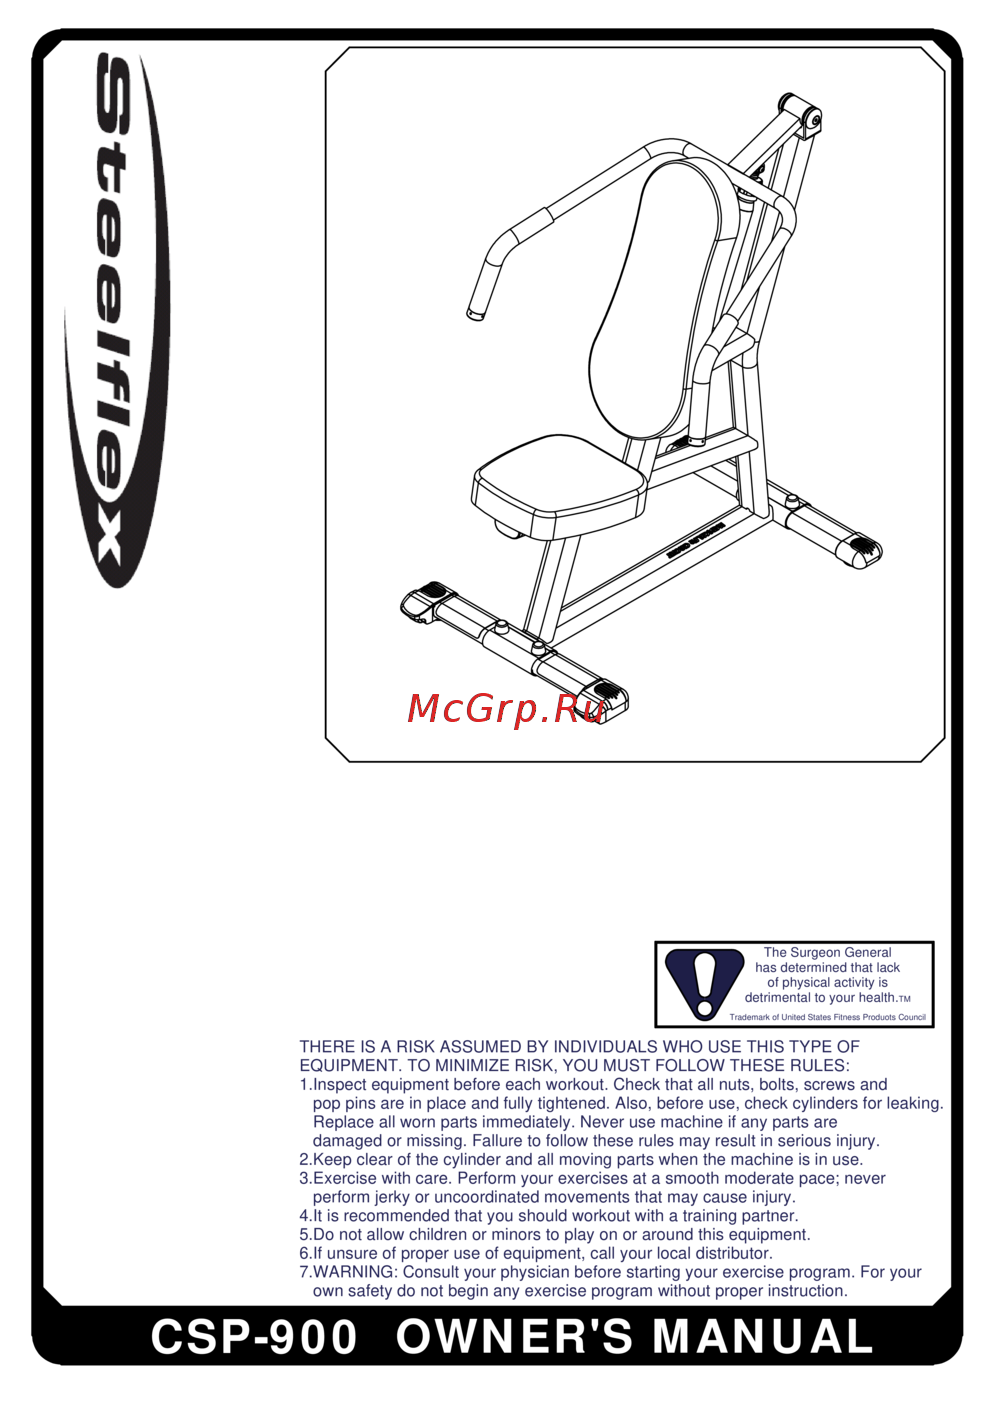 Aerofit CSP900Руководство пользователя
 -
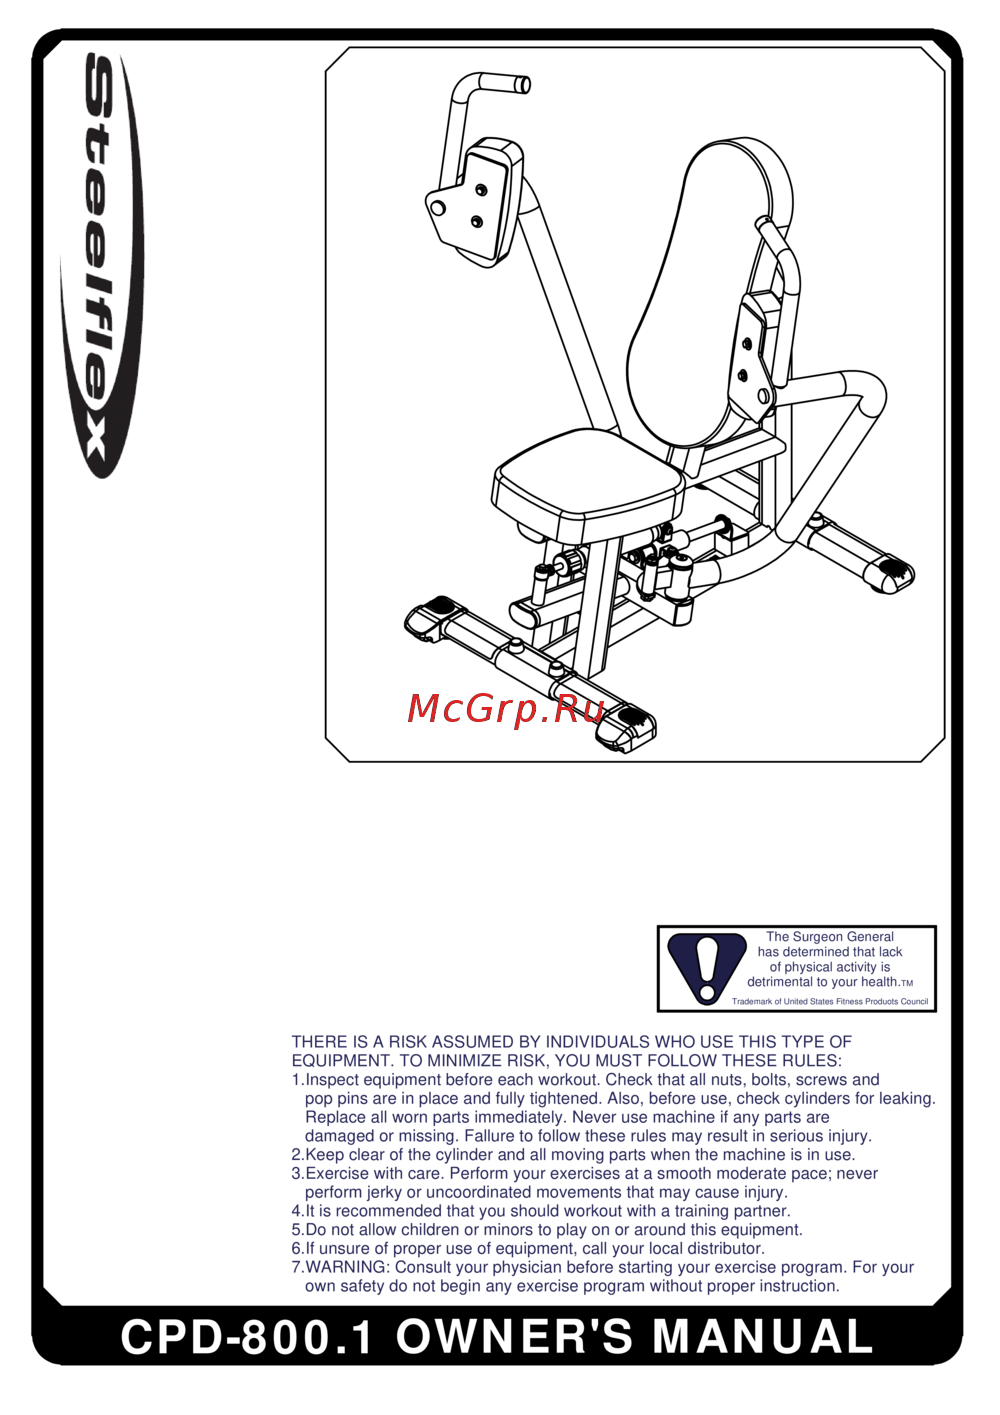 Aerofit CPD800Руководство пользователя
 -
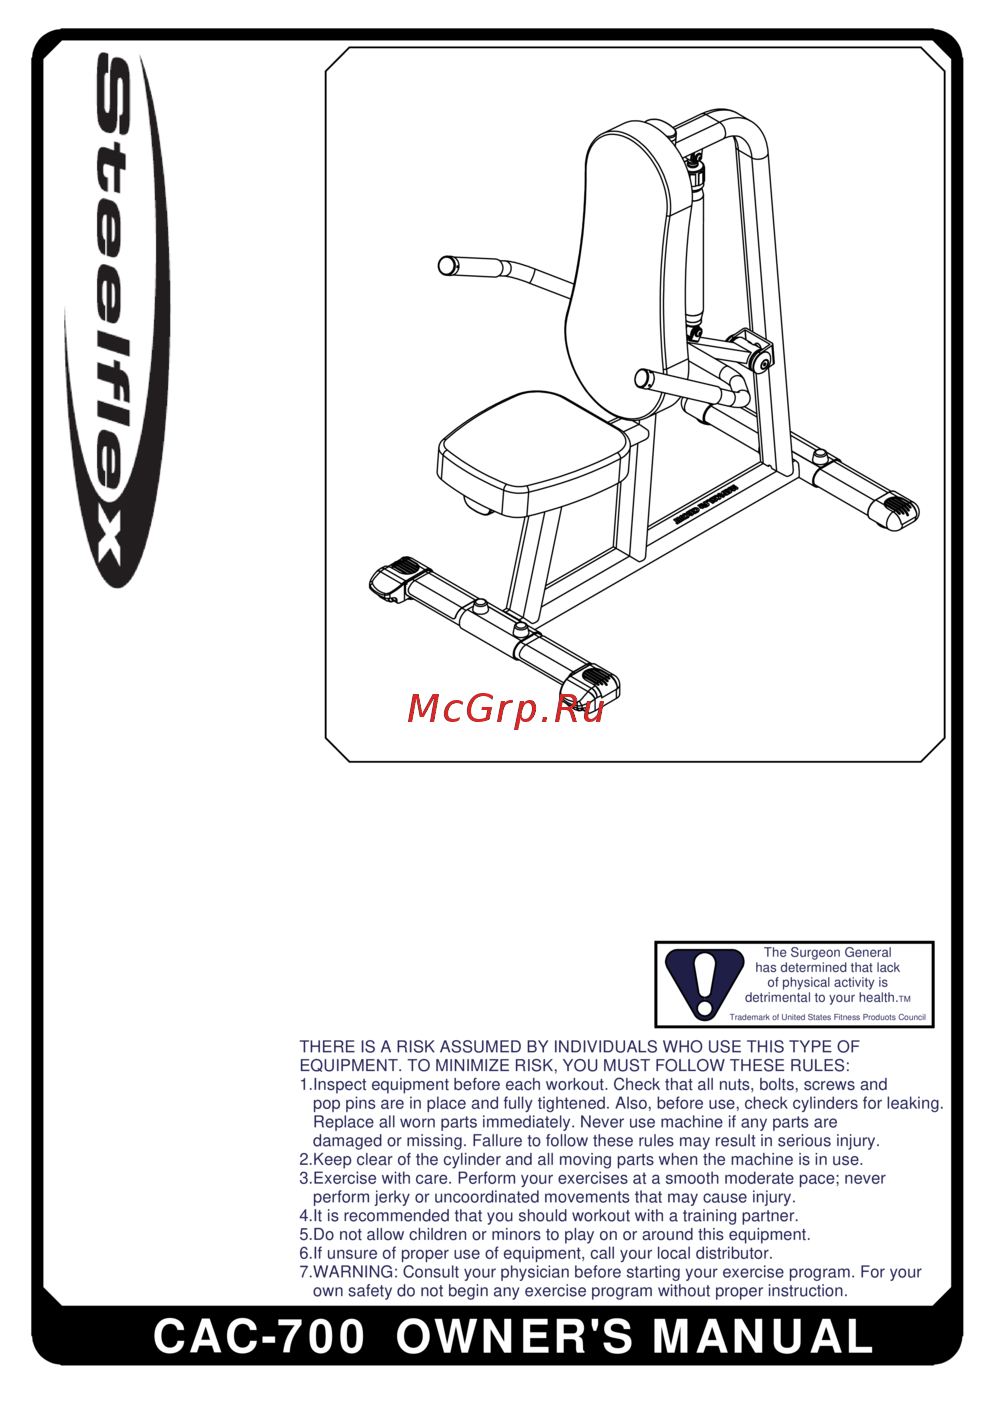 Aerofit CAC700Руководство пользователя
 -
 Aerofit CLP600Руководство пользователя
 -
 Aerofit CLE500Руководство пользователя
 -
 Aerofit CBC400Руководство пользователя
 -
 Aerofit CBP300Руководство пользователя
 -
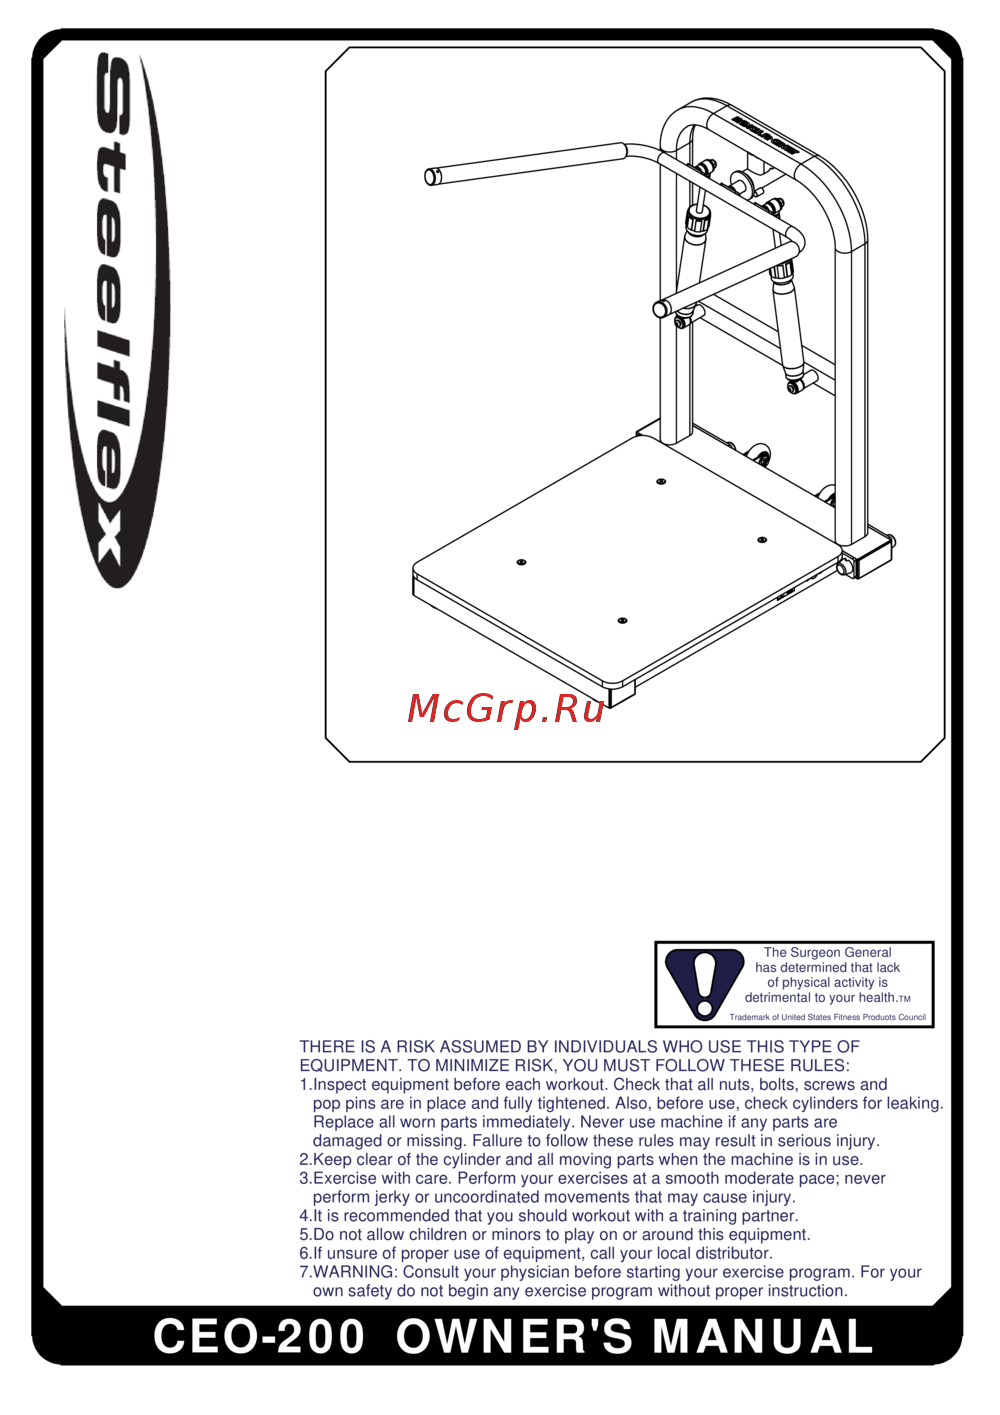 Aerofit CEO200Руководство пользователя
 -
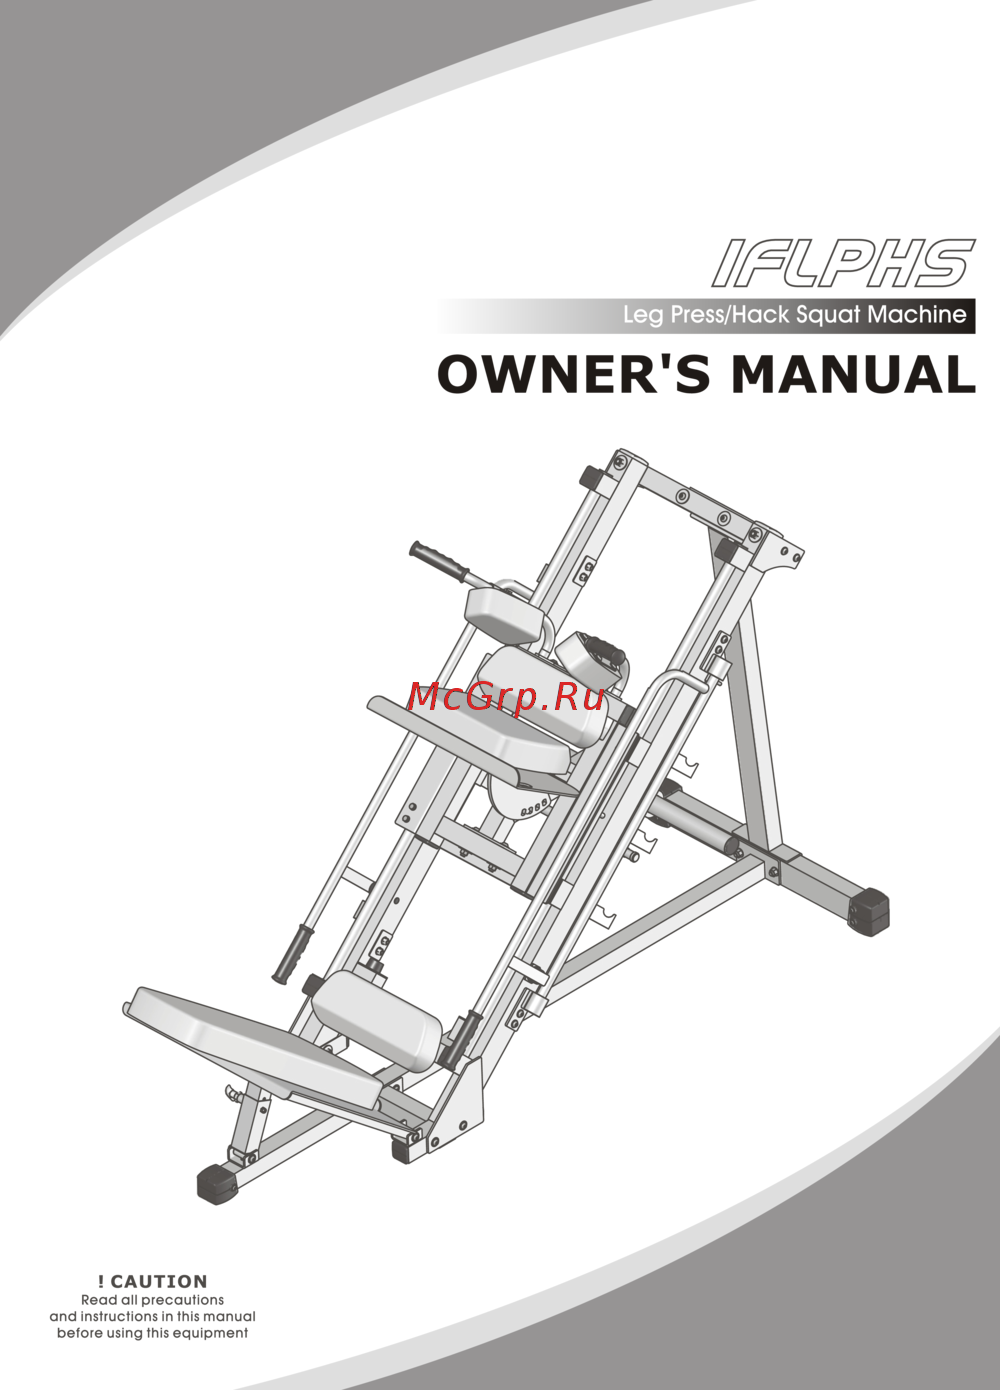 Aerofit IFLPHSРуководство пользователя
 -
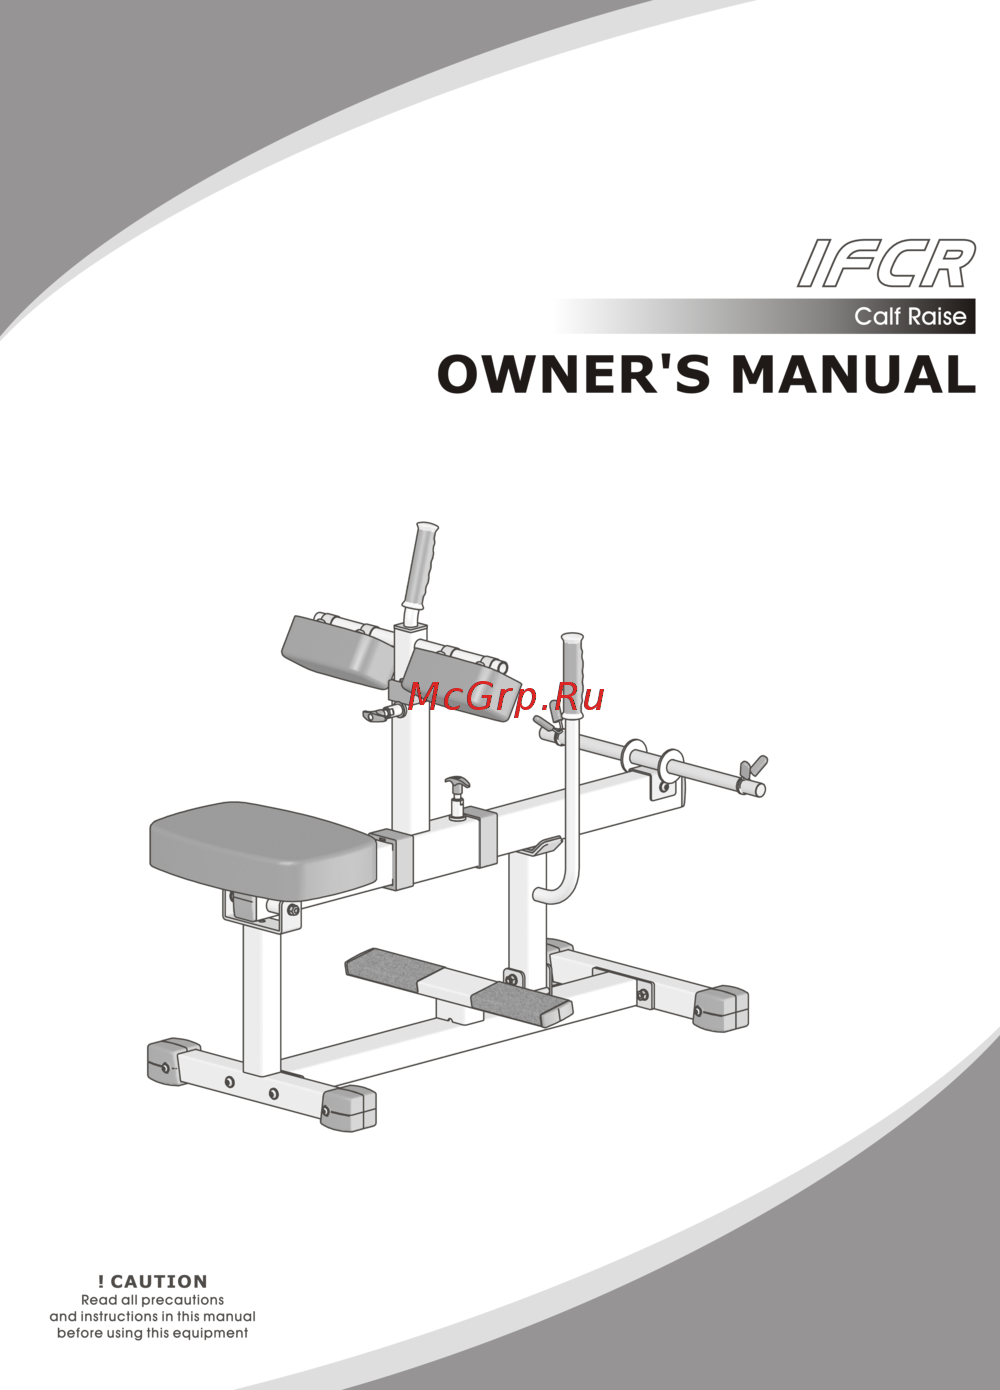 Aerofit IFCRРуководство пользователя
Подробная инструкция по сборке оборудования с пошаговыми указаниями и необходимыми деталями. Убедитесь в правильности установки для безопасной эксплуатации.