
Daikin FDBG71AVE Технические данные онлайн
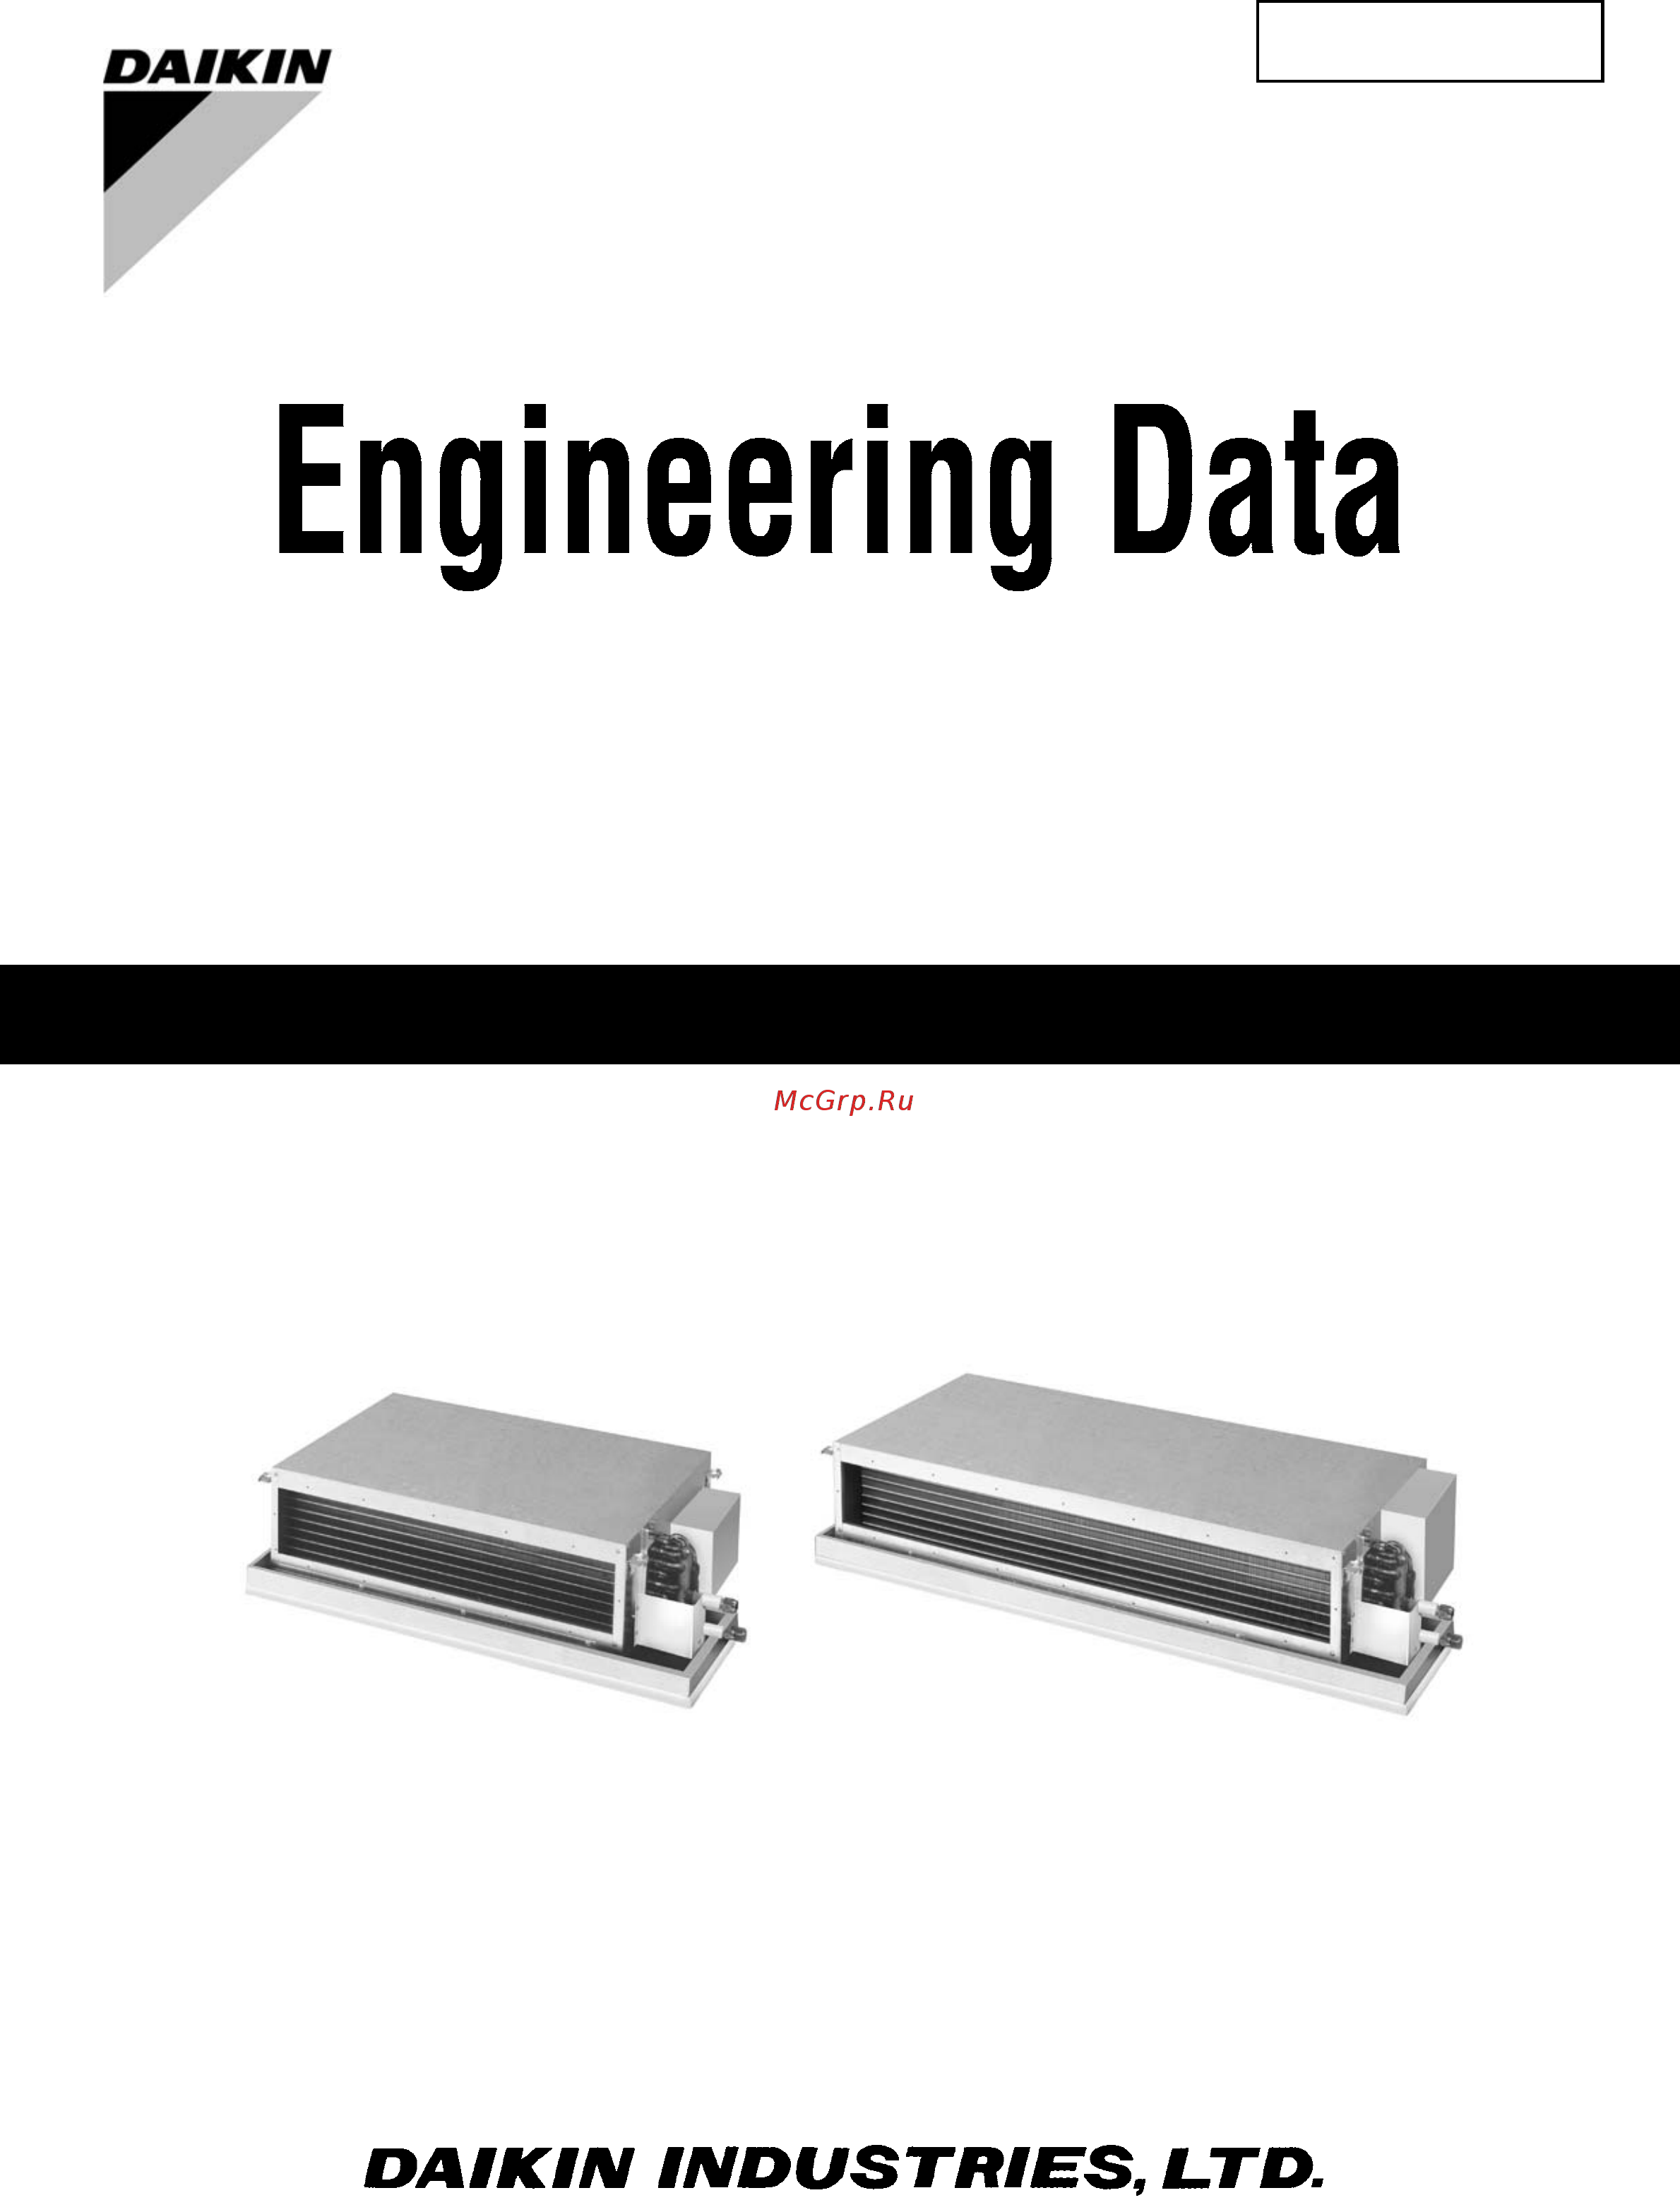
Packaged Air Conditioners
Duct Connection Type [50Hz]
(Low Static Pressure Application)
FDBG-A Series
— Cooling Only —
ED 41 - 015B
Содержание
- Capacity table 8 2
- Dimensions 1 2
- Duct connection type low static pressure application 50hz fdbg a series 2
- Electric characteristics 8 2
- External appearance and model series 2
- Fan performance 2 2
- Field piping 9 2
- Functions 2
- Installation 1 2
- Operation limit 5 2
- Optional accessories 2
- Piping diagrams 0 2
- Power supply and nomenclature 2
- Sound level 6 2
- Specification 2
- Table of contents 2
- Wiring diagrams 3 2
- External appearance and model series 3
- External appearance and model series ed41 015b 3
- Fdbg a series 3
- Indoor unit 3
- Model series 3
- Outdoor unit 3
- Remote controller 3
- Ed41 015b functions 4
- Fdbg a series 4
- Fdbg a series 3 4
- Function exists 4
- Functions 4
- Low static pressure type 5
- Nomenclature 5
- Power supply 5
- Power supply and nomenclature 5
- V1 35 r j k 5
- Ve 35 fdb a 5
- Ed41 015b specification 6
- Fdbg a series 5 6
- Specification 6
- Option list 7
- Optional accessories 7
- Remote controller krc47 1 7
- Digital remote controller krc47 2 8
- Cable length 4m connecting cable between 1 digital remote controller and 3 control board box 9
- Control board box 9
- Digital remote controller 9
- Digital remote controller for duct heater use krc47 4 9
- Fdbg a series 9
- For other parts 2 holder 3 control board box 4 wire cable will be the same as krc 47 2 9
- Optional accessories ed41 015b 9
- Wire cable 9
- Internal wiring diagram 10
- Dimensions 12
- Indoor unit 12
- Outdoor unit 17
- Installation service space for r71fu 19
- Indoor unit outdoor unit 21
- Piping diagrams 21
- Indoor unit 24
- Wiring diagrams 24
- Outdoor unit 25
- Ed41 015b wiring diagrams 26
- Fdbg a series 25 26
- R50gv1 26
- R60gv1 r60gv1k 26
- Ed41 015b wiring diagrams 28
- Fdbg a series 27 28
- Field wiring 28
- Capacity table 29
- Ed41 015b capacity table 30
- Fdbg a series 29 30
- Fdbg50ave r50gv1 30
- Fdbg60ave r60gv1 k 30
- Capacity correction factor by the length of refrigerant piping reference 32
- Ed41 015b capacity table 32
- Fdbg a series 31 32
- G max allowable piping length r25 32
- J 25m r50 32
- R71fu max allowable piping length 50m for fu series 32
- Fan performance 33
- Ed41 015b operation limit 36
- Fdbg a series 35 36
- Operation limit 36
- Fdbg a series 37
- Overall sound level 37
- Sound level 37
- Sound level ed41 015b 37
- 220v 380v 240v 415v 38
- Ed41 015b sound level 38
- Fdbg a series 37 38
- Octave band level 38
- Cooling only 39
- Electric characteristics 39
- Electric characteristics ed41 015b 39
- Fdbg a series 39
- Additional refrigerant charge 40
- Field piping 40
- Maximum allowable piping length and level difference 40
- Recharging refrigerant 40
- Fdbg a series 41
- Field piping ed41 015b 41
- Pump down operation method 41
- Fdbg a series 42
- Installation 42
- Installing the indoor unit 42
- Fdbg a series 43
- Indoor unit installation 43
- Installation ed41 015b 43
- Installing the outdoor unit 43
- Select an installation site that fulfills the following conditions and meets the customer s approval 43
- Selecting the location 43
- Temporarily install the indoor unit 43
- Tighten the top nuts 43
- Use a water level or water filled vinyl tubes to check that the unit is level at all four corners as shown in the drawing 43
- While installing unit take care that dust etc should not drop into the drainpan 43
- Ed41 015b installation 44
- Fdbg a series 43 44
- Installation 44
- Refrigerant piping work 44
- Air purging and checking for leakage 45
- Fdbg a series 45
- Installation ed41 015b 45
- Providing the connecting piping between the indoor unit and the outdoor unit 45
- Use a hexagonal wrench width across corners 4 mm 1 connect the gauge manifold and the vacuum pump as illustrated 2 actuate the vacuum pump 3 check that the gauge pointer stabilizes and reads a constant level close the gauge manifold and then stop the vacuum pump 4 open the gas stop valve for about 3 seconds then quickly close it 5 check the connections marked by for gas leaks to do this apply soapsuds to the connections and check carefully after checking completely wipe off the soapsuds 6 after checking for gas leaks completely open the liquid and gas stop valves 7 disconnect the gauge manifold and the vacuum pump 45
- Using the vacuum pump 45
- Connect the drain pipe as described below 46
- Drain piping work 46
- Ed41 015b installation 46
- Fdbg a series 45 46
- It is necessary to clean the drainpan the drain pipe outlet can be either on the right or left side after making the connection wrap the drain pipes completely with insulation when connecting the drain pipe to the outlet on the left side remove the rubber plug and attach it to the outlet on the right side 46
- Make sure that water does not leak from the drain piping connecting parts and the drain plug 46
- Pour some water into the drain pan to check that the water drains smoothly 46
- Be sure to use a 3 minute delay timer when starting the compressor otherwise the compressor may not start 47
- Caution 47
- Fdbg a series 47
- Field wiring 47
- Field wiring connection method 47
- For an external static pressure of 0 to 2 mm 47
- For an external static pressure of 2 to 7 mm 47
- For details follow the local applicable laws and regulations concerning electrical installations 47
- For models 71 see the installation manual attached to the outdoor unit 47
- Ground the air conditioner when grounding the air conditioner use a ground wire of 100 ω or less 47
- Installation ed41 015b 47
- Note a commercially available remote controller can be used if its specifications are compatible with those shown in the wiring diagram and technical materials 47
- Note refer to the wiring diagram and to the installa tion manual of the remote controller 47
- When using a commercially available two speed remote controller refer to the following 47
- Wiring 47
- Ed41 015b installation 48
- Fdbg a series 47 48
- For an external static pressure of 0 to 2 mm 48
- For an external static pressure of 2 to 7 mm 48
- Indoor unit outdoor unit 48
- Note when using the optional krc47 1 or the krc47 2 remote controllers the air flow volume of medium and high fan speed settings become the same 48
- Use ring type terminals for connections to the power supply terminal block where they can not be used refer to the following observe the notes mentioned below while connecting wire to the power supply terminal board do not connect wires of different gauges to the same power supply terminal looseness in the connection may cause overheating when connecting wires of the same gauge connect them according to the figure on the right 48
- When using the optional krc47 1 or the krc47 2 remote controllers which have three fan speed settings refer to the following 48
- Fdbg a series 49
- Finishing the piping connections 49
- Installation ed41 015b 49
- Dealer 50
- Ed 41 015b this book is made of recycled paper printed in japan 05 2005 fs 50
- Http www daikin com global 50
Похожие устройства
- Daikin FDBG71AVE Инструкция по эксплуатации
- Daikin FDMG71AV1 Технические данные
- Daikin FDMG71AV1 Инструкция по эксплуатации
- Daikin FDMG100AV1 Технические данные
- Daikin FDMG100AV1 Инструкция по эксплуатации
- Daikin FDMG125AV1 Технические данные
- Daikin FDMG125AV1 Инструкция по эксплуатации
- Daikin FDMG140AV1 Технические данные
- Daikin FDMG140AV1 Инструкция по эксплуатации
- Daikin FDMG180AV1 Технические данные
- Daikin FDMG180AV1 Инструкция по эксплуатации
- Satvision SVR-4812AH PRO (NVMS-9000) Инструкция по настройке NVMS_1000
- Satvision SVR-4812AH PRO (NVMS-9000) Инструкция по настройке SuperLivePlus
- Satvision SVR-4812AH PRO (NVMS-9000) Инструкция по эксплуатации
- Satvision SVR-6212AH PRO (NVMS-9000) Инструкция по настройке SuperLivePlus
- Satvision SVR-6212AH PRO (NVMS-9000) Инструкция по настройке NVMS_1000
- Satvision SVR-6212AH PRO (NVMS-9000) Инструкция по эксплуатации
- Satvision SVR-8812AH Light PRO (NVMS-9000) Инструкция по настройке SuperLivePlus
- Satvision SVR-8812AH Light PRO (NVMS-9000) Инструкция по эксплуатации
- Satvision SVR-8812AH Light PRO (NVMS-9000) Инструкция по настройке NVMS_1000