
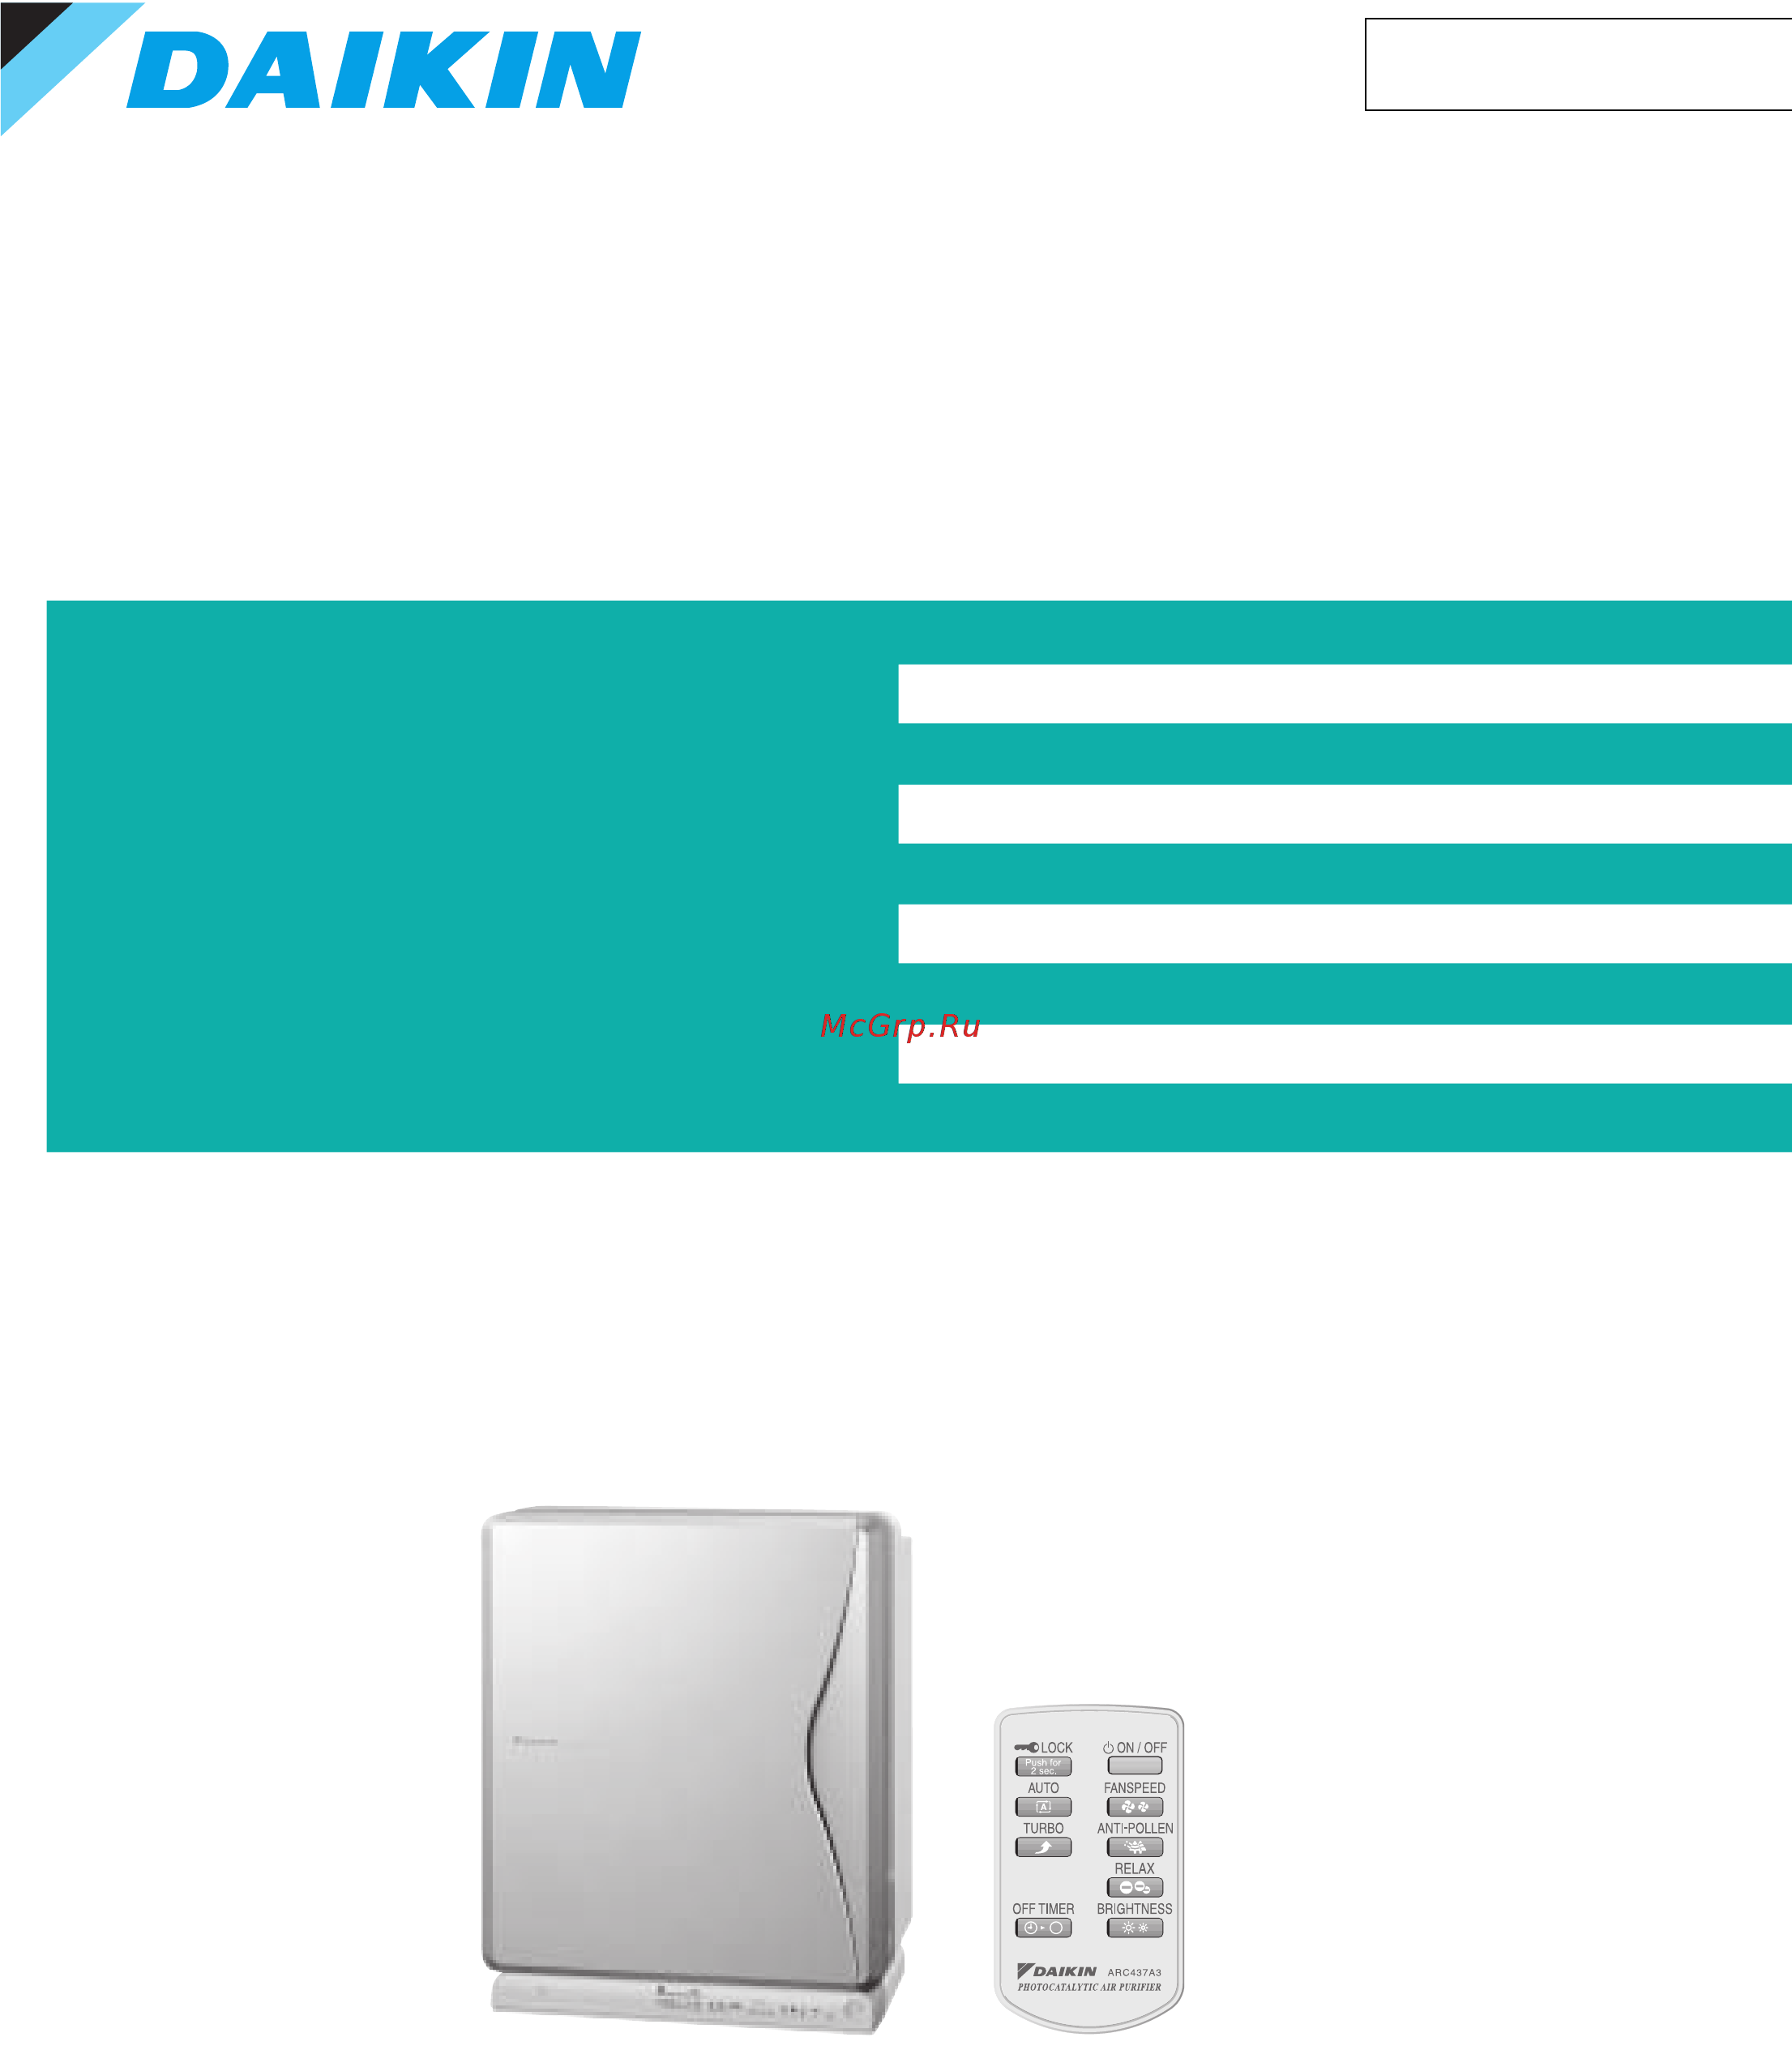
Daikin MC707VM-W Сервис мануал онлайн
Содержание
- Air purifiers 2
- Mc707vm s mc707vm w 2
- Flash streamer 3
- Introduction 3
- Photocatalytic air purifier 3
- What i s fla s h s treamer 3
- Bio antibody filter 4
- Decompo s ition i s continuou s 4
- Flash streamer 4
- Photocatalytic air purifiers 3 4
- Ppmi s contin ua lly em a n a ted 4
- Sienbe81 623a introduction 4
- Titanium apatite photocatalytic filter 4
- When form a ldehyde s concentr a tion of 0 4
- Adjuvant s are s ub s tance s included in air pollutant s s uch a s exhau s t g a s that when inhaled alon g with aller g en s make one s aller g y s ymptom s wor s en 5
- Introduction sienbe81 623a 5
- Only fla s h s treamer remove s adjuvant s 5
- Only flash streamer removes adjuvants 5
- Photocatalytic air purifiers 5
- Bio antibody filter 6
- Catechin pre filter 6
- Photocatalytic air purifiers 5 6
- Sienbe81 623a introduction 6
- What i s catechin 6
- A mere 3 1 db even in m mode 7
- Antitamper lock 7
- Cjg 14 7
- Cjg 15 7
- Cjg 16 7
- Come s with 7 pleated filter s 7
- Control the numerou s feature s with the ea s y to u s e remote control 7
- De s i g ned to be quiet 7
- Di s play adju s tment 7
- Ea s y filter s tora g e un us ed filter s c a n b e s towed ne a tly in s ide the u nit 7
- Introduction sienbe81 623a 7
- It s a s quiet a s a whi s per 7
- Ne g ative ion s 7
- Off timer 7
- Oper a tion i s economic a l s ince the a ir p u rifier come s with 7 filter s yo u won t need to bu y filter s for 7 ye a r s al s o s ince the filter i s repl a ced e a ch ye a r filter efficiency will not drop 7
- Operation s ound and air flow 7
- Photocatalytic air purifiers 7
- Pollen mode 7
- Remote control s tora g e s pace 7
- Top r a nking s ilent oper a tion i s a chieved b y d a ikin s origin a l s hro u d f a n a nd a low pre ssu re lo ss filter 7
- Turbo mode 7
- Year pleated filter 7
- Flat panel blend s with interior s and i s ea s y to clean 8
- Photocatalytic air purifiers 7 8
- Quick wipe panel 8
- Sienbe81 623a introduction 8
- Ambient temperature humidity 9
- Applicable room area 9
- Miscellaneous 9
- Precautions for use 9
- Required conditions 9
- Specifications 10
- D050511 11
- Dimension of remote controller 11
- Dimensions 11
- Mc707vm s mc707vm w 11
- Photocatalytic air purifiers 11
- Required installation space 11
- Specifications sienbe81 623a 11
- D050510 12
- Mc707vm s mc707vm w 12
- Photocatalytic air purifiers 11 12
- Sienbe81 623a specifications 12
- Wiring diagram 12
- Packaging drawing 13
- Photocatalytic air purifiers 13
- Specifications sienbe81 623a 13
- Operation manual 14
- S afety precaution s 14
- Safety precautions 14
- Name s and operation of each part 15
- Names and operation of each part 15
- 12 11 10 9 8 7 6 5 4 16
- 2 3 1 3 15 16
- Main unit di s play 16
- Photocatalytic air purifiers 15 16
- Sienbe81 623a operation manual 16
- Attachin g the pleated filter 17
- Attention 17
- Caution 17
- Preparation before operation 17
- Remote control s etup 17
- Warning 17
- Attach the bio antibody filter 18
- Attach the pleated filter 18
- Attachin g the bio antibody filter 18
- Attention 18
- In s tall the pla s ma ionizer in it s ori g inal confi g uration 18
- Photocatalytic air purifiers 17 18
- Re s tore the front panel 18
- Re s tore the pre filter 18
- Remove the pre filter 18
- Sienbe81 623a operation manual 18
- Attention 19
- How to operate 19
- In s tallation of main unit 19
- Preparation before operation 19
- When you want to operate the unit u s in g the button on the main unit 19
- Attention 20
- Care and cleanin g 20
- Care and cleaning 20
- Caution 20
- Cleanin g chart 20
- Cleanin g the air inlet for the du s t odor s en s or 20
- Cleanin g the front panel 20
- Warning 20
- Care and cleanin g 21
- Caution 21
- Cleanin g the pre filter 21
- Operation manual sienbe81 623a 21
- Photocatalytic air purifiers 21
- Replacin g the bio antibody filter the bio antibody filter s hould be replaced around once a year 21
- Caution 22
- In s ert the power plu g 22
- Photocatalytic air purifiers 21 22
- Pre ss the re s et s witch on the main unit di s play 22
- Re s tore the pla s ma ionizer and the front panel 22
- Remove the front panel 22
- Remove the pla s ma ionizer 22
- Remove the pre filter 22
- Replace a pleated filter 22
- Replace a pleated filter with new one 22
- Sienbe81 623a operation manual 22
- Care and cleanin g 23
- Caution 23
- Clean the pla s ma ionizer 23
- Operation manual sienbe81 623a 23
- Photocatalytic air purifiers 23
- Photocatalytic air purifiers 23 24
- Sienbe81 623a operation manual 24
- Care and cleanin g 25
- Caution 25
- Cleanin g the pla s ma ionizer 25
- Operation manual sienbe81 623a 25
- Photocatalytic air purifiers 25
- A ss emblin g the pla s ma ionizer 26
- Attach the oppo s in g pole plate s 26
- Attach the s treamer di s char g er 26
- Photocatalytic air purifiers 25 26
- Sienbe81 623a operation manual 26
- Care and cleanin g 27
- Cleanin g the deodorization catalytic unit 27
- Di s po s al requirement s 27
- Operation manual sienbe81 623a 27
- Optional acce ss orie s 27
- Photocatalytic air purifiers 27
- S en s itivity s ettin gs of the du s t s en s or 27
- Frequently a s ked que s tion s 28
- Inve s ti g ate the problem once a g ain before reque s tin g repair s 28
- Trouble s hootin g 28
- Troubleshooting 28
- Bio antibody filter 29
- Dimensions 29
- Optional accessories 29
- Optional accessories sienbe81 623a 29
- Photocatalytic air purifiers 29
- Pleated photocatalytic filter 29
- Basic inspection 30
- It is not malfunction 30
- Troubleshooting 30
- Troubleshooting with airflow rate indicator 30
- Diagnosis remedy 31
- Equipment does not operate or operation lamps does not light 31
- Malfunction deci sion conditions 31
- Method of mal function detection 31
- Models covered 31
- Supposed causes 31
- Troubleshooting 31
- Diagnosis remedy 32
- Malfunction deci sion conditions 32
- Method of mal function detection 32
- Models covered 32
- Remote control sends signals erratically 32
- Supposed causes 32
- Troubleshooting 32
- Diagnosis remedy 33
- Malfunction deci sion conditions 33
- Method of mal function detection 33
- Models covered 33
- Sensor led remains lit 33
- Supposed causes 33
- Troubleshooting 33
- Dc fan locks 34
- Diagnosis remedy 34
- Malfunction deci sion conditions 34
- Method of mal function detection 34
- Models covered 34
- Supposed causes 34
- Troubleshooting 34
- Diagnosis remedy 35
- Led automatically operates 35
- Malfunction deci sion conditions 35
- Method of mal function detection 35
- Models covered 35
- Supposed causes 35
- Troubleshooting 35
- 1 hold both sides of the front panel and pull out the panel toward yourself 36
- Appearance 36
- Disassembling work 36
- Procedure points 36
- Removal of the front panel filters 36
- Removal procedure 36
- Removing the front panel 36
- Warning be sure to wait 10 minutes or more after turning off all power supplies before 36
- 1 bend the pre filter slightly and detach the two upper knobs 37
- 2 lift the panel to undo the hooks now detach the panel 37
- 2 lift the pre filter and release it from the lower hooks 37
- Photocatalytic air purifiers 37
- Procedure points 37
- Removal procedure sienbe81 623a 37
- Removing the pre filter 37
- The projection at the back side of the front panel operates the safety switch be careful not to trans form the projection 37
- When assembling catch the lower hooks first and then the right and left hooks 37
- 1 bend the fixing part slightly to undo upper two hooks 38
- Procedure points 38
- Removing the bio antibody filter 38
- 1 catch the upper hole with your finger and lift it up 45
- 2 zoomed up view of part a 45
- 3 zoomed up view of part b 45
- Photocatalytic air purifiers 45
- Preparation in advance 45
- Procedure points 45
- Removal of streamer electric discharge unit 45
- Removal procedure sienbe81 623a 45
- Remove the plasma ion izer unit 45
- Sembling work 45
- Warning be sure to wait 10 minutes or more after turning off all power supplies before disas 45
- 4 remove the screw 46
- 5 lift up and slide the unit to remove it 46
- Procedure points 46
- Removal of lonizing wire 47
- 1 pinch and detach the ionizing wires with pincers 48
- Caution 48
- Procedure points 48
- Removing the ionizing wires 48
- Removal of fan motor 49
- 4 remove the nut and pull out the fan 51
- 5 lift and detach the harness retainer 51
- 6 when assembling put part a first in the groove and then slide part b along the way 51
- Photocatalytic air purifiers 51
- Procedure points 51
- Removal procedure sienbe81 623a 51
- When assembling align the mark on the fan with the d cut on the motor shaft 51
- 7 remove the 3 screws from the lock plate and take out the fan motor 52
- Procedure points 52
- Removal of electrical box pcb 53
- 1 undo the 2 hooks at the back and take out the flame proof plate 54
- 2 pull out the electrical box to detach 54
- Procedure points 54
- Removing the pcb 54
- 2 disconnect the each connector 55
- 3 disconnect the connector s127 from the connector s128 of display pcb a3p 55
- Photocatalytic air purifiers 55
- Procedure points 55
- Removal procedure sienbe81 623a 55
- 4 disconnect the pcb connector 56
- 5 undo the 2 hooks and remove the pcb 56
- Procedure points 56
- 6 the figure at right shows the power supply and control pcb 57
- 7 undo the 4 hooks to remove the high voltage pcb hvu 57
- Lead free solder pbf is used 57
- Photocatalytic air purifiers 57
- Procedure points 57
- Removal procedure sienbe81 623a 57
- 10 undo the 2 hooks 1 each at right and left from the top 59
- 11 undo the 3 hooks to remove the pcb 59
- Photocatalytic air purifiers 59
- Procedure points 59
- Removal procedure sienbe81 623a 59
- Naamloze vennootschap zandvoordestraat 300 b 8400 oostende belgium www daikin eu btw be 0412 120 336 rpr oostende 61
- Ésienbe81 623a ëí 61
Похожие устройства
- Daikin MC707VM-W Технические данные
- Daikin ACE3DVE Инструкция по эксплуатации
- Daikin MCK75JVM-K Сервис мануал
- Daikin MC401VE Инструкция по эксплуатации
- Daikin MC401VE Сервис мануал
- Daikin ACEF3AVE Технические данные
- Daikin ACEF3AVE Инструкция по эксплуатации
- Daikin ACEF3AVE Сервис мануал
- Daikin ACEF3AV1-C Технические данные
- Daikin ACEF3AV1-C Инструкция по эксплуатации
- Daikin ACEF3AV1-C Сервис мануал
- Daikin ACEF3AV1-H Технические данные
- Daikin ACEF3AV1-H Инструкция по эксплуатации
- Daikin ACEF3AV1-H Сервис мануал
- Daikin ACEF4AV1-C Технические данные
- Daikin ACEF4AV1-C Инструкция по эксплуатации
- Daikin ACEF4AV1-C Сервис мануал
- Daikin ACEF4AV1-H Технические данные
- Daikin ACEF4AV1-H Сервис мануал
- Daikin ACEF4AV1-H Инструкция по эксплуатации