
Singer 14SH654 FINISHING TOUCH Инструкция по эксплуатации онлайн
Содержание
- Operator s guide 1
- Singer 1
- Important safety instructions 2
- Sh644 654 2
- Danger 3
- Important safety instructions 3
- Warning 3
- Save these instructions 4
- This product is intended for household use 4
- Contents 5
- A 5 mm wide overedge seams 6
- Depending on the needle positions used this machine can sew 3 thread standard width 3 mm overedge and 6
- Flatlock 6
- Four thread 6
- Overlock 6
- Selection of stitches 6
- Stitch type reference 6
- Stretch mock safety stitch 6
- This machine is capable of producing various types of stitches according to the combination of needle positions threading methods tension adjustment 6
- Three thread 6
- Wrapped edge overlock 6
- Also for overedging heavyweight fabrics the seam width can be increased still more by turning the overedge seam width adjustment knob see page 21 7
- Handy reference chart 7
- Needle thread tension dial 7
- Needle used overedge right needle 7
- Overedge width 3 mm 7
- The thread tension becomes tighter as the dials are turned to higher numbers the tension settings shown on this page as well as throughout the operator s manual are suggested guides adjust thread tensions to suit the fabric and size of thread used for best results make tension adjustments in small increments of no greater than half a number at a time 7
- Accessories 8
- Needle information 8
- Principal parts 9
- How to open looper cover 10
- Preparation prior to sewing 10
- Principal parts behind looper cover 10
- Warning 10
- Polarized plug information for u s a canada only 11
- Preparation for threading 11
- This appliance has a polarized plug one blade wider than the other to reduce the risk of electric shock this plug is intended to fit in a polarized outlet only one way if the plug does not fit fully in the outlet reverse the plug if it still does not fit contact a qualified electrician to install the proper outlet do not modify the plug in any way 11
- Warning 11
- F to insert needle s 12
- F to remove needle s 12
- Howto remove and insert needles 12
- Threading diagram 13
- Threading the machine 13
- Ç understanding the color code 13
- Threading the lower looper yellow 15
- Threading the right needle green 17
- Threading the left needle blue 19
- Important threading information 20
- How to change threads 21
- Tie on method 21
- F width adjustment with adjustment knok 22
- How to adjust the seam width 22
- How to adjust the stitch length 22
- Width adjustment by changing needle position 22
- How to adjust the presser foot pressure 23
- Width adjustment knob__________________ 23
- Differential feed 24
- Gathered qveredge 24
- To set the differential feed adjusting lever 24
- Stretch overedge 25
- To set the differential feed adjusting lever 25
- How to disengage movable upper knife 26
- To place movable knife in nonworking position 26
- To place movable knife in working position 26
- Free arm sewing tubular work 27
- To remove the cloth plate 27
- To replace the cloth plate 27
- Standard overedge and rolled hem stitching 28
- To sew rolled hem 28
- To sew standard overedge 28
- Chaining off and test 29
- Sewing 29
- 3 thread overlock 30
- And test sew on a sample of your fabric 30
- Correct balance 30
- Fabric tension dial 30
- How to balance 30
- Needle tension dial blue or green to a higher number 30
- Note these are suggested tension settings only 30
- Of fabric turn the lower looper thread tension dial yellow 30
- Of the fabric turn the upper looper thread tension dial 30
- Or turn the lower looper thread tension dial 30
- Or turn the upper looper thread tension dial 30
- Orange to a higher number 30
- Orange to a lower number 30
- Set each tension dial to settings shown at right 30
- Suggested tension setting 30
- Tension settings are effected by 30
- Toward a higher number 30
- Type and thickness of fabric 2 needle size 3 size type and fiber content of thread 30
- When the lower looper thread appears on the top 30
- When the needle thread is too loose turn the 30
- When the upper looper thread lies on the underside 30
- Yellow to a lower number 30
- 3 thread flatlock 31
- And test sew on a sample of your fabric 31
- Correct balance 31
- Green toward a higher number 31
- Green toward a lower number 31
- How to balance 31
- Note these are suggested tension settings only 31
- Or turn the needle thread tension dial blue or 31
- Or turn the upper looper thread tension dial 31
- Orange toward a higher number 31
- Orange toward a lower number 31
- Set each tension dial to settings shown at right 31
- Tension settings are effected by 31
- Toward a higher number 31
- Turn the lower looper thread tension dial yellow 31
- Turn the needle thread tension dial blue or 31
- Turn the upper looper thread tension dial 31
- Type and thickness of fabric 2 needle size 3 size type and fiber content of thread 31
- When the lower looper thread tension is too loose 31
- When the needle thread tension is too loose 31
- When the upper looper thread tension is too loose 31
- 3 thread wrapped edge overlock j 32
- Correct balance______________________ 32
- To balance__________________________ 32
- 4 thread ultra stretch mock safety stitch 33
- And test sew on a sample of your fabric 33
- Correct balance__________________________ 33
- How to balance__________________________ 33
- Note these are suggested tension settings only 33
- Of the fabric turn lower looper thread tension dial yellow 33
- Of the fabric turn the upper looper thread tension dial 33
- Or turn lower looper thread tension dial yellow 33
- Or turn the upper looper thread tension dial 33
- Orange to a higher number 33
- Orange toward a lower number 33
- Set each tension dial to settings shown at right 33
- Tension settings are effected by 33
- To a lower number 33
- Toward a higher number 33
- Turn the left needle thread tension dial blue 33
- Turn the right needle thread tension dial green 33
- Type and thickness of fabric 2 needle size 3 size type and fiber content of thread 33
- When the left needle thread tension is too loose 33
- When the lower looper thread appears on the top 33
- When the right needle thread tension is too loose 33
- When the upper looper thread lies on the underside 33
- How to sew a rolled hem 34
- Machine set up 34
- 3 thread upper looper thread wrapped 35
- And test sew on a sample of your fabric 35
- Correct balance 35
- I 1 3 thread standard rolled hem stitching 35
- Looper with wooly nylon and the needle and lower looper with lightweight regular thread 35
- Note for a beautiful rolled hem thread the upper 35
- Rolled hem stitching 35
- Set each tension dial to settings shown at right 35
- Additional information about rolled hemming 36
- To secure the rolled hem thread chain 36
- 1 machine set up 37
- 2 flatlockinq a seam 37
- F how to sew a matlock decorative seam 37
- Stitch variations and sewing techniques 37
- 3 decorative flatlockinq____________________ 38
- 4 additional information about flailocking_________ 38
- How to sew an overlock blind hem 39
- How to sew pin tucks 39
- 1 outside corner 40
- 2 inside corner 40
- Turning square corners 40
- Pin placement 41
- Securing the thread chain 41
- Braiding by chaining off j 42
- How to reinforce a seam j 42
- Cleaning the machine j 43
- I oiling the machine__________________________ 43
- Machine maintenance 43
- How to replace the stationary knife 44
- How to exchange light bulb 45
- Troubleshooting chart 46
- Relationship between cloth thread and needle 47
- Specification 48
Похожие устройства
- Singer 14HD854 HEAVY DUTY Инструкция по эксплуатации
- X-PROFF 14U557 Инструкция по эксплуатации
- Acme GK 357 B N Инструкция по эксплуатации
- Acme GK 357 B Инструкция по эксплуатации
- Brother COVER STITCH CV 3550 Инструкция по эксплуатации
- Brother M 2340 CV Инструкция по эксплуатации
- Brother M 2340 CV Буклет
- Brother COVER STITCH CV 3440 Инструкция по эксплуатации
- Elna 444 Инструкция по эксплуатации
- Elna EASYCOVER Инструкция по эксплуатации
- Janome COVERPRO 7 Инструкция по эксплуатации
- Janome COVERPRO II (COVER PRO 2 CP) Инструкция по эксплуатации
- Janome COVERPRO D MAX Инструкция по эксплуатации
- Janome COVERPRO 7 PLUS Инструкция по эксплуатации
- Eurometalnova DUETTO PLUS ASSE Инструкция по эксплуатации
- Krausen CLASSIC Инструкция по эксплуатации
- Krausen PERFETTO PLUS Инструкция по эксплуатации
- Krausen PERFETTO Инструкция по эксплуатации
- Krausen EVOLUTION Инструкция по эксплуатации
- Krausen PERFETTO LUXE Инструкция по эксплуатации
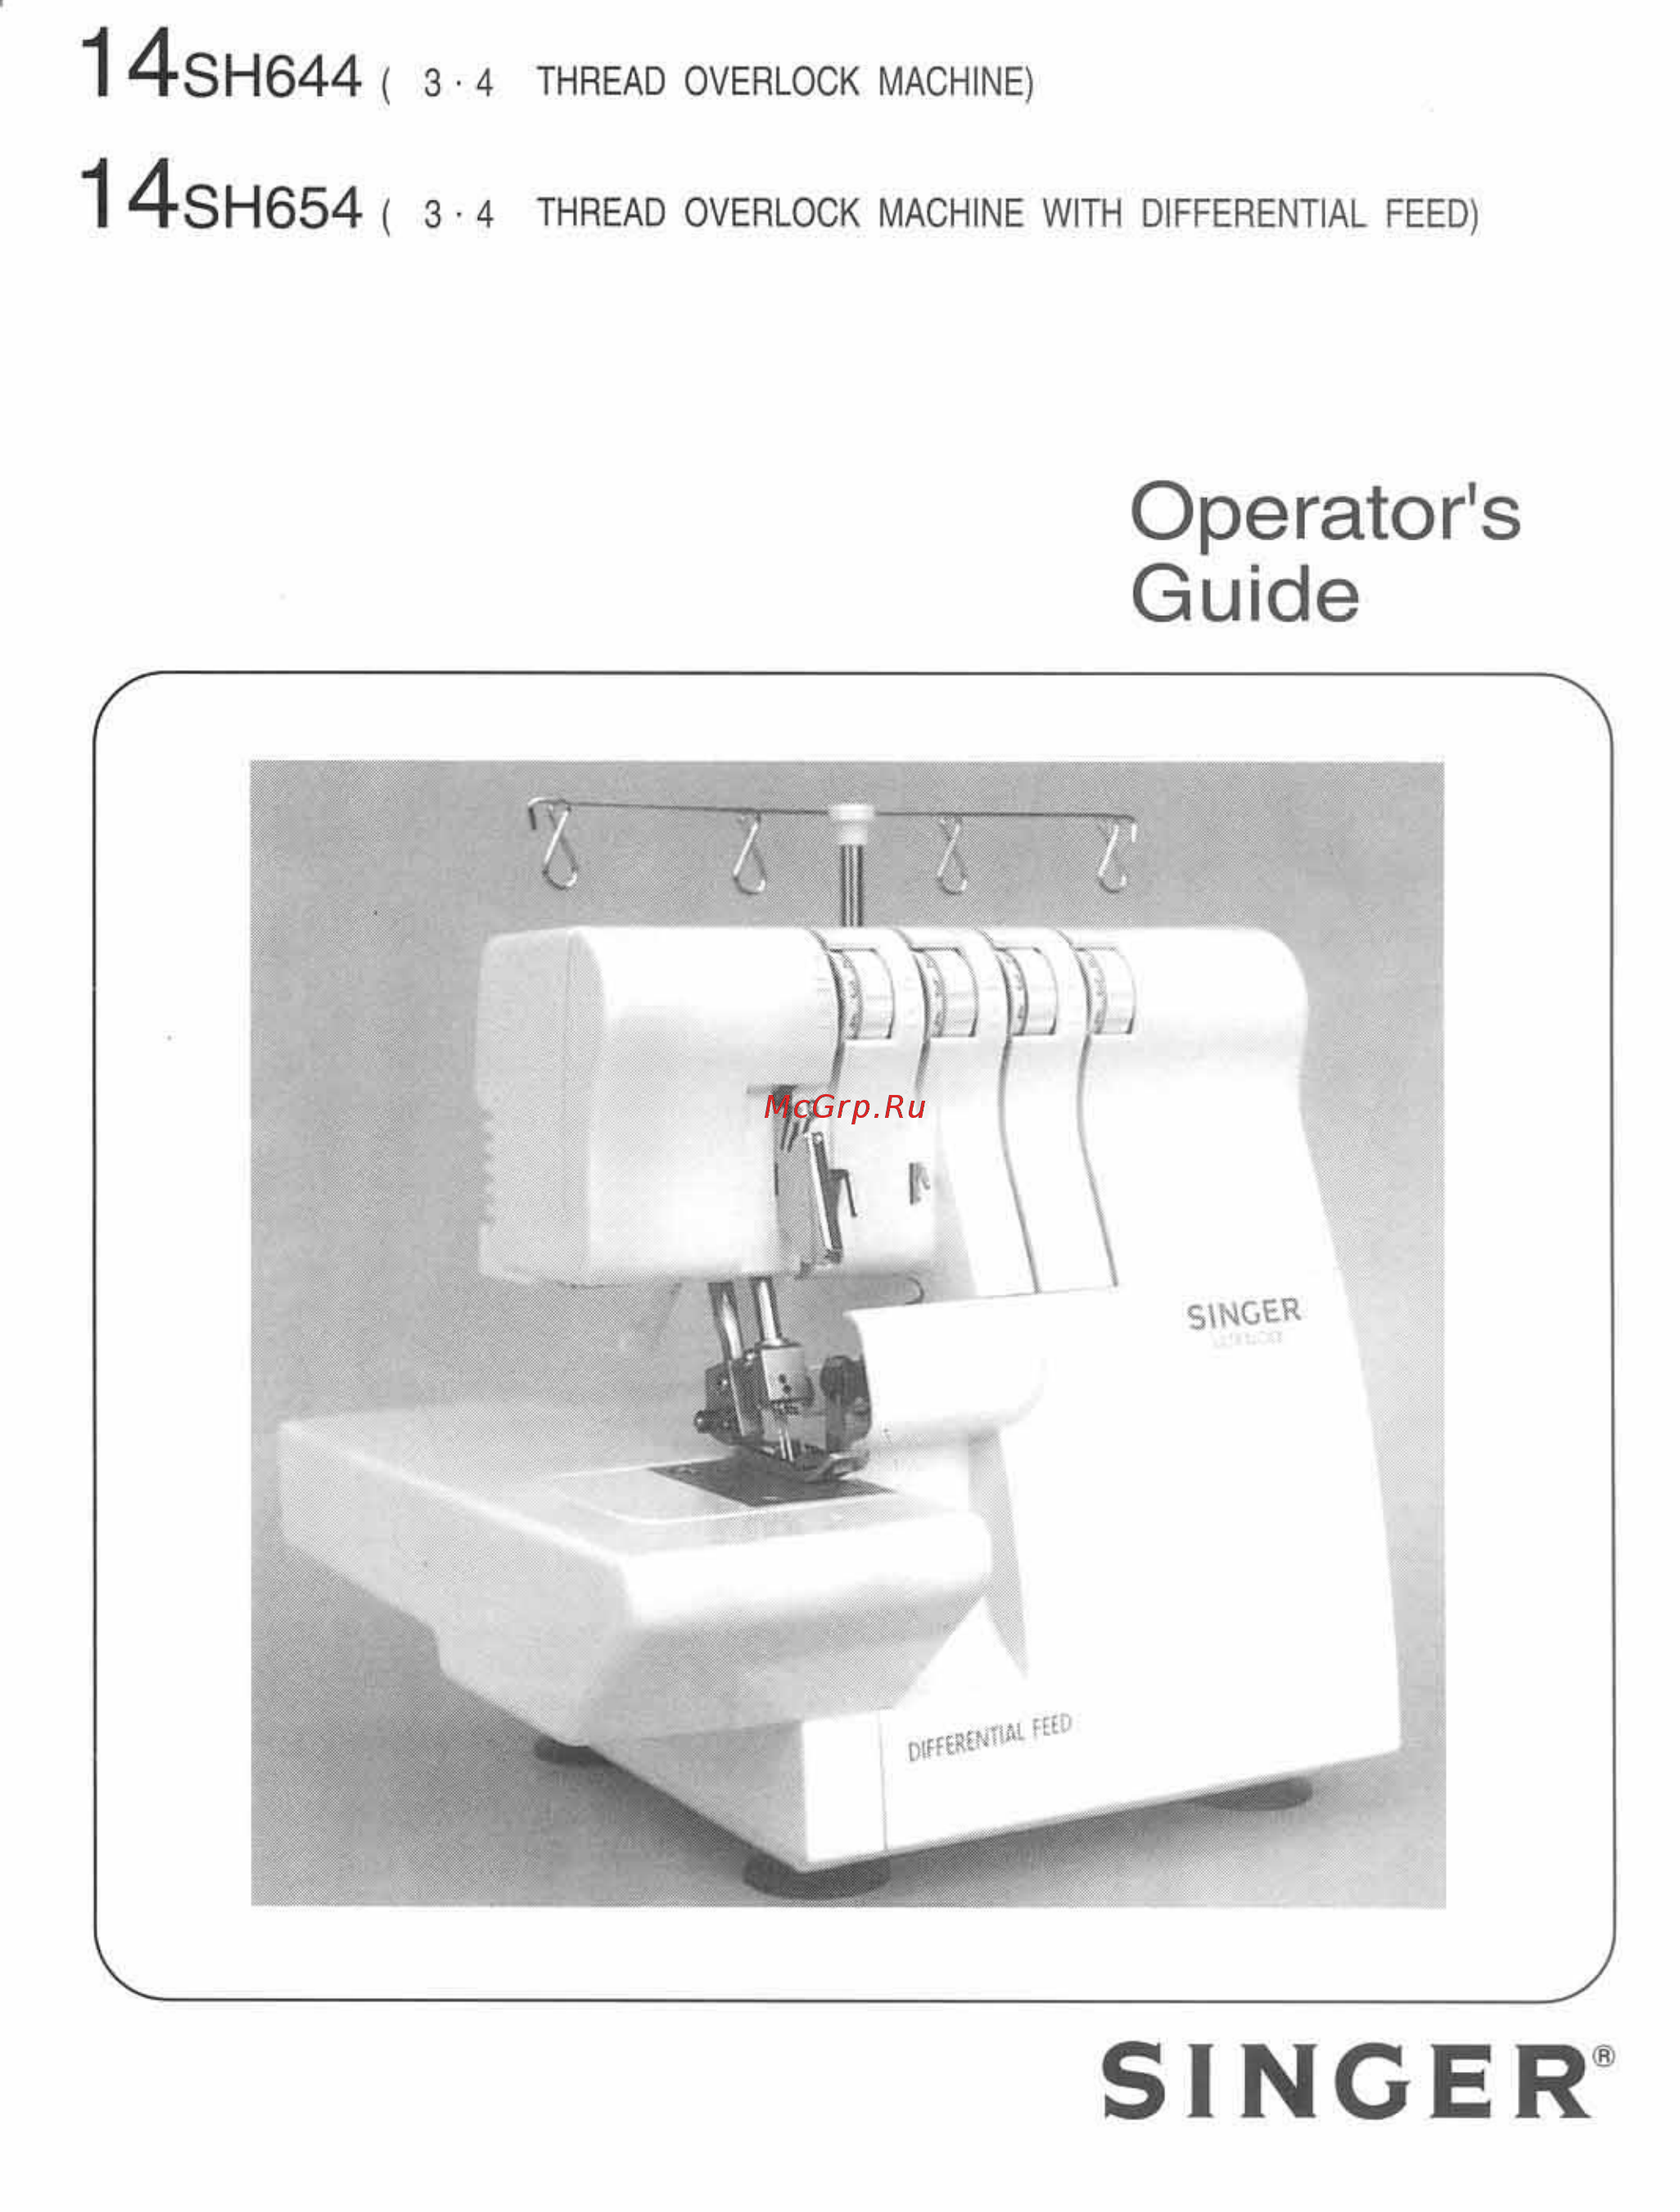
1 4SH644 1 4SH654 3 4 THREAD OVERLOCK MACHINE 3 4 THREAD OVERLOCK MACHINE WITH DIFFERENTIAL FEED Operator s Guide SINGER