
AMERICAN DJ Inno Pocket Spot LZR Руководство по эксплуатации онлайн
User Instructions
1/16
©2016 ADJ Products, LLC all rights reserved. Information,
specications, diagrams, images, and instructions herein are
subject to change without notice. ADJ Products, LLC logo and
identifying product names and numbers herein are trademarks
of ADJ Products, LLC. Copyright protection claimed includes all
forms and matters of copyrightable materials and information
now allowed by statutory or judicial law or hereinafter granted.
Product names used in this document may be trademarks or
registered trademarks of their respective companies and are
hereby acknowledged. All non-ADJ Products, LLC brands and
product names are trademarks or registered trademarks of their
respective companies.
ADJ Products, LLC and all aliated companies hereby dis-
claim any and all liabilities for property, equipment, building,
and electrical damages, injuries to any persons, and direct or
indirect economic loss associated with the use or reliance of
any information contained within this document, and/or as a
result of the improper, unsafe, unsucient and negligent as-
sembly, installation, rigging, and operation of this product.
Europe Energy Saving Notice
Energy Saving Matters (EuP 2009/125/EC)
Saving electric energy is a key to help protecting the enviroment.
Please turn o all electrical products when they are not in use. To
avoid power consumption in idle mode, disconnect all electrical
equipment from power when not in use. Thank you!
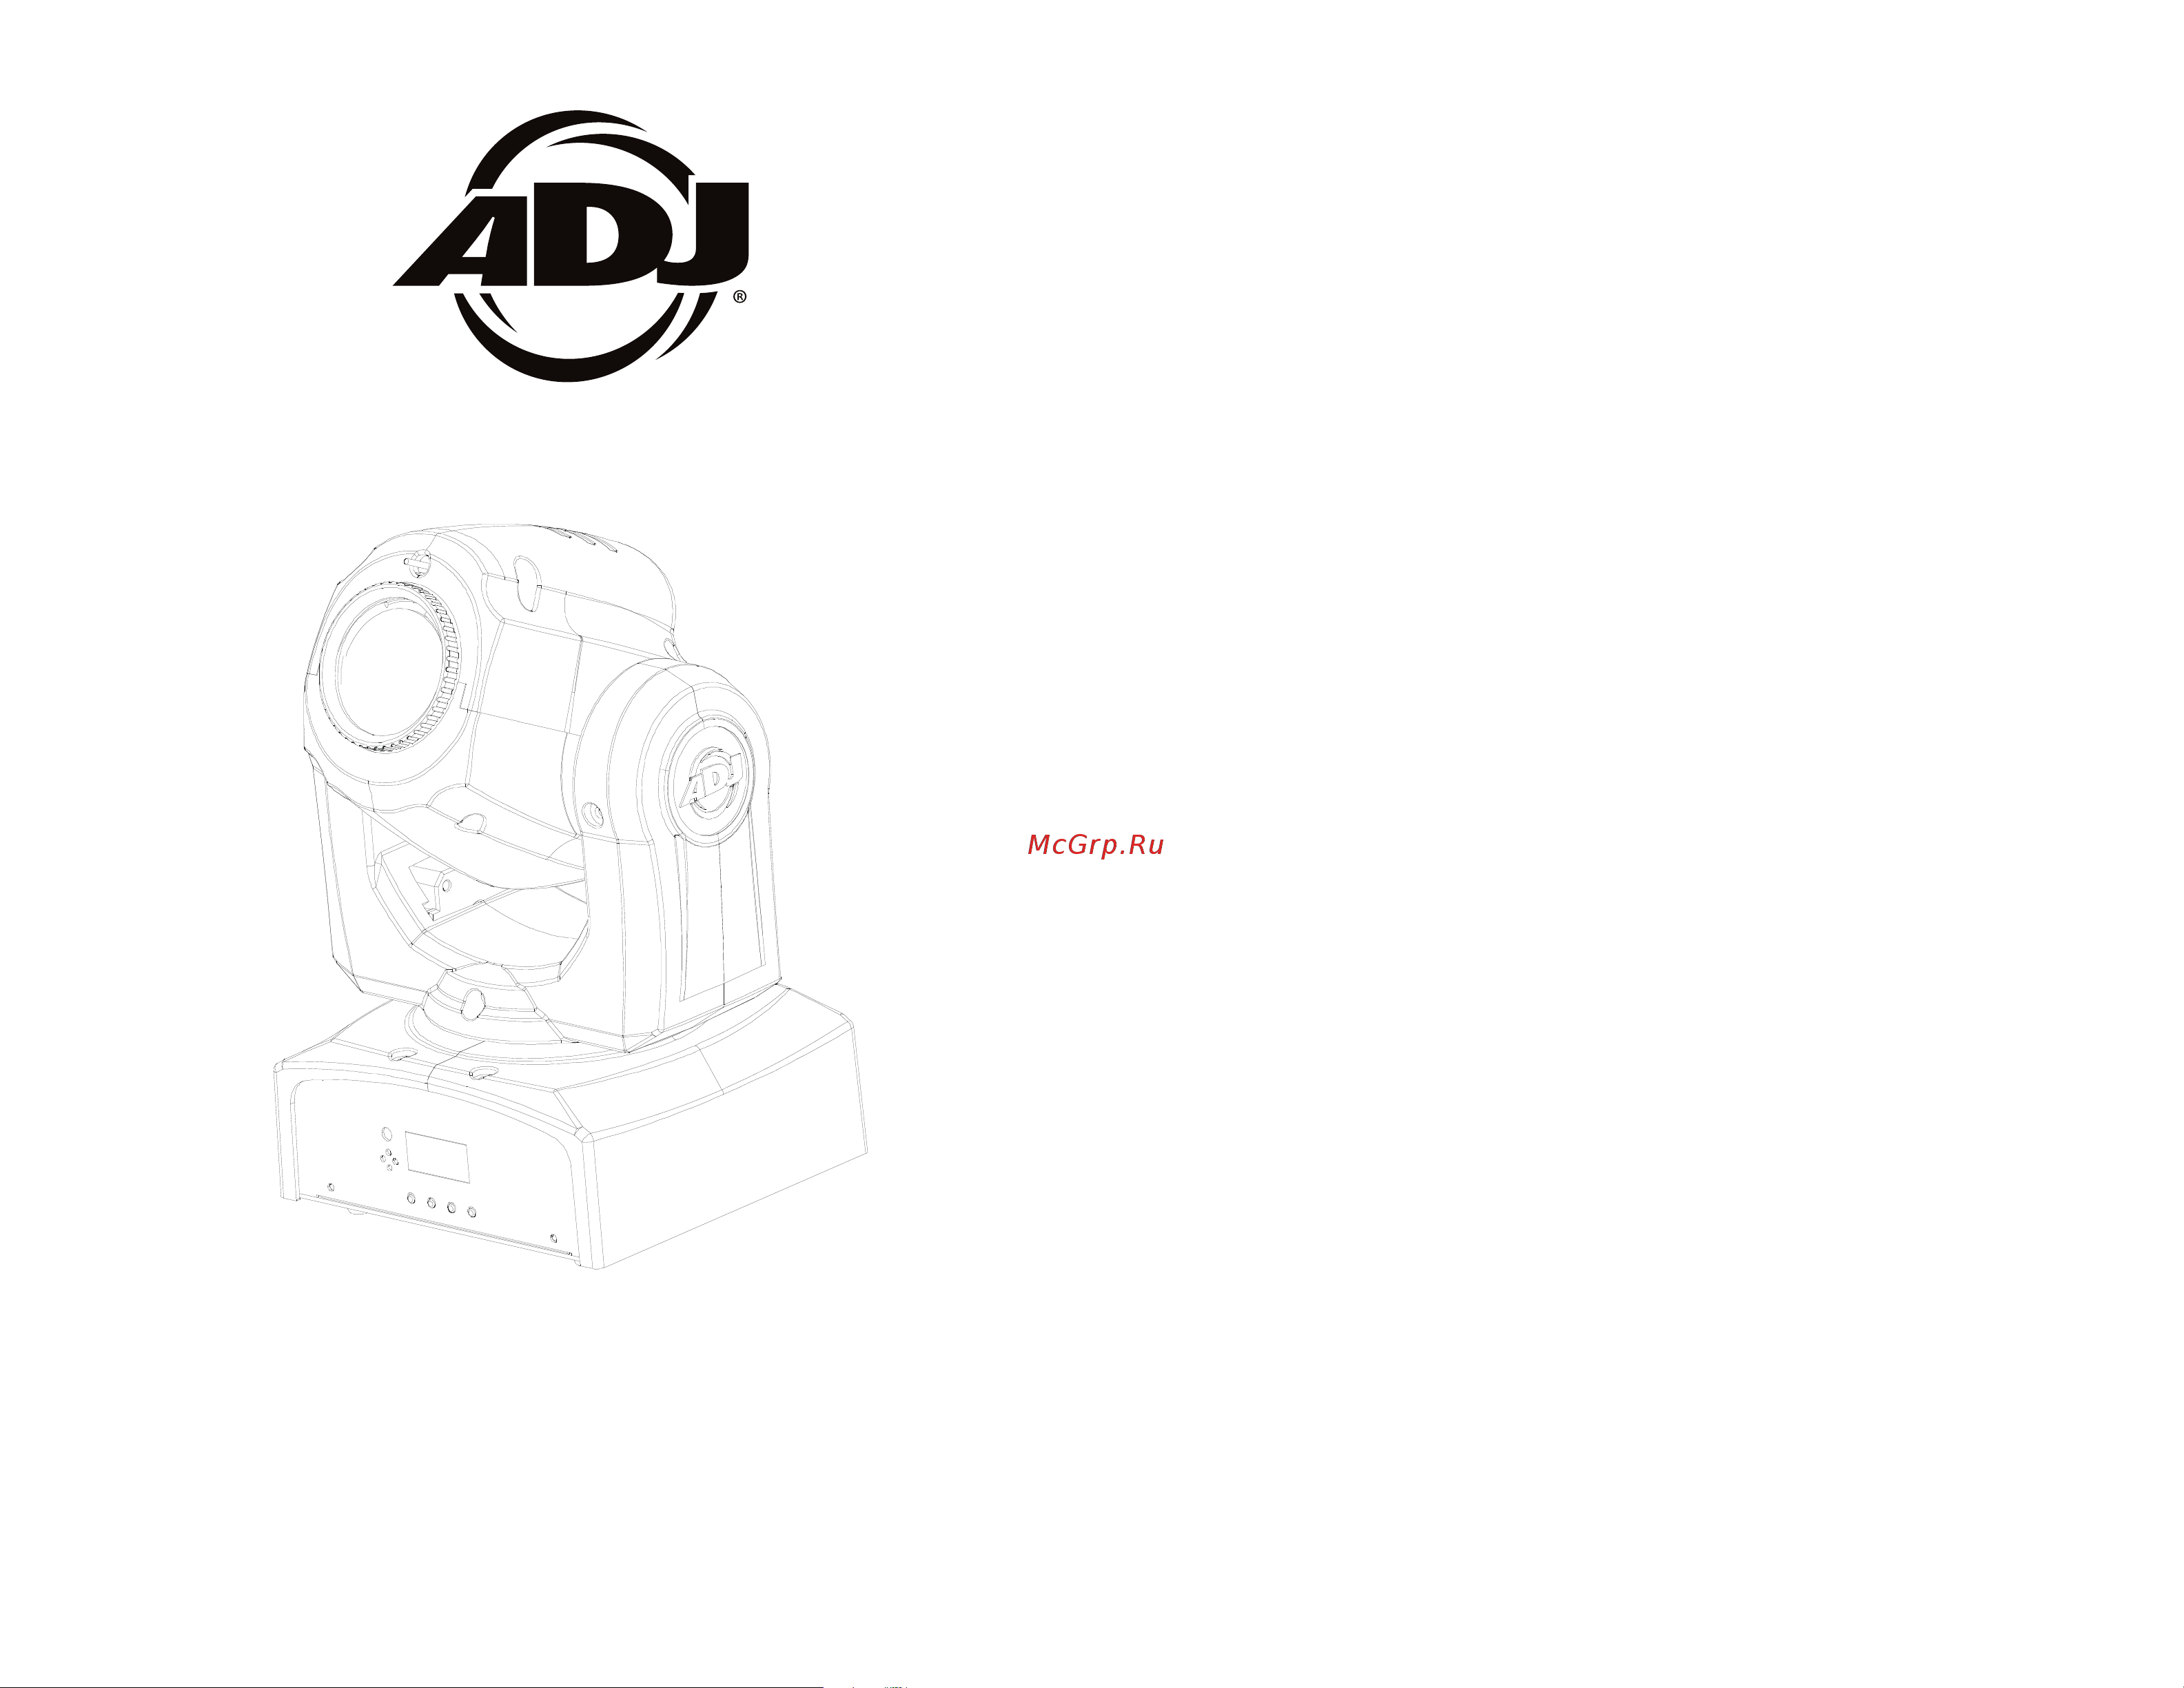
Inno Pocket SPot LZR
Содержание
- User instructions p.1
- Inno pocket spot lzr p.1
- Unpacking p.2
- Introduction p.2
- Customer support p.2
- Caution p.2
- Warning p.2
- Stop and read all laser safety data operation instructions and laser safety p.3
- Danger p.3
- Us version p.4
- European version p.4
- Screw one clamp via a m12 screw and nut to the included bracket attach the bracket using the included screws to the bottom of the inno pocket spot lzr attach the eyehole screw to the bottom of the base and pull the safety cable through the screw and over the trussing system or a safe fixation spot insert the end in the carabine and tighten the safety screw p.5
- Notice the suitable enviromental temperature for this light ing fixture is between 25 c to 45 c do not place this lighting fixture in an enviroment where the temperatures are under or above the temperatures stated above this will allow the fixture to run at its best and help prolong the fixture life p.5
- Special note line termination p.6
- Power supply p.6
- Notice p.6
- Dmx 512 p.6
- Pin xlr to 5 pin xlr conversion p.7
- Pin xlr dmx connectors p.7
- Inno pocket spot lzr front rear layout p.7
- Inno pocket spot lzr dmx set up p.7
- Conductor 5 pin xlr male in 3 pin xlr female out p.7
- Some manufactures use 5 pin dmx 512 data cables for data transmission in place of 3 pin 5 pin dmx fixtures may be implemented in a 3 pin dmx line when inserting stan dard 5 pin data cables in to a 3 pin line a cable adaptor must be used these adaptors are readily available at most electric stores the chart below details a proper cable conversion p.7
- This will let you set unit as a master or slave in a master slave configuration p.8
- This will let select your desired dmx channel mode p.8
- System menu when making adjustments press enter to confirm your setup then press and hold the menu button for at least 3 seconds to exit without making any adjust ments press the menu button the display will lock after 30 seconds press the menu button for 3 seconds to unlock p.8
- Show modes 0 4 factory programs show mode can run with or without sound active mode active p.8
- Dmx address setting p.8
- Tilt inversion p.9
- This will let select your desired dimmer curve p.9
- This mode can be used as a precaution mode that in case the dmx signal is lost interrupted or power is lost the operating mode chosen in the setup is the running mode the fixture will go into when the dmx signal is lost you can also set this as the operating mode you would like the unit to return to when power is applied p.9
- Sound active mode p.9
- Pan inversion p.9
- In this mode you can adjust the sound sensitiv ity p.9
- This function will show you current running tem perature p.10
- This function will run a self test program p.10
- This function will reverse the display 180º p.10
- Adjustment of the pan position p.10
- With this function you can have the led display turn off after 10 seconds p.10
- With this function you can display the running time of the unit p.10
- Use this function to reset the unit p.10
- Use this function to display the software version of the unit p.10
- Universal dmx control p.11
- Sound active mode p.11
- Show mode p.11
- Adjustment of the tilt position p.11
- Adjustment of the gobo wheel p.11
- Adjustment for the color wheel p.11
- This function will allow you to link up to 16 units together and operate without a controller in a master slave set up one unit will act as the controlling unit and the others will react to the controlling units programs any unit can act as a master or as a slave 1 using approved dmx data cables daisy chain your units togeth er via the xlr connector on the rear of the units remember the male xlr connector is the input and the female xlr connector is the output the first unit in the chain master will use the female xlr connector only the last unit in the chain will use the male xlr connector only for longer cable runs we suggest a termina tor at the last fixture 2 on the master unit press the menu button until slnd is dis played and press enter use the up and down buttons to scroll to the mast setting and press enter 3 after setting the master unit find your desired operating mode 4 on the slave units press the menu button until slnd is dis played and press enter choose either sl 1 or s p.12
- This feature lets you instantly blackout the laser effect have the key inserted into the keyhole at all times to activate the laser blackout feature turn it to the off position to reactivate the laser turn the key to the on position p.12
- Master slave operation p.12
- Inno pocket spot lzr remote operation p.12
- Inno pocket spot lzr master slave set up p.12
- Inno pocket spot lzr laser blackout europe only p.12
- Channel value function p.13
- Channel value function p.14
- Channel value function p.15
- Channel value function p.16
- Channel value function p.17
- Inno pocket spot lzr warranty p.19
- Inno pocket spot lzr notes p.19
- Adj products llc www adj com inno pocket spot lzr instruction manual page 36 adj products llc www adj com inno pocket spot lzr instruction manual page 37 p.19
- This fixture contains a automatic volt age switch which will auto sense the voltage when it is plugged into the power source p.20
- Specifications and improvements in the design of this unit and this manual are subject to change without any prior written notice p.20
- Please note p.20
- Model inno pocket spot lzr p.20
- Auto sensing voltage p.20
- Adj products llc 6122 s eastern ave los angeles ca 90040 usa tel 323 582 2650 fax 323 725 6100 web www adj com e mail info americandj com p.20
- A d j supply europe b v junostraat 2 6468 ew kerkrade netherlands service adjgroup eu www adj eu tel 31 45 546 85 00 fax 31 45 546 85 99 p.20
Похожие устройства
-
 AMERICAN DJ Vizi BSW300Руководство по эксплуатации
 -
 AMERICAN DJ Focus Spot TWOРуководство по эксплуатации
 -
 AMERICAN DJ Inno Color Beam Z19Руководство по эксплуатации
 -
 AMERICAN DJ Vizi Beam RXONEРуководство по эксплуатации
 -
 AMERICAN DJ Vizi Hybrid 16RXРуководство по эксплуатации
 -
 AMERICAN DJ Dotz TPAR SystemРуководство по эксплуатации
 -
 ADJ Hydro Beam X1Руководство по эксплуатации
 -
 Involight LDF100Руководство по эксплуатации
 -
 AMERICAN DJ Focus Spot ONEРуководство по эксплуатации
 -
 Involight LED PAR984WРуководство по эксплуатации
 -
 Antari M-7Руководство по эксплуатации
 -
 STAGG SLI KINGPAR22Руководство по эксплуатации