![GRAPHITE 58G009 — инструкция по зарядке и замене батареи устройства [13/100]](/img/pdf.png)
GRAPHITE 58G009 — инструкция по зарядке и замене батареи устройства [13/100]
Превью страниц
Страница 13 /
100
![GRAPHITE 58G009 [13/100] Preparation for operation](/views2/1382101/page13/bgd.png)
13
MEANING OF SYMBOLS
CAUTION
WARNING
ASSEMBLY / SETTINGS
INFORMATION
PREPARATION FOR OPERATION
REMOVING AND INSERTING THE BATTERY
• Set the direction selector switch (3) in middle position.
• Push the battery lock button (8) and slide out the battery (7)
(fig. A).
• Insert charged battery (7) into the handle holder, you should
hear when the battery lock button (8) snaps.
BATTERY CHARGING
The device is supplied with partially charged battery. The battery
should be charged in ambient temperature between 4°C and
40°C. New battery, or one that has not been used for a long
time, will reach full efficiency after approximately 3 to 5 charge/
discharge cycles.
• Remove the battery (7) from the device (fig. A).
• Connect the charger to mains socket (230 V AC).
• Slide the battery (7) into the charger (10) (fig. B). Ensure the
battery is properly fitted (pushed to the end).
When the charger is connected to a mains socket (230 V AC), the
green diode (9) on the charger turns on to indicate connected
supply.
When the battery (7) is placed in the charger (10), the red diode
(9) on the charger turns on to indicate that the charging is in
progress.
At the same time green diodes (12) of the battery level indication
are flashing in different configurations, see description below.
• All diodes are flashing - battery is empty and requires
charging.
• 2 diodes are flashing - the battery is partially discharged.
• 1 diode is flashing - the battery level is high.
Once the battery is charged, the diode (9) on the charger lights
green, and all battery level diodes (12) light continuously. After
some time (approx. 15 s) battery level indication diodes (12) turn
off.
Do not charge the battery for more than 8 hours. Exceeding
this time limit may cause damage to battery cells. The charger
will not turn off automatically when the battery is full. Green
diode on the charger will remain on. Battery level indication
diodes turn off after some time. Disconnect power supply
before removing the battery from the charger socket. Avoid
consecutive short chargings. Do not charge the battery after
short use of the tool. Significant decrease of the period
between chargings indicates the battery is worn out up and
should be replaced.
Batteries heat up strongly when charging. Do not operate just
after charging – wait for the battery to cool down to room
temperature. It will prevent battery damage.
BATTERY LEVEL INDICATION
The battery is equipped with signalisation of the battery level (3
LED diodes) (12). To check battery level status, press the switch
button (11) (fig. C). When all diodes are lit, the battery level is
high. When 2 diodes are on, the battery is partially discharged.
When only one diode is lit, the battery is discharged and must
be recharged.
INSTALLATION AND REPLACEMENT OF WORKING TOOLS
The rotary hammer drill is designed to operate with working tools
with SDS Plus shanks. Prior to operation clean the rotary hammer
drill and working tools. Use grease and apply thin layer onto shank
of the working tool.
The rotary hammer drill incorporates clic-clic system (which does
not require to pull off the fixing sleeve (2) when installing a working
tool).
• Set the direction selector switch (3) in middle position.
• Insert working tool shank into chuck (1) and slide it to mechanical
stop (it may be necessary to turn the working tool so it can reach
appropriate position) (g. D).
• Working tool is properly seated if it cannot be removed without
pulling off the fixing sleeve.
• If the sleeve (2) does not return to its default position, remove the
working tool and repeat the whole operation.
High eciency of the rotary hammer drill operation can be
achieved by using sharp and undamaged working tools.
DEINSTALLATION OF WORKING TOOL
Just after the operation is nished the working tool may be hot.
Avoid direct contact and use appropriate protective gloves. Clean
the working tool after removal.
• Pull the fixing sleeve (2) to the back and hold.
• Remove the working tool with your second hand by pulling it to
the front (g. D).
OVERLOAD PROTECTION
The rotary hammer drill is equipped with overload protection.
Spindle of the rotary hammer drill stops immediately after working
tool jams, which could overload the power tool.
PRACA / USTAWIENIA
SWITCHING ON / SWITCHING OFF
Switching on – press the switch button (4).
Switching off – release pressure on the switch button (4).
Rotational speed of the spindle is controlled with pressure on the
switch button (4).
Each time the switch button (4) is pressed, the LED diode (6) lights
up to illuminate the workplace.
LEFT – RIGHT DIRECTION OF ROTATION
Choose direction of rotary hammer spindle rotation with the
selector switch (3).
Clockwise rotation – set the switch (3) to the extreme left position
(g. E).
Counter-clockwise rotation – move the switch (3) to the extreme
right position.
* In certain cases position of the switch related to rotation may be different than
specified. Please refer to graphic signs placed on the switch or tool body.
Safe position of the direction selector switch (3) is in the middle, it
prevents accidental starting of the power tool.
• When the switch is in this position, the device cannot be started.
• Use this position of the switch to change drills.
• Before starting the tool make sure the position of the direction
selector switch (3) is correct.
Do not change direction of rotation when the spindle of the rotary
hammer drill is rotating. Check if the position of the selector
switch is correct before starting the tool. You should not use
counter clockwise rotation when impact function is on.
Содержание
190- Szczegółowe przepisy bezpieczeństwa
- Instrukcja oryginalna obsługi młotowiertarka akumulatorowa 58g009
- Przygotowanie do pracy
- Praca ustawienia
- Parametry techniczne
- Obsługa i konserwacja
- Ochrona środowiska ce
- Deklaracja zgodności we ec declaration of conformity megfelelési nyilatkozat ek
- Translation of the original instructions cordless rotary hammer drill 58g009
- Gwarancja i serwis
- Detailed safety regulations
- Praca ustawienia
- Preparation for operation
- Technical parameters
- Operation and maintenance
- Übersetzung der originalbetriebsanleitung akku hammerbohrmaschine 58g009
- Li ion
- Environmental protection ce
- Detaillierte sicherheitsvorschriften
- Vorbereitung auf den einsatz
- Betrieb einstellungen
- Bedienung und wartung
- Umweltschutz ce
- Technische parameter
- Li ion
- Специальные требования
- По безопасности
- Перевод оригинальной инструкции по эксплуатации аккумуляторный перфоратор 58g009
- Подготовка к работе
- Работа настройка
- Техническое обслуживание
- Технические характеристики
- И значение неопределенности измерения k определены по en 60745 2 6 и приведены ниже приведенный в данной инструкции по эксплуатации уровень вибрации определен по методу измерений установленному стандартом en 60745 и может использоваться для сравнения разных моделей электроинструмента одного класса параметры вибрационной характеристики можно также использовать для предварительной оценки вибрационной экспозиции заявленная вибрационная характеристика представительна для основных рабочих заданий электроинструмента вибрационная характеристика может измениться если электроинструмент будет использоваться для других целей либо с другими рабочими принадлежностями а также в случае недостаточного технического ухода за электроинструментом приведенные выше причины могут вызвать увеличение длительности вибрационной экспозиции за период работы для точной оценки вибрационной экспозиции следует учесть время в течение которого электроинструмент находится в отключенном состоянии либо во включенном но не
- Защита окружающей среды
- Где
- Виброускорение передняя рукоятка
- Yy месяц изготовления
- Li ion
- K 1 5 м
- Хххyyg
- G код торговой марки первая буква
- Ххх год изготовления
- 96 0 дб a k 3 дб a виброускорение задняя рукоятка
- Уровень звукового давления l
- 85 0 дб a k 3 дб a уровень звуковой мощности l
- Уровень вибрации значение виброускорения
- 8 64 м
- Указана в серийном номере
- 7 43 м
- Порядок расшифровки информации
- Порядковый номер изделия
- Который находится на изделии
- Информация о дате изготовления
- Спеціальні правила техніки безпеки
- Під час користування устаткуванням
- Переклад інструкції з оригіналу дриль ударний акумуляторний 58g009
- Підготовка до роботи
- Порядок роботи робочі налаштування
- Технічні характеристики
- Зберігання та обслуговування
- Охорона середовища се
- Li ion
- Részletes biztonsági előírások
- Eredeti használati utasítás fordítása akkus fúrókalapács 58g009
- A munka előkészítése
- Munkavégzés beállítások
- Műszaki jellemzők
- Kezelése és karbantartása
- Traducere a instrucţiunilor originale mașină de găurit cu percuție cu acumulator 58g009
- Norme specifice de siguranţă
- Li ion
- Környezetvédelem ce
- Pregătire pentru lucru
- Utilizare și întreţinere
- Utilizare setări
- Parametri tehnici
- Protecţia mediului ce
- Li ion
- Překlad původního návodu k používání akumulátorové vrtací kladivo 58g009
- Podrobné bezpečnostní pokyny
- Příprava k práci
- Provoz nastavení
- Technické parametry
- Péče a údržba
- Ochrana životního prostředí ce
- Preklad pôvodného návodu na použitie akumulátorové vŕtacie kladivo 58g009
- Li ion
- Detailné bezpečnostné predpisy
- Práca nastavenia
- Pred uvedením do prevádzky
- Technické parametre
- Ošetrovanie a údržba
- Ochrana životného prostredia ce
- Li ion
- Specifični varnostni predpisi
- Prevod izvirnih navodil akumulatorsko vrtalno kladivo 58g009
- Priprava na uporabo
- Uporaba nastavitve
- Vzdrževanje in hramba
- Varovanje okolja ce
- Tehnični parametri
- Li ion
- Pagrindinės darbo saugos taisyklės
- Originalios instrukcijos vertimas akumuliatorinis gręžtuvas 58g009
- Pasiruošimas darbui
- Techniniai duomenys
- Darbas ir nustatymai
- Aptarnavimas ir priežiūra
- Li ion
- Aplinkos apsauga ir ce
- Īpaši drošības noteikumi
- Instrukciju tulkojums no oriģinālvalodas akumulatora perforators 58g009
- Sagatavošanās darbam
- Darbs iestatījumi
- Vides aizsardzība ce
- Tehniskie parametri
- Li ion
- Apkalpošana un apkope
- Eriohutusjuhised
- Algupärase kasutusjuhendi tõlge akutoitel puurvasara 58g009
- Töötamine seadistamine
- Ettevalmistus tööks
- Tehnilised parameetrid
- Kasutamine ja hooldus
- Превод на оригиналната инструкция акумулаторен перфоратор 58g009
- Подробни правила за безопасност
- Li ion
- Keskkonnakaitse ce
- Подготовка за работа
- Работа настройки
- Технически параметри
- Обслужване и поддръжка
- Опазване на околната среда ce
- Prijevod originalnih uputa akumulatorski čekić bušilica 58g009
- Posebni propisi o sigurnosti
- Li ion
- Rad postavke
- Priprema za rad
- Tehnički parametri
- Rukovanje i održavanje
- Zaštita okoliša ce
- Li ion
- Prevod orginalnog uputstva akumulatorska bušilica sa čekićem 58g009
- Opšte mere bezbednosti
- Priprema za rad
- Rad postavke
- Tehničke karakteristike
- Korišćenje i održavanje
- Μεταφραση του πρωτοτυπου των οδηγιων χρησησ επαναφορτιζομενο περιστροφικο πιστολετο 58g009
- Ειδικεσ απαιτησεισ ασφαλειασ
- Zaštita sredine ce
- Li ion
- Προετοιμασια για εργασια
- Λειτουργια ρυθμισεισ
- Τεχνικη συντηρηση
- Τεχνικα χαρακτηριστικα
- Προστασια περιβαλλοντοσ
- Li ion
- Traducción del manual original martillo perforador a batería 58g009
- Normas de seguridad detalladas
- Preparación para trabajar
- Trabajo configuración
- Uso y configuración
- Parametros técnicos
- Traduzione delle istruzioni originali martello perforatore a batteria 58g009
- Protección medioambiental ce
- Norme particolari di sicurezza
- Li ion
- Preparazione al funzionamento
- Utilizzo e manutenzione
- Funzionamento regolazione
- Parametri tecnici
- Protezione dell ambiente ce
- Vertaling van originele gebruiksaanwijzing accu boorhamer 58g009
- Veiligheidsvoorschriften
- Gedetailleerde
- Werkvoorbereiding
- Werk instellingen
- Technische parameters
- Bediening en onderhoud
- Milieubescherming ce
- Li ion
- K 1 5 m
- Akoestische druk niveau l
- 96 0 db a k 3db a waarde van de trillingen versnelling achterste handgreep
- 85 0 db a k 3db a akoestische kracht niveau l
- 8 64 m
- 7 43 m
- Waarde van de trillingen versnelling voorste handgreep
- Tegen de risico s van trillingen te beschermen zoals onderhoud van het elektrogereedschap en werkstukken verzekering van de juiste temperatuur van de handen juiste organisatie van het werk
Похожие устройства
-
 GRAPHITE 58G027Инструкция по эксплуатации
 -
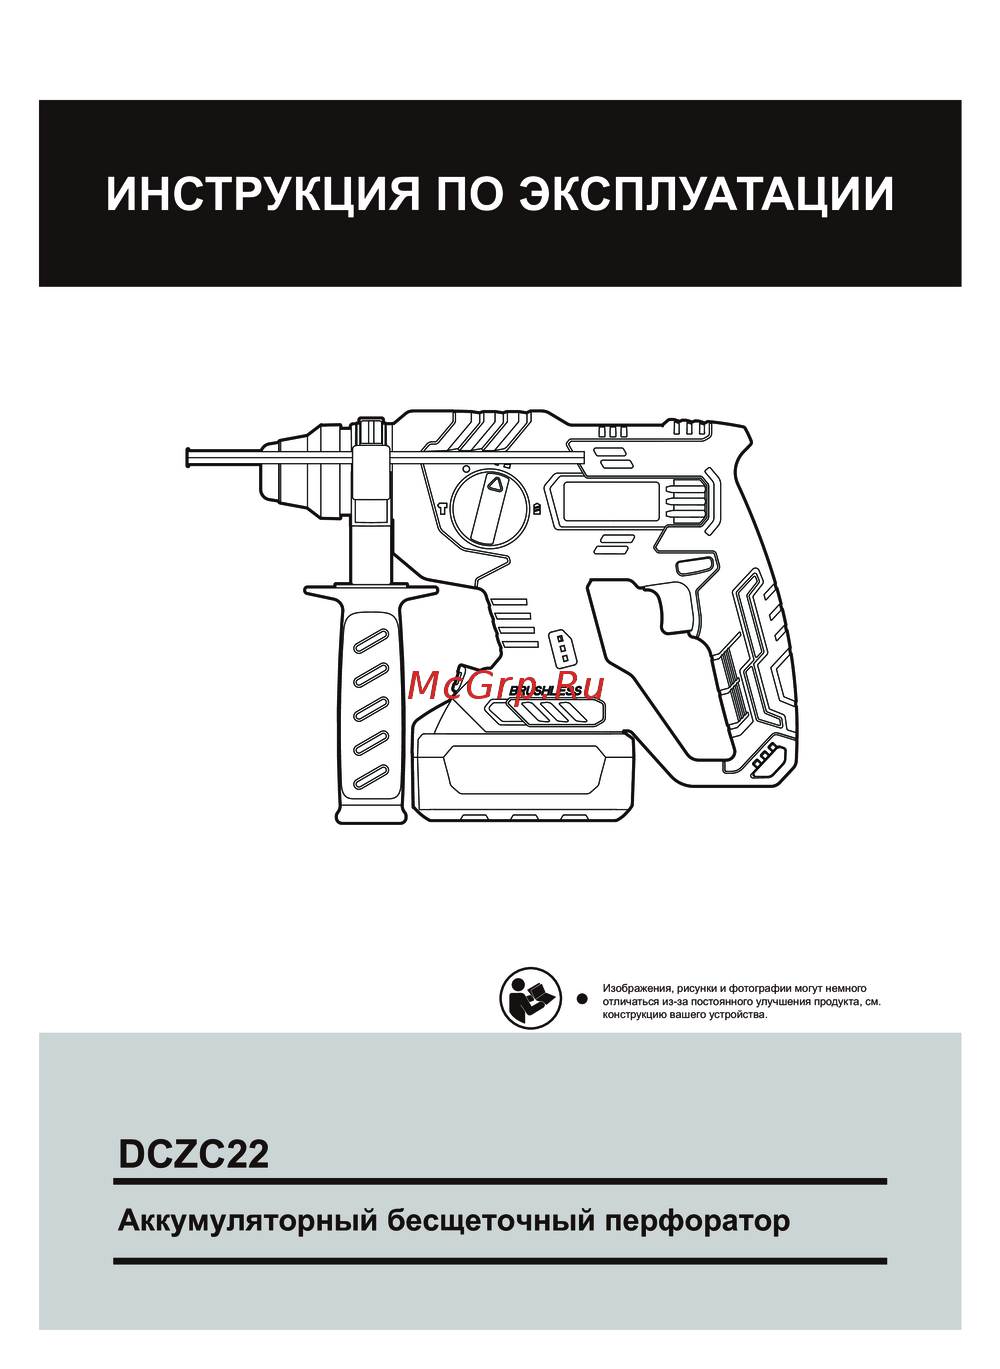 DONGCHENG DCZC22(TYPE Z)Инструкция по эксплуатации
 -
DONGCHENG DCZC22(TYPE BM)Инструкция по эксплуатации
-
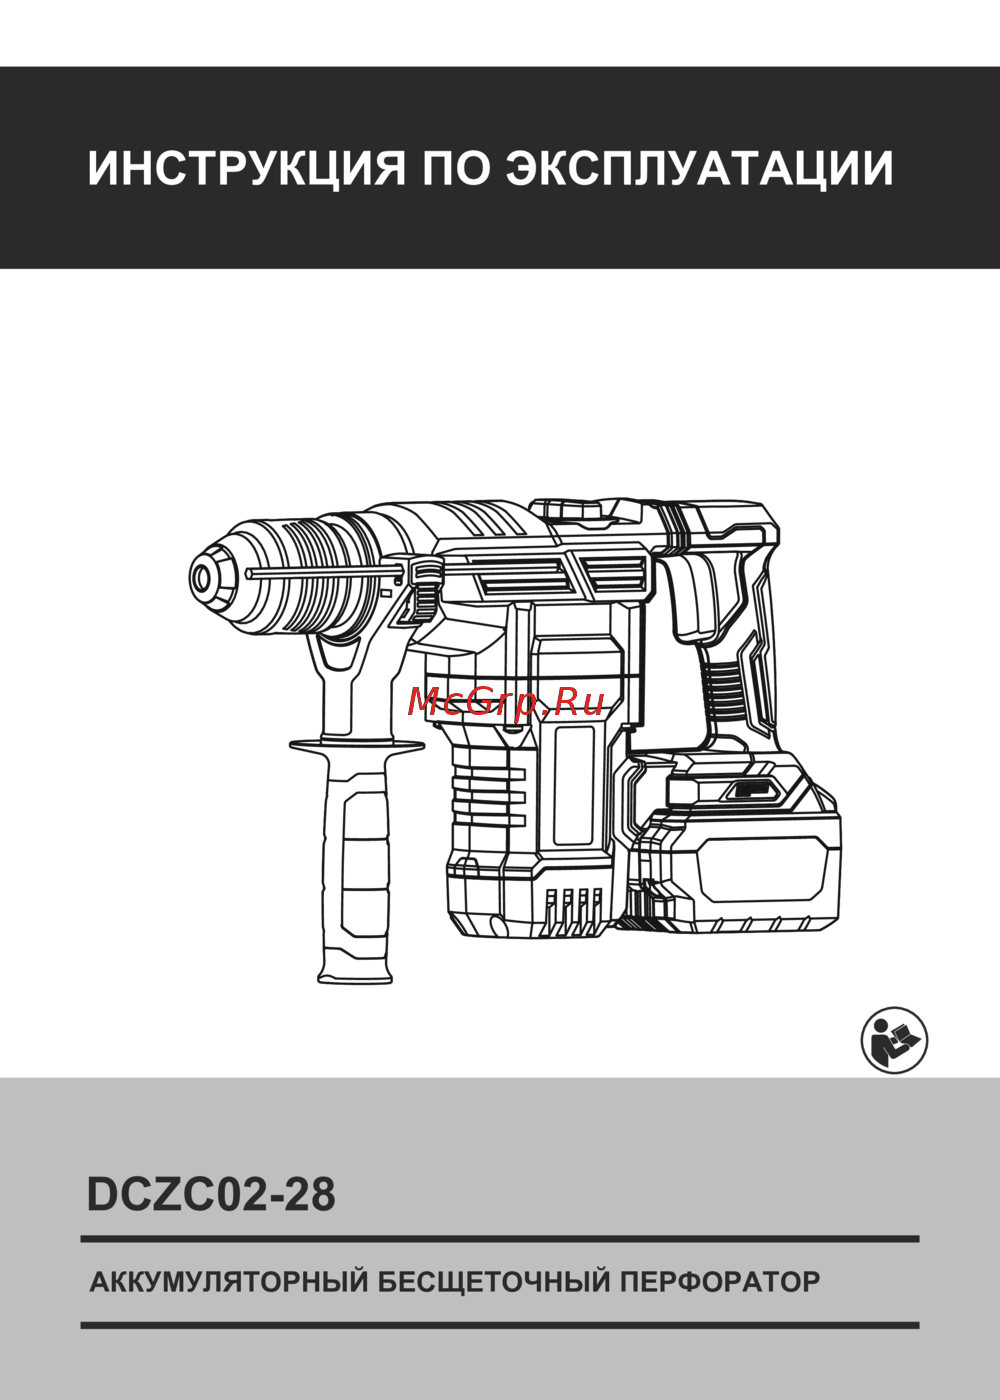 DONGCHENG DCZC02-28 (TYPE Z)Инструкция по эксплуатации
 -
DONGCHENG DCZC02-28 (TYPE H2K)Инструкция по эксплуатации
-
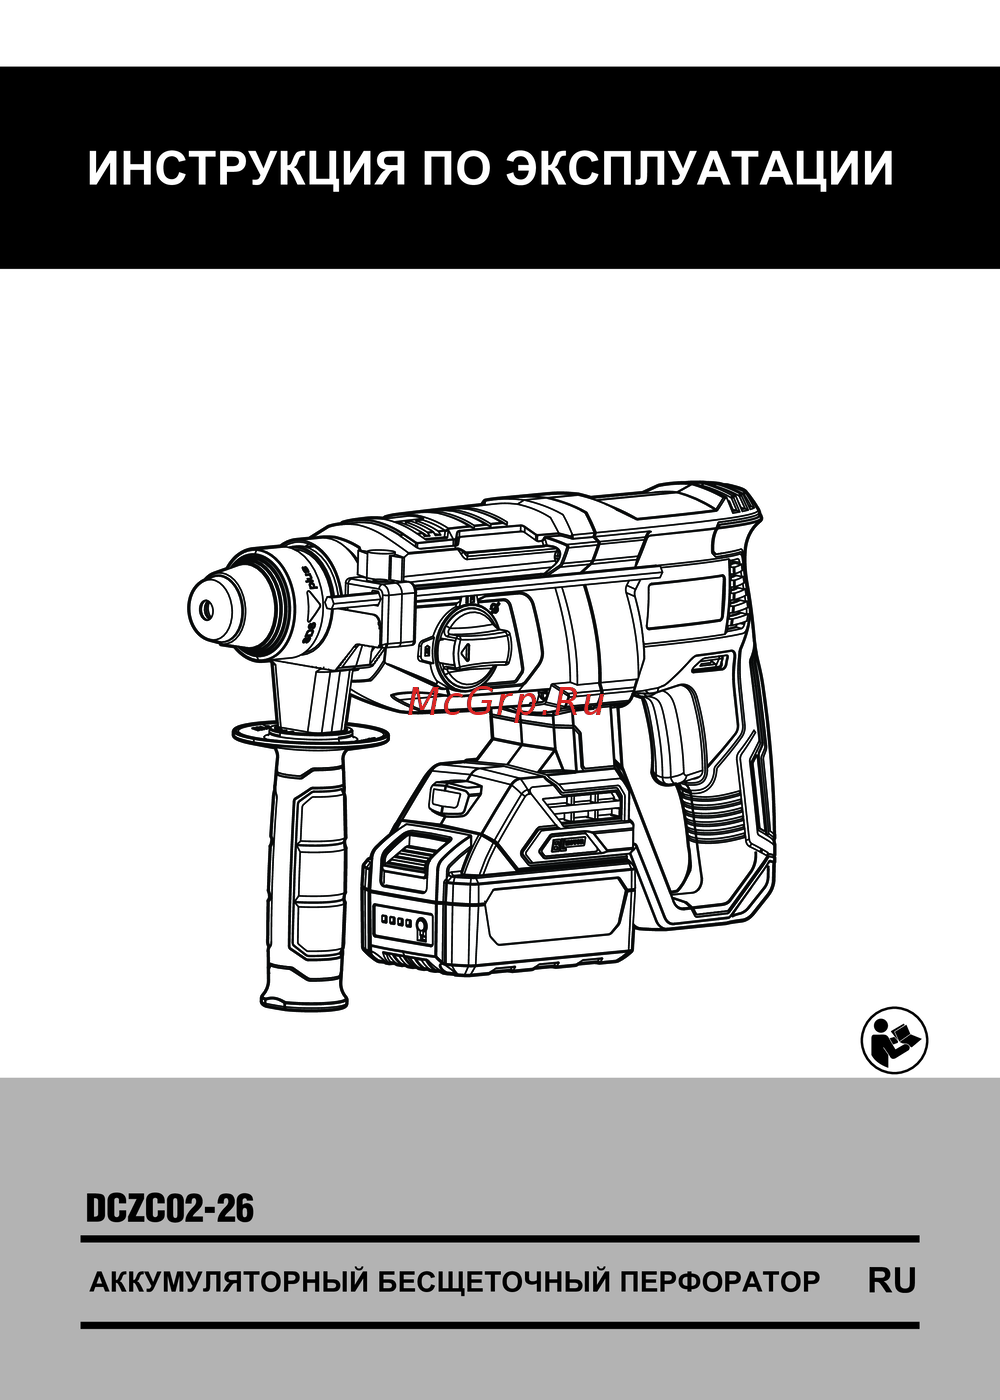 DONGCHENG DCZC02-26 (TYPE Z)Инструкция по эксплуатации
 -
 DONGCHENG DCZC02-26 (TYPE EM)Инструкция по эксплуатации
 -
 Зубр PB-260-42Руководство по эксплуатации
 -
Зубр PB-260Руководство по использованию
-
 Bosch UNEO Maxx (0.603.952.30C)Руководство по эксплуатации
 -
Bosch Uneo 12 (0.603.984.027)Руководство по эксплуатации
-
Bosch Uneo 12 (0.603.984.00C)Руководство по эксплуатации
Узнайте, как правильно заряжать и заменять батарею вашего устройства. Следуйте простым шагам для обеспечения долгой работы и безопасности.